


Jen of City Farmhouse enjoys creating home decor that tells a story of her personal style. Follow along with her latest project!
This post is sponsored by Minwax®.
![]()
Hi there friends! I am about to hit a blogging milestone in March, 6 years!!! The design lesson that resonates most through this time is, beware of trends. With that being said I have seen a lot of trends come & go and many I was happy to see hit the road. There have been a few though, that stood the test of time, which is refreshing, we call these “evergreen” trends. One in particular that I loved from the very beginning is silhouettes and I am happy to say I still do. We have seen these traditional favorites done many ways through the years, so I thought why not update mine and give them a modern perspective using wood.
Creating Modern Wood Silhouettes is so simple and fun. This is a project that should only take an hour or 2, if you have all the prep work done. I partnered with Minwax® on this project to highlight the beauty & versatility of the wood.
What you will need:
Silhouette template from cardstock-DIY tutorial.
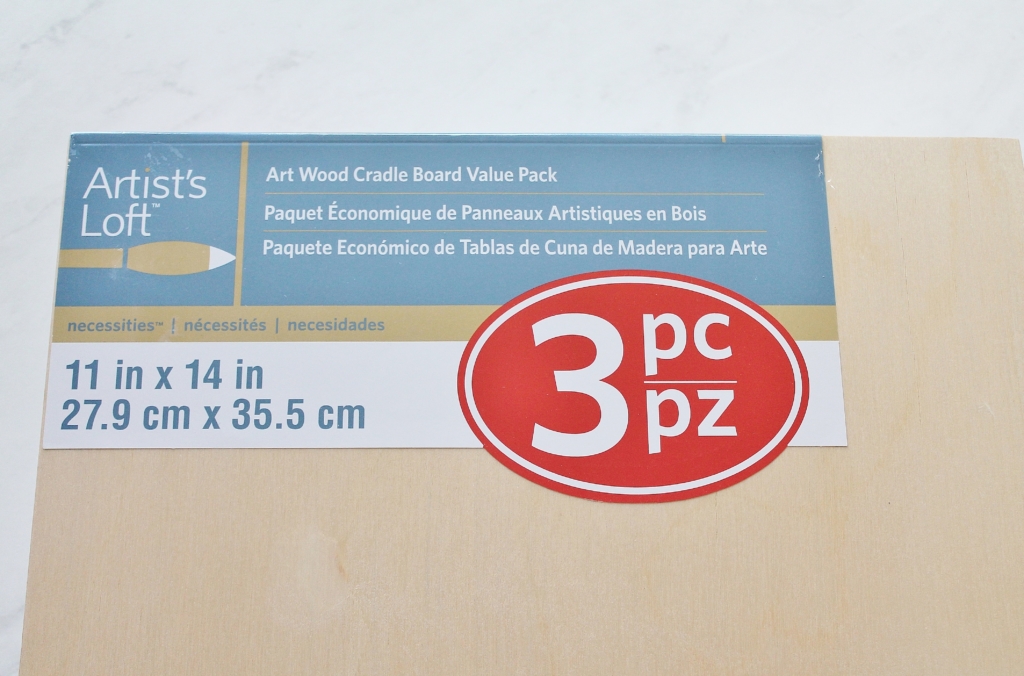
11″ x 14″ wood boxes.
Birch chip board.
Minwax® Water Based Wood Stain in White Wash Pickling.
Minwax® Express Color™ in Onyx.
Scissor.
2-synthetic brush (for water based stain).
Rag.
Drop cloth.
Spray adhesive.
If you remember I tackled DIY Silhouettes early on in my blogging career, not my best photography but that’s why practice always makes you better:). This post will give you the low down on how to create the side profile template. FYI, I did alter the chest area to give it more of a dramatic look this time around.
Ok, so you have your templates made from cardstock. These are mine from my original post, I just pulled them off to start fresh. You can do your children, grandchildren or even pets.
These are the 11″ x 14″ wood boxes I bought at the craft store. A little tip, I bought these on sale 3 pc for $10, if they aren’t on sale use a coupon.
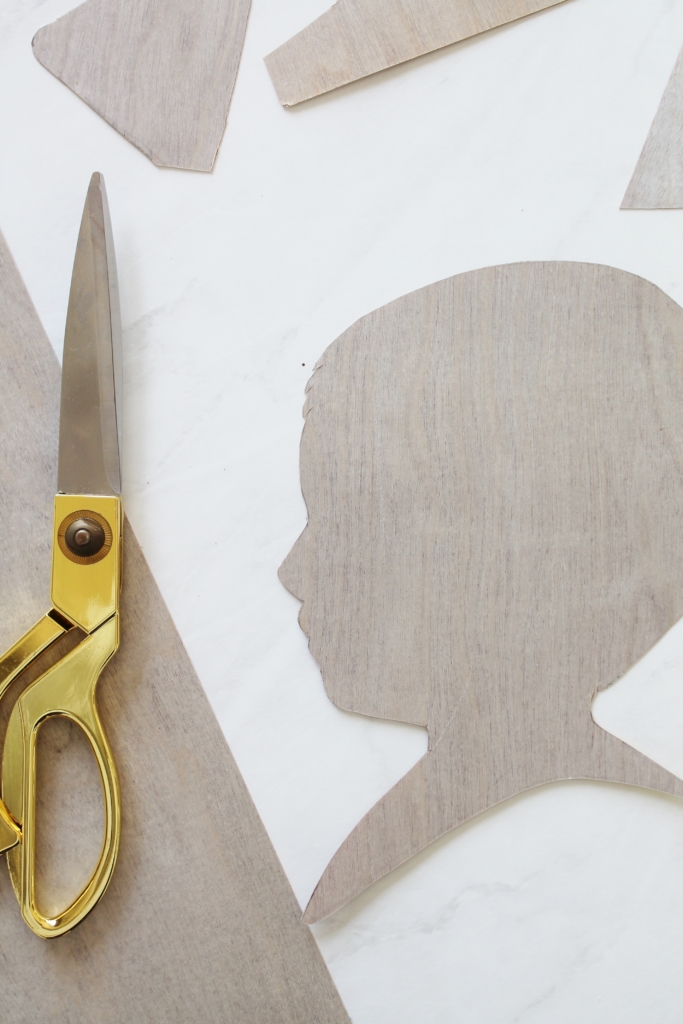
Next, trace your template onto your chipboard and cut it out carfeully. You can find this material at your craft store as well. Definitely use a coupon for this, it’s pricey!

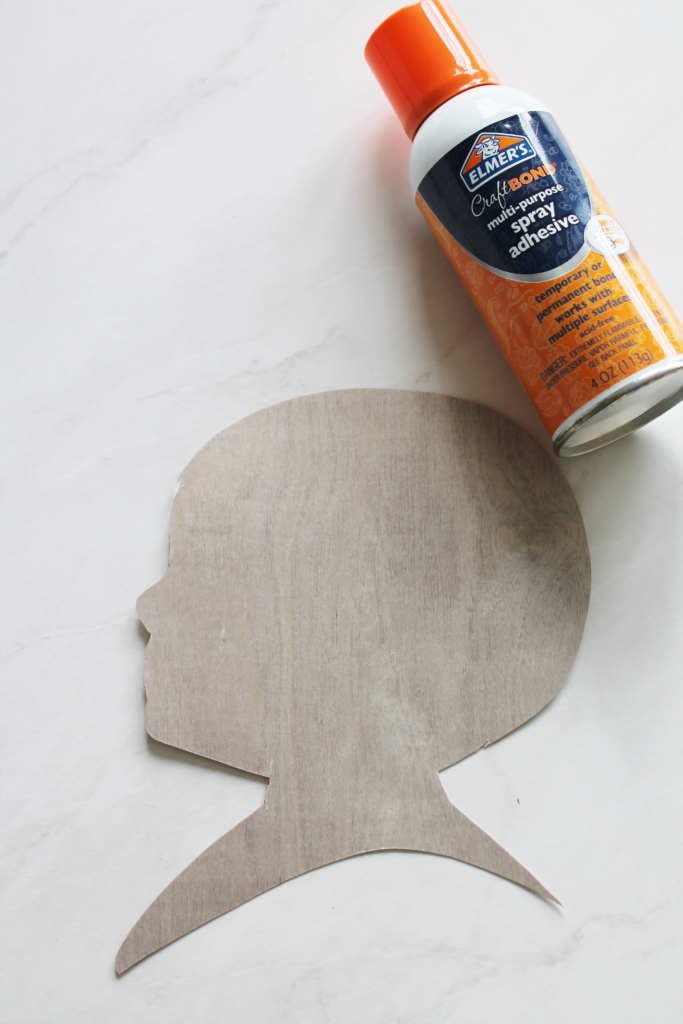
Take your synthetic brush and layer your boards with Minwax® Water Based Wood Stain in White Wash Pickling. Be sure not to over saturate your brush and go with the grain. I did 2 coats, I wanted the contrast to be bold.

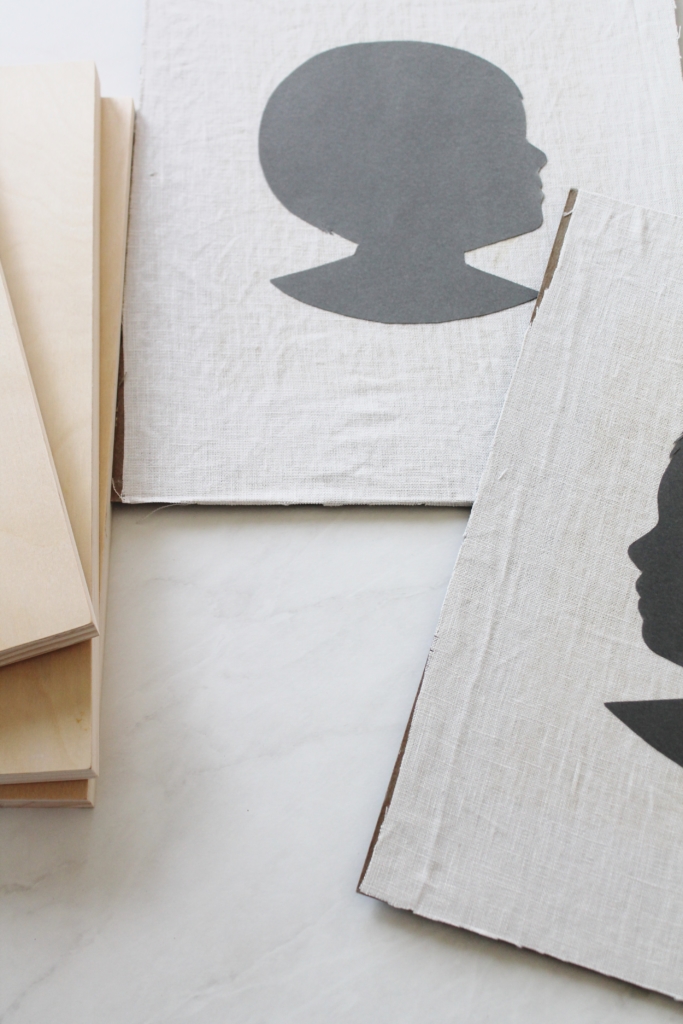
Next take your tube of Minwax® Express Color ® in Onyx and stain the silhouettes. I also did 2 coats on these.

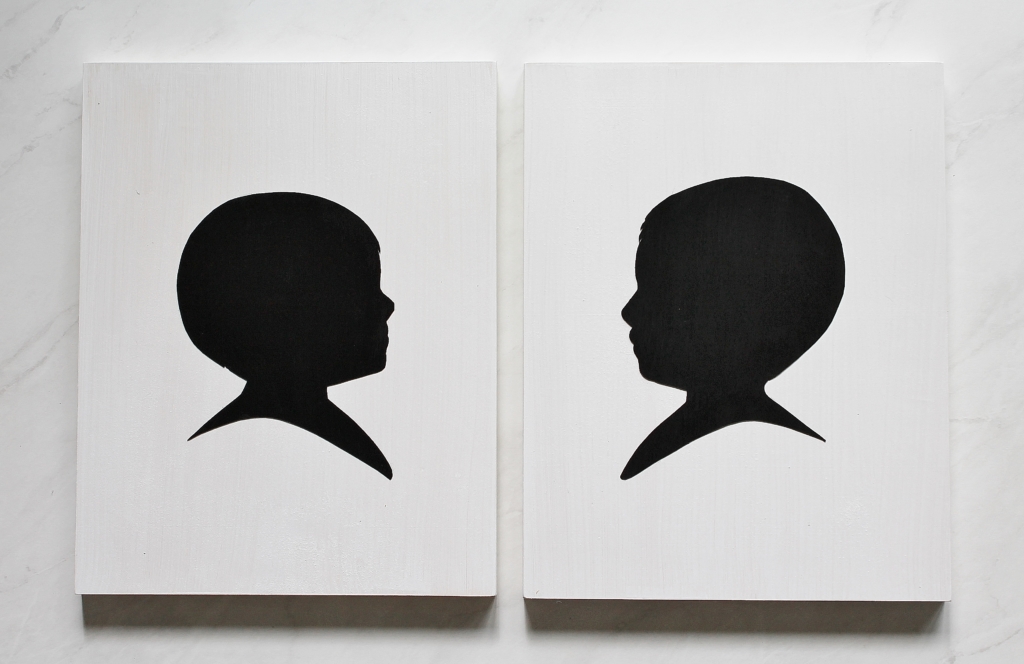
Once it is dry, you can adhere the wood silhouette to the wood frame. Spray adhesive to the back & press firmly to insure it sets.
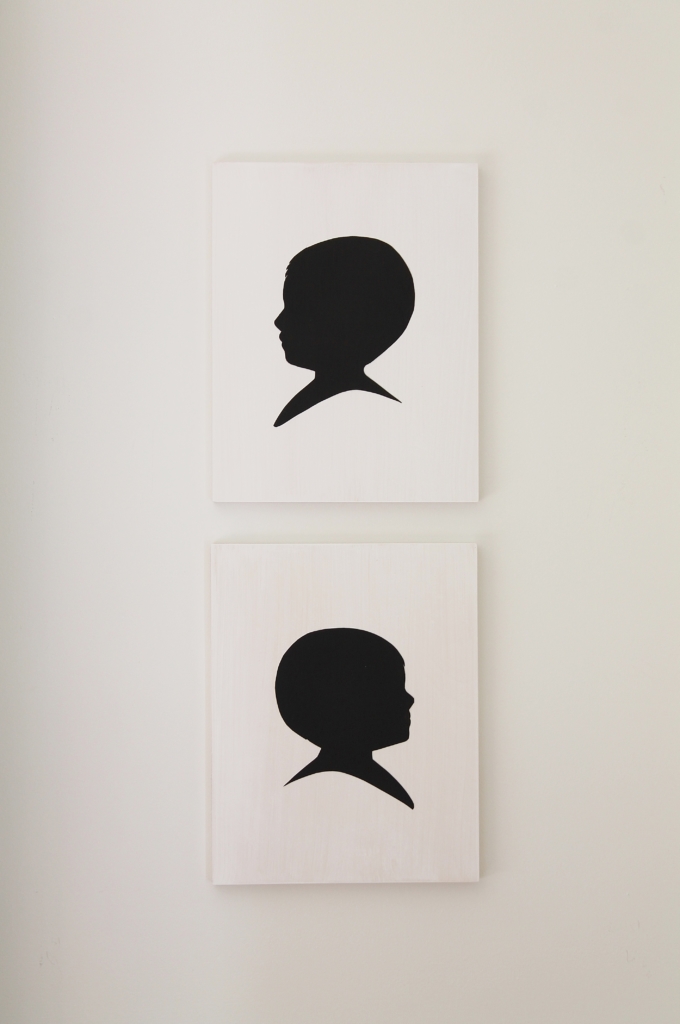
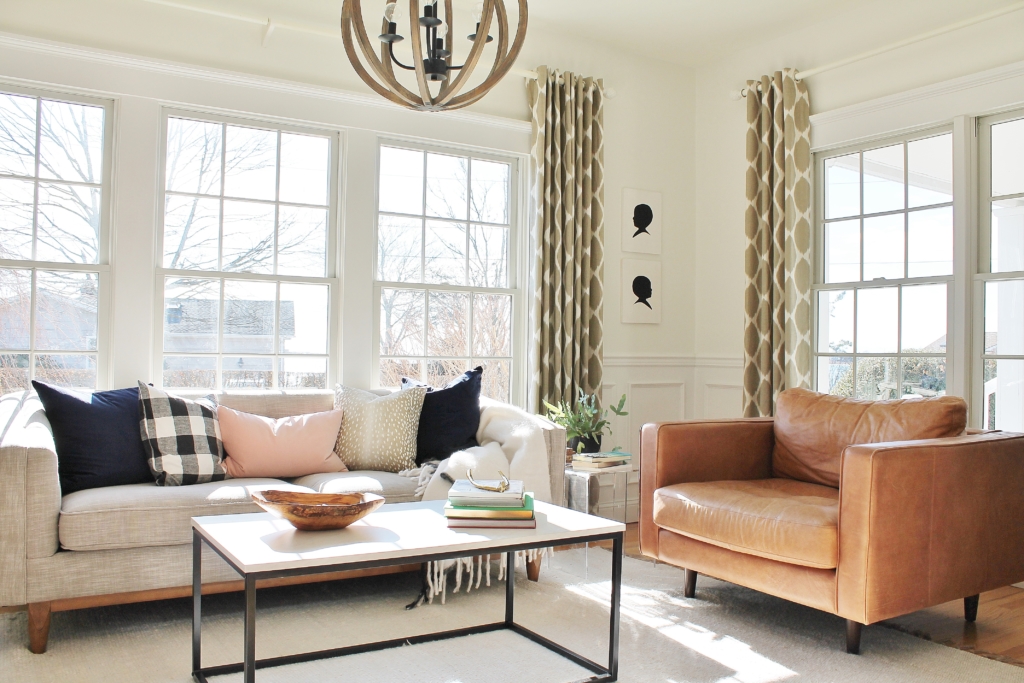
Finished, it’s super simple.
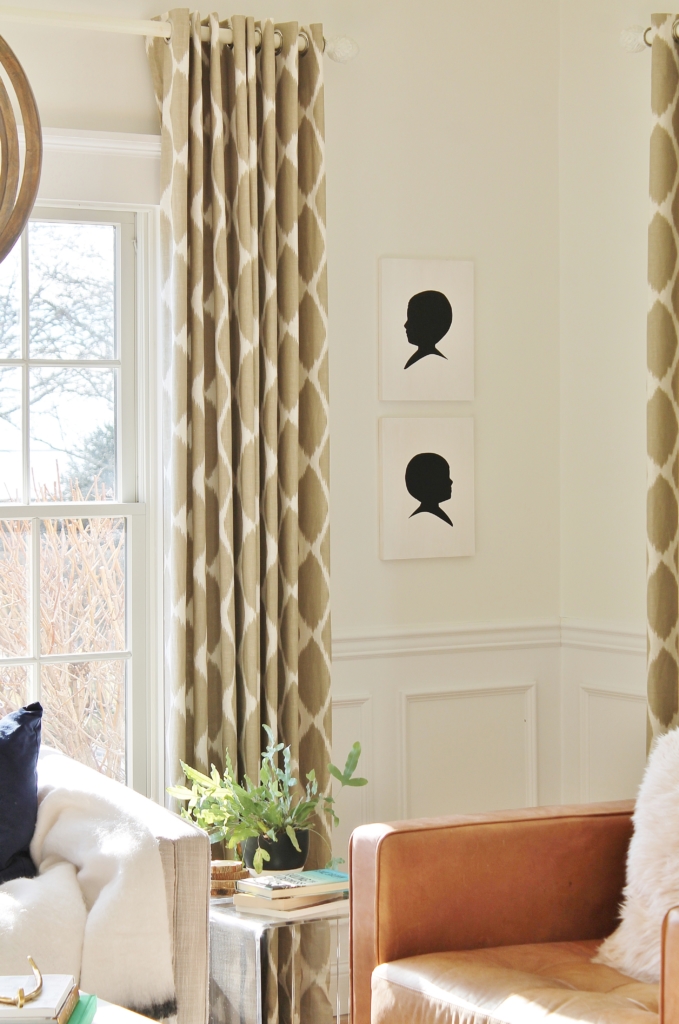
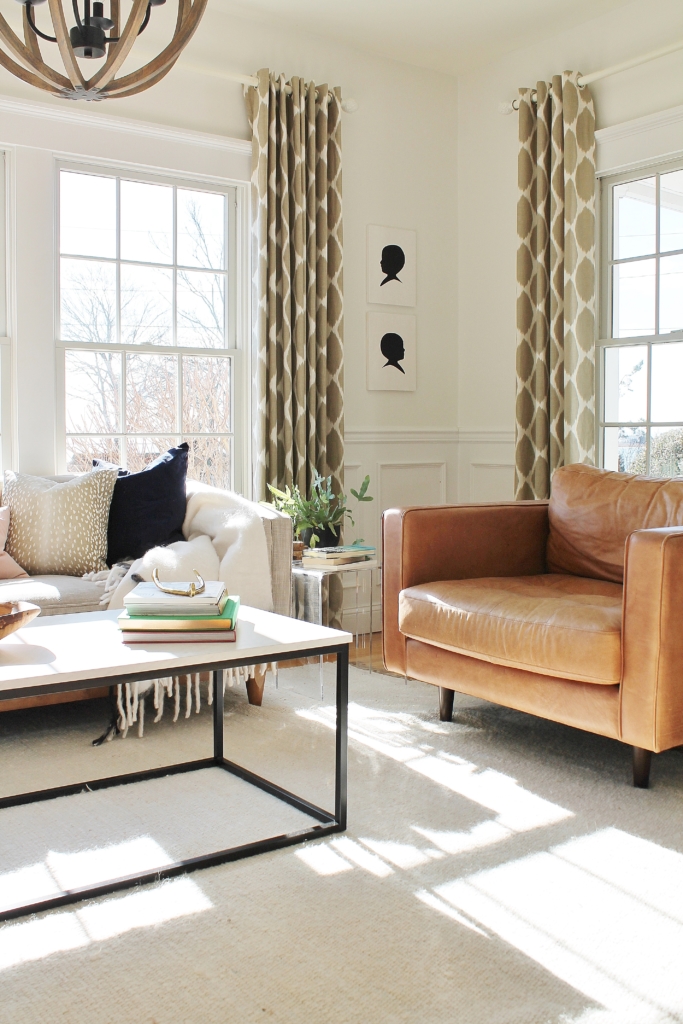
I change out my art ALL the time so this was a fun switch-a-roo for my den. Honestly, my boys are growing up so fast that this is a sweet reminder of them at this age.
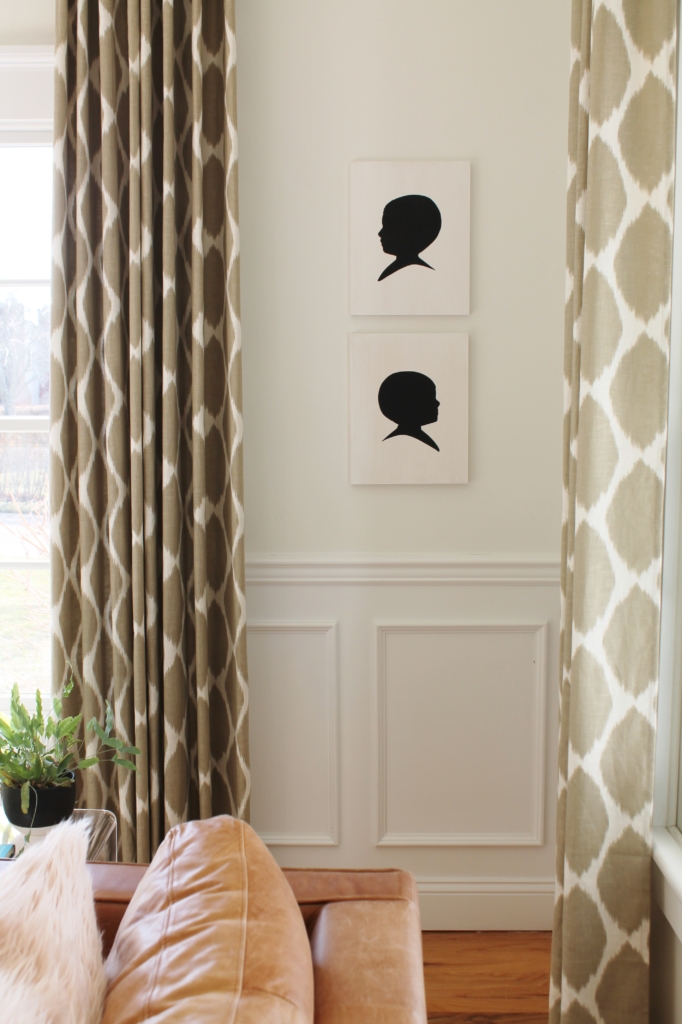
This project was a lot of fun and it has me thinking of some other pieces I could create with chip board and these wood frames. Keep in mind Minwax has a variety of colors for your next project. Always remember to tag me if you share your DIY’s on social media:)!
Have a happy day!
