


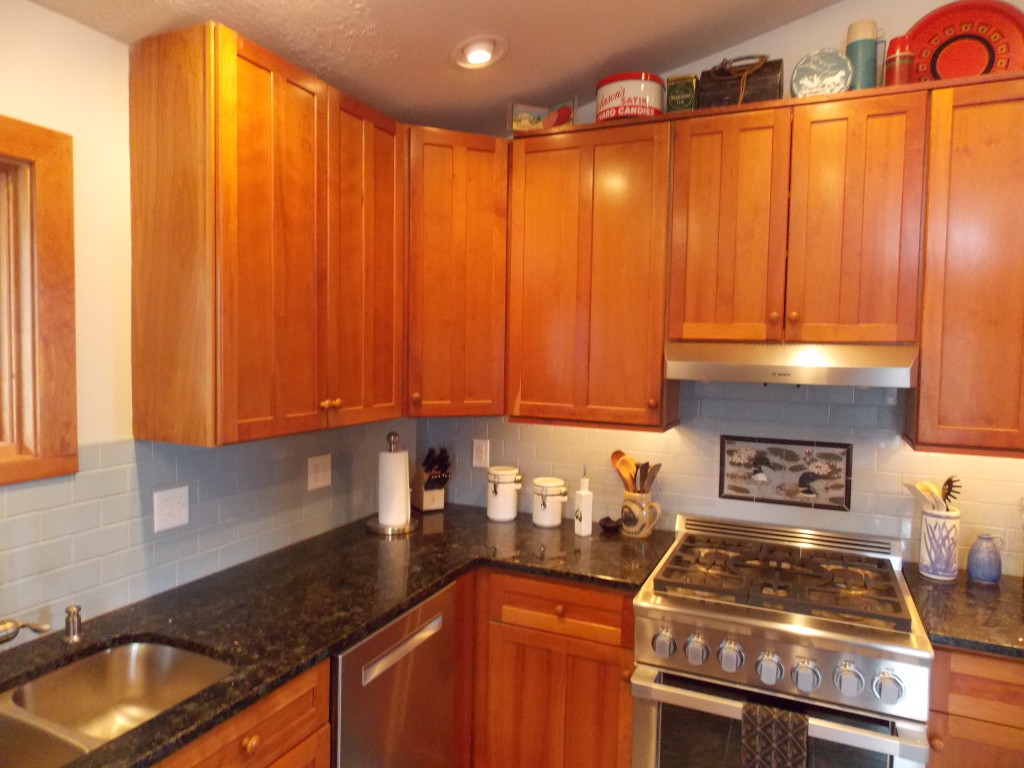
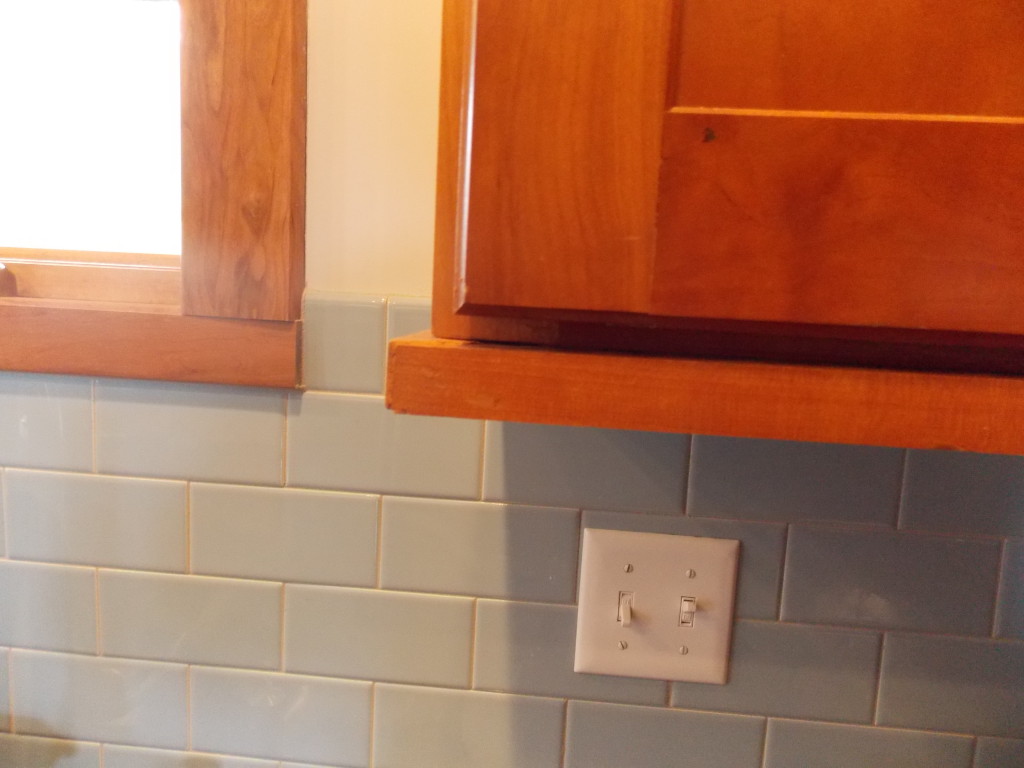
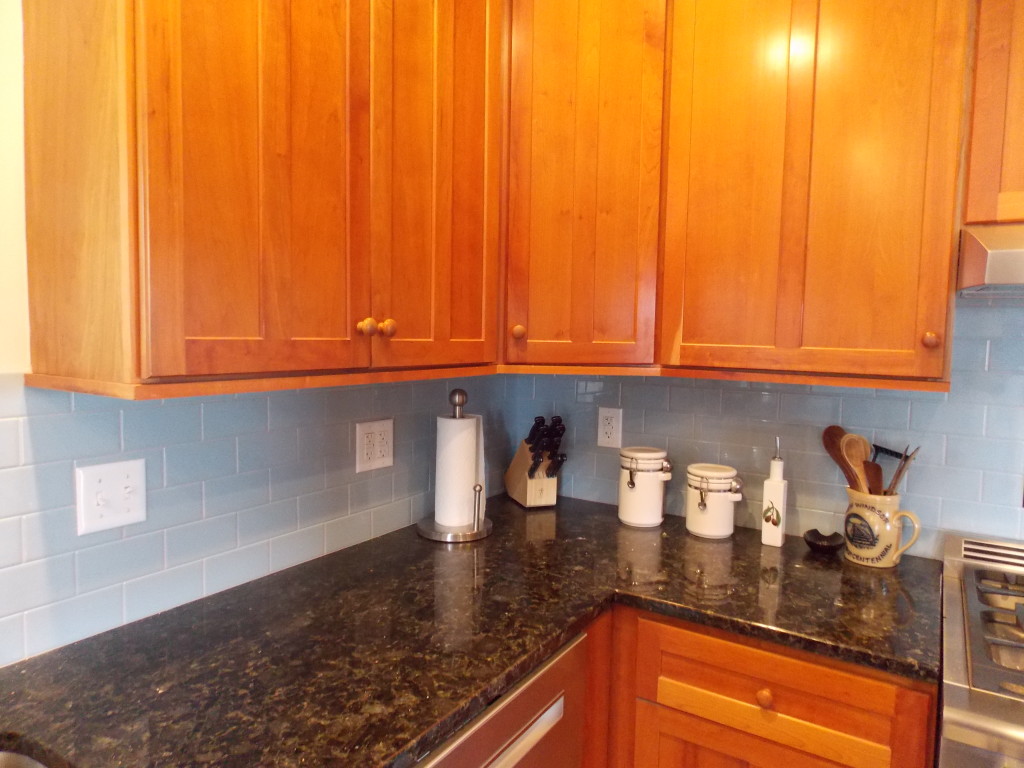
Although it appears in this picture that our kitchen remodeling is complete, if you look closely (as my wife Leigh Ann often does), you will see that there is still some trim missing on the bottom and the top of the three cabinets to the left. So when we had a rainy Saturday, I decided it was finally time to trim out our cabinets. You can take a look below to see how it went.
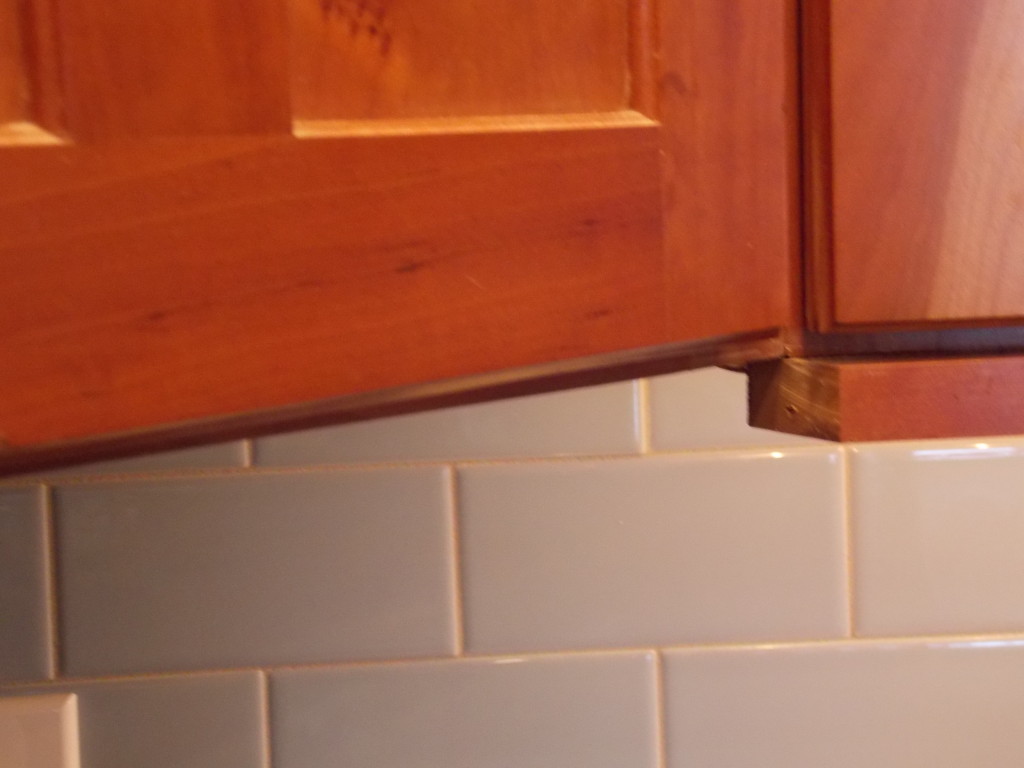
The carpenters who moved our cabinets around had to remove the bottom and top trim boards in the process, but it fell to me to put them back after the tile layer had left.
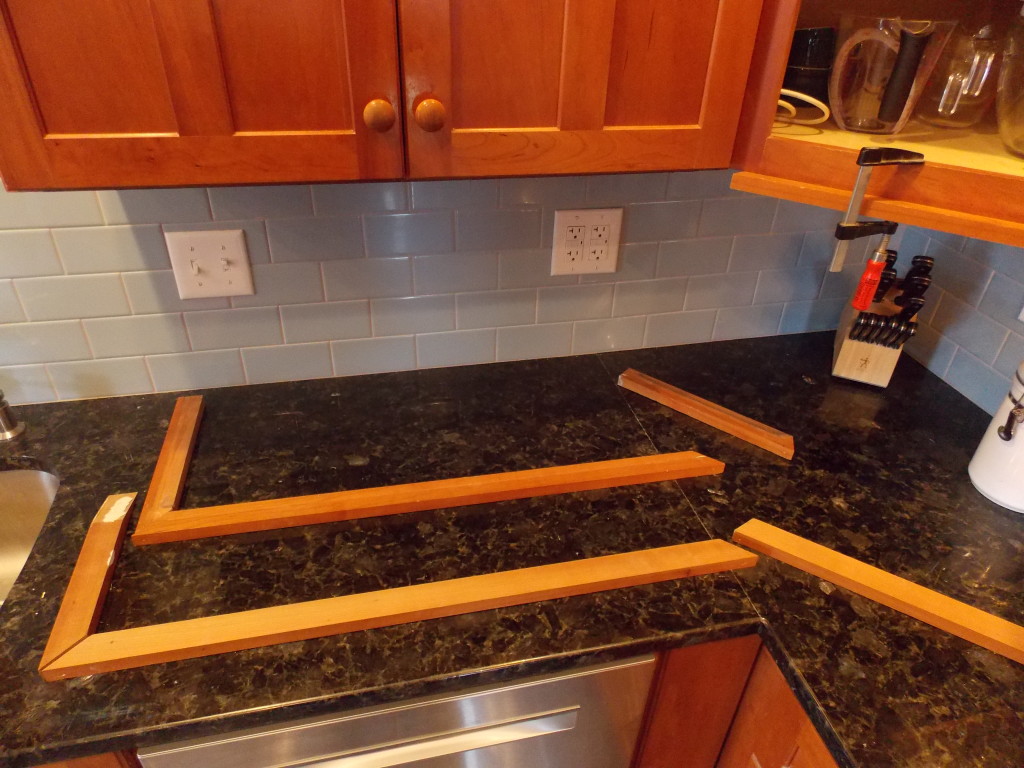
First, I laid out the top and bottom trim pieces in their proper position, and began clamping them in place.
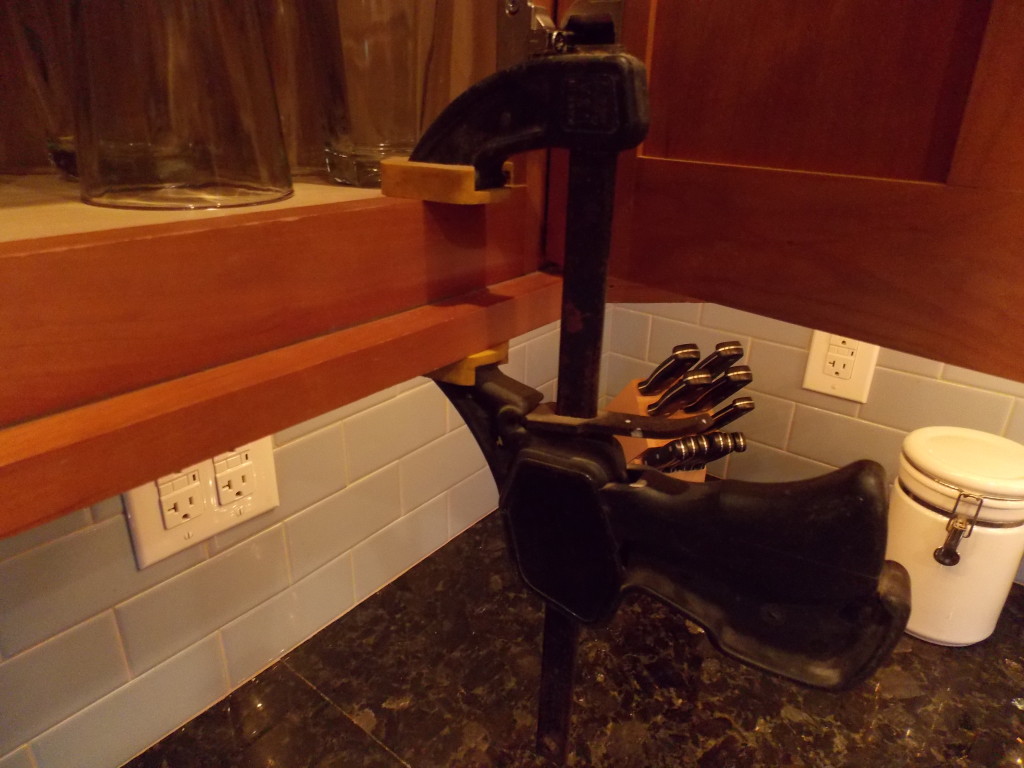
Quick Tip: Always use rubber pads to protect the wood from the jaws of the clamp.
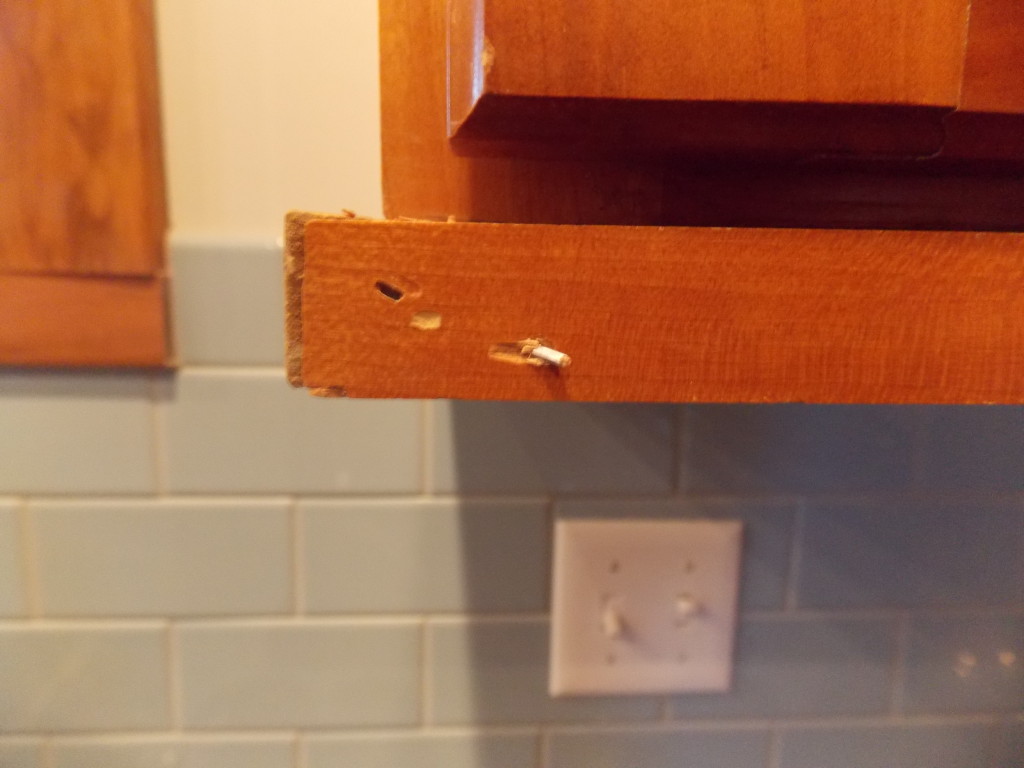
Ouch! Yes, that is one of my nails that made an unscheduled turn and popped out through the front of one of my pieces of trim.
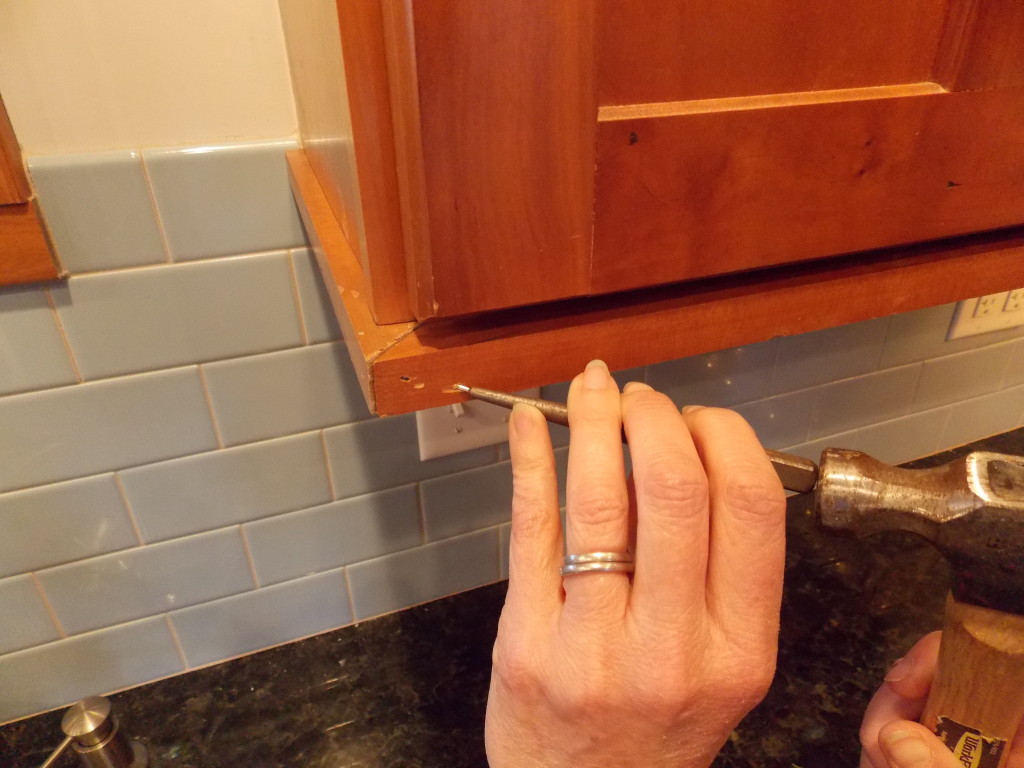
While I was still fuming over my mistake, Leigh Ann calmly picked up a nail punch and a hammer and tapped the nail back out of the board.
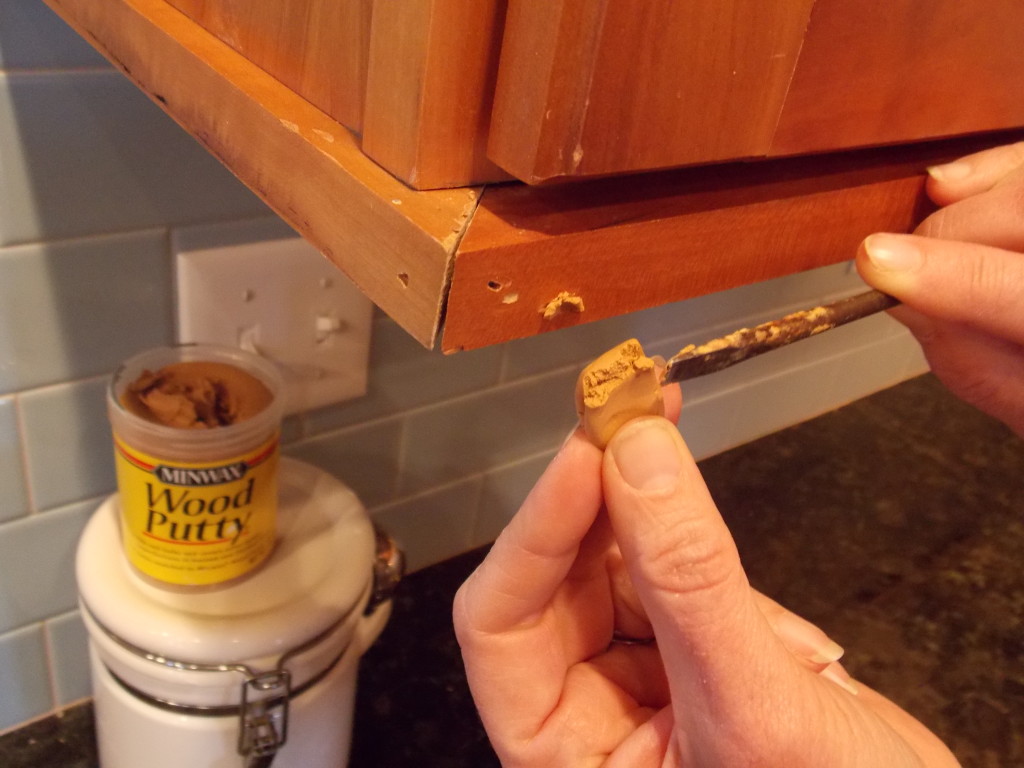
She then picked out the pre-tinted “Colonial Maple” Minwax® Wood Putty® and carefully used the tip of a screwdriver to pack it into the nail hole, as well as into the gap in the joint.
She wiped off the excess Wood Putty® with a paper towel and in no time at all had (once again) fixed my mistake.
Of course, she then left me with the task of nailing up the rest of the trim and filling the nail holes while she took advantage of a break in the clouds to do some work in her gardens. And I think you’ll agree that as minor as a few trim boards can seem, they are the finishing touch in any project.
Until next time,
Thanks for stopping by!
Bruce