


Minwax® is happy to share a post from guest blogger, Erin Spain of DIY on the Cheap. Erin’s blog focuses on attainable design and DIY projects on a budget. See how she created the perfect table for her new home with a few bargain finds, some TLC and of course Minwax® products!
When we moved into our new home earlier this year, we finally had an eat-in kitchen, which our previous home lacked. We temporarily began using my husband’s old kitchen table left over from his bachelor days as our kitchen table until we could find something more permanent. Earlier this year, we found the perfect table: an antique pedestal table in need of some TLC. It’s hard to tell in the photos, but there were many nicks, scratches, discolorations and cracks.
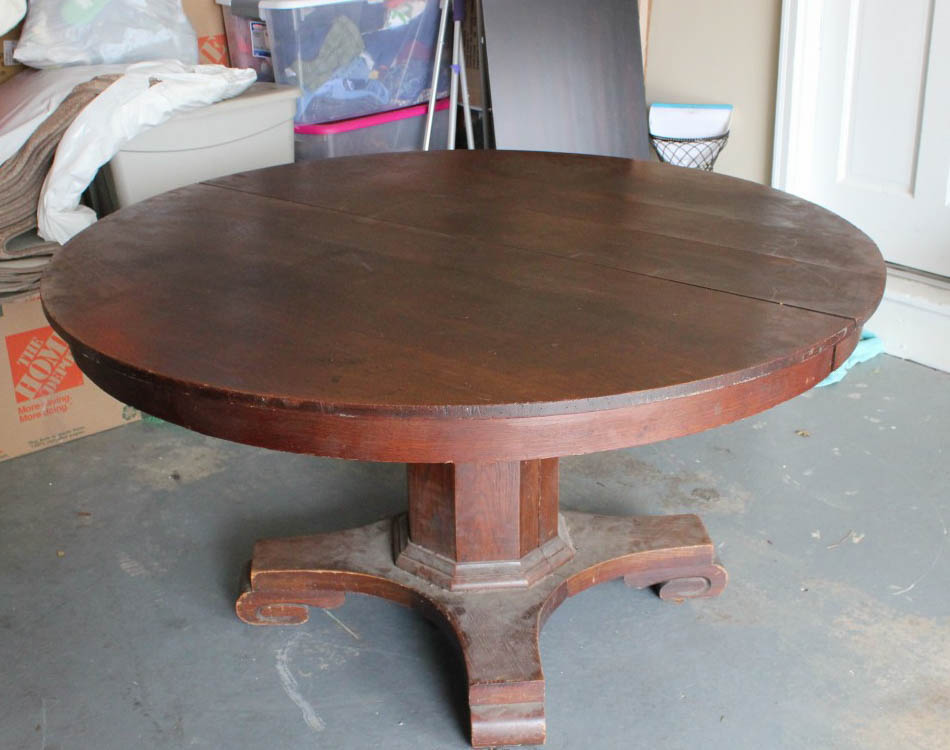
The shape and scale was perfect, but we knew there were issues that would need to be repaired. In light of the damage, we decided to stain the top and paint the base. We made this choice because I love the two-toned look, and if we ever change our minds down the line then we can simply strip off the paint and refinish it again. The painted base contrasts nicely with our wood floors though, so I am happy with our decision. This project was a team effort between my husband and I. I agreed to fill the nicks and cracks in the wood and strip the finish off the top with a sander, as well as lightly sand and paint the base, and he agreed to stain and finish the top since I am pregnant and need to be careful around chemicals. The first step was filling in the cracks and sanding the entire table, making sure to remove all of the finish from the top. Chemical stripping agents work great, but due to my pregnancy I opted to sand it down instead, removing the sawdust afterwards with a shop vac and tack cloth.

Then, we used Minwax® Pre-Stain Wood Conditioner on the tabletop to ensure an even stain application.
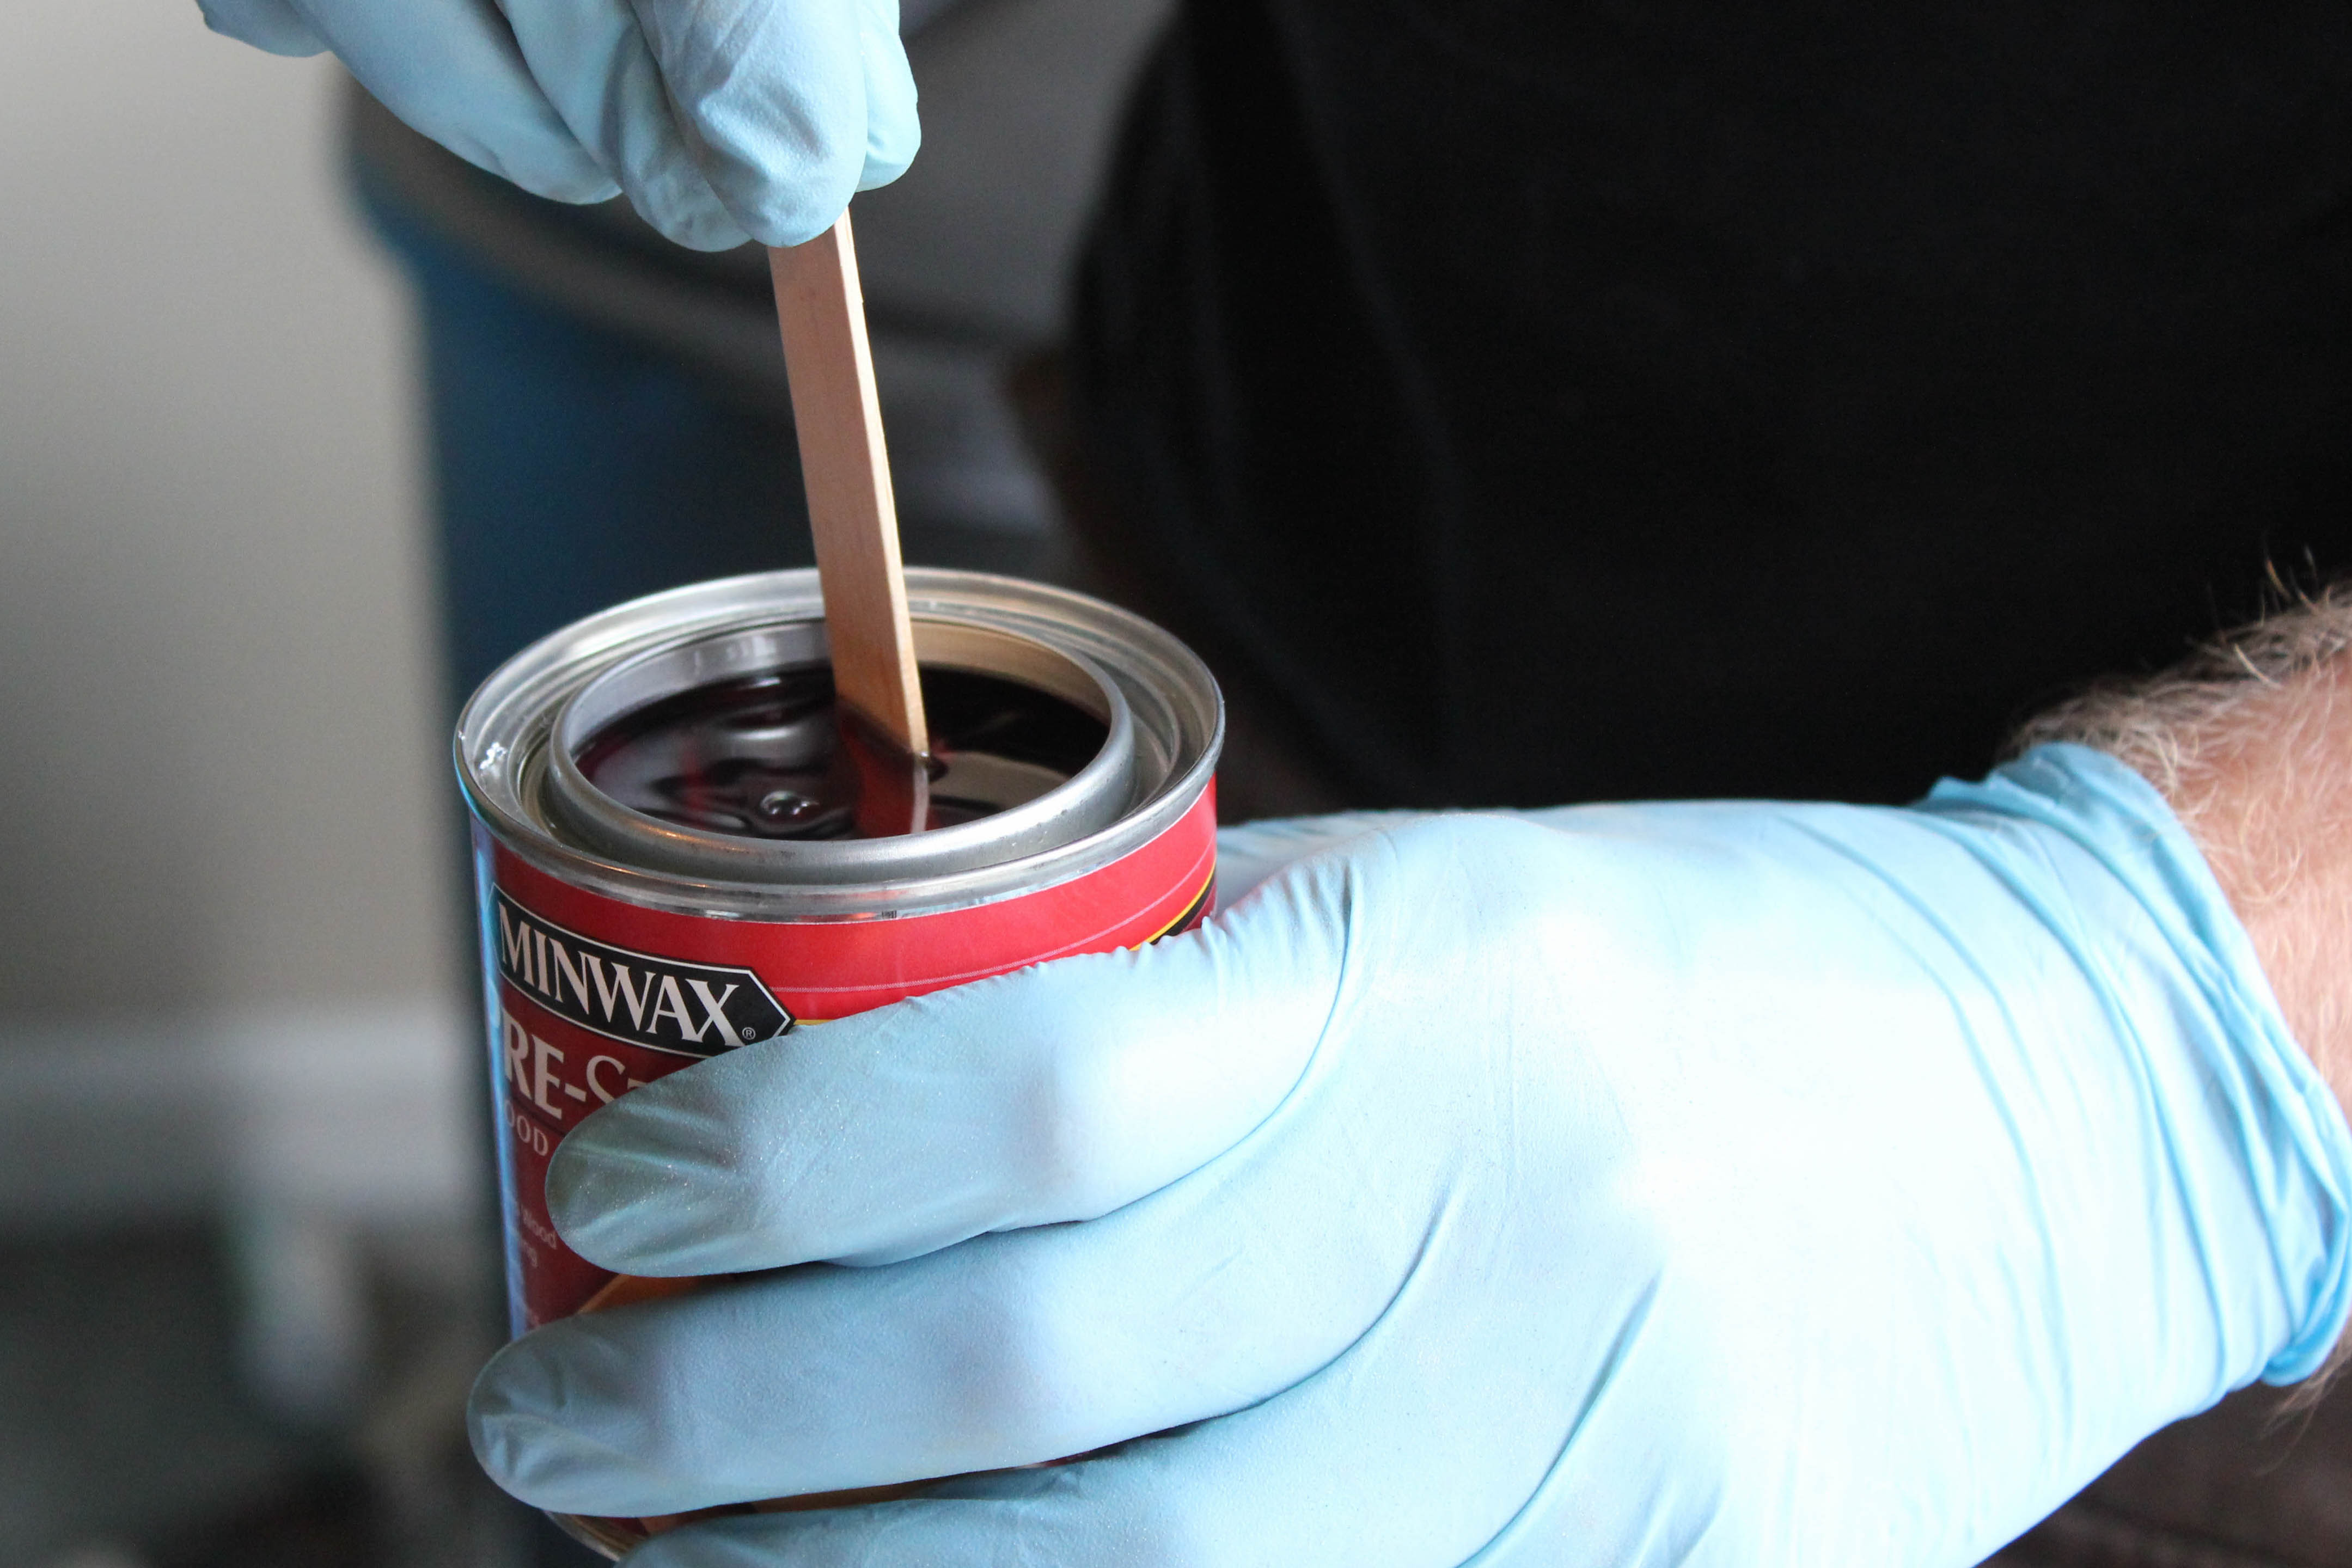
We allowed it to absorb and dry, and then applied Minwax® Wood Finish™ in Dark Walnut.
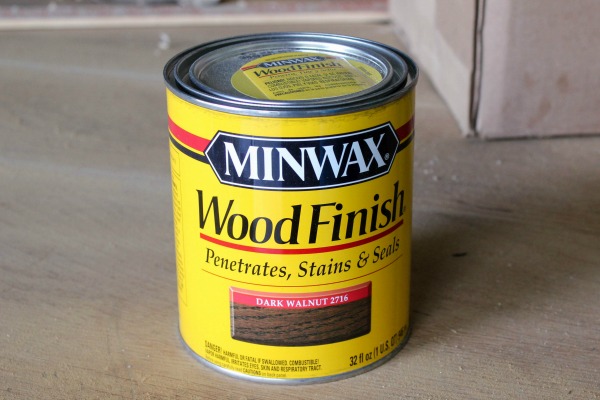
This is by far one of my favorite colors of stain. It is absolutely beautiful.
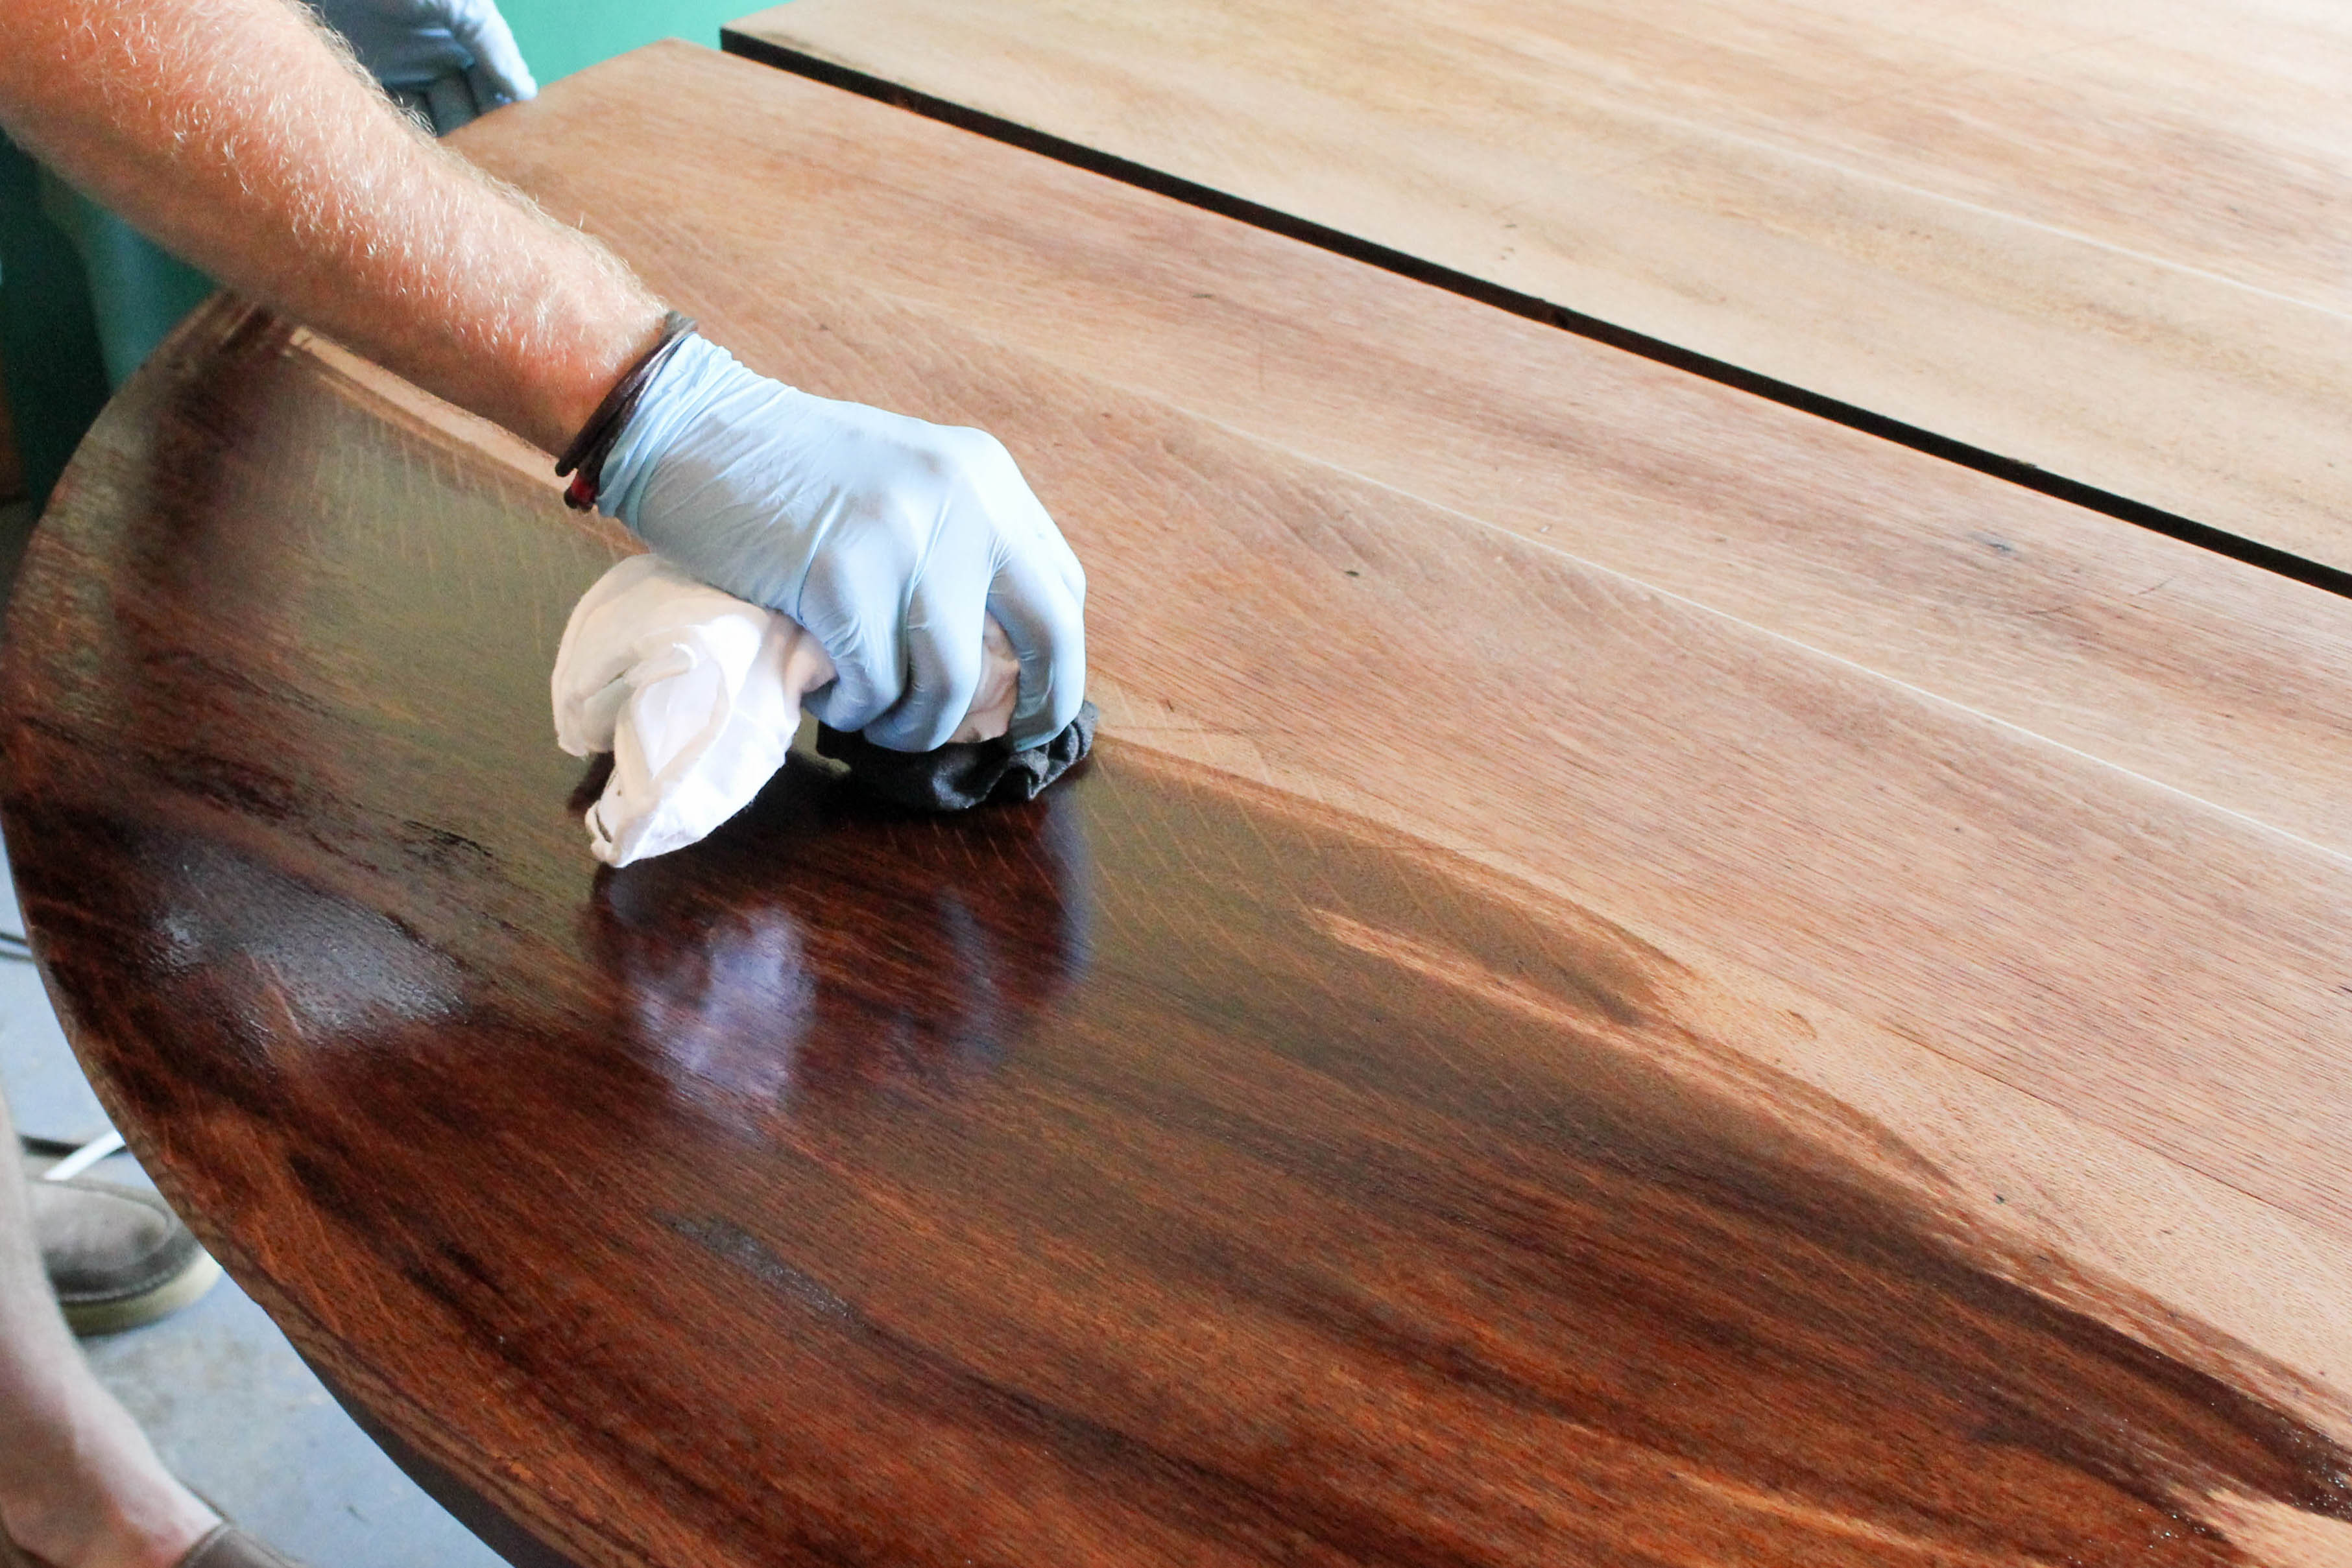
We applied a second coat a few hours later, and then allowed it to dry overnight.
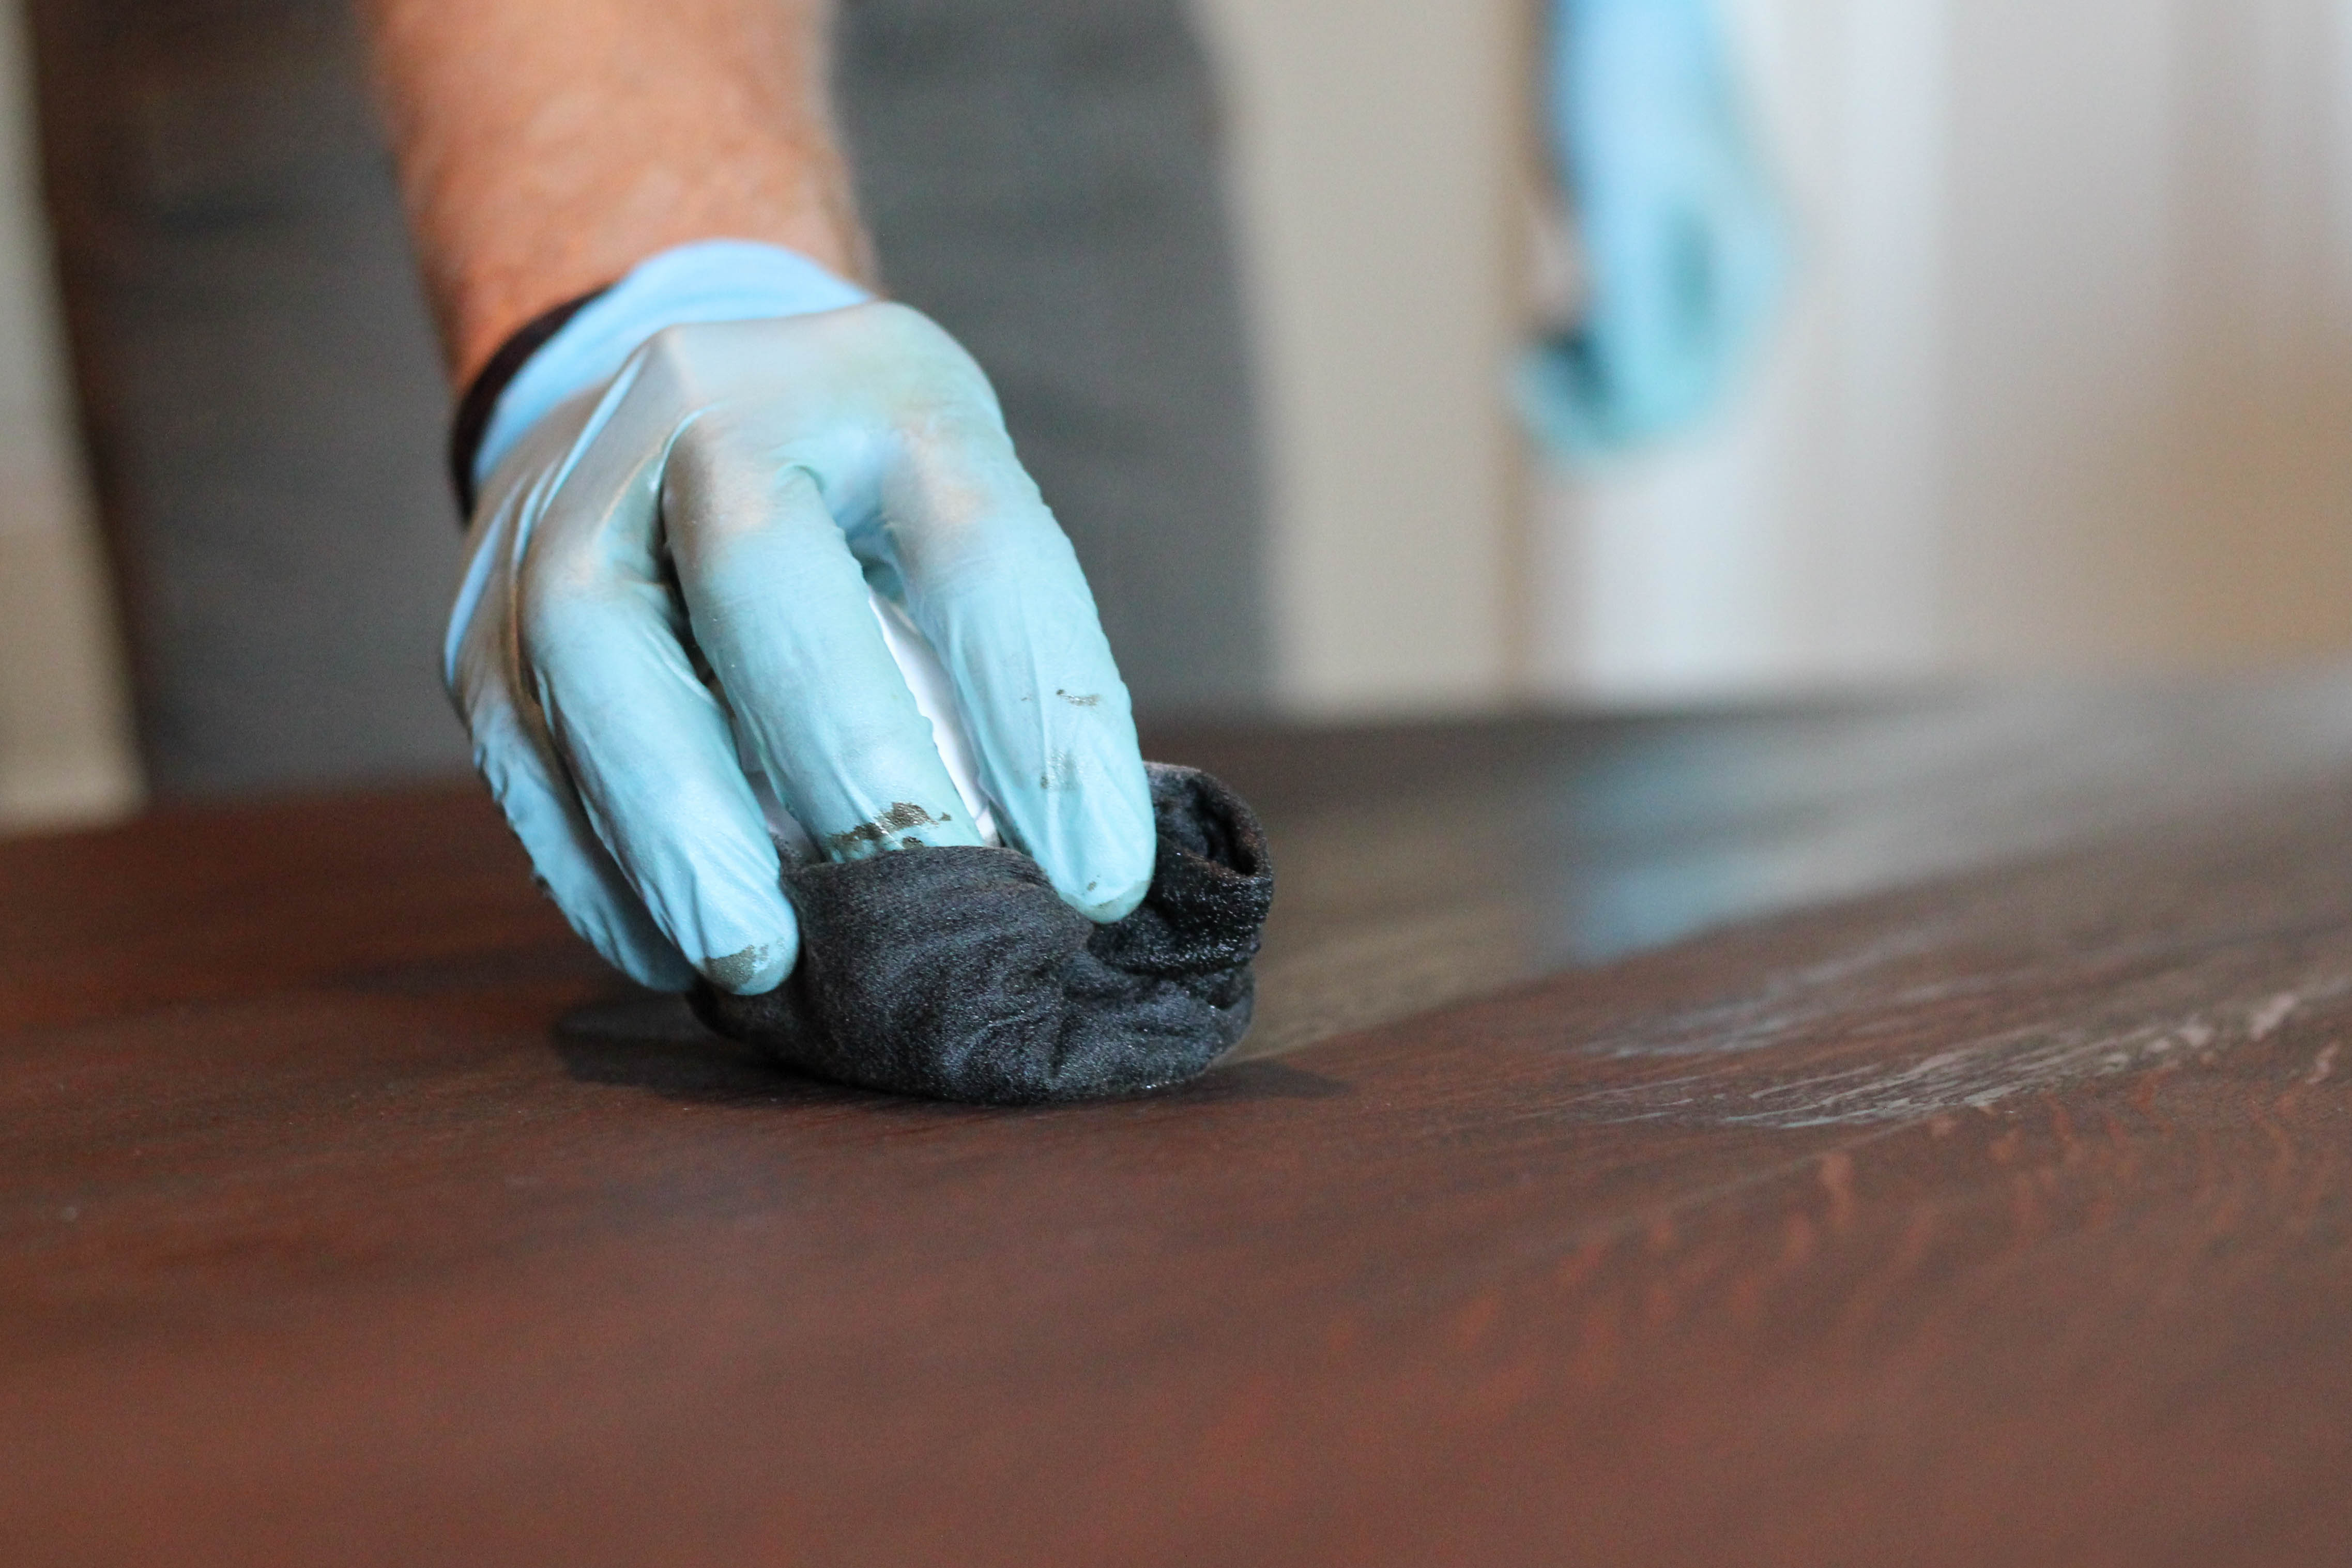
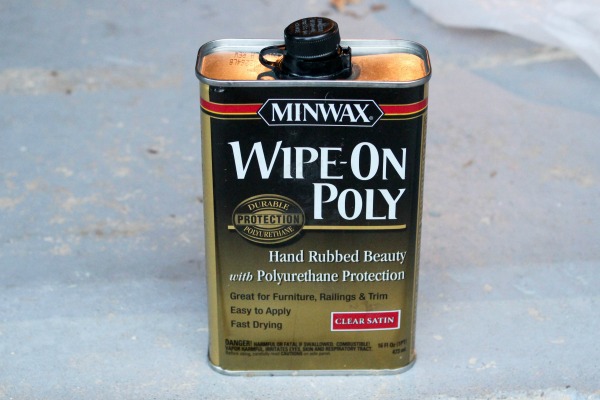
We decided to seal it with Minwax® Wipe-On Poly in a satin finish for added protection, and I love the hand-rubbed look that it provides.
We ended up applying a total of three coats since this table will see plenty of wear and tear thanks to our two young boys.
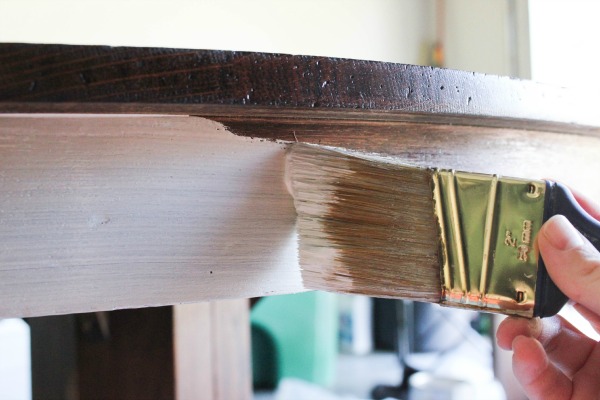
After the top had been sealed and dried thoroughly, I sanded the base and applied one coat of primer and two coats of white paint in a semi-gloss finish.
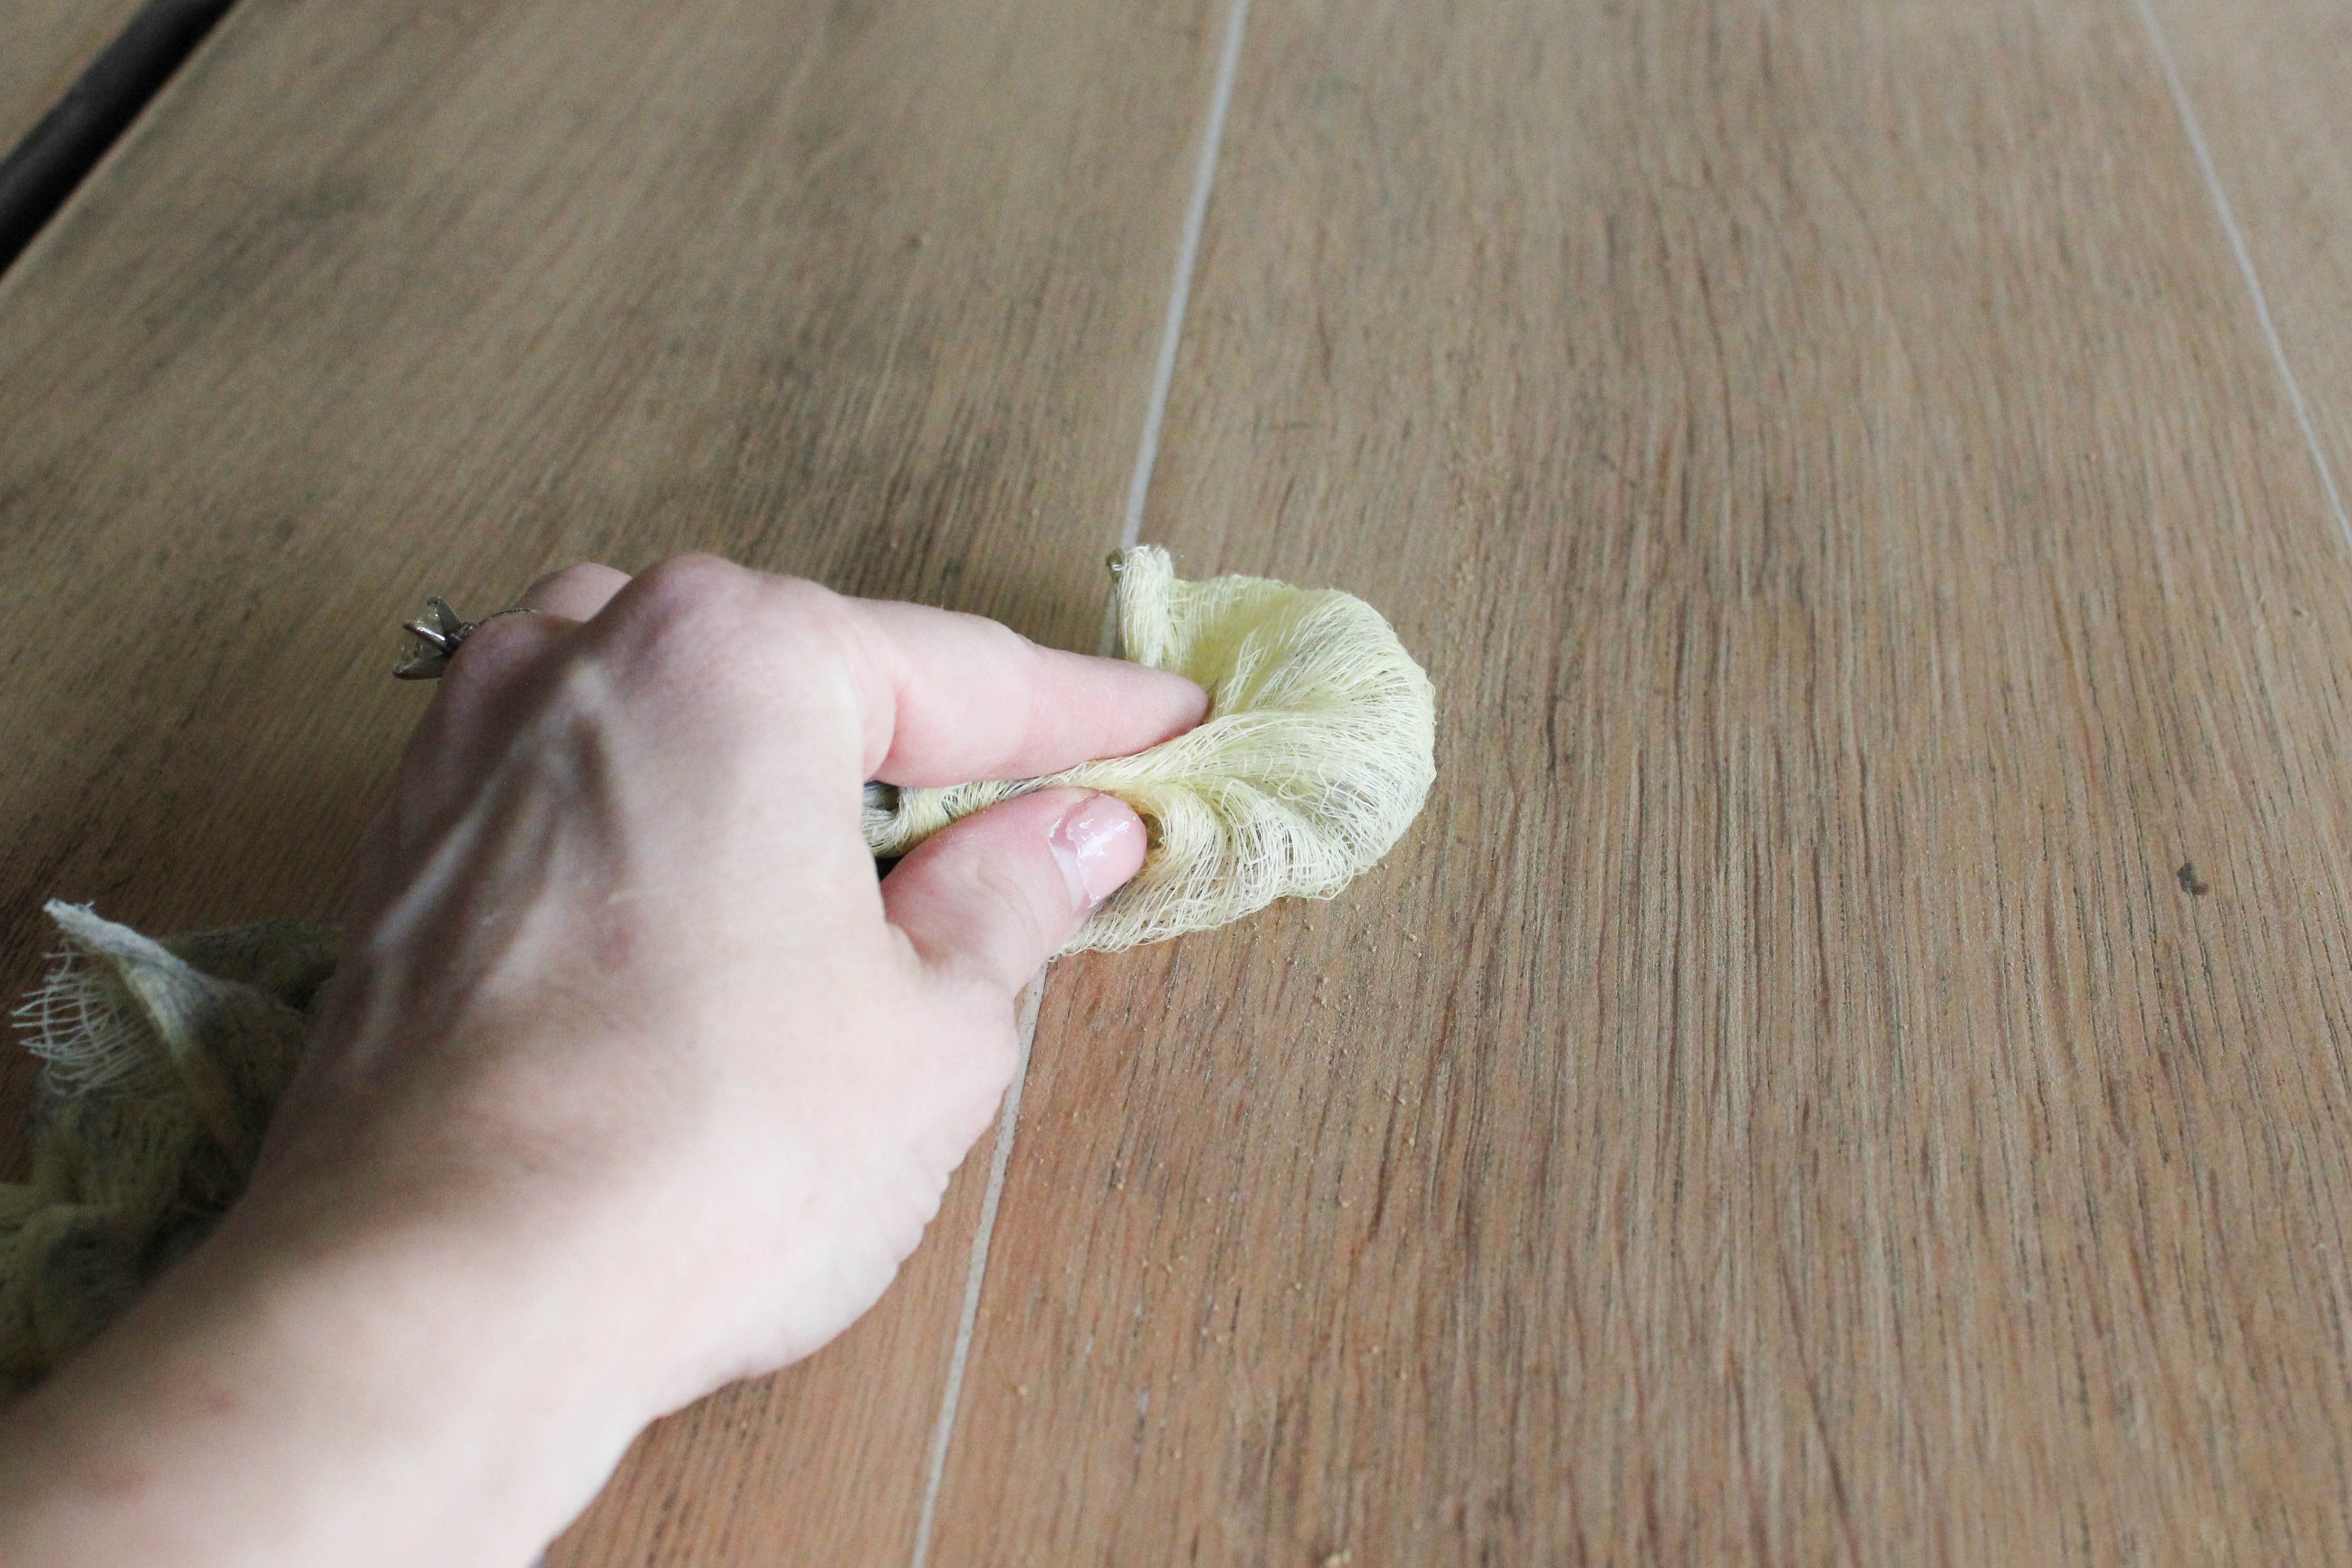
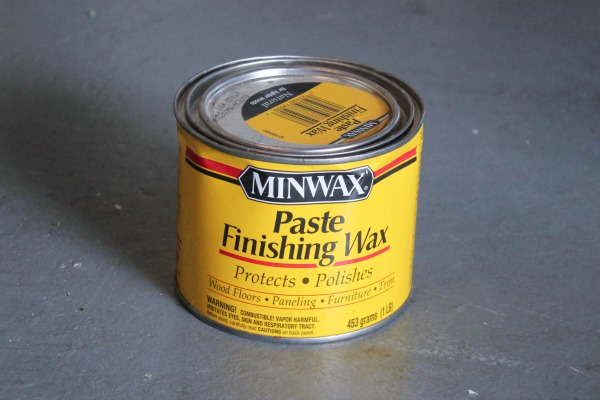
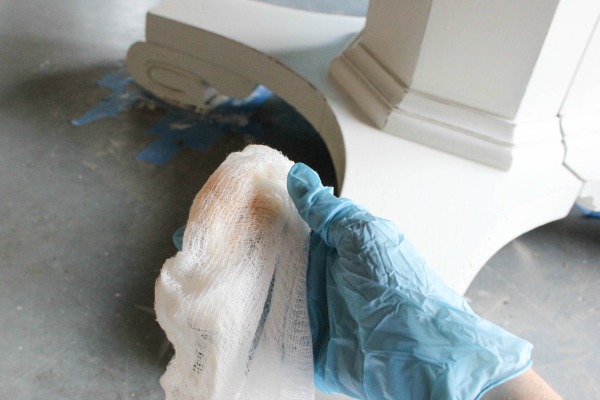
I lightly distressed the edges with sandpaper, and then sealed it with Minwax® Paste Finishing Wax in Natural.
This is one of my favorite finishes for painted furniture. It adds just enough protection, and you have some control over how “glossy” it looks depending on how much you buff it. We applied the paste finishing wax using a cheesecloth, and then buffed it with a clean white cloth to finish it off.
I love that we were able to give this old table a new life, and although it was dusty, chipped, cracked and scratched when we found it, we saw its potential.
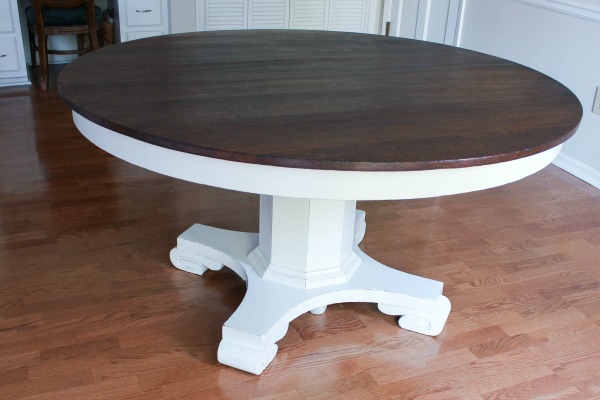
It’s a beautiful table, and we look forward to sitting around it and creating many wonderful memories as a family.
Find more of guest blogger Erin Spain’s projects at DIY on the Cheap.
