- Tools Needed: Minwax True Black Wood Finish, Minwax Simply White Wood Finish, Minwax Stainable Wood Filler, Minwax Polycrylic Protective Finish, wall brackets, drill, level, tape measure
- Estimated Cost: 2″x18″x8″ poplar and birch wood ($15 per shelf), wall brackets ($5 per pair)
- Estimated Work Time: 1 hour per shelf (excludes drying time)
April is National Woodworking Month, so I couldn’t think of a better time to try out a couple of new Minwax stain colors — True Black and Simply White — while also adding some more display space to our family room with four “floating” shelves.
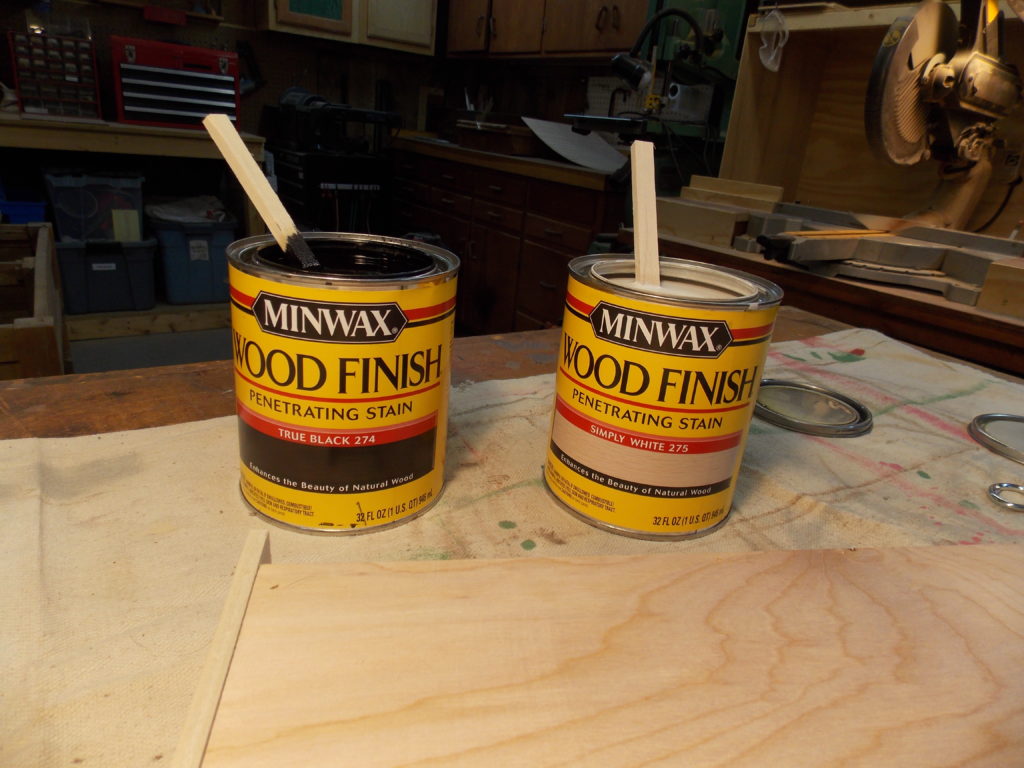
Follow along with me as I piece together these unique shelves using the steps below.
1. Measure and cut wood slabs
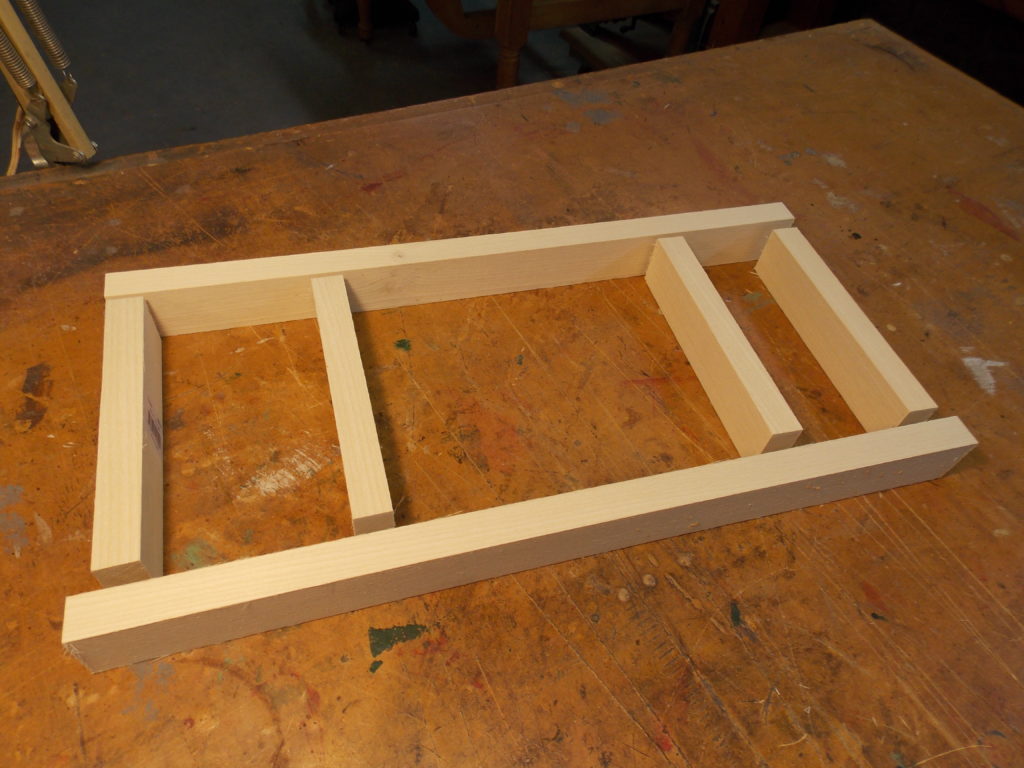
I wanted our shelves to look “hefty,” but a heavy, two-inch slab of wood would pull the hidden wall brackets right off the wall. Instead, I created a hollow shelf by cutting and assembling, using glue and nails, a framework of 2-inch wide, lightweight pieces of poplar. Your width and length will be determined by the location on your wall, plus what looks best. Mine is 8″ deep and 18″ long.
2. Assemble hollow shelves with internal supports
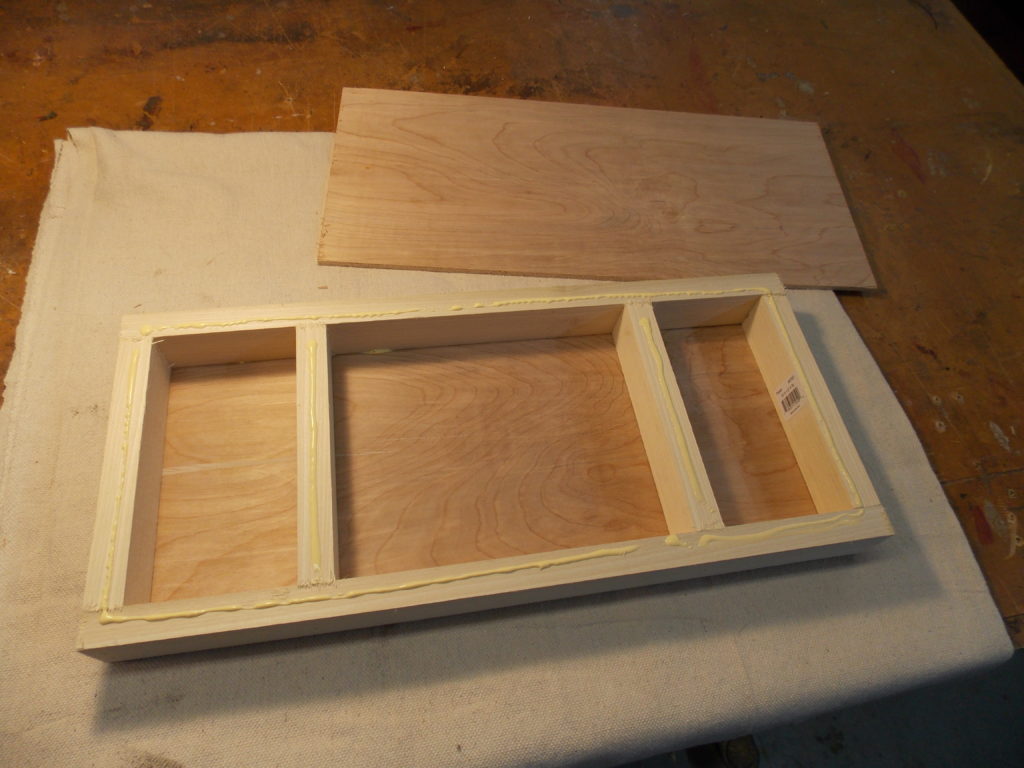
I then cut, glued, and nailed two pieces of quarter-inch birch plywood to the framework to create my first hollow shelf. The two internal supports are located where my wall brackets will be positioned (see Step 3).
3. Drill holes for wall brackets
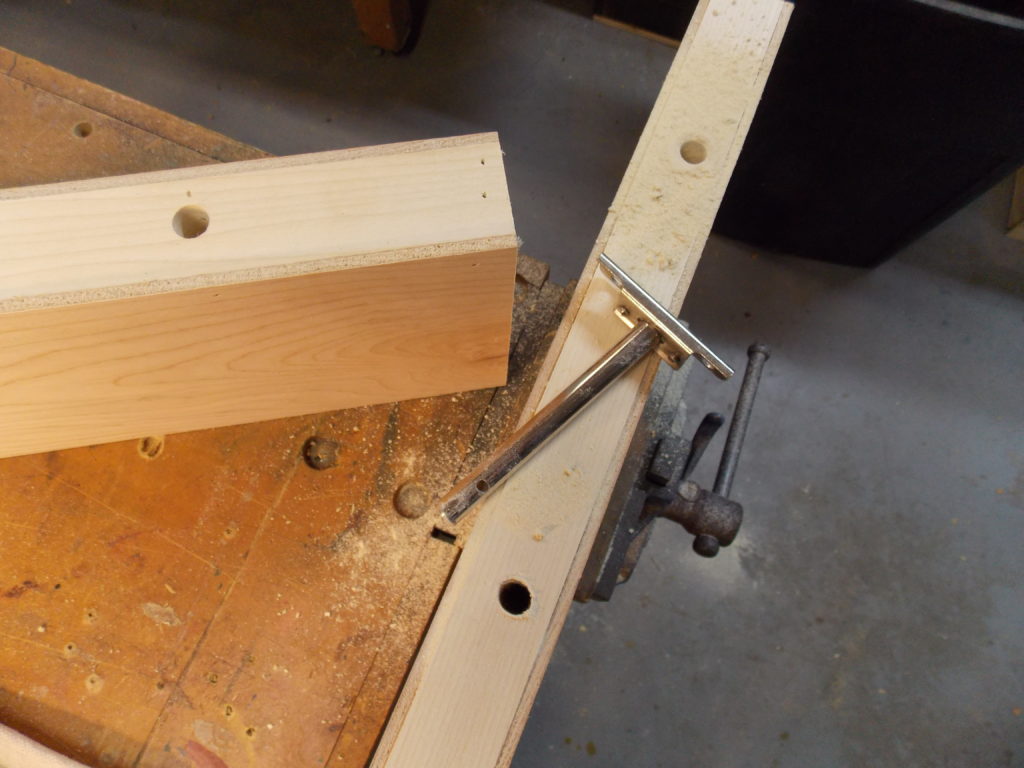
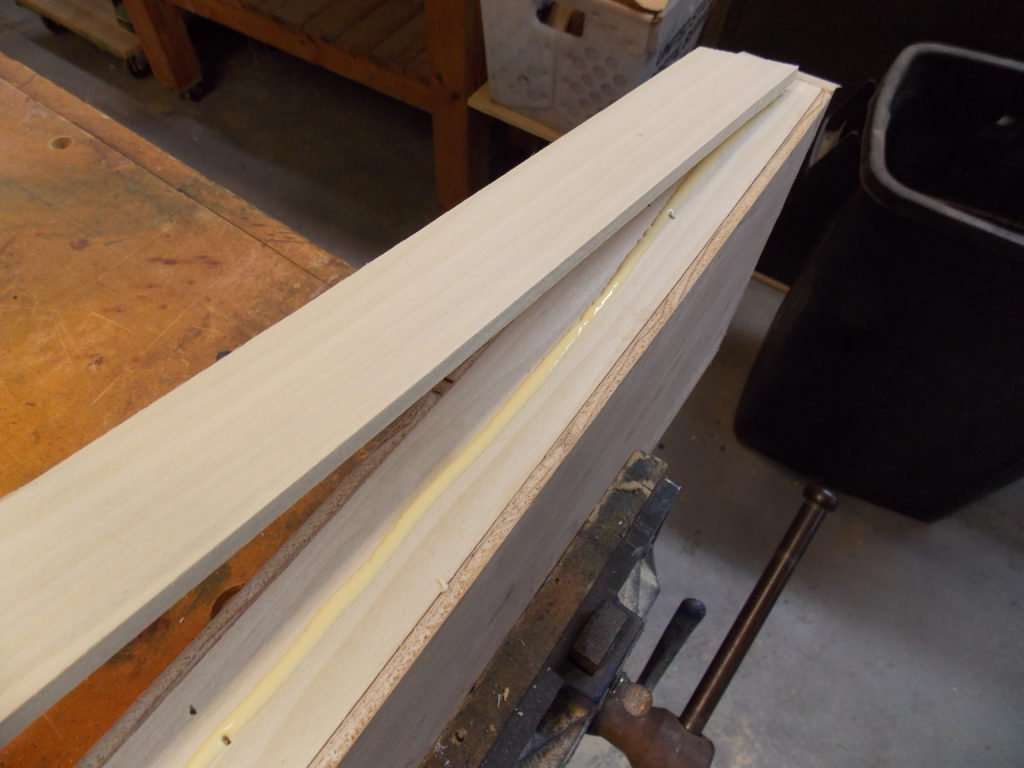
On the back side of each shelf I drilled two holes; the diameter and depth were determined by the size of the special wall brackets. You want to make sure each bracket hole is drilled into one of the internal framework pieces (see picture below).
4. Hide the unsightly edges
To hide the unsightly edges of the birch plywood top and bottom, I glued and nailed thin strips of poplar to the front and two sides.
5. Fill shallow holes with Minwax Stainable Wood Filler
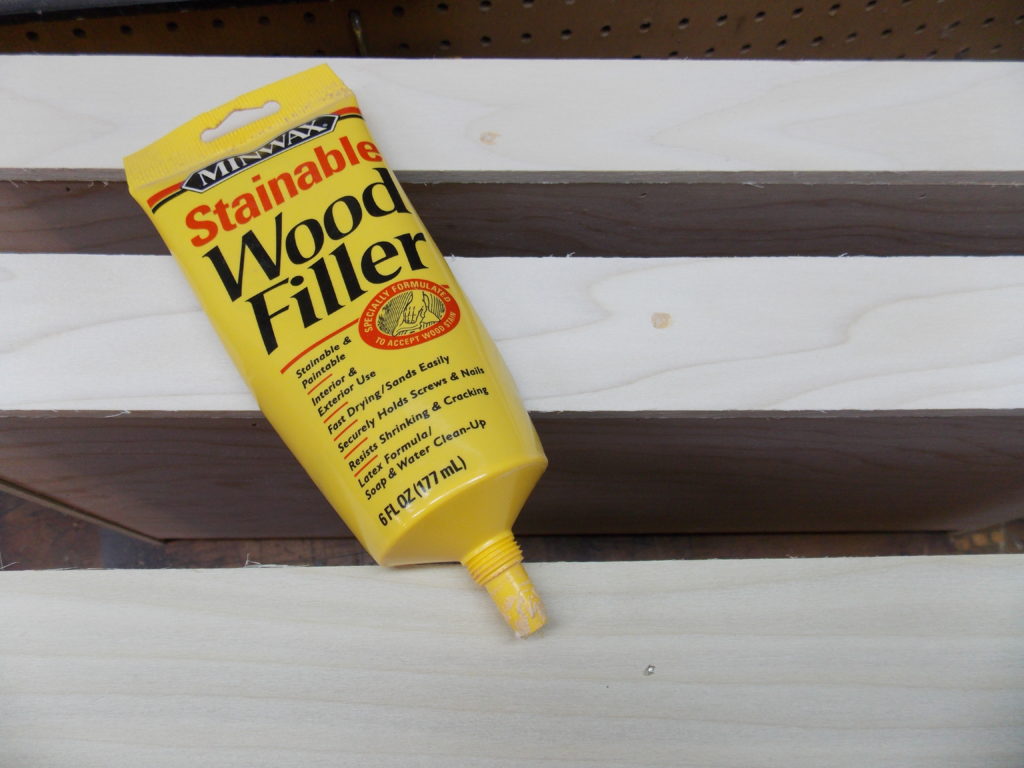
After countersinking the nails, I filled the shallow holes with Minwax Stainable Wood Filler. As soon as it dried, I sanded it flush with the wood.
6. Stain the shelves
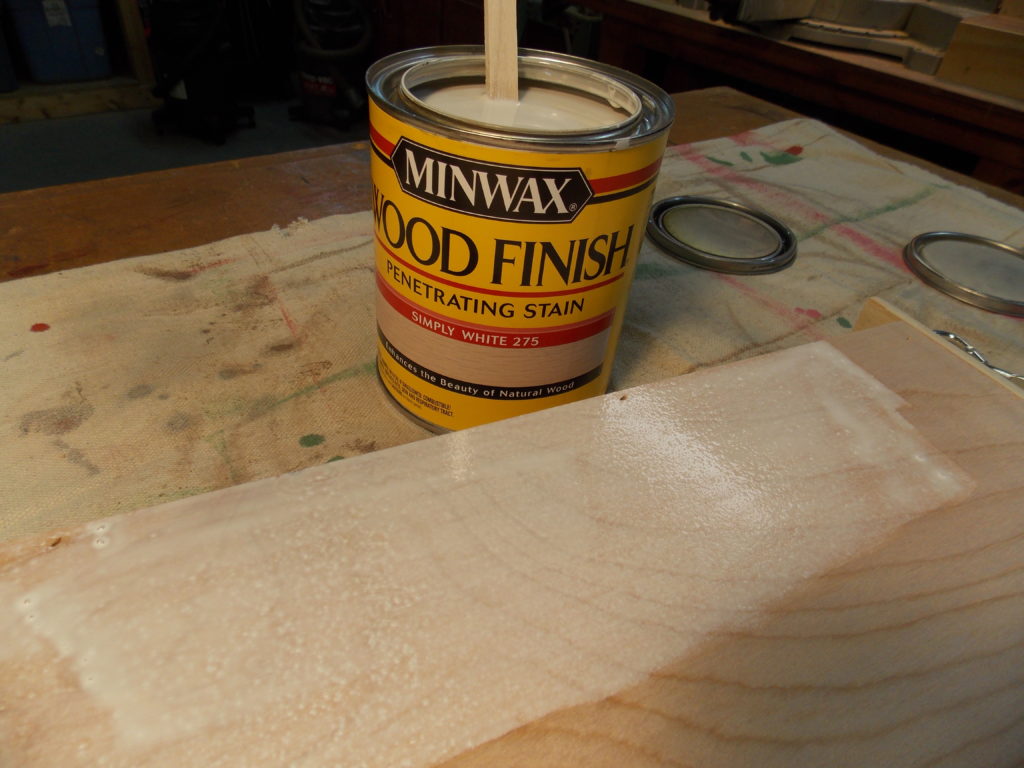
I then stained two of the shelves with Minwax Simply White in the Wood Finish line of stains. After letting the stain soak into the wood for five minutes, I wiped off the excess stain with a clean cloth. I then repeated these steps using True Black Wood Finish Stain on shelves number three and four.
Pro-tip: You can also custom mix more than one Minwax wood stain to get the perfect color ideal for your space.
7. Spray the shelves with Minwax Polycrylic Protective Finish
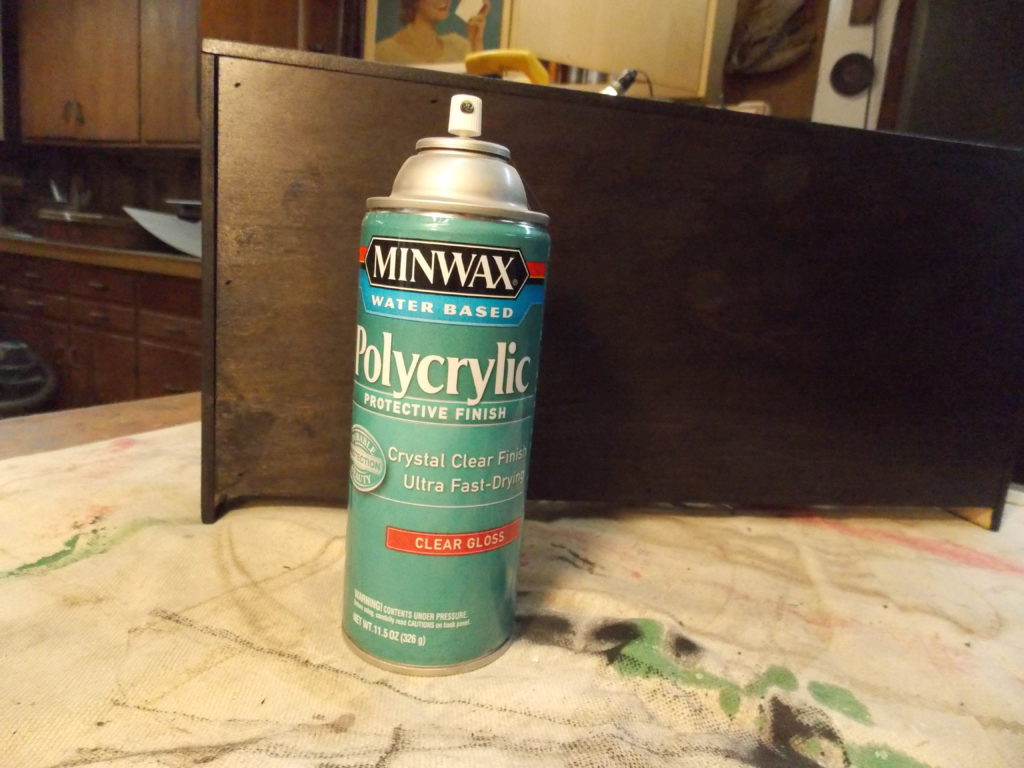
Once dry, I sprayed three coats of Minwax Polycrylic Protective Finish over all four shelves.
8. Level and measure placement for wall brackets designed for floating shelves
I next used a level and tape measure to determine the location of the special wall brackets designed for floating shelves, then secured them with screws. As you can see, each bracket is adjustable — and won’t be visible once the shelves are in place, hence the name “floating” shelves.
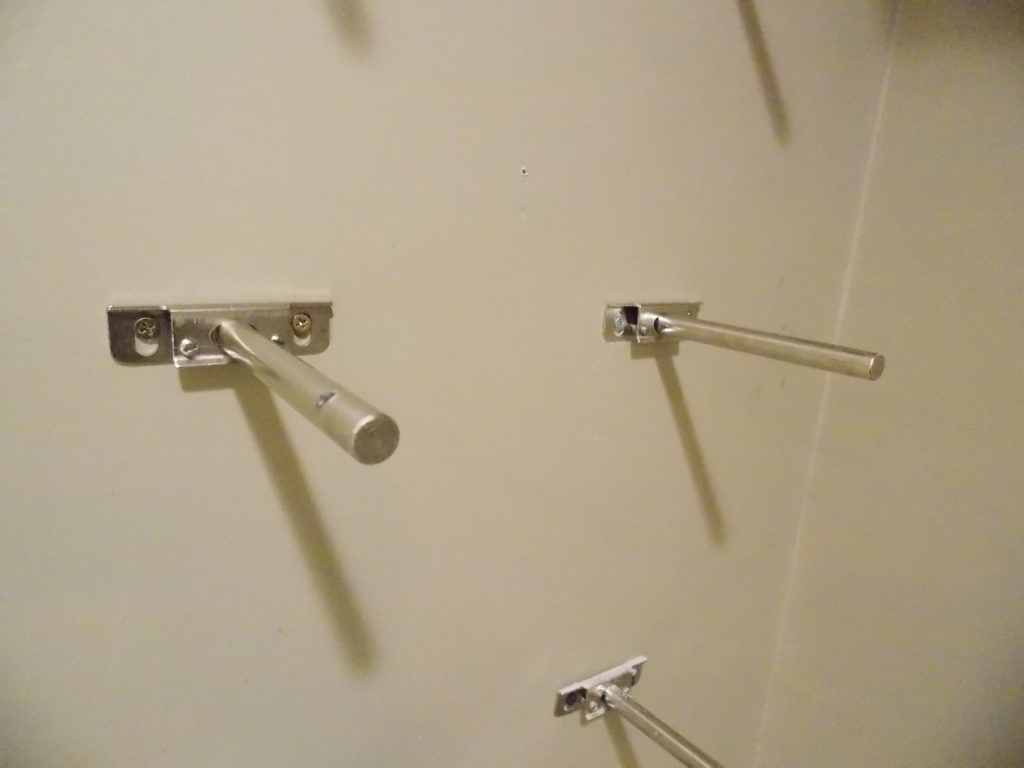
9. Slide the hollow shelves onto the wall brackets
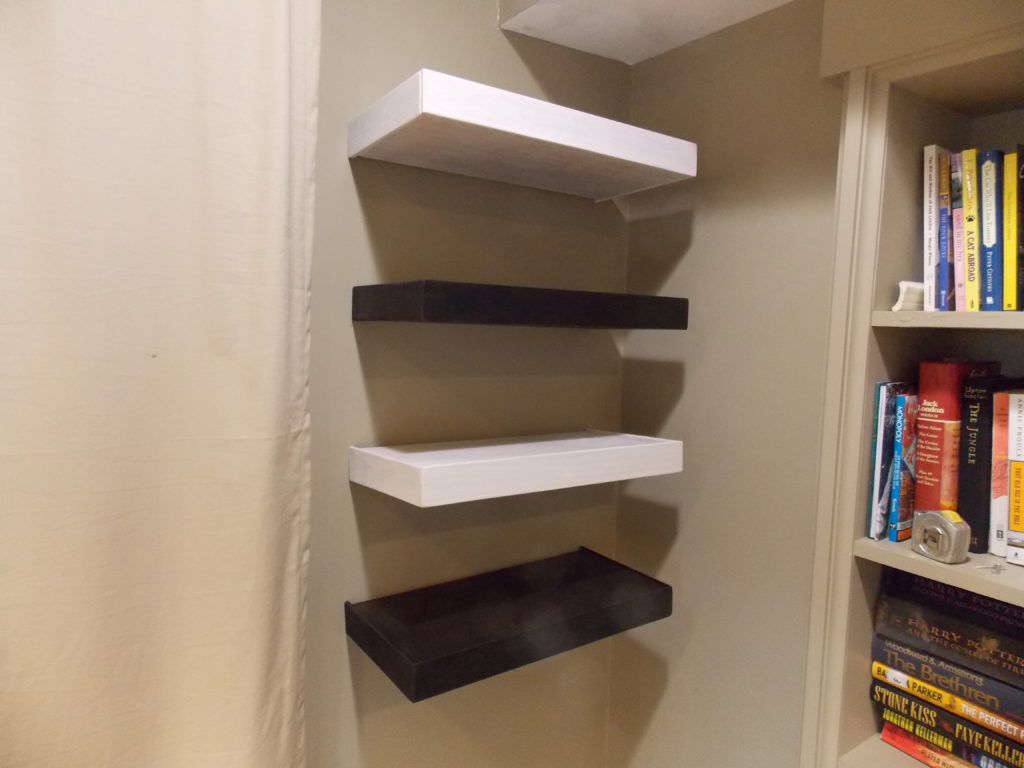
Then it was simply a matter of sliding each hollow “floating” shelf onto the wall brackets — and letting Leigh Ann know she could begin filling them up.
Until next time,
Thanks for stopping by!
Bruce


