Tools Needed:
- Minwax Wood Finish
- Minwax Fast-Drying Polyurethane
- Tape Measure
- Saw
- Drill
- Purdy Brush
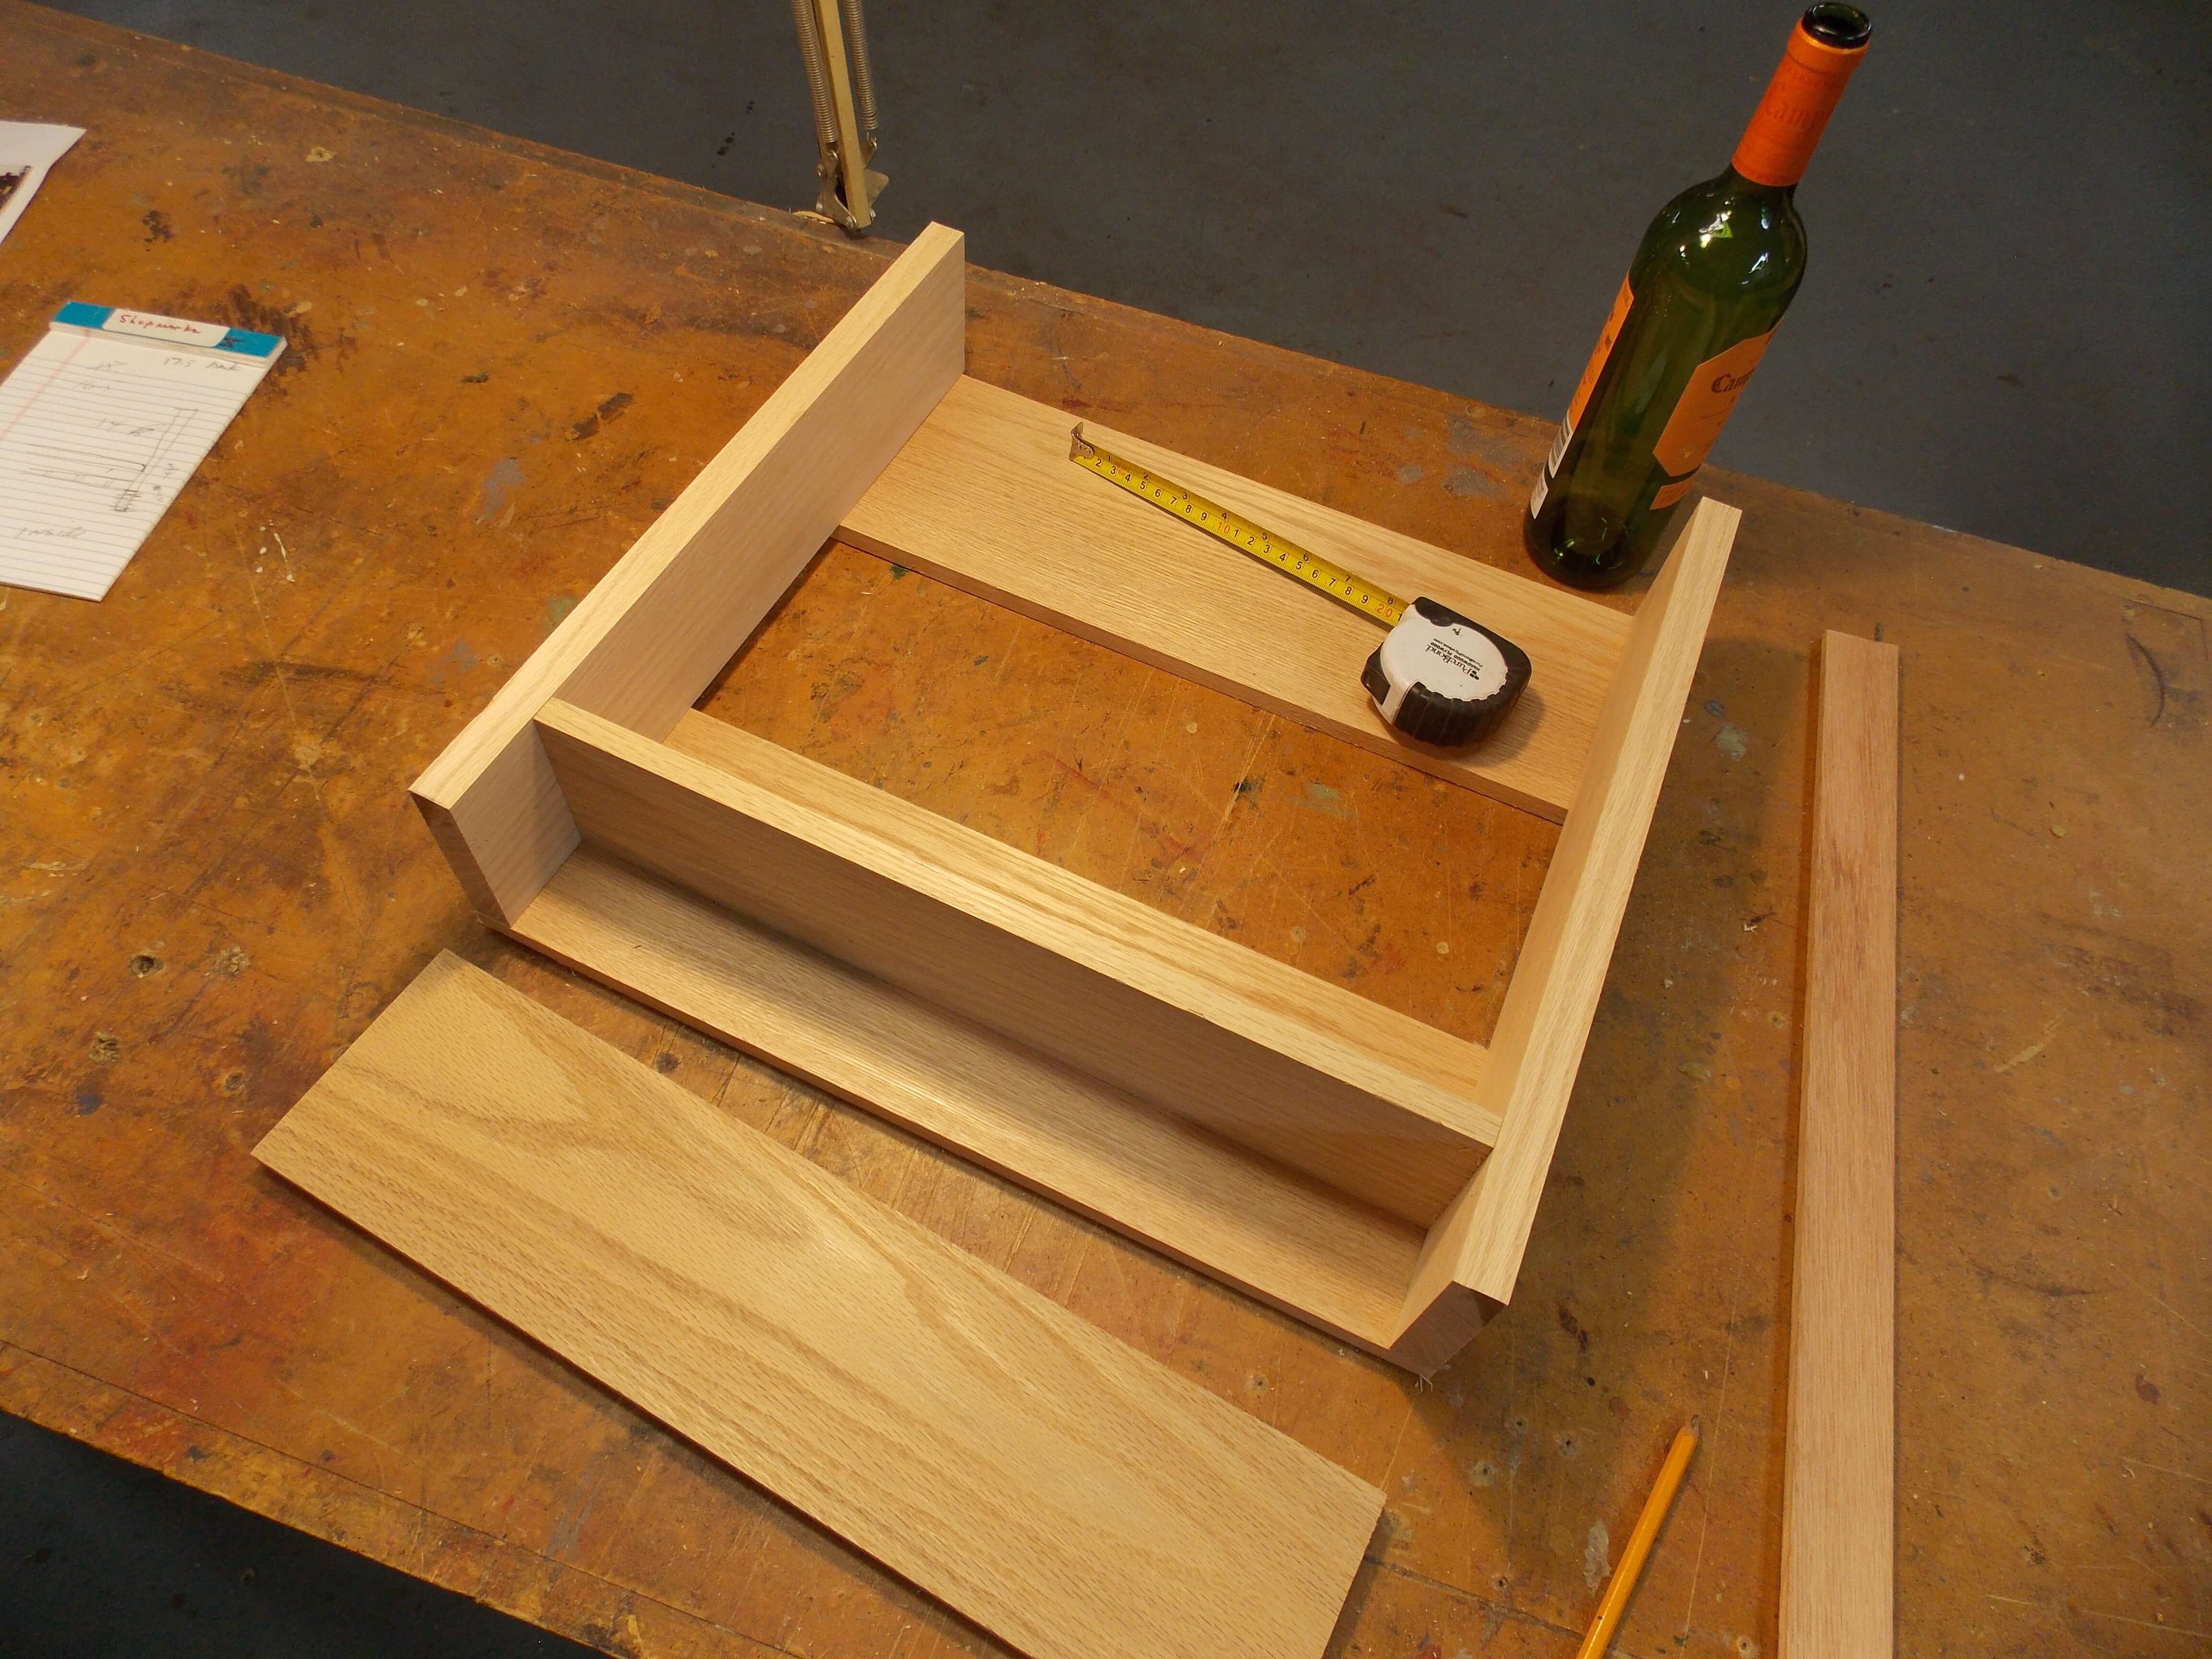
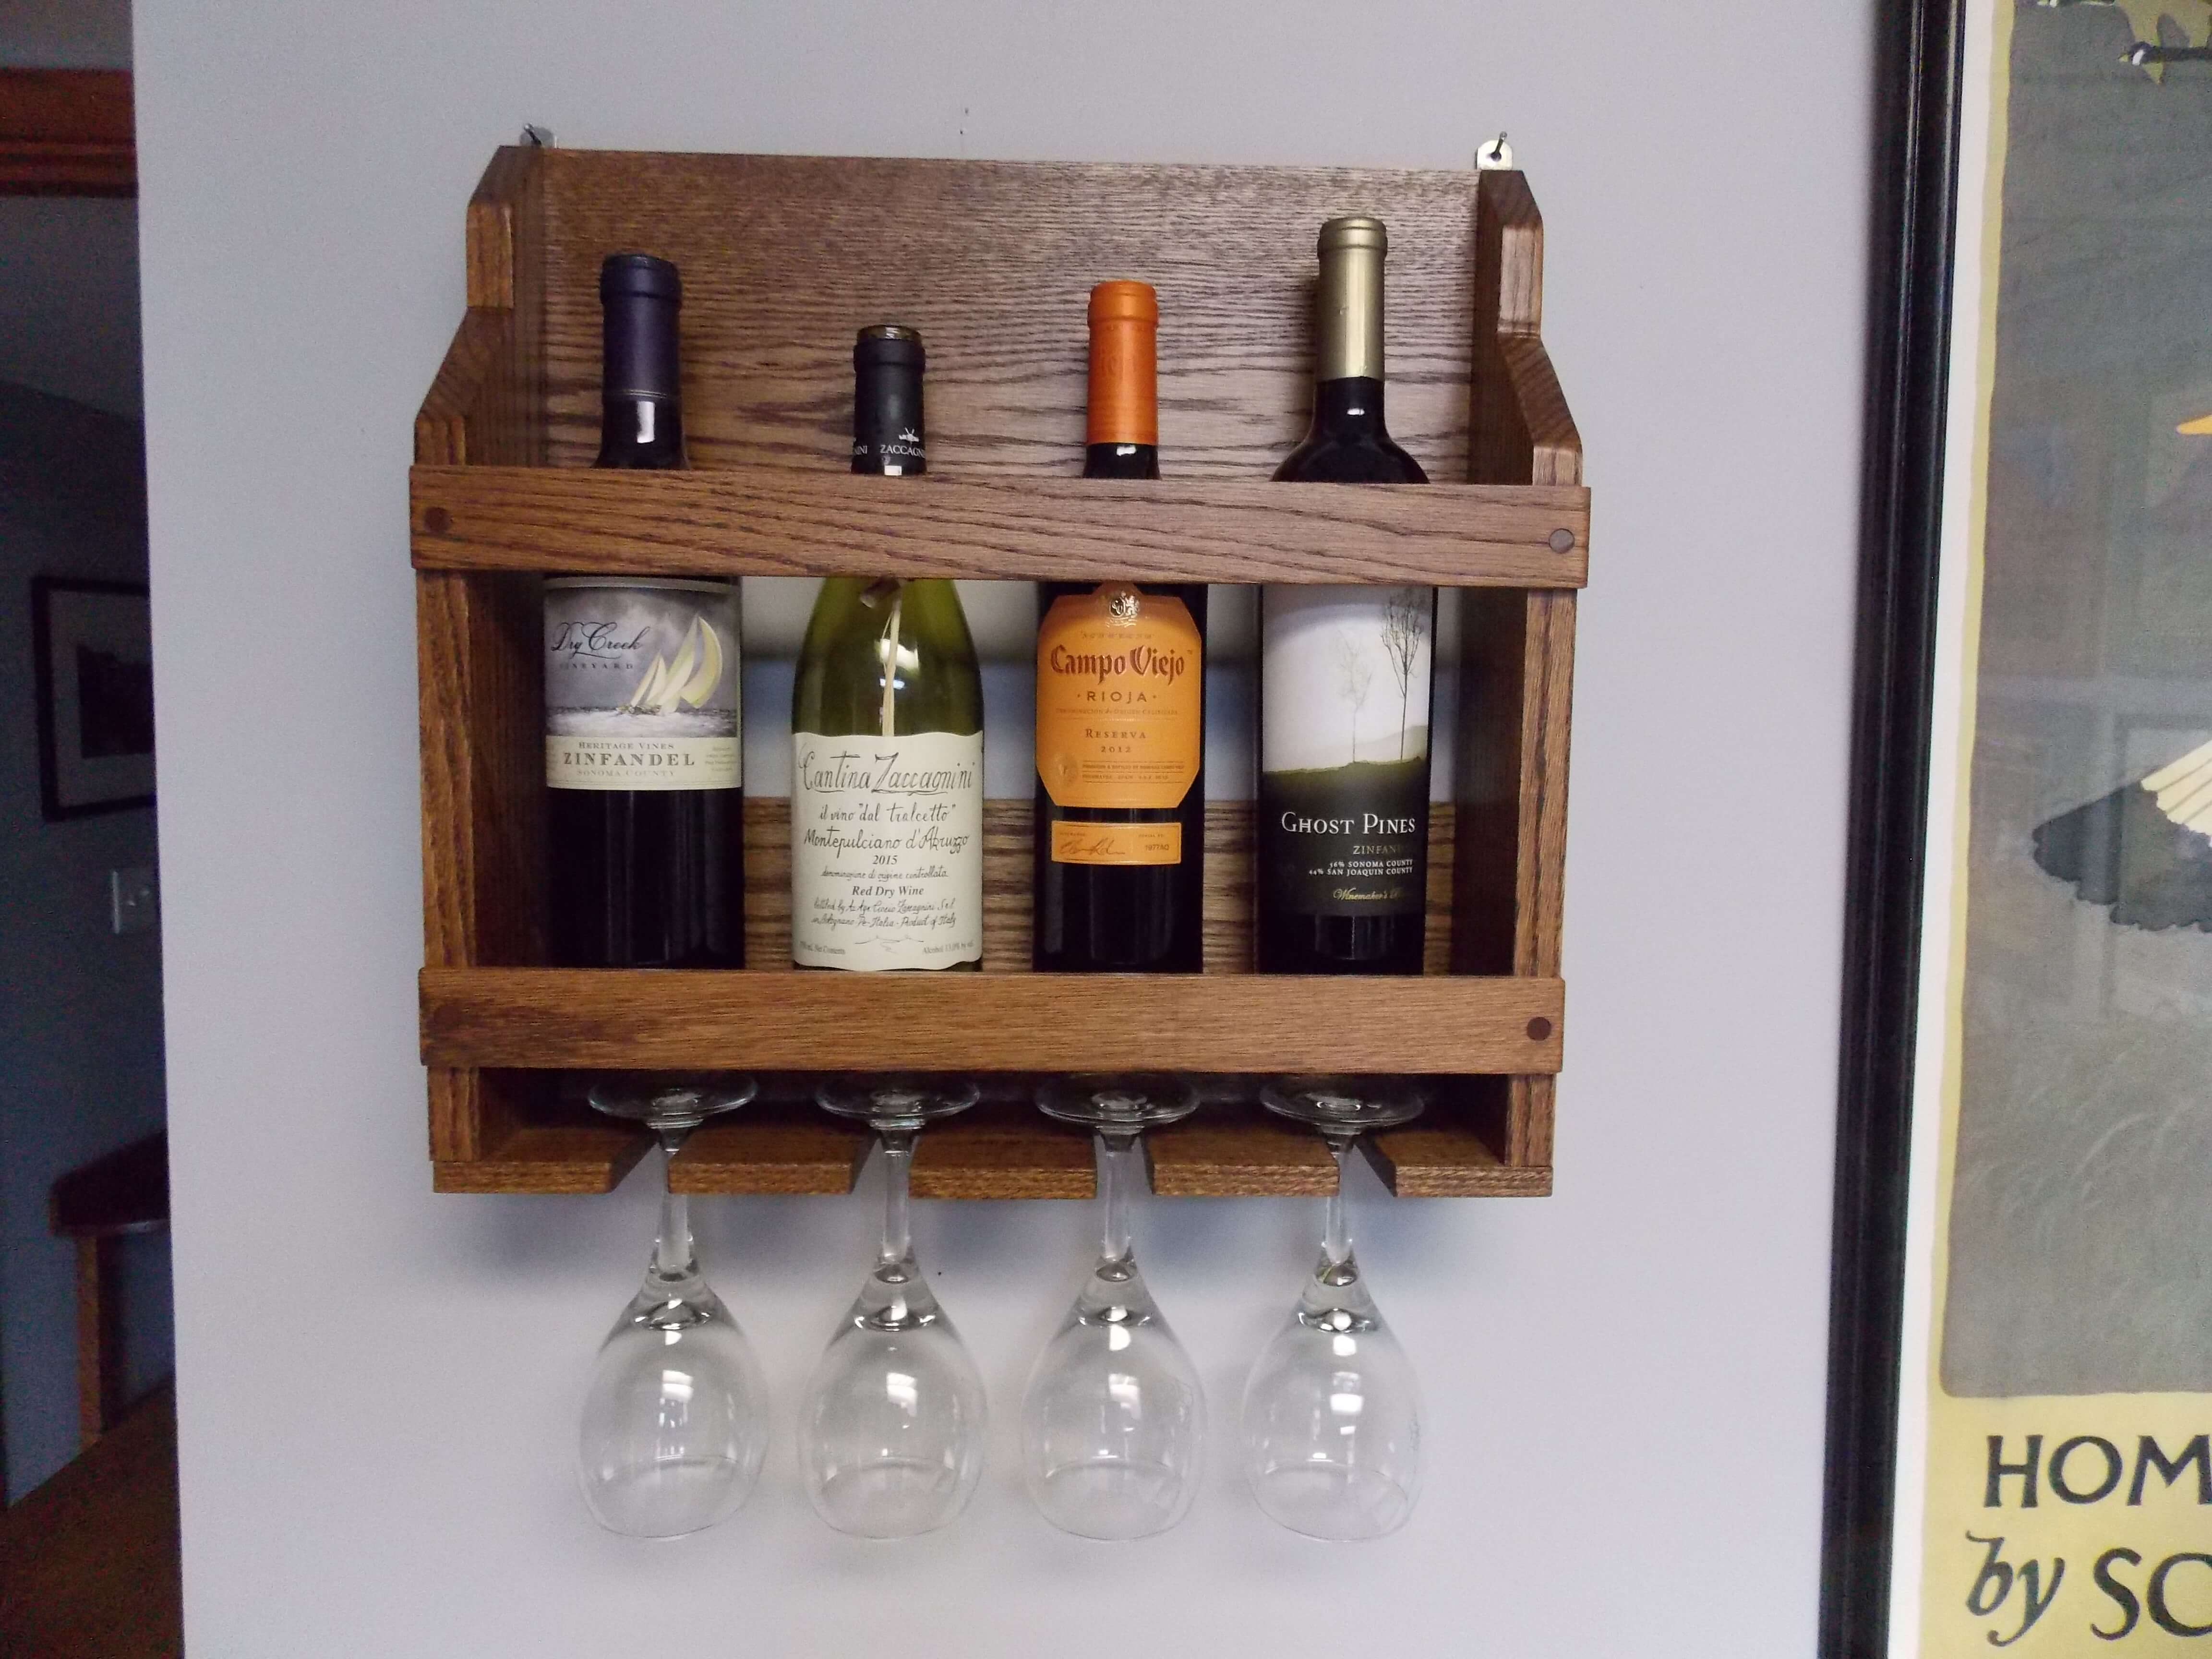
I have bought, given, and made more wine racks than I can recall, but they all had the same issue: you couldn’t see the labels. Many wineries have very artistic labels, so I decided to make a small wine rack to display either full or empty bottles of wine that highlighted rather than hid the artistic labels. Using an actual bottle to determine my measurements, I began assembling the oak boards.
1. Cut slots for the wine glasses into the lower board
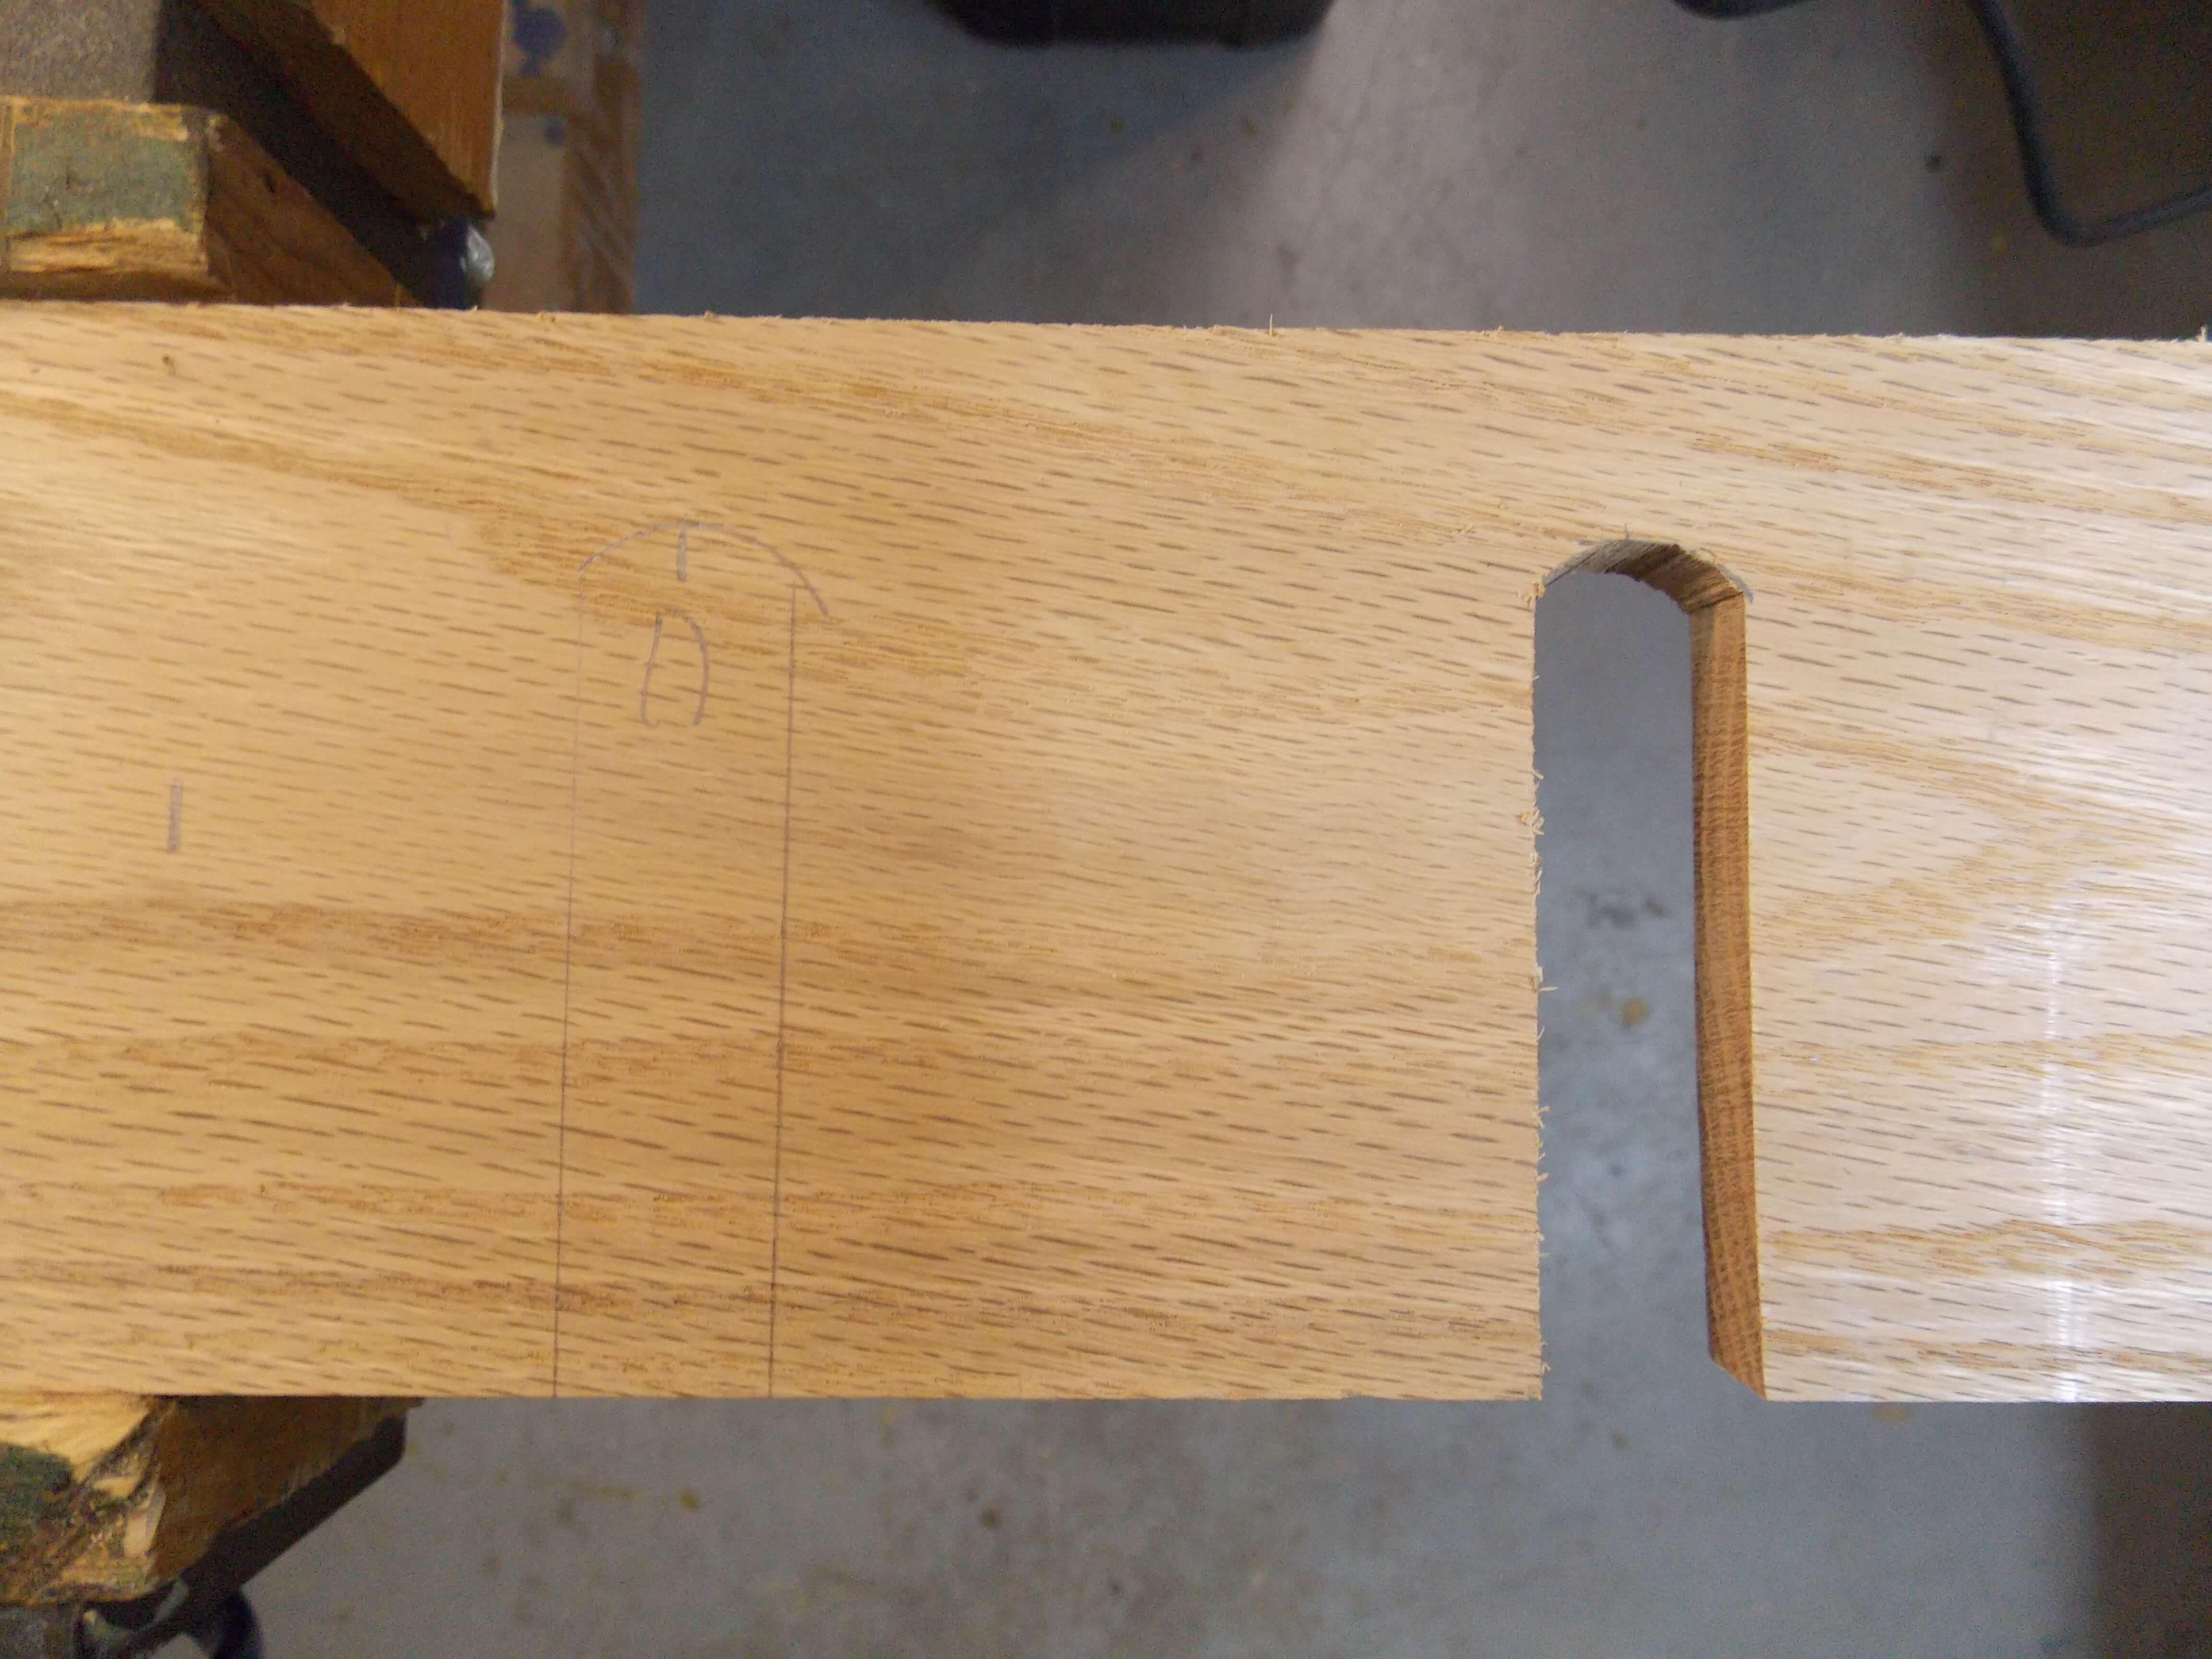
The lower board will hold four glasses, so I measured, drew, and cut out four slots for the stems.
2. Taper the side boards
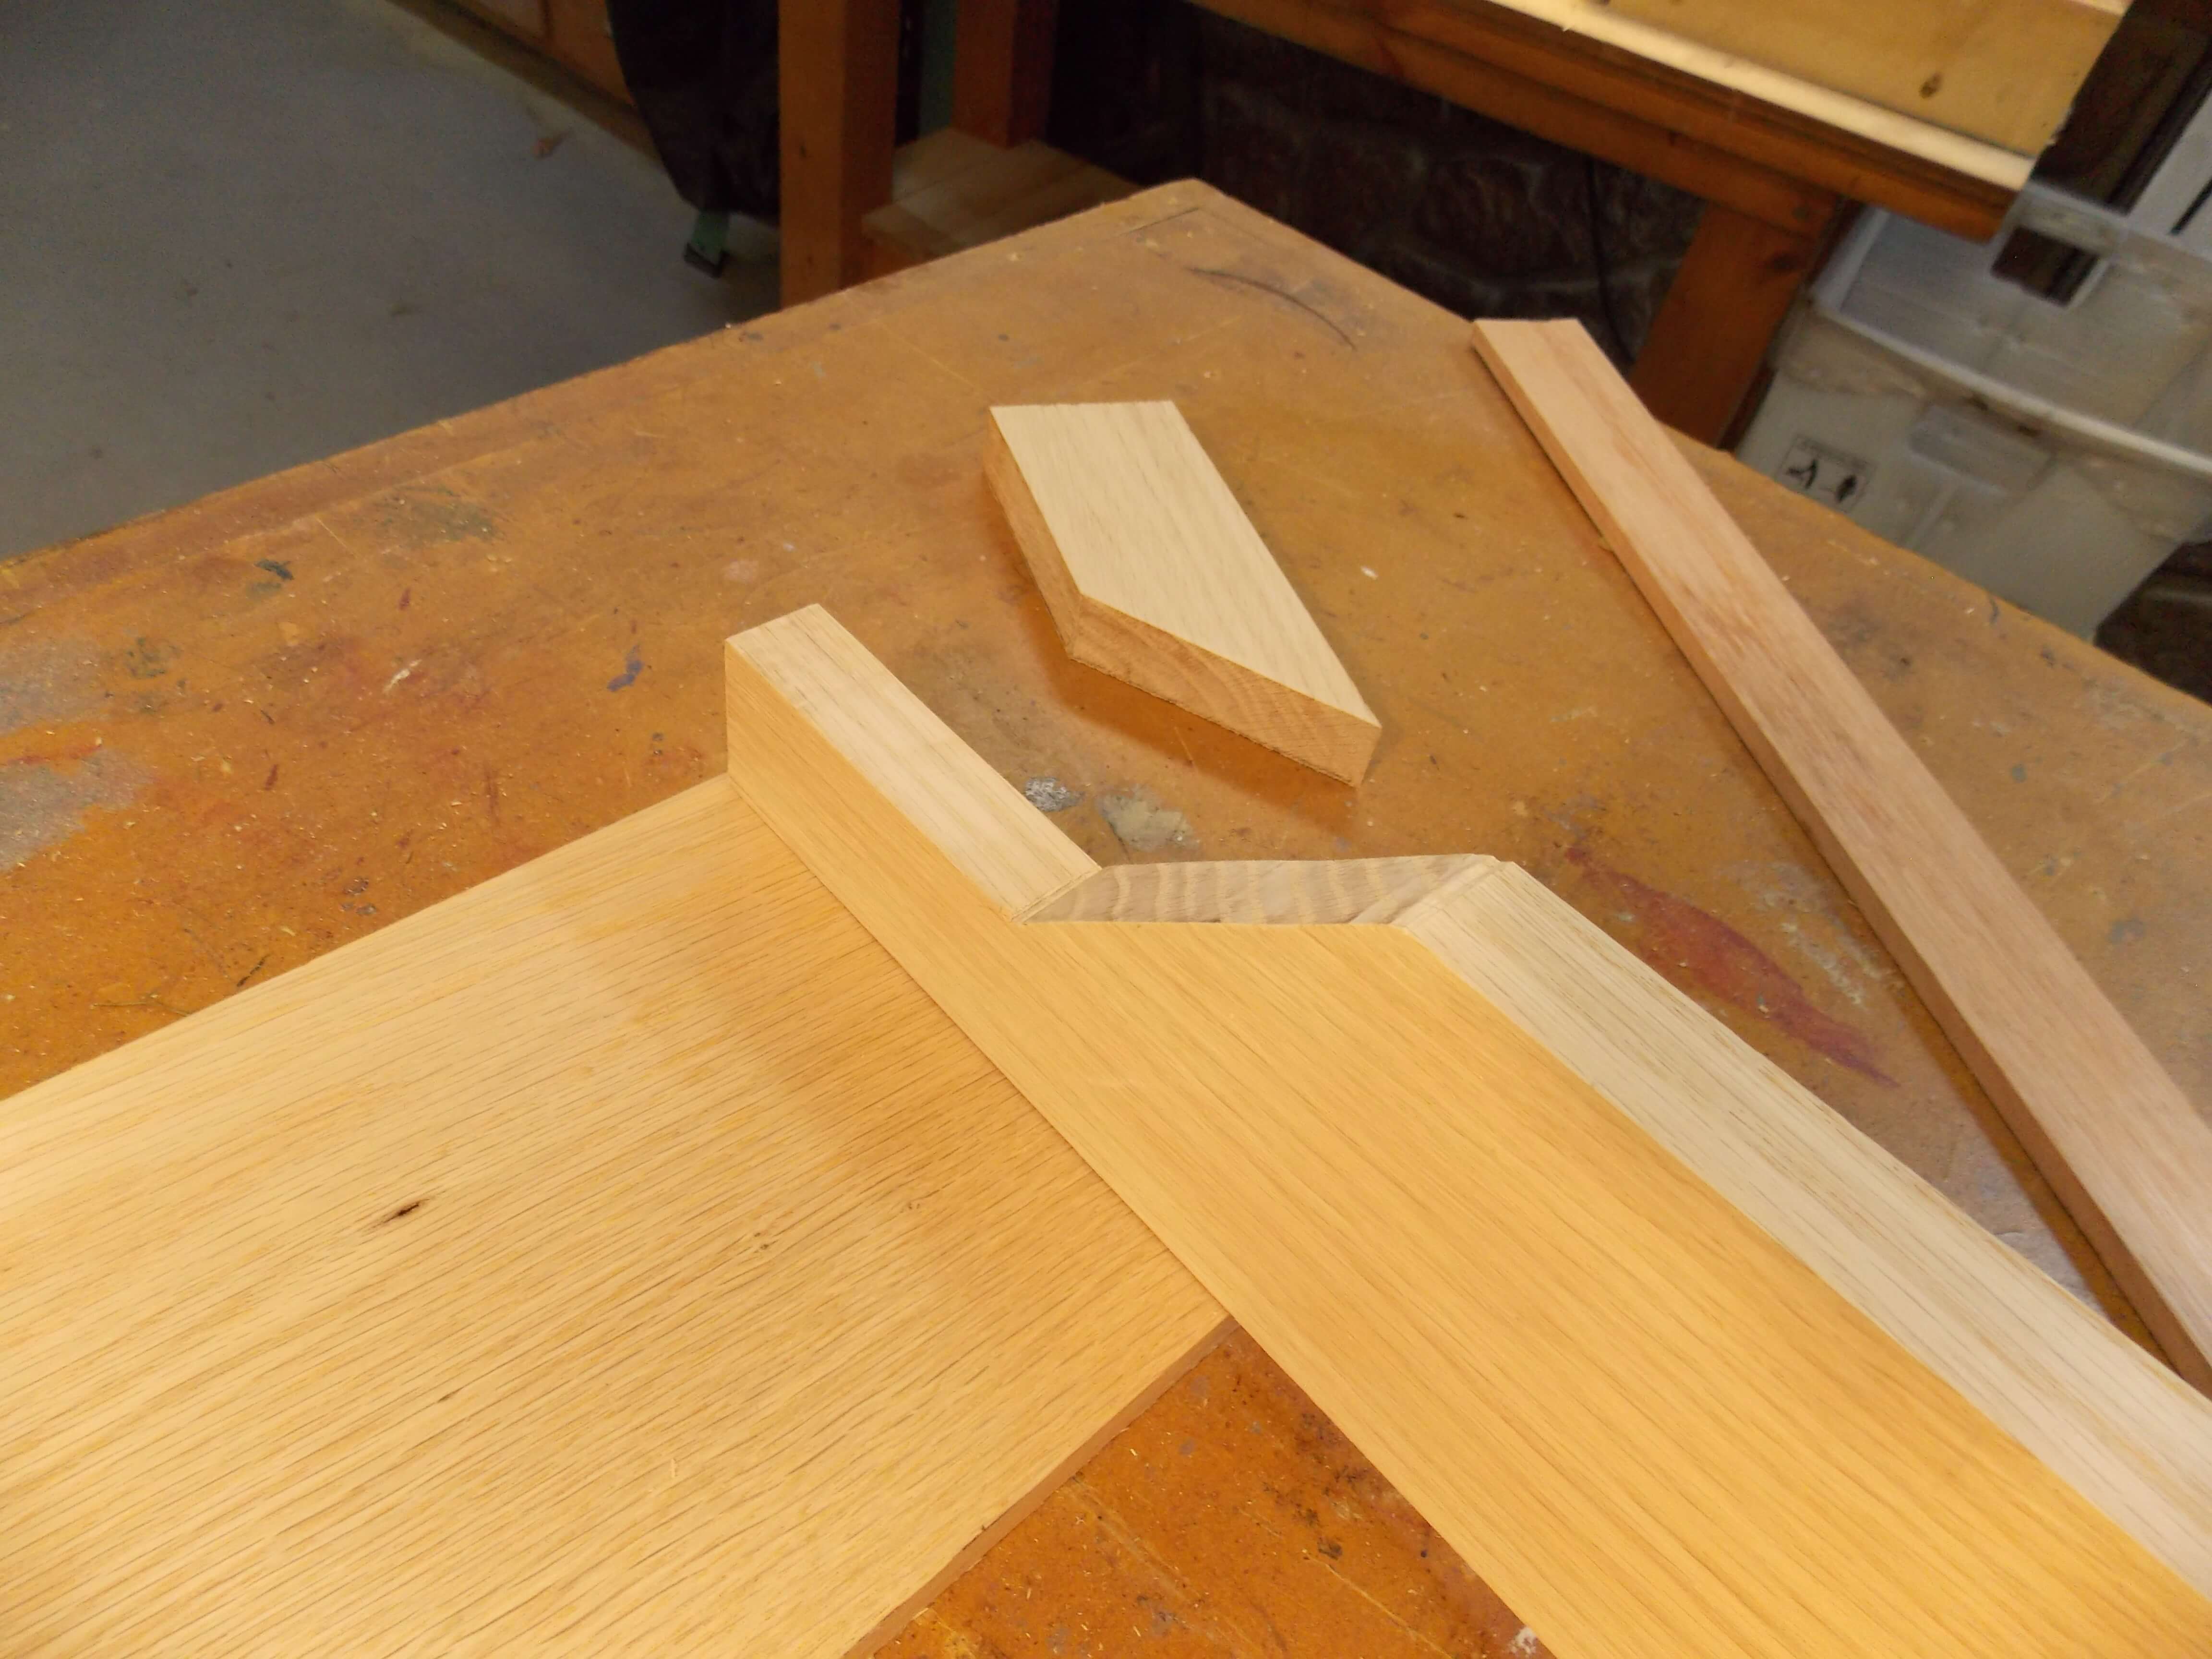
The style of this oak wine rack will be Arts and Crafts, so I tapered the sides with two straight cuts rather than a curve.
3. Add pegged joints to the frame
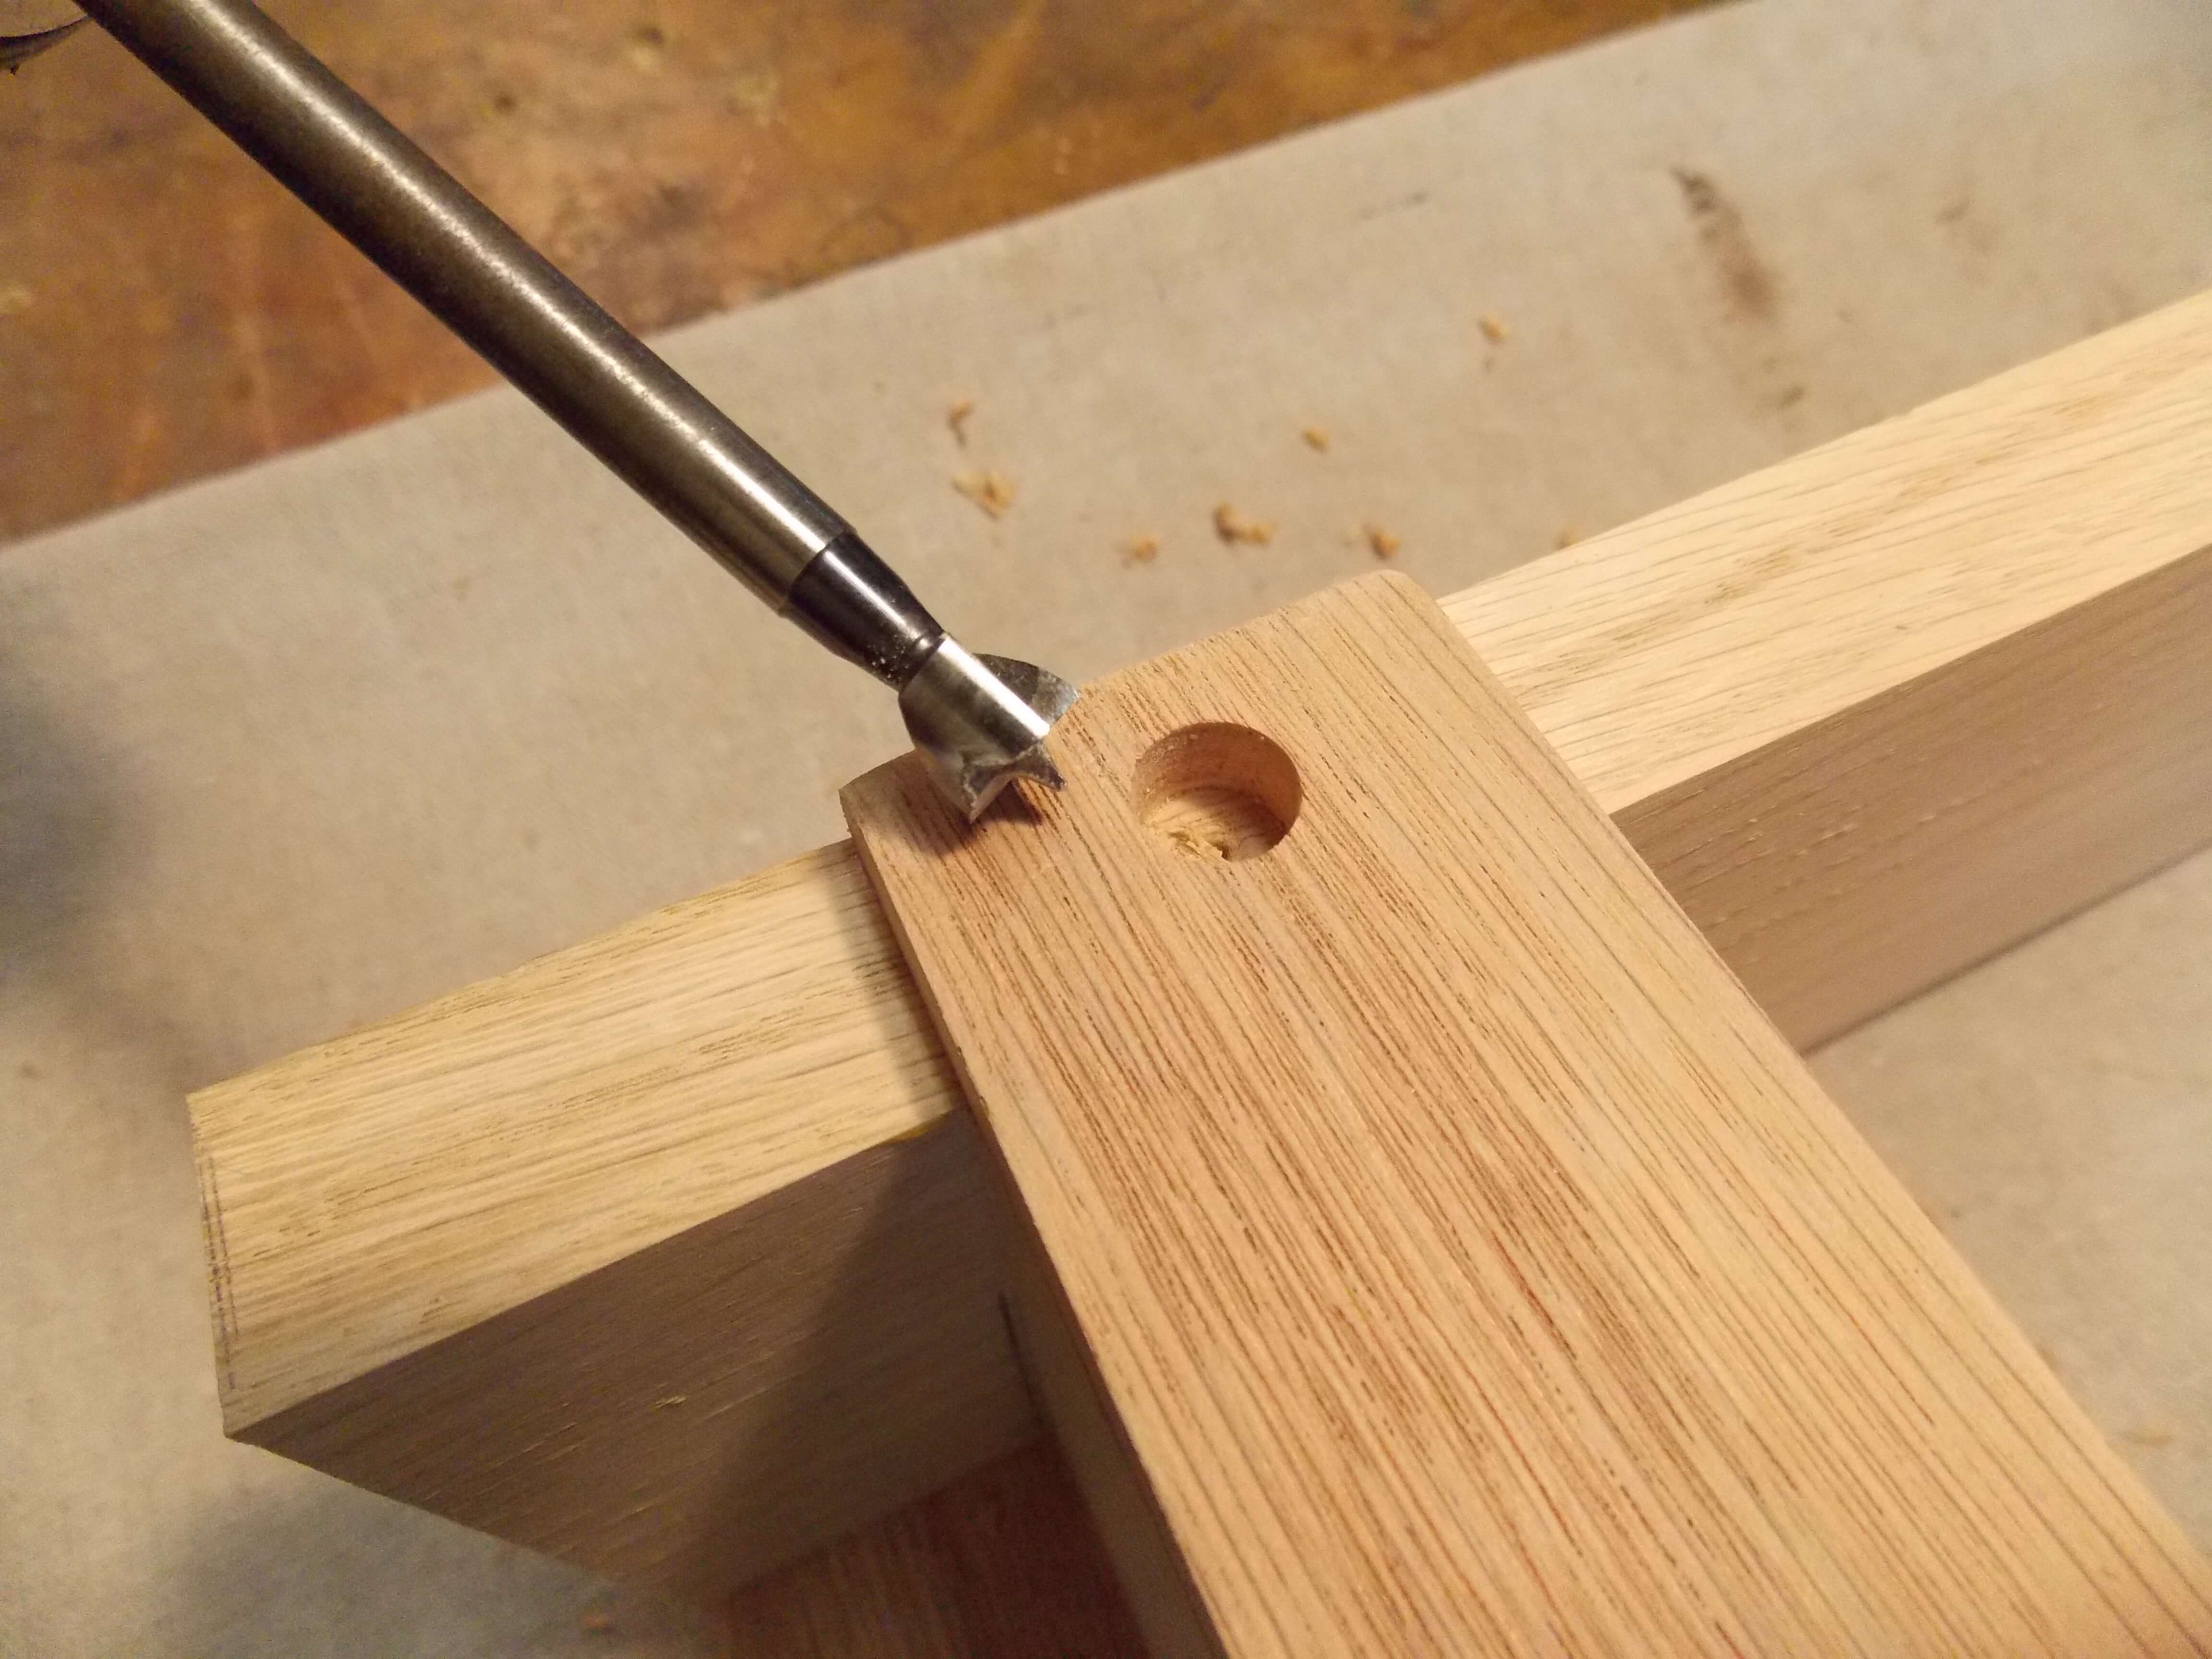
I also drilled 3/8-inch holes through the thin strips across the front, then glued in oak plugs to secure the strips with a classic Arts and Crafts detail: the pegged joint.
4. Stain the wood rack with your choice of Minwax Wood Finish
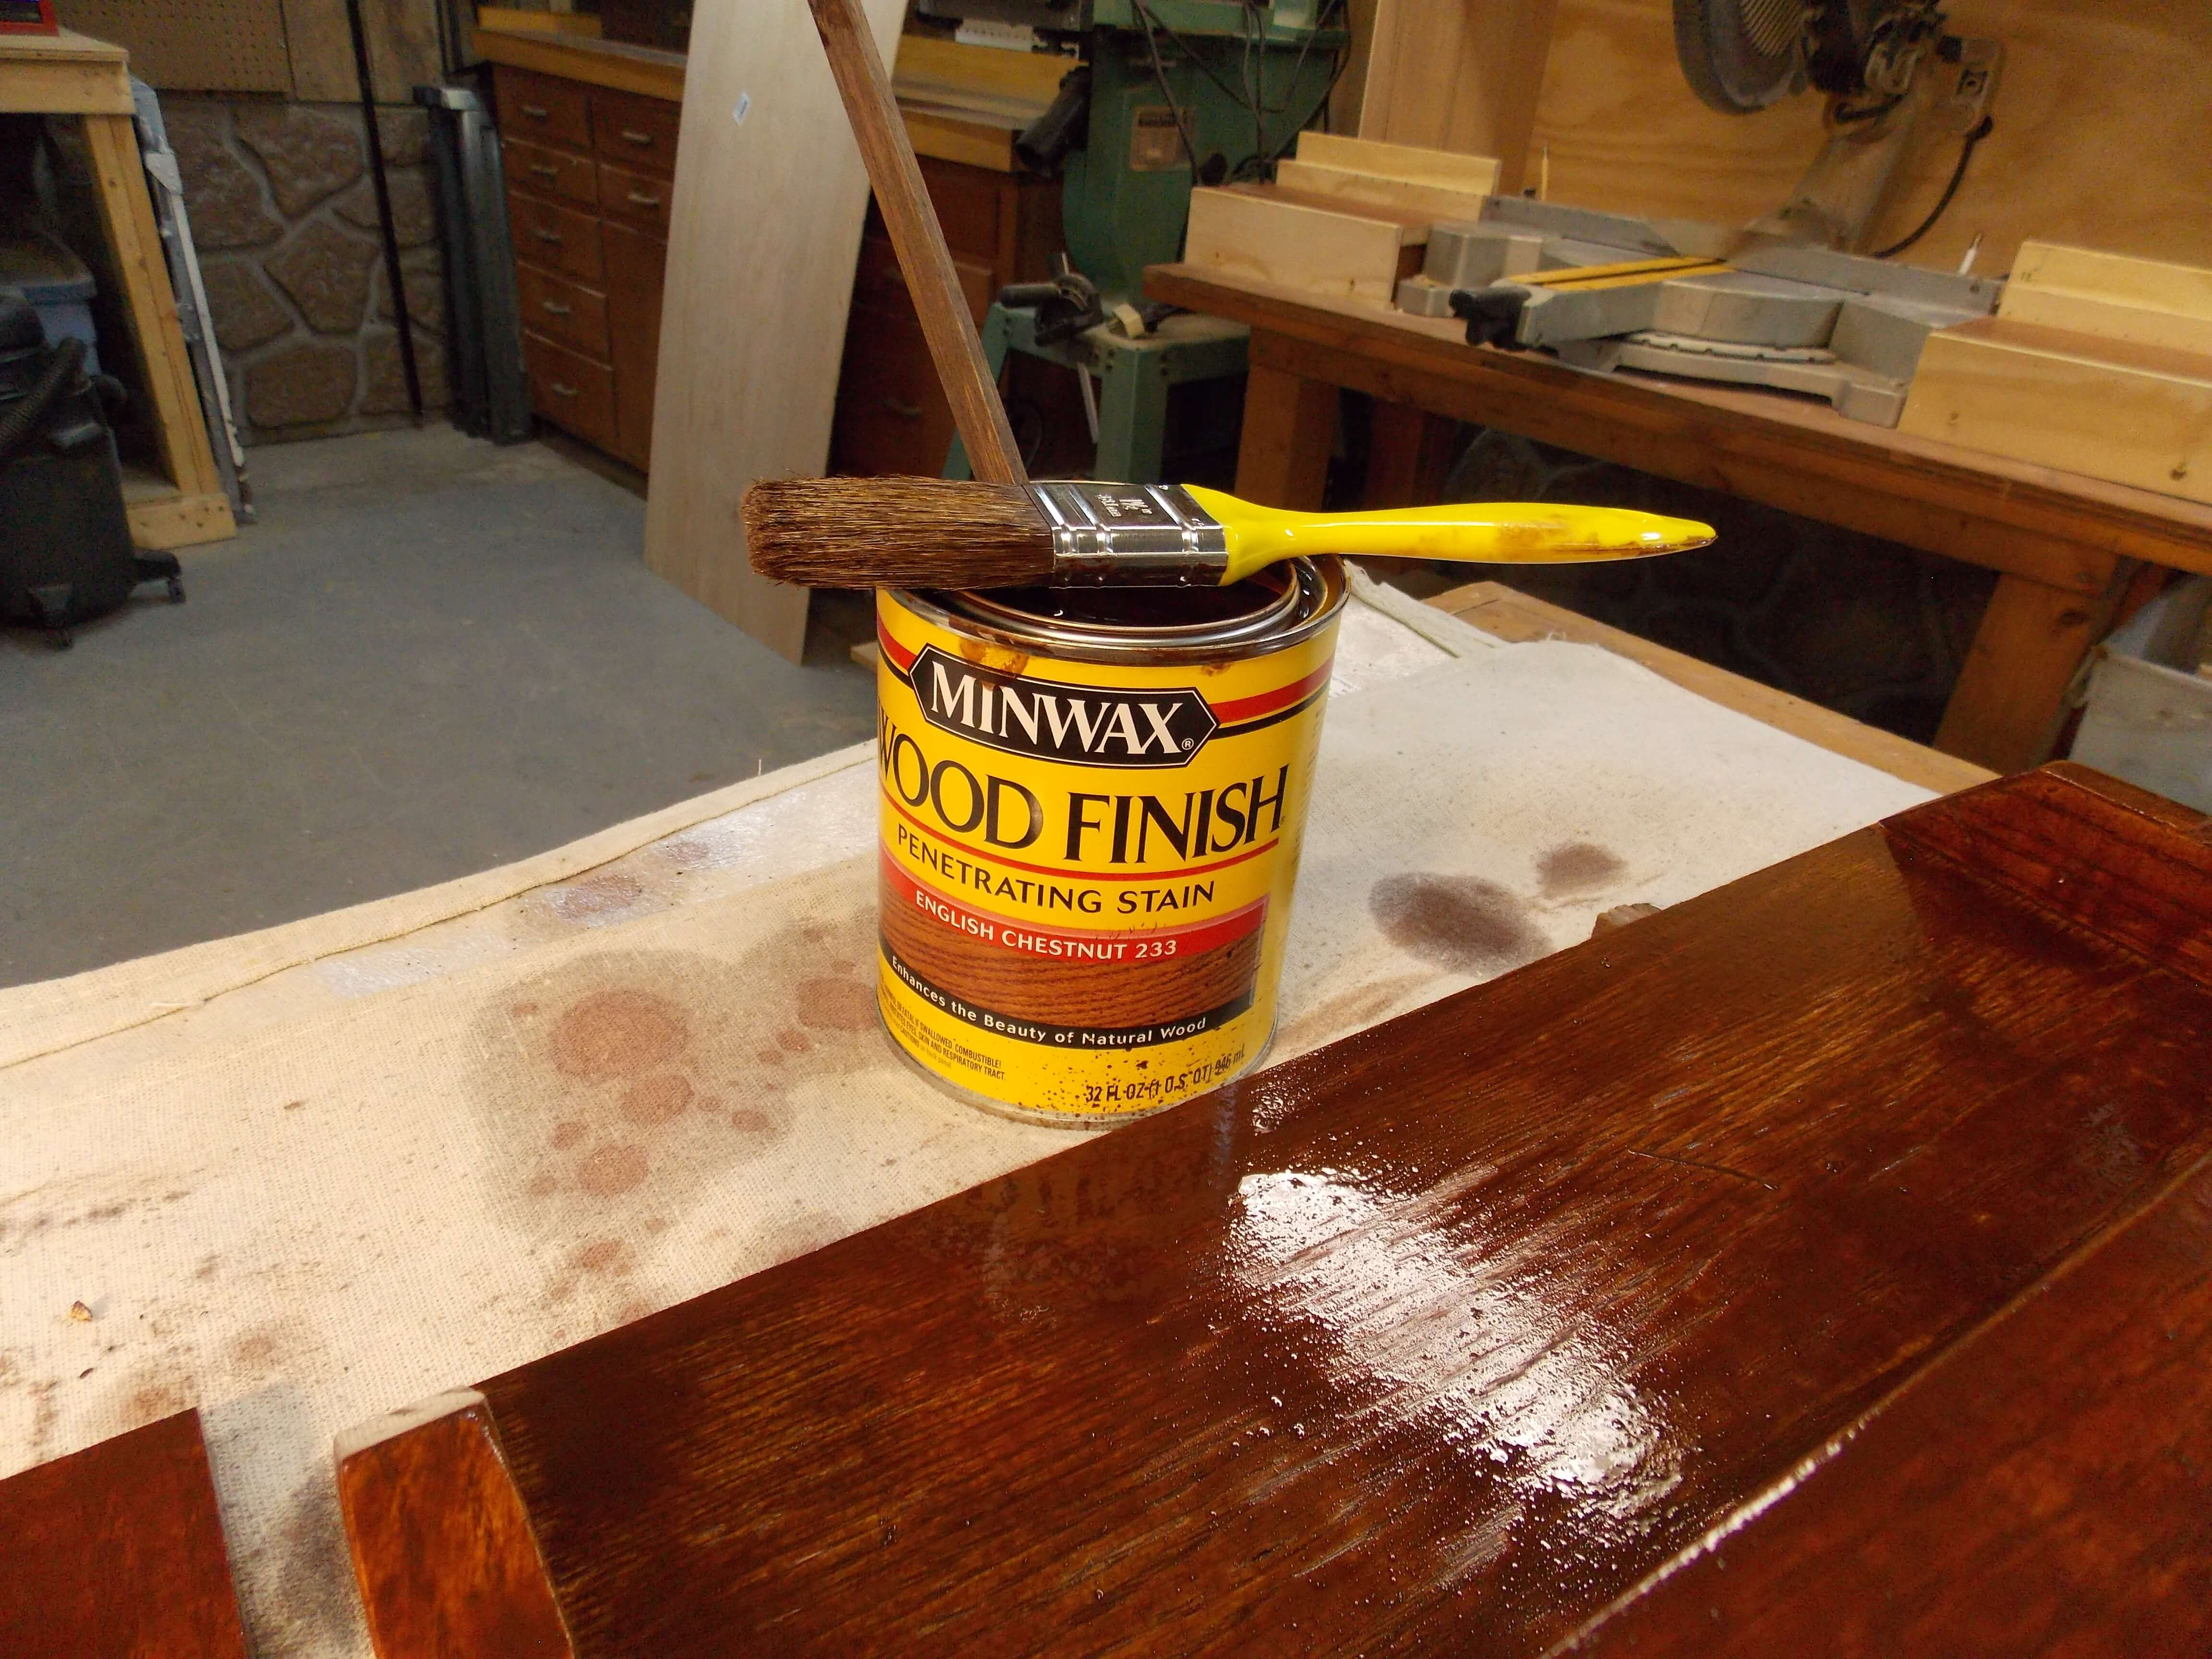
For an Arts and Crafts color, I chose “English Chestnut” in the Minwax Wood Finish Penetrating Stain line. After brushing it on, I let the stain be absorbed by the oak for five minutes…
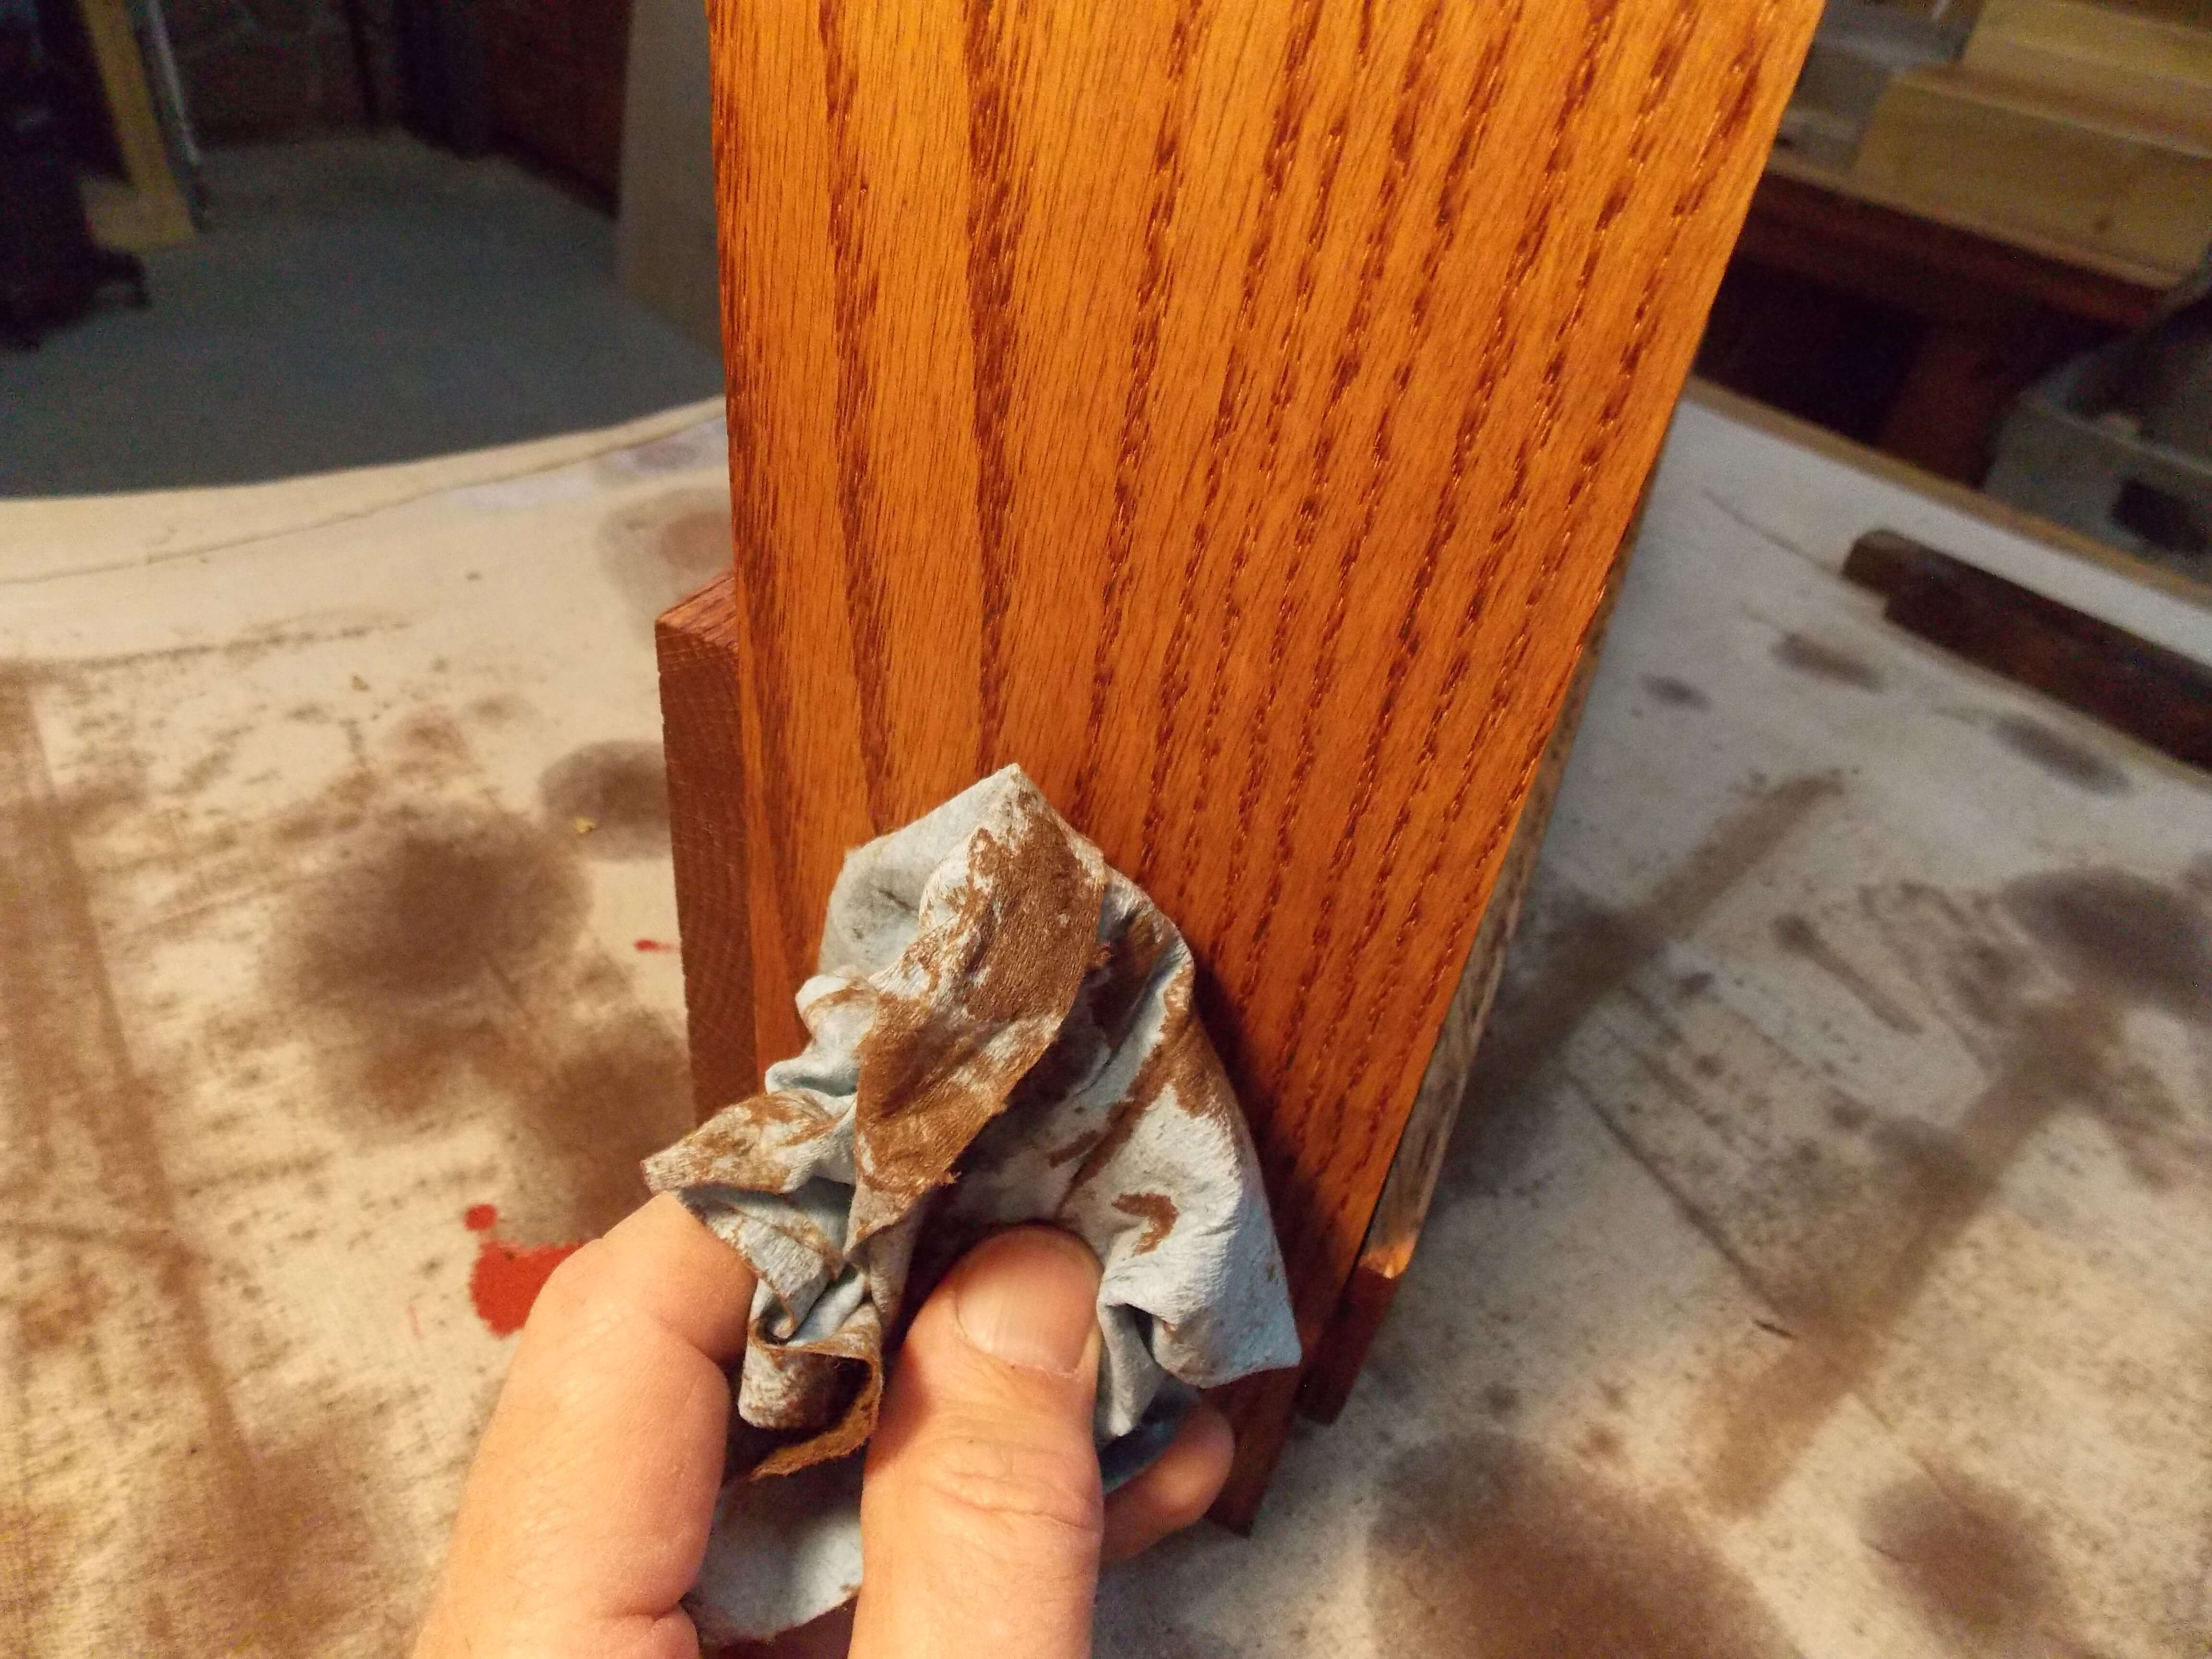
… then wiped off all of the excess stain from the surface of the wood.
5. Apply a protective finish over the stain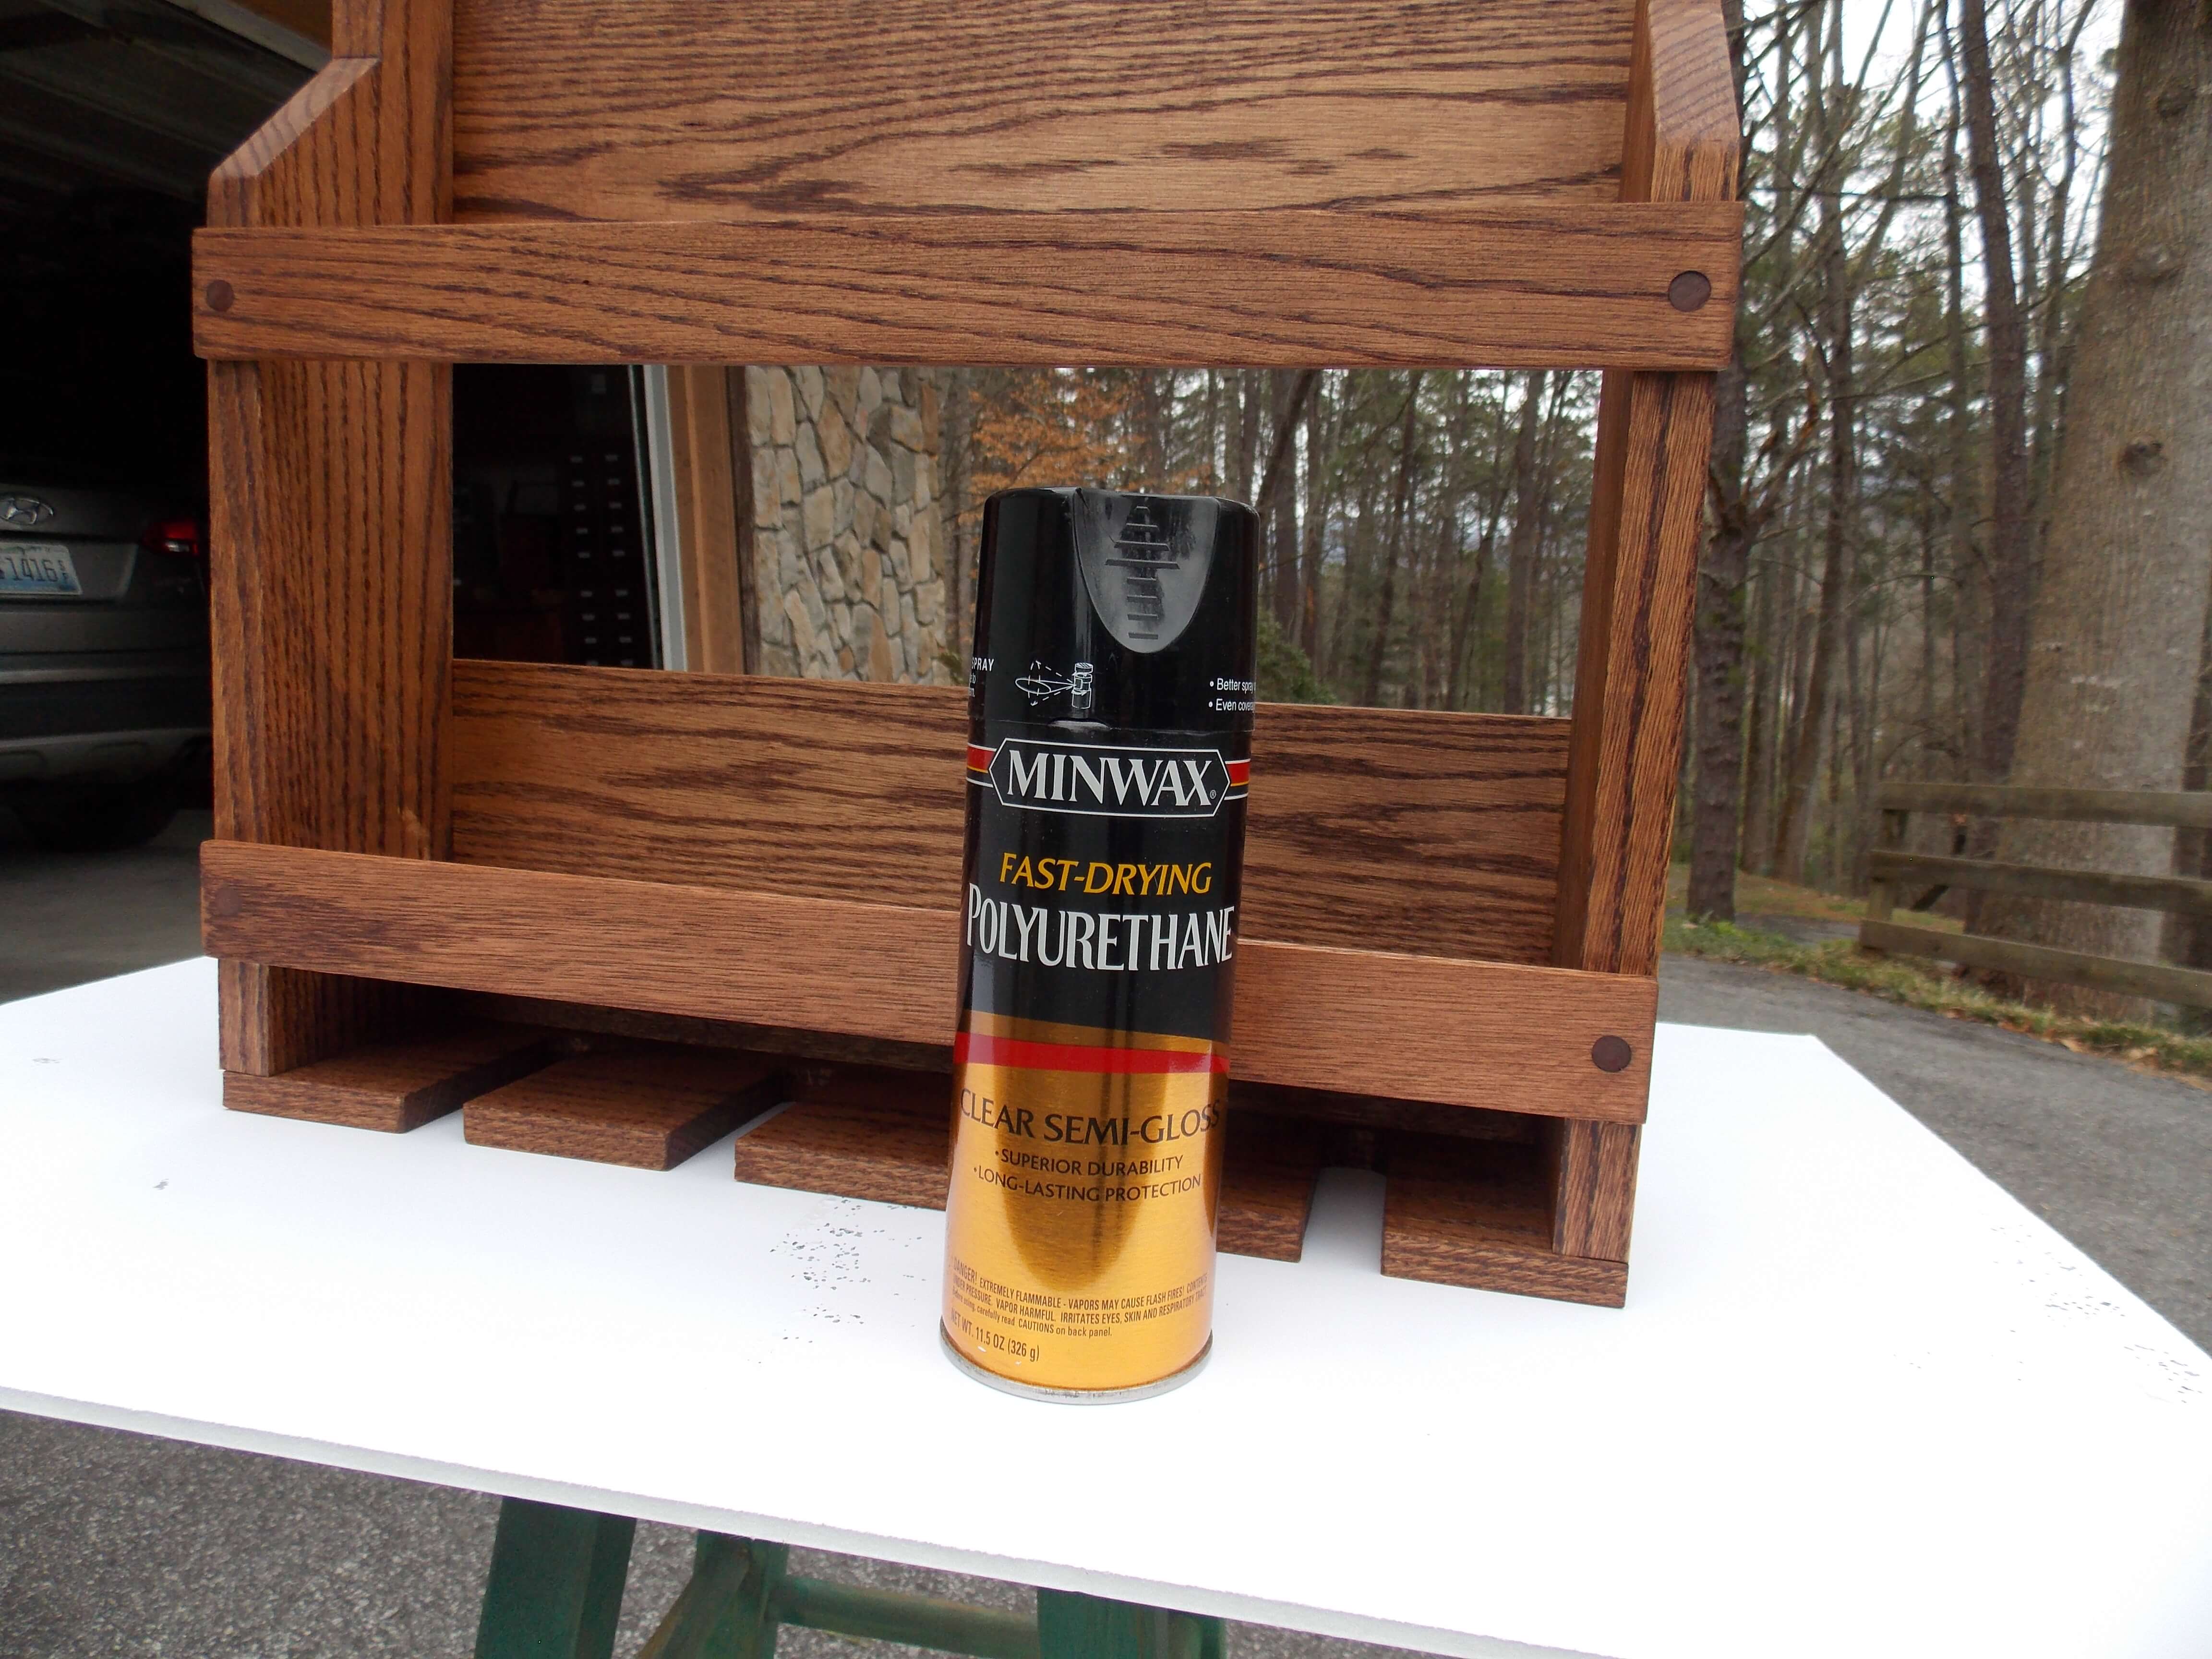
While I could have brushed on a clear finish over the dried stain, I opted instead for the aerosol version of Minwax Fast-Drying Polyurethane, as the spray could reach into the interior — without leaving runs and drips — even better than a brush.
And as you can now see, simply by positioning the two horizontal strips below and above the labels — rather than across the front of them — our guests can now see just how artistic wine labels have become.
Until next time,
Thanks for stopping by!
Bruce


