Tools Needed:
- Minwax Wood Cabinet Cleaner
- Minwax Wood Finish Stain Marker
- Minwax Clear Aerosol Lacquer
- Synthetic pad
- Hand towels
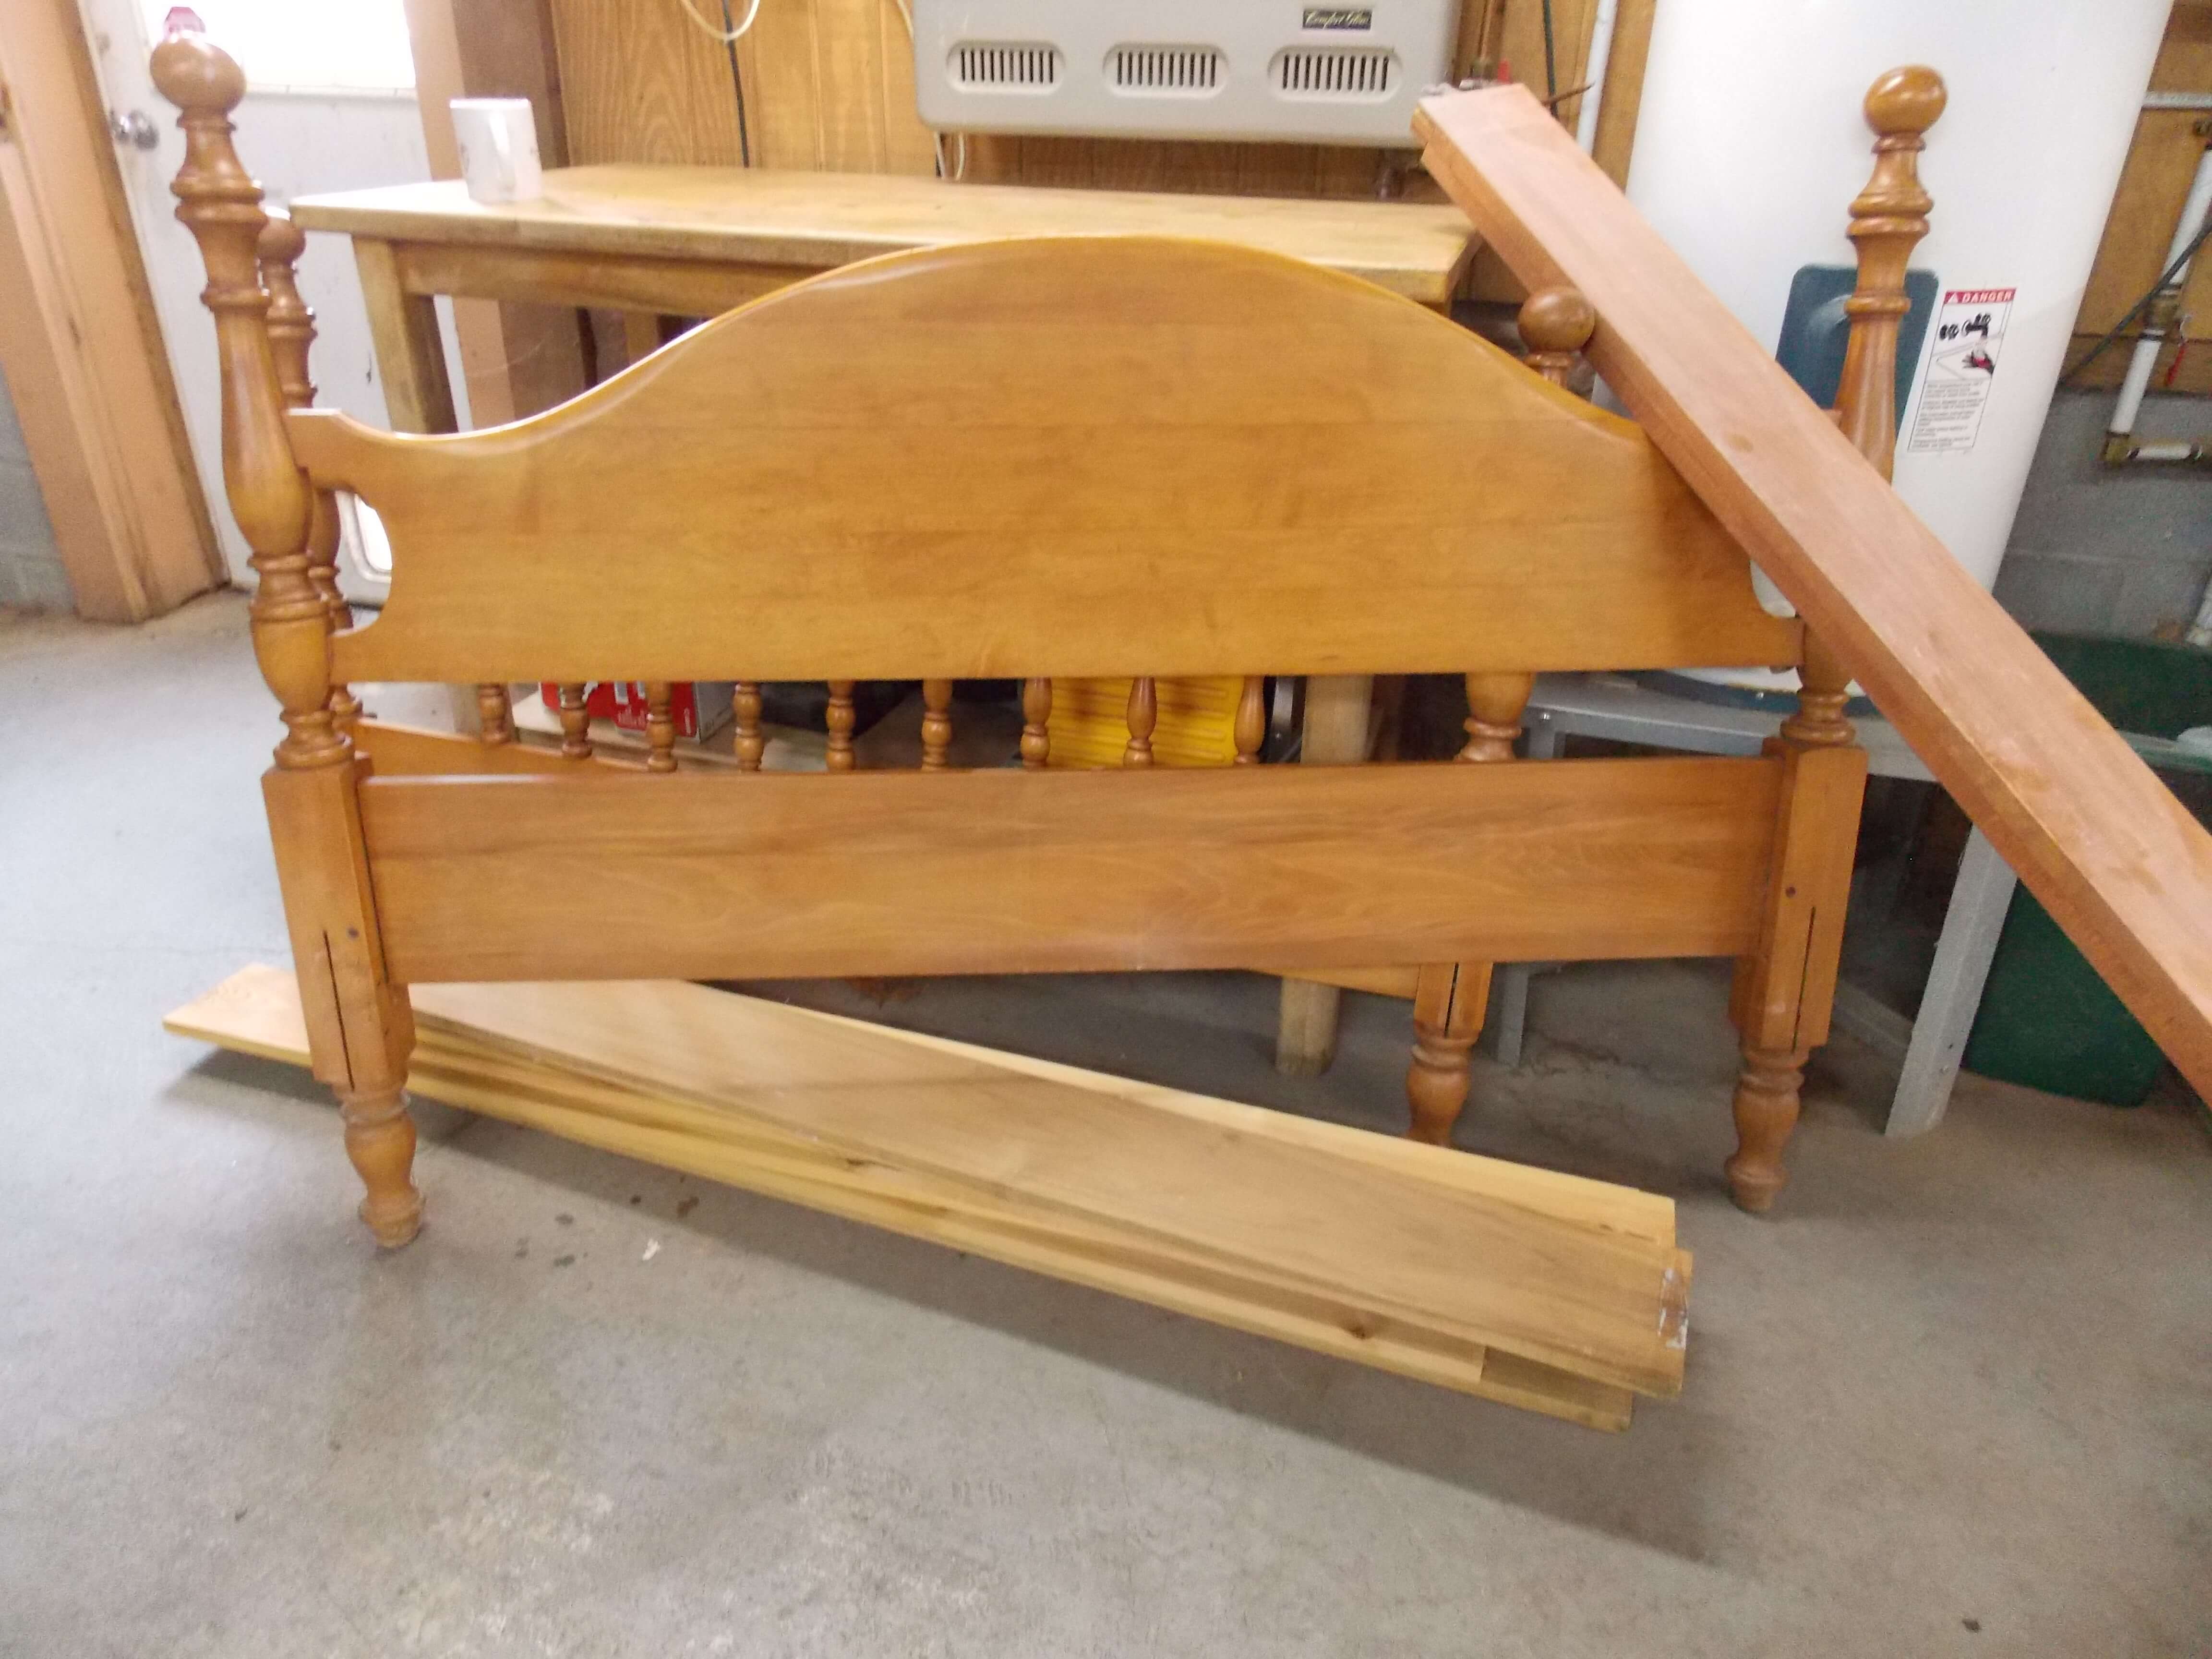
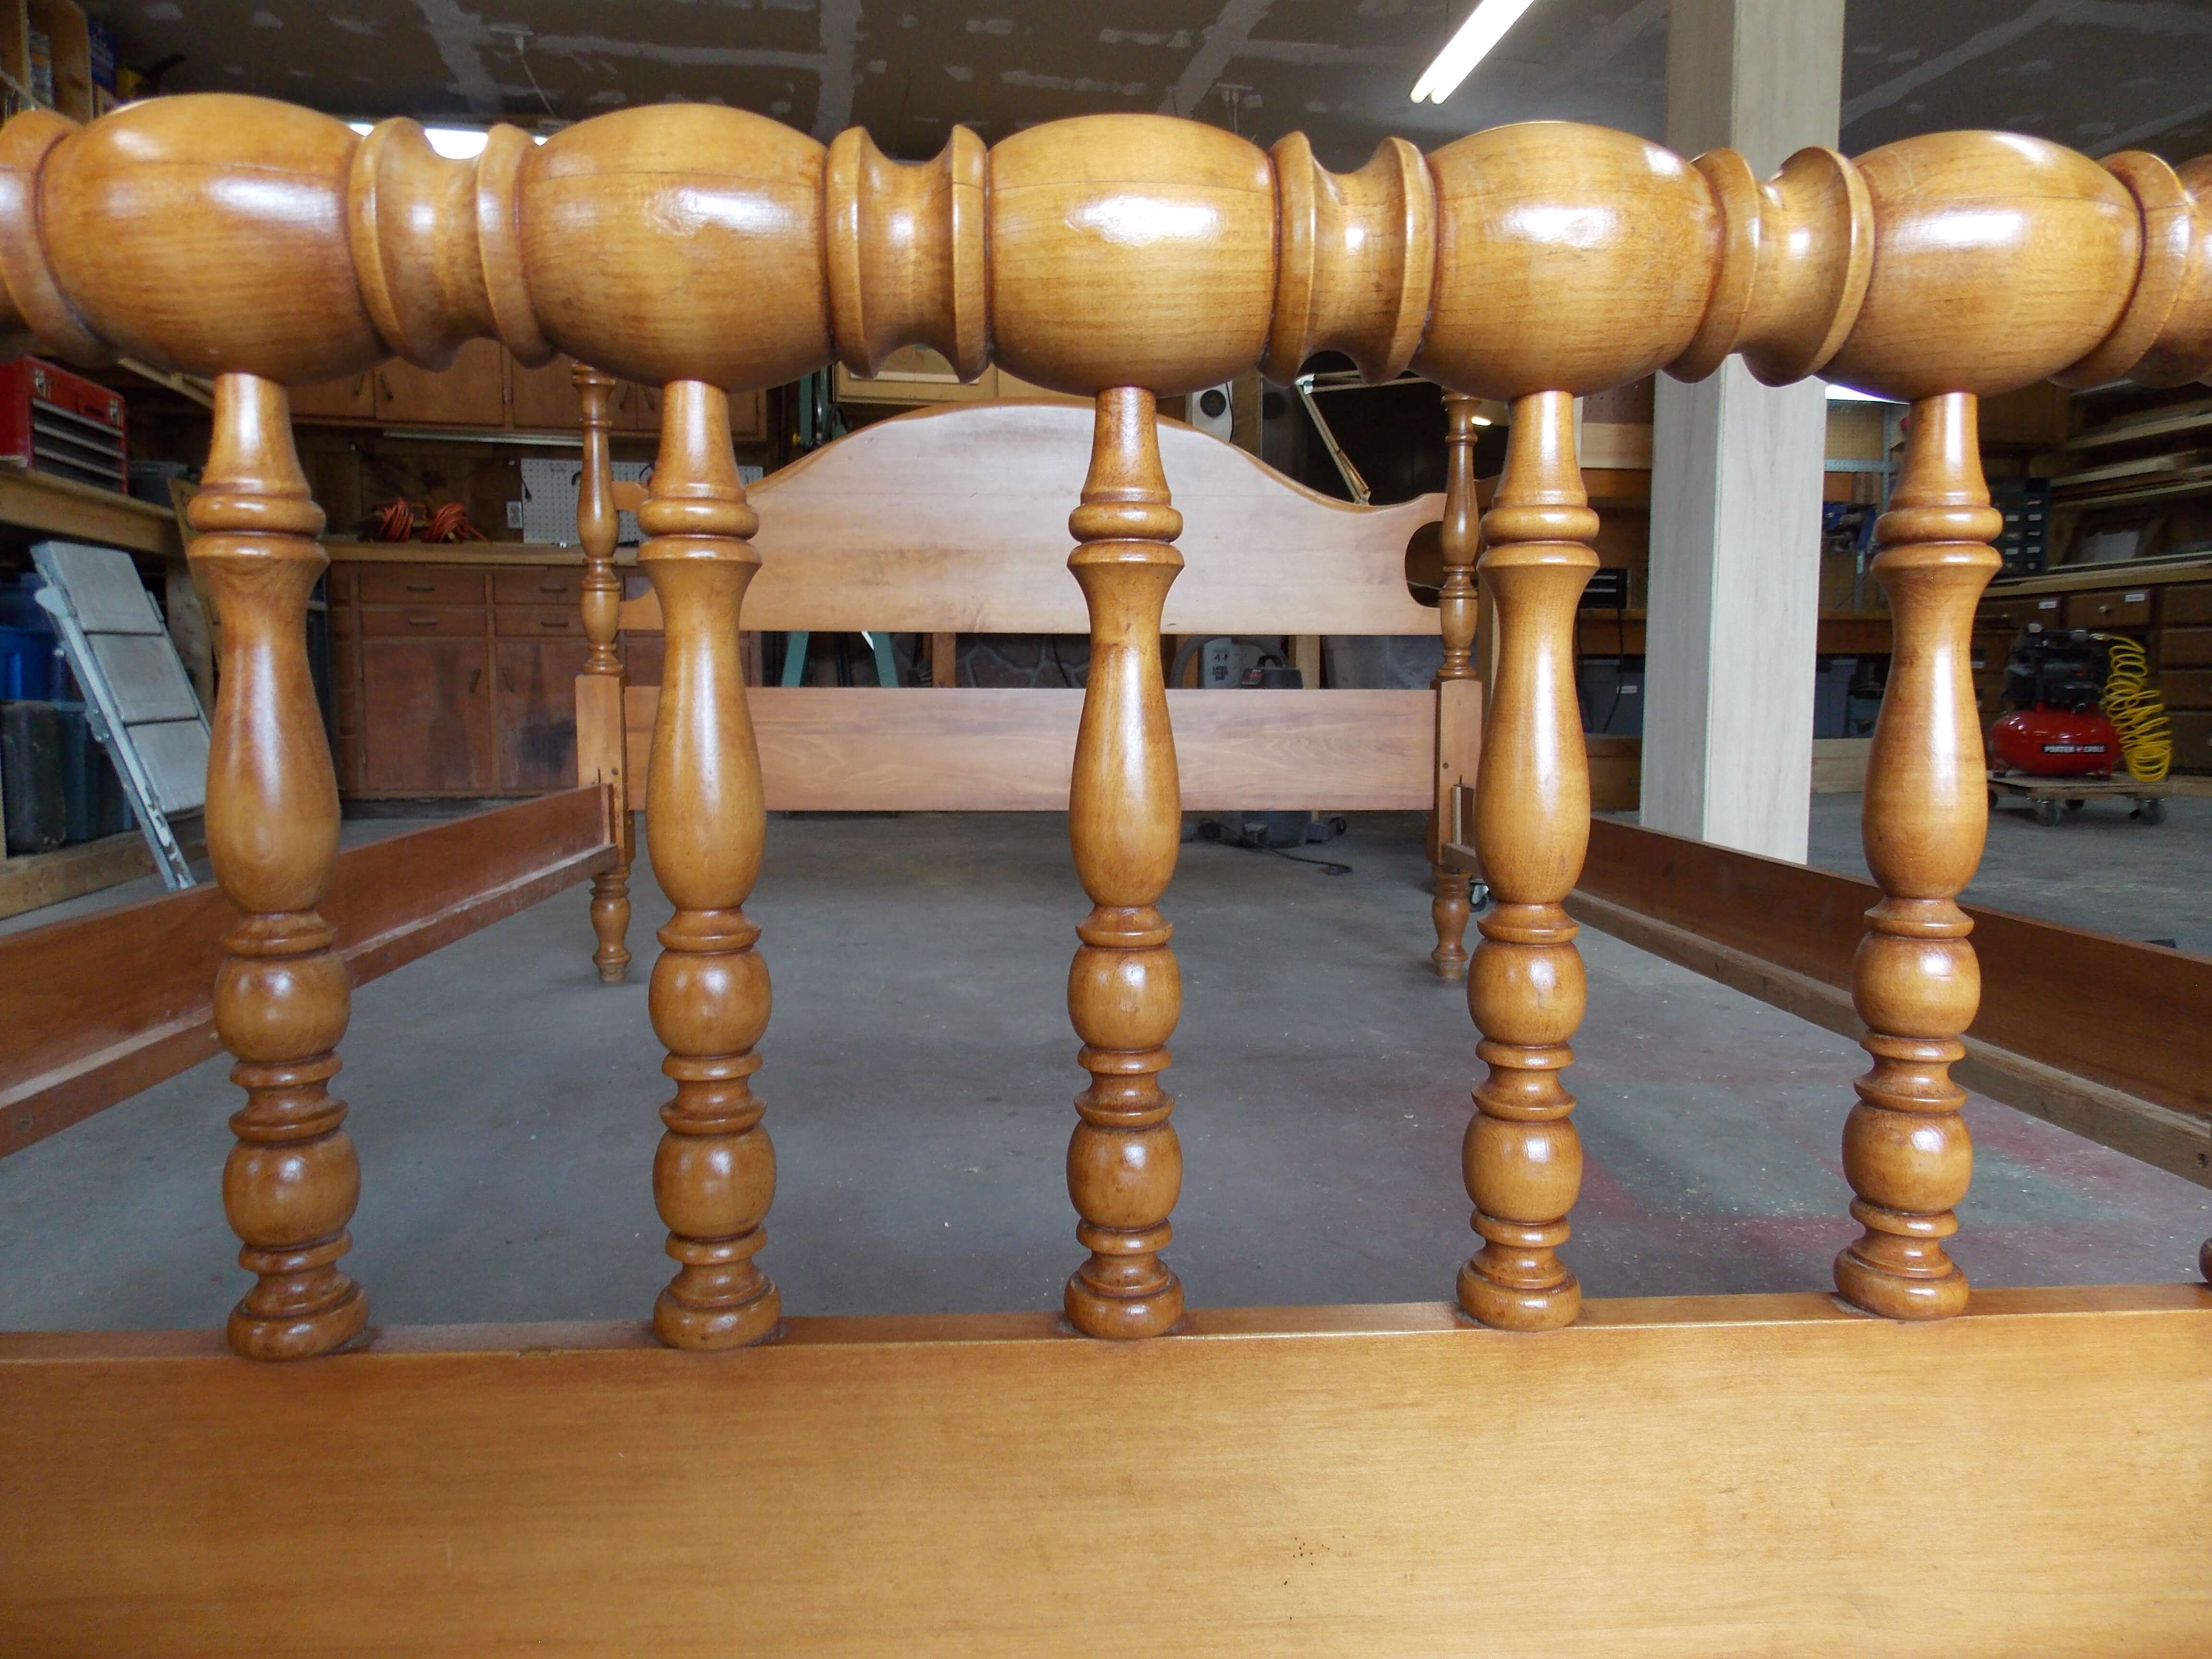
Many, many years ago my grandmother, Violet Hickok, gave me this antique hard maple bed for my first apartment. At that time she and I refinished it, and now it has been passed along to my son Eric. But first it needs a little help to look as good as it did back then.
1. Prep the wood with a cleaner
I started as I do many of my projects: by using Minwax Wood Cabinet Cleaner to remove the old dirt and grime.
2. Fill in any scratches
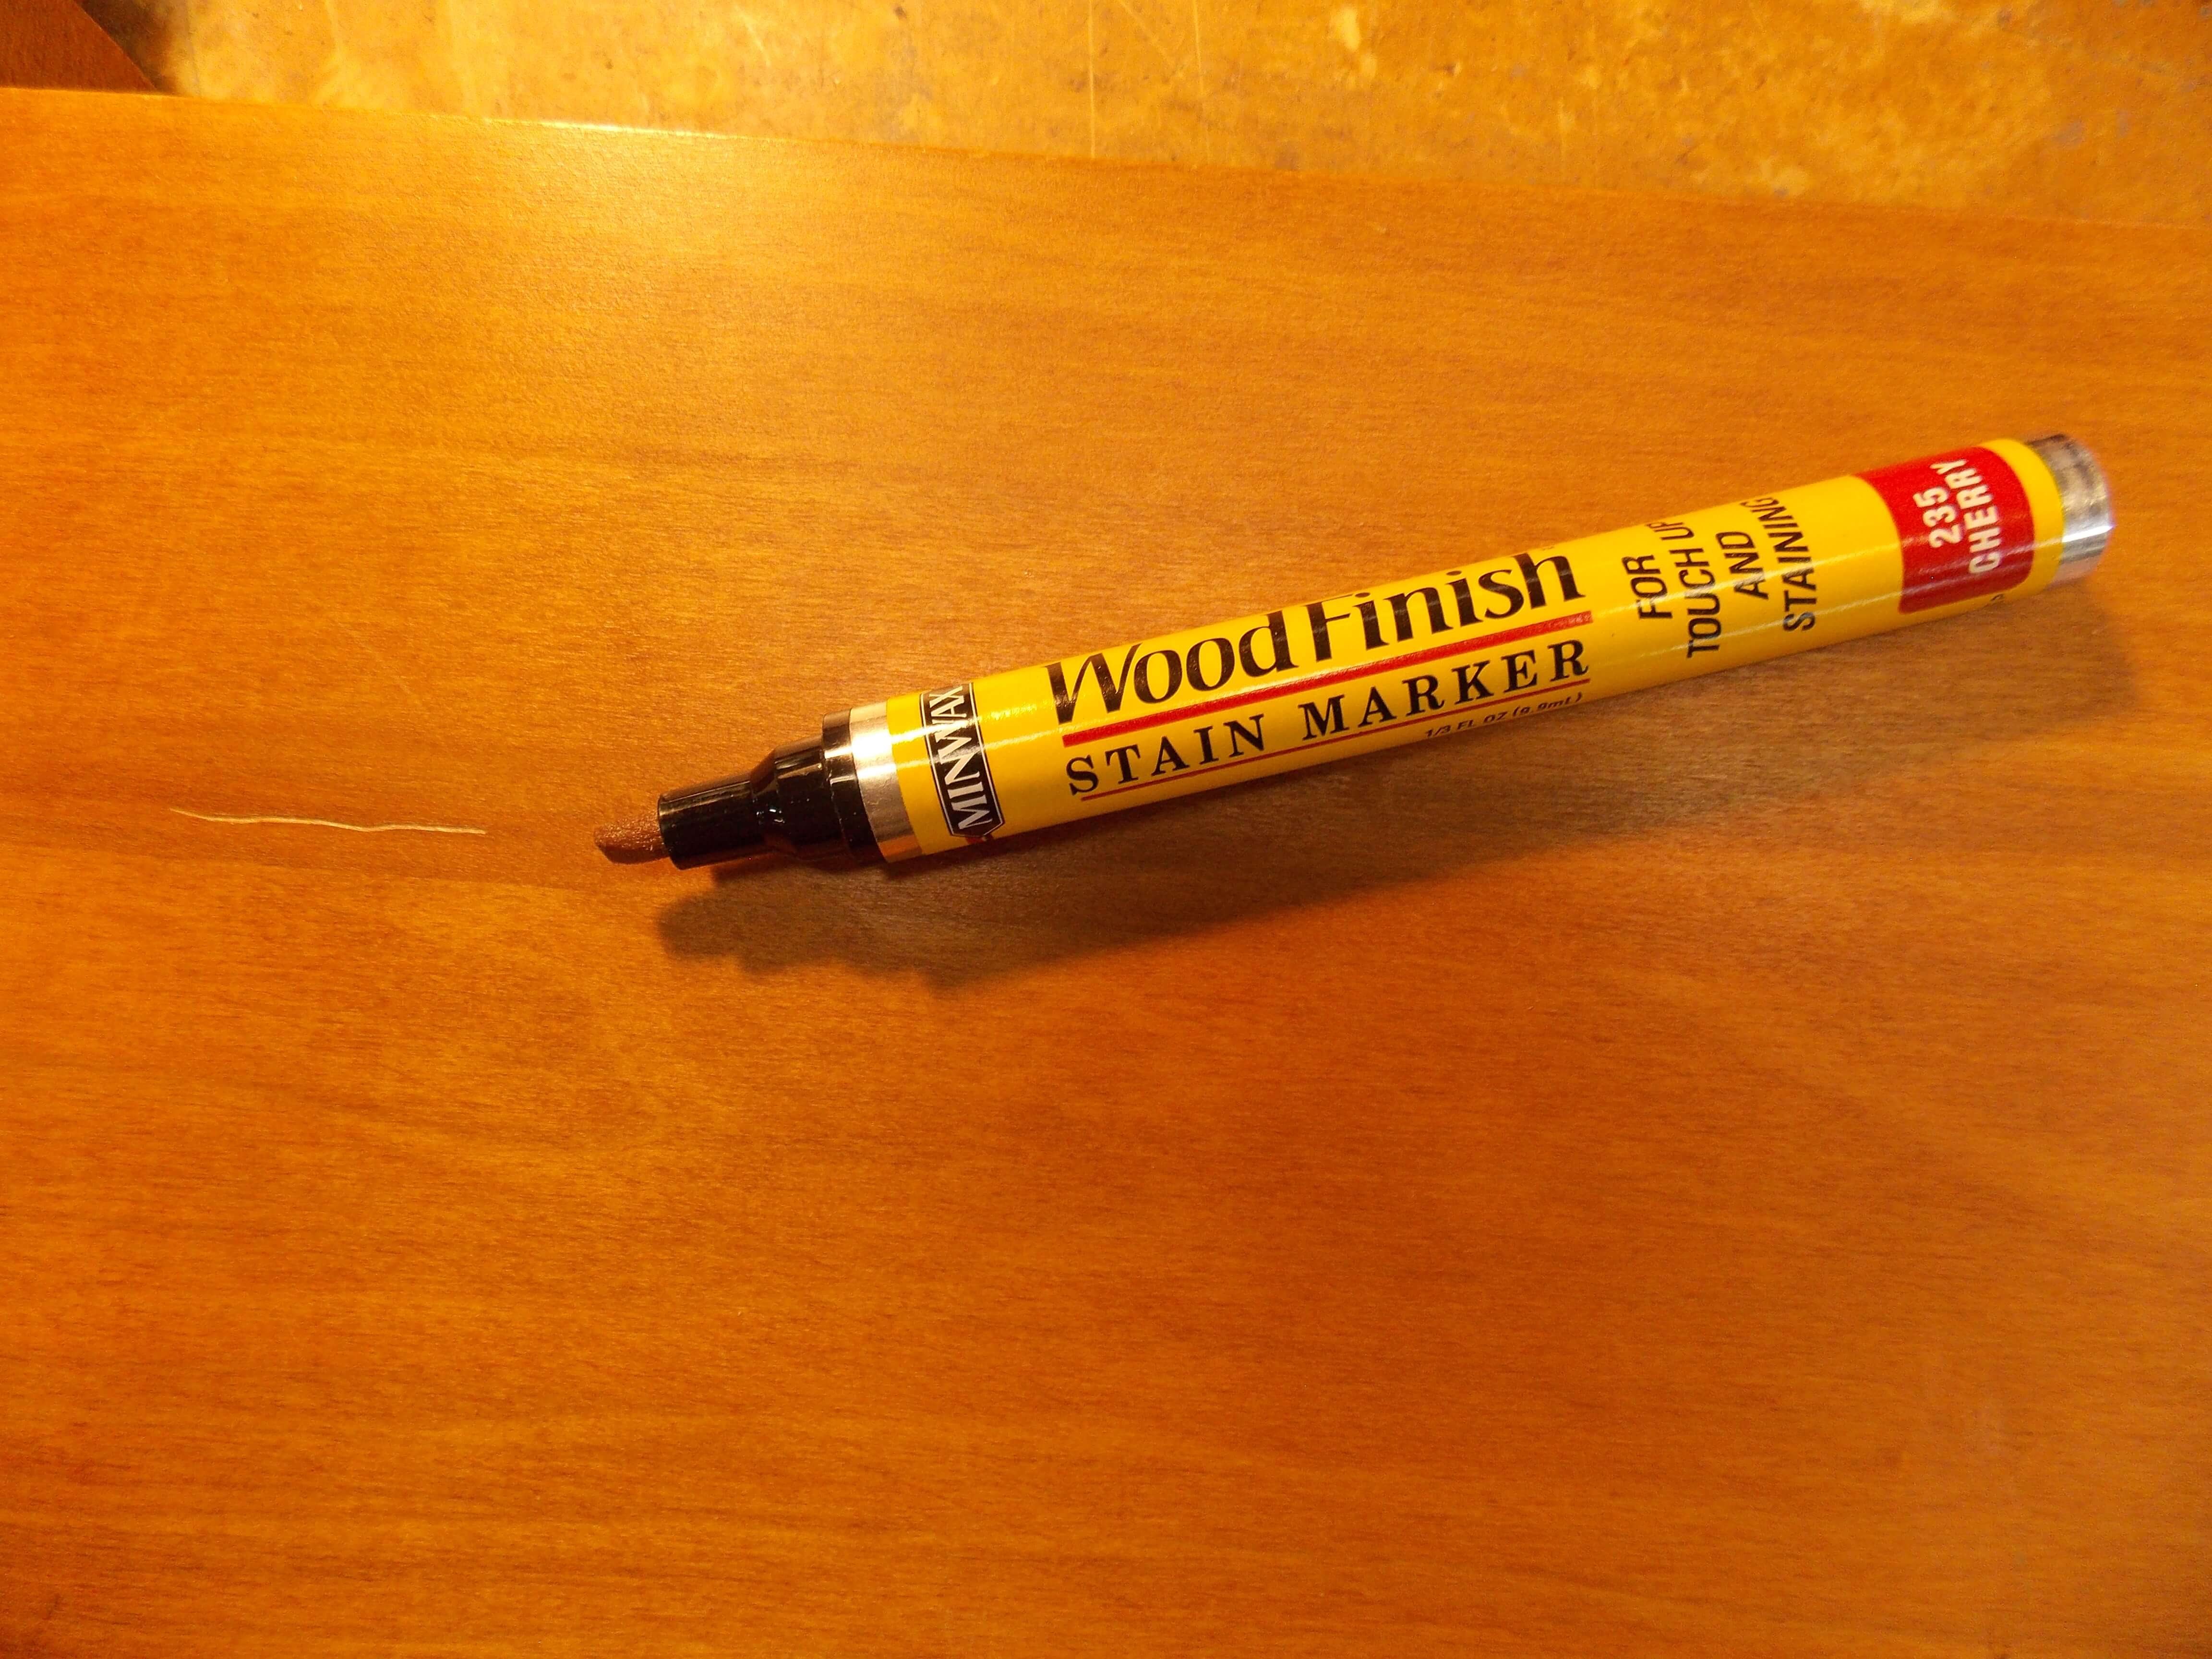
Which then revealed some small scratches, which I disguised using a Minwax Wood Finish Stain Marker.
3. Prep the old finish for a fresh coat
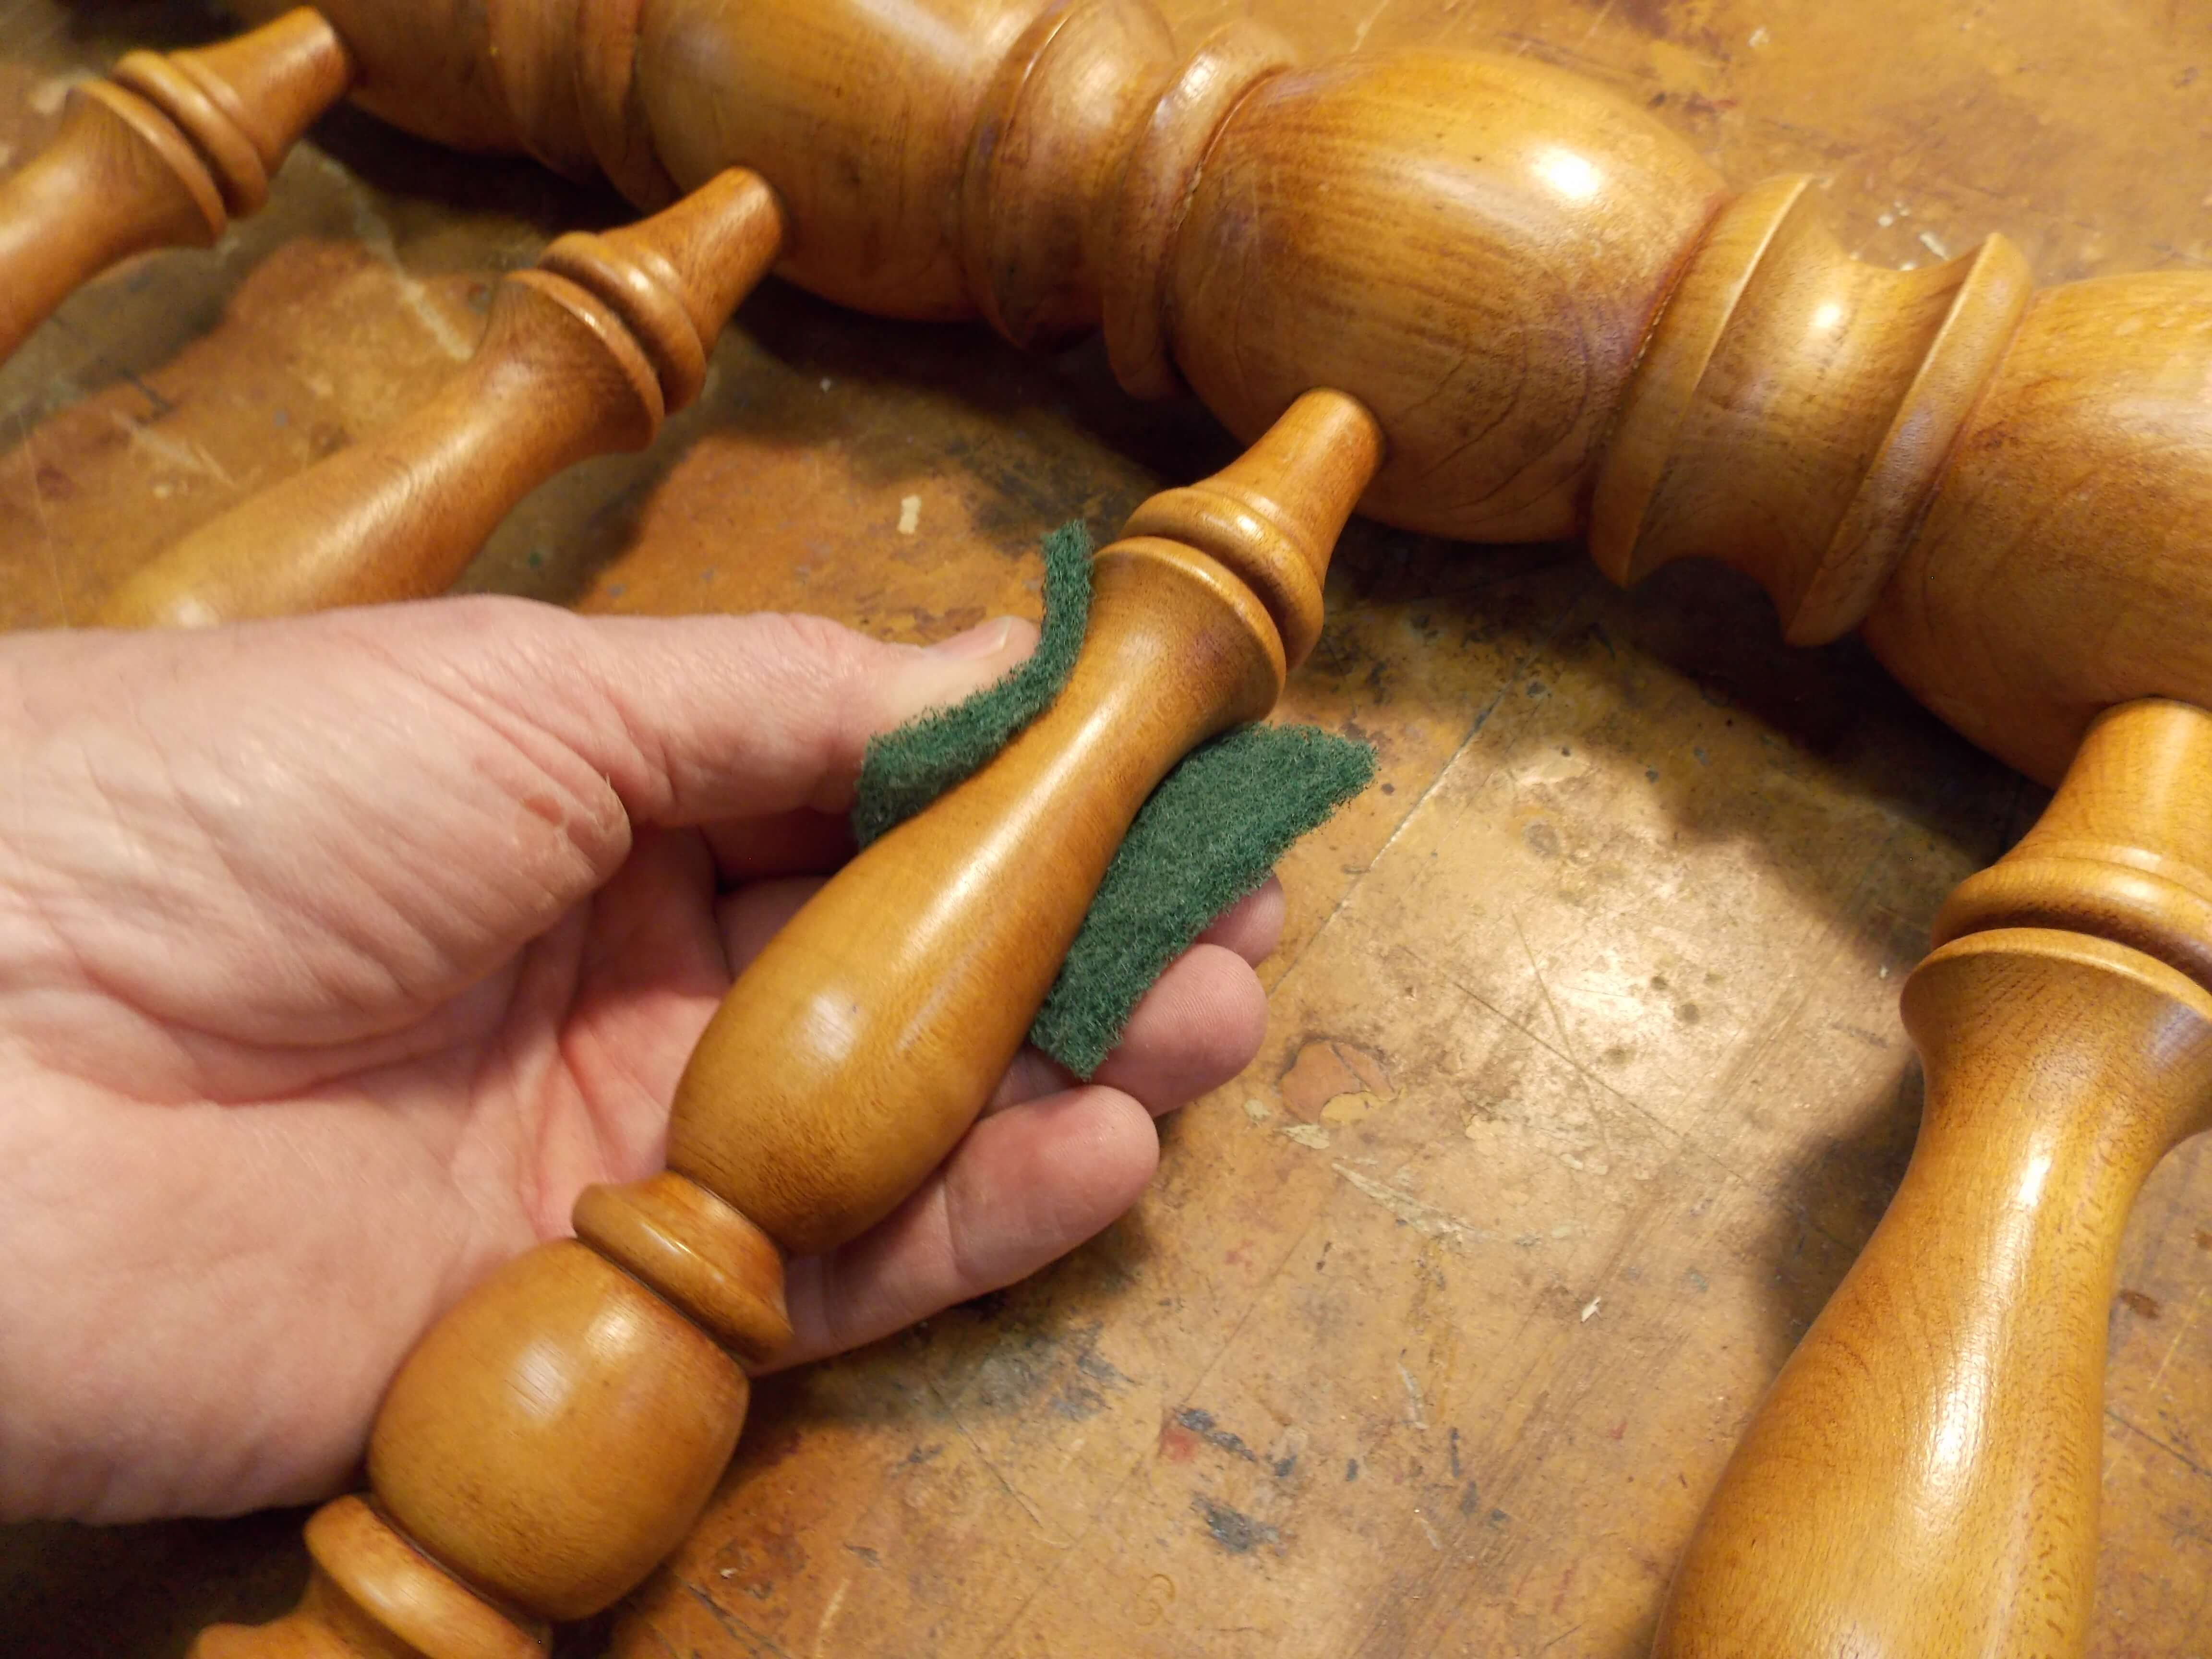
The finish Grandma Hickok and I applied years ago was still intact, but needed a fresh coat on top of it. To prep the old finish, I use a fine synthetic pad to lightly scuff the old finish, then wiped off all the dust.
4. Apply lacquer to the wood
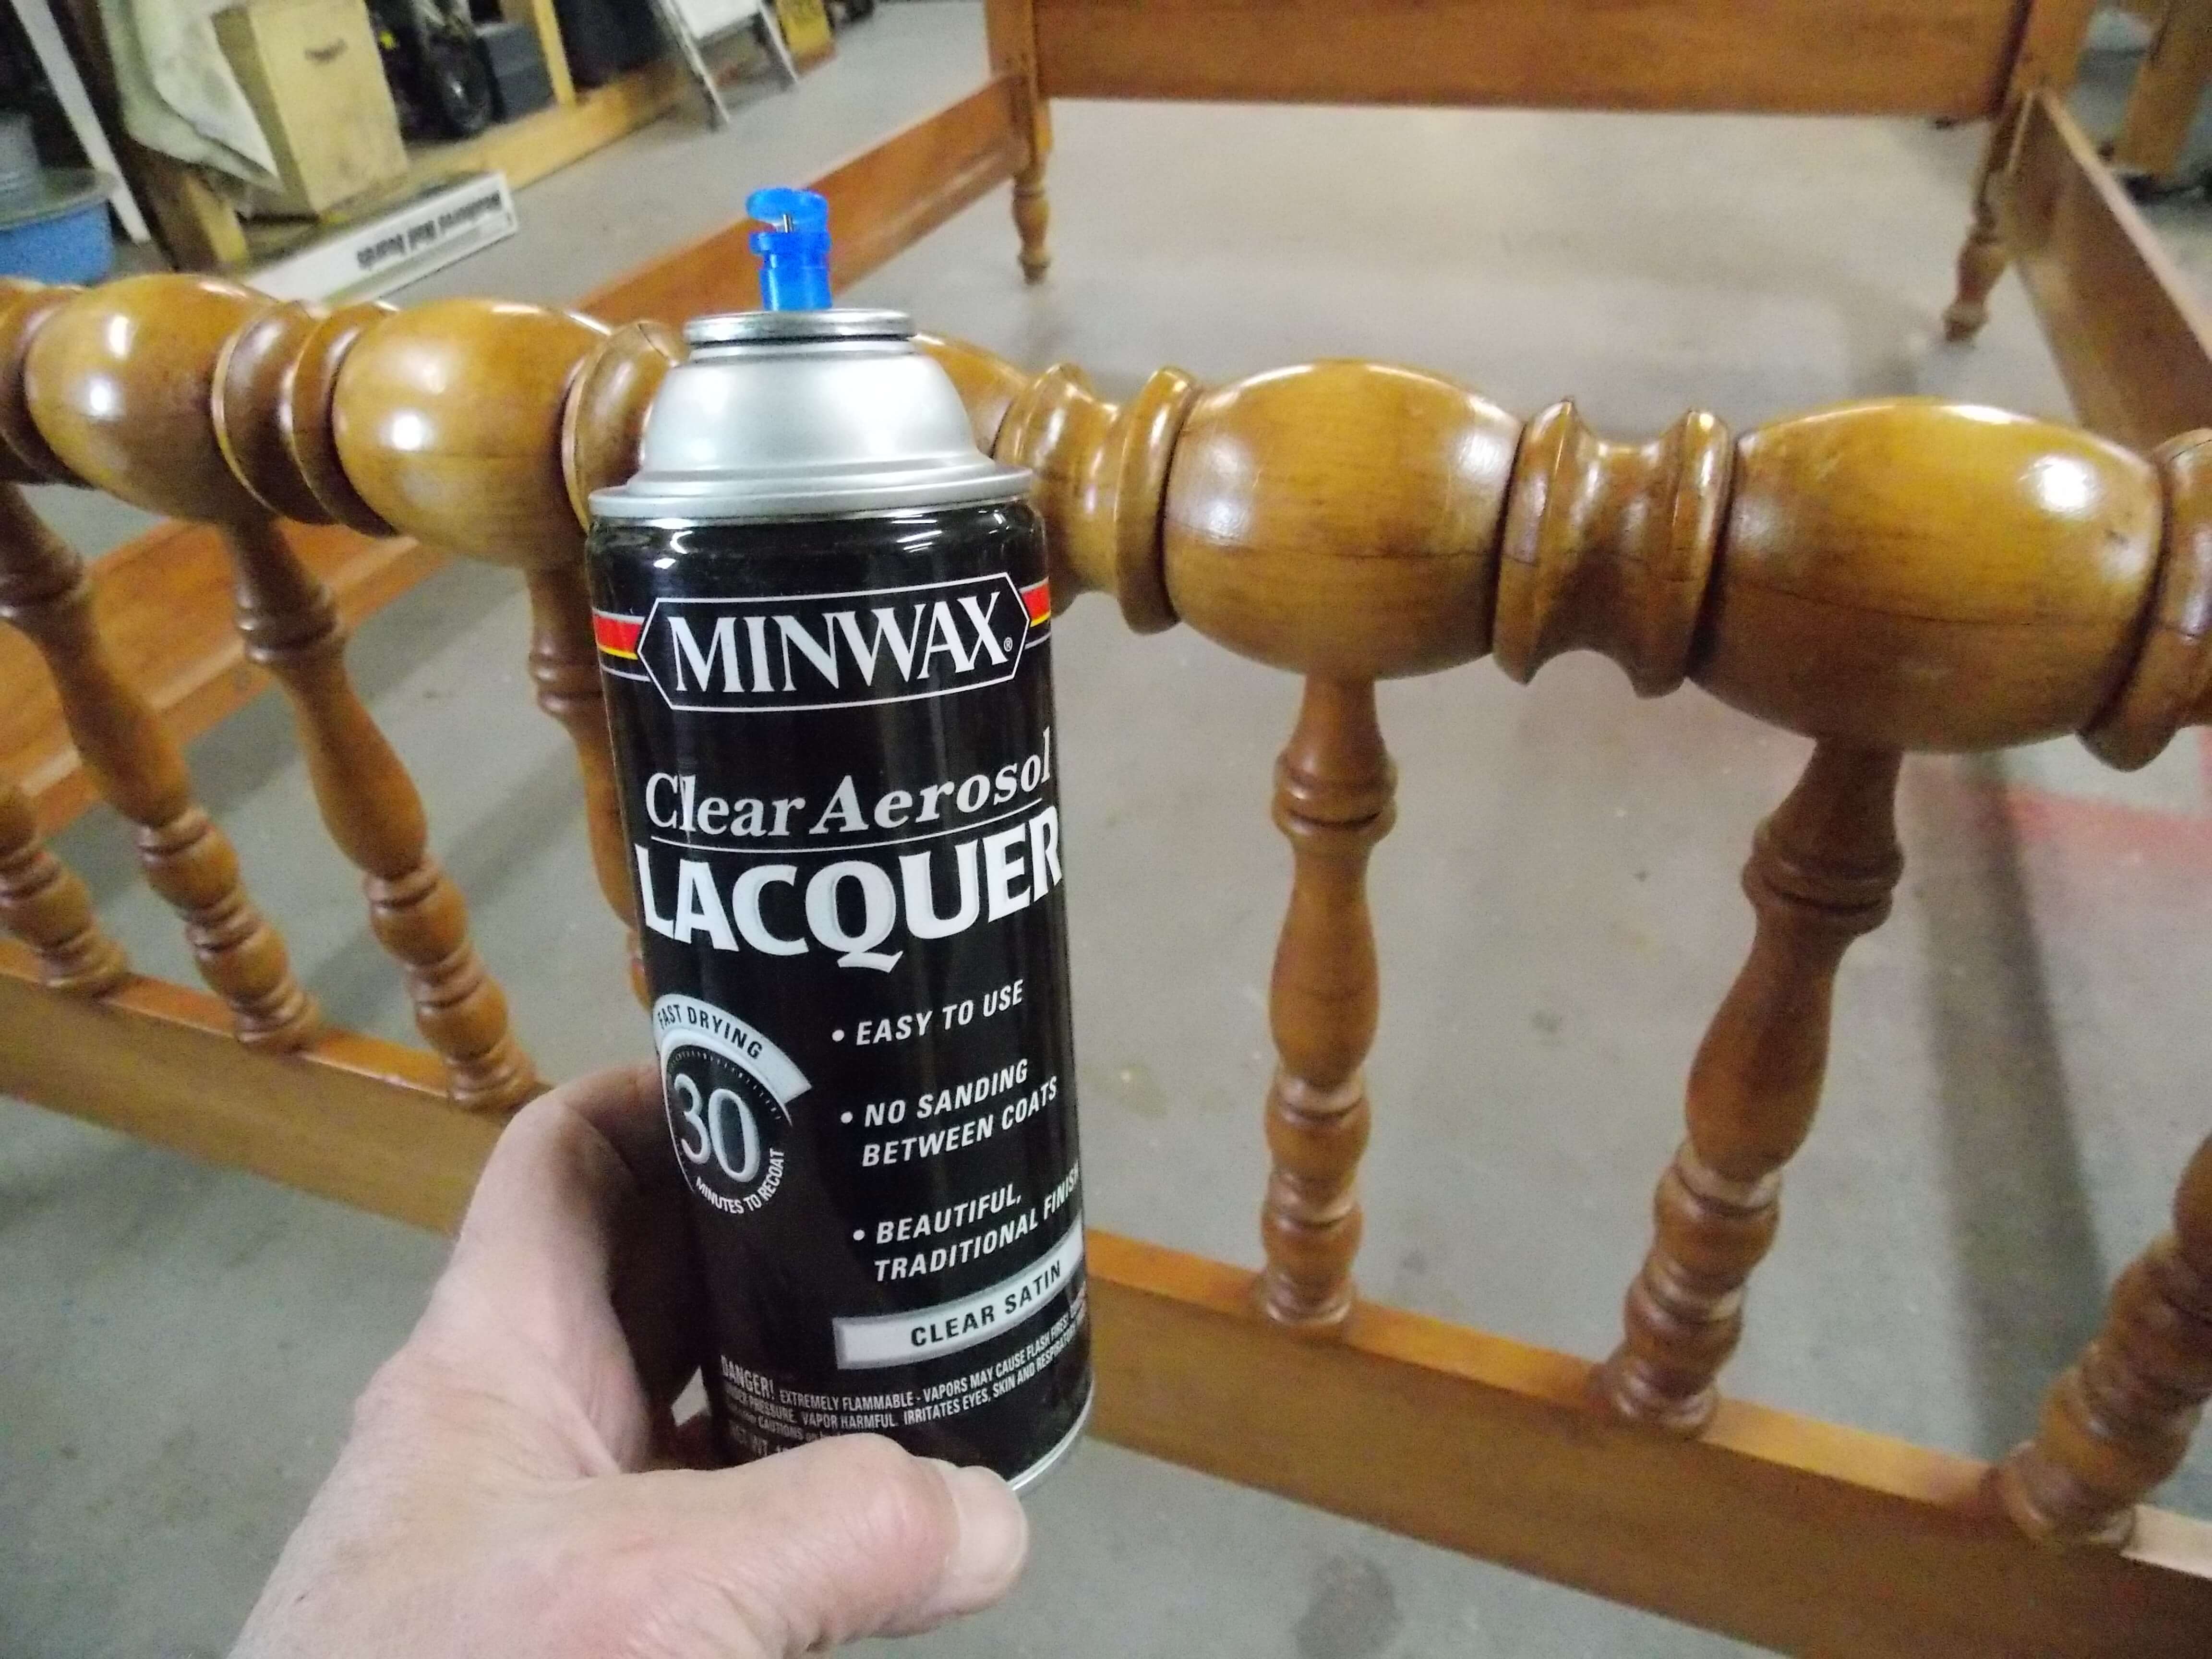
Brushing a new finish around all of those spindles would have been time-consuming, so this was an ideal project for the aerosol version of Minwax Clear Aerosol Lacquer.
As you can see, the Clear Aerosol Lacquer added some new sheen — and some badly needed protection — for this antique bed. I’m sure Grandma Hickok would be as proud of it today as she was back when we first refinished it, especially knowing it was still being used by her great-grandson.
Until next time.
Thanks for stopping by!
Bruce


