


This week’s guest blog is from Jen of City Farmhouse. Create your own picture frame by following her tutorial.
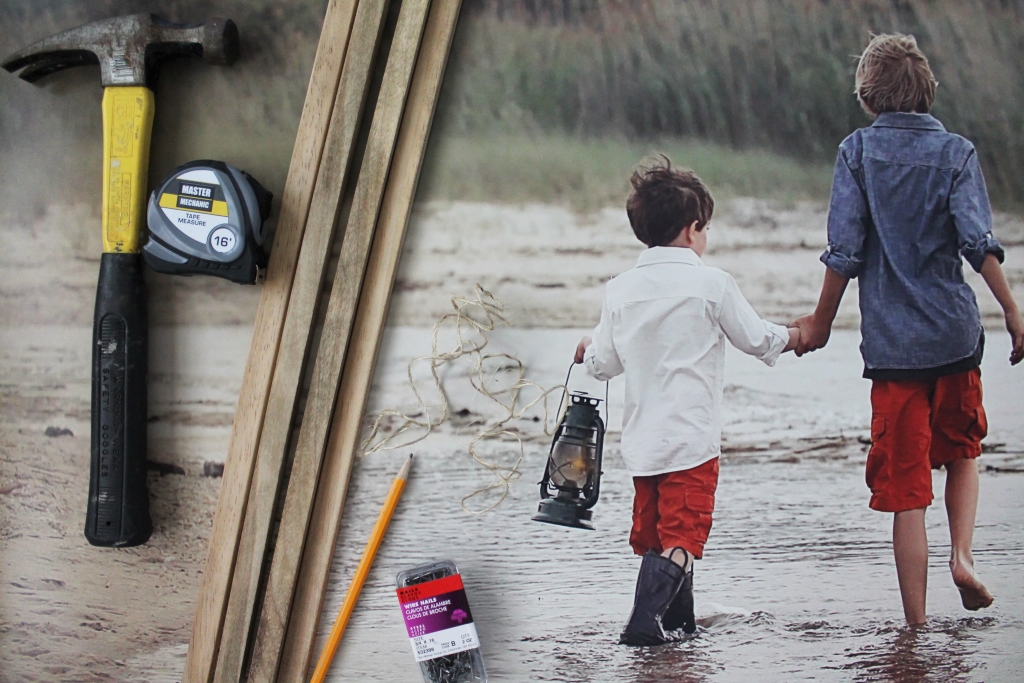
Family photos can bring life and meaning into a home, they can tell a story & make an ordinary space feel loved and appreciated. A few summers ago I had an amazing photographer friend of mine, Michele Kats, take photos of my family & I at the beach. It was a place I spent a lot of time as a child, as did my father and then my own boys when we moved back from Colorado. I felt so blessed leaving the session, before even knowing what they would look like. These memories continue to be a gift for us as we cherish looking at them each and every time. I have printed a few here & there but to be honest I have always wanted to do something bigger with them.
I am excited to be partnering with Minwax® on this post as part of their Made With Love campaign. Today I am going to show you how your family photos can become art & a beautiful focal point in any space, along with a really easy way to create a DIY frame. The fun thing about this project, I brought a beautiful memory that spans 3 generations into my home and did it all for under $50.
Let’s get started. You will need…
- 4 wood pieces cut to size – I bought 2- 5/8″ x 36″ poplar square rods and a 6 ft piece of pine screen door molding which I cut to size. For a 30″ x 30″ print I then had 4 lengths of wood that were all 31″ long, 2 poplar and 2 pine.
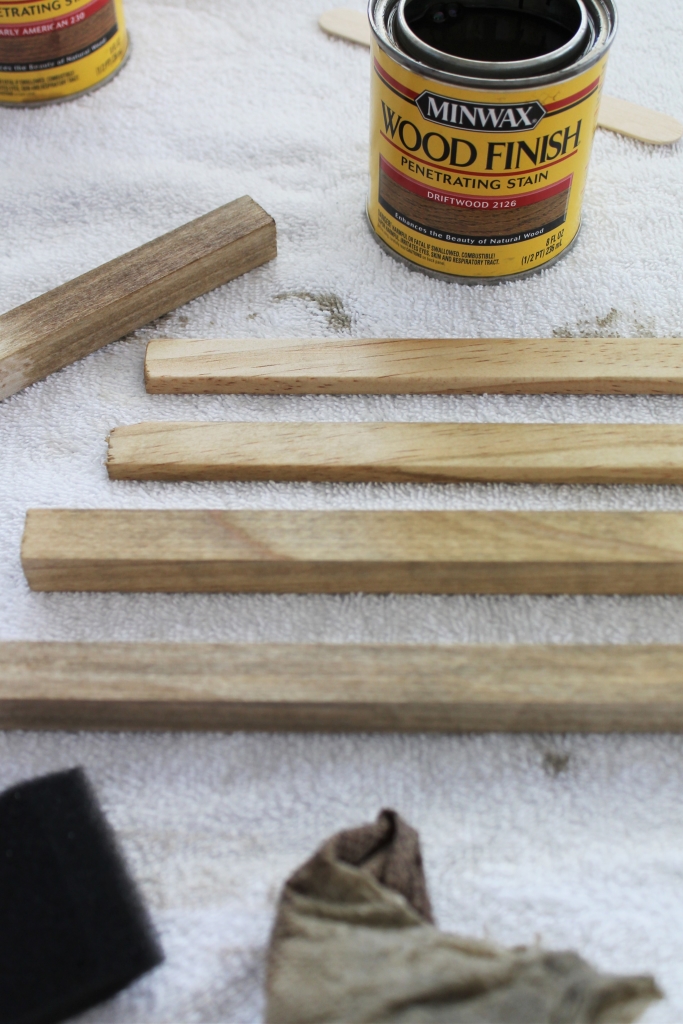
- stain – I used Minwax® Wood Finish™ in Early American & Driftwood
- foam brush or cotton cloth
- photo/print– Mine was 30″ x 30″ (from Nations Photo Lab)
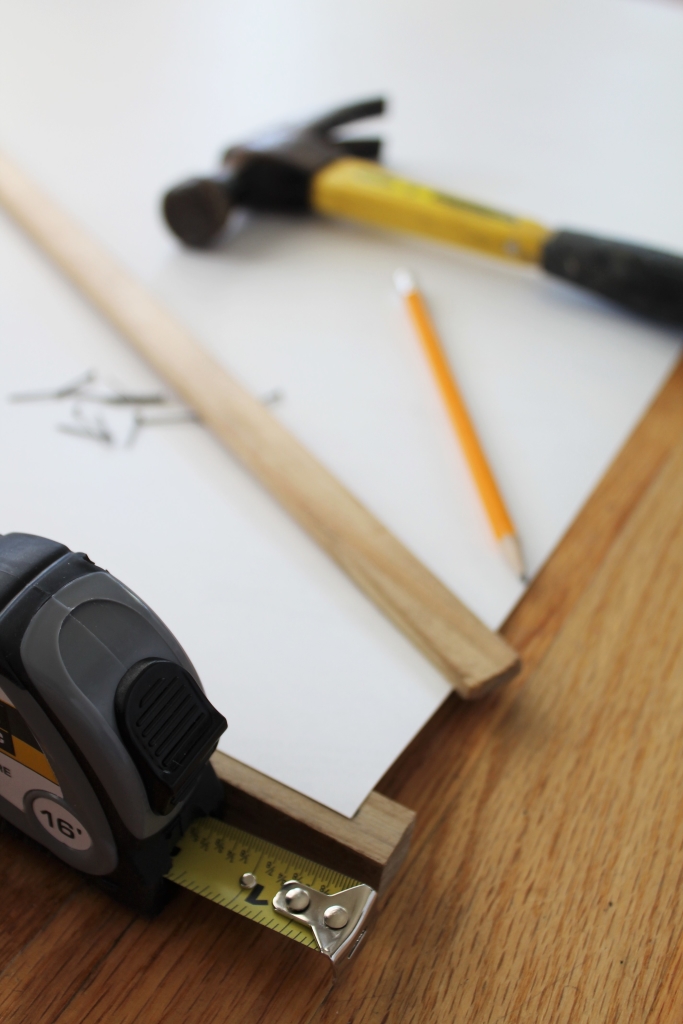
- box saw
- measuring tape
- nails – 3/4 x 18
- pencil
- sandpaper
- jute
- plastic gloves
- drop cloth
- I cut 2 poplar pieces and 2 pine screen door molding pieces all to 31″. I wanted the frame to hang 1/2″ on either side of my print which was 30″. I used a box saw and some sand paper to smooth the edges.

2. Time to stain. Be sure to use plastic gloves and have proper ventilation. I used Minwax® Wood Finish™ in the Driftwood color first, then after it was dry I used a cloth to layer on, very unevenly, the Early American color. This gave a weathered look.
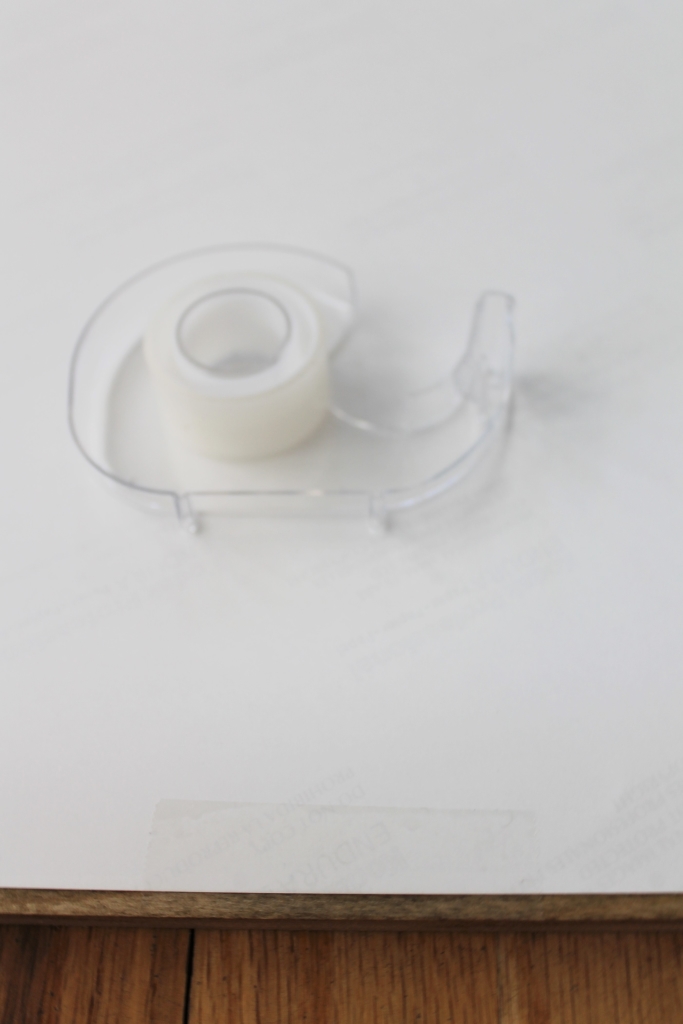
- Lay your print on a flat surface face down. I did the bottom frame first. The square poplar piece is what will be visual from the front, so lay that under the bottom edge. I measured so both sides were even.
- Once it was even I taped the print so it would stay in place. I then added the pine piece on top, this piece will not be visible from the front.
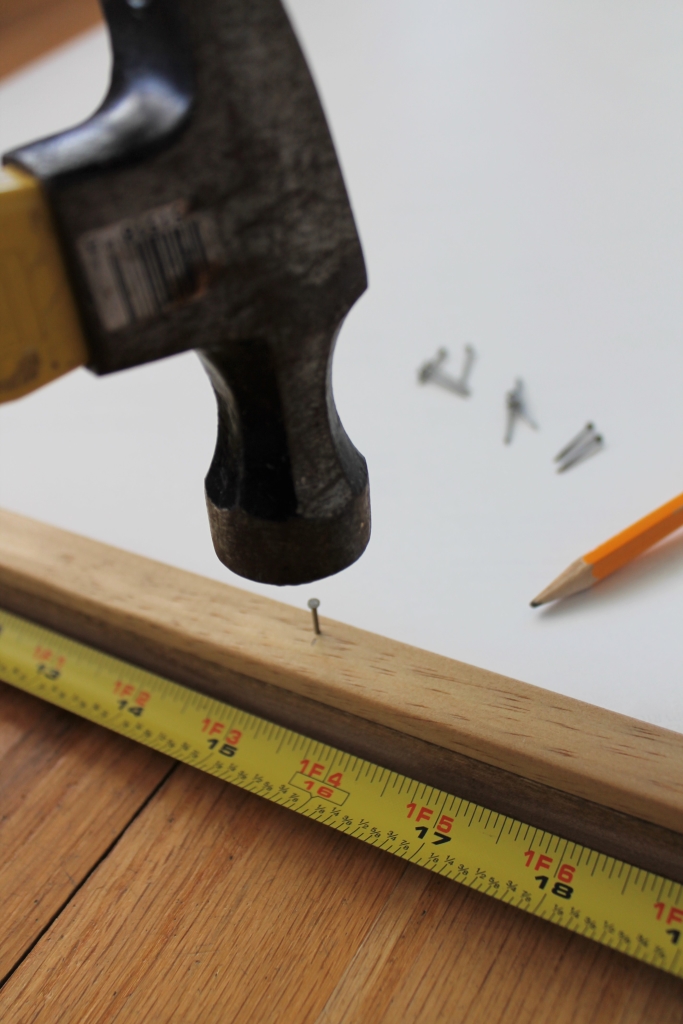
- I used thin nails to secure the back piece – the pine to the poplar piece. I used a total of 5 for the bottom and 5 for the top.
This is what it will look like from the front.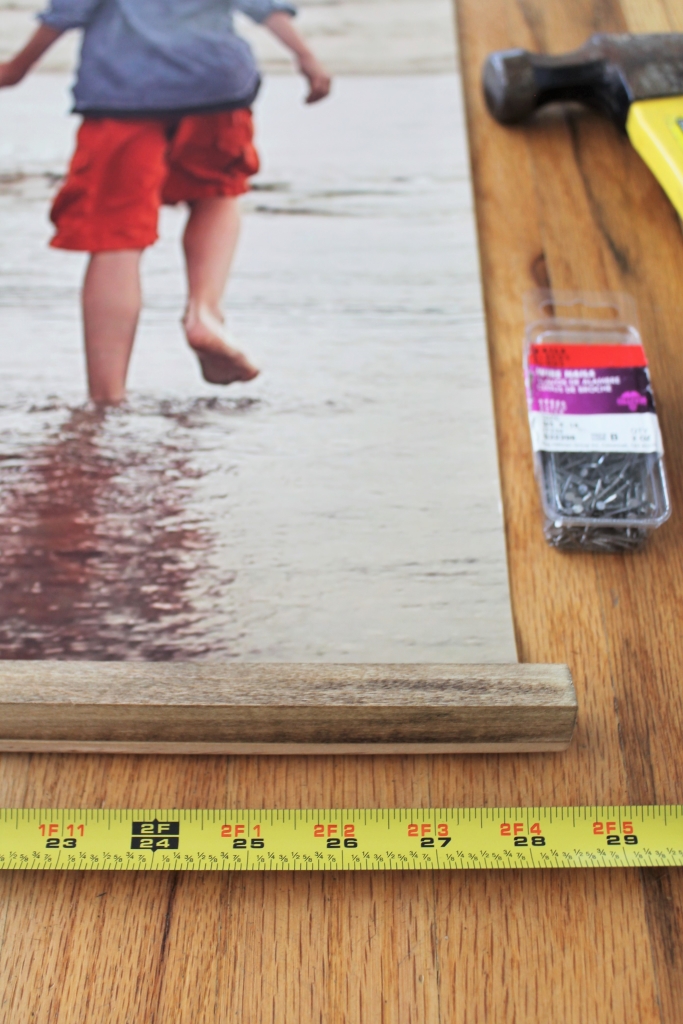
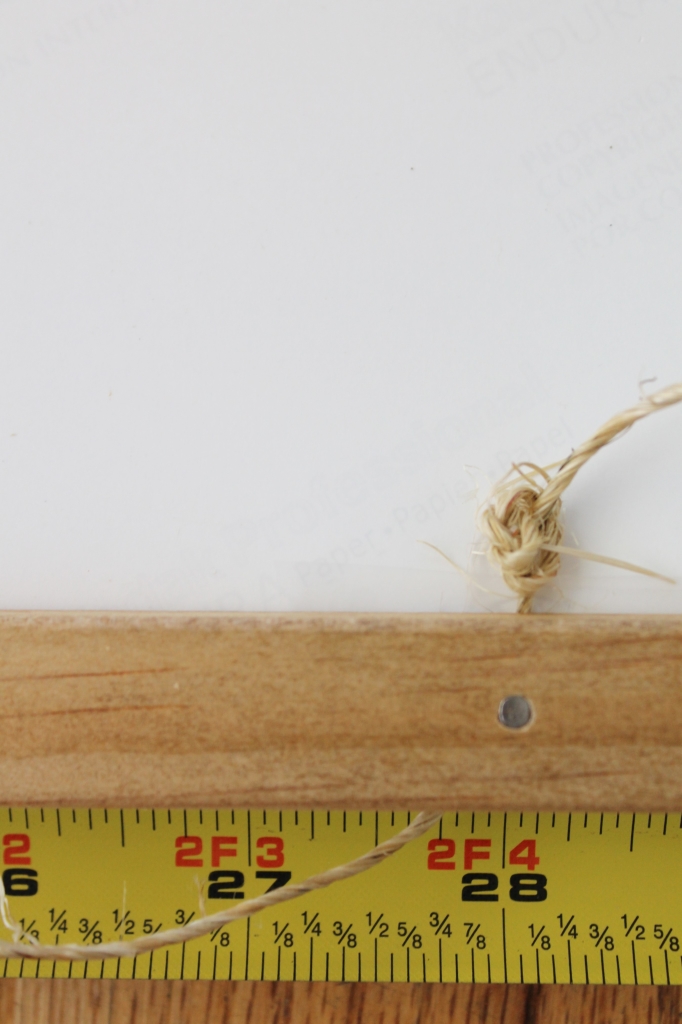
- You will do the same for the top and add jute for hanging. I measured 3″ from either side and tied a knot at the end.
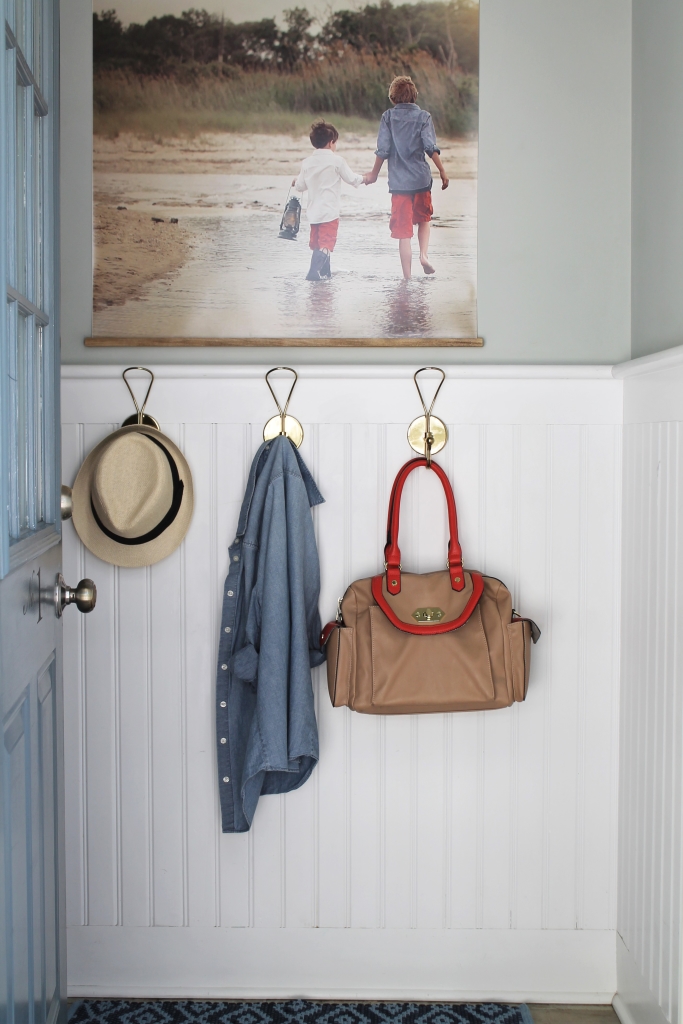
Simple right?! Here is how it looks when you walk in my backdoor mudroom.
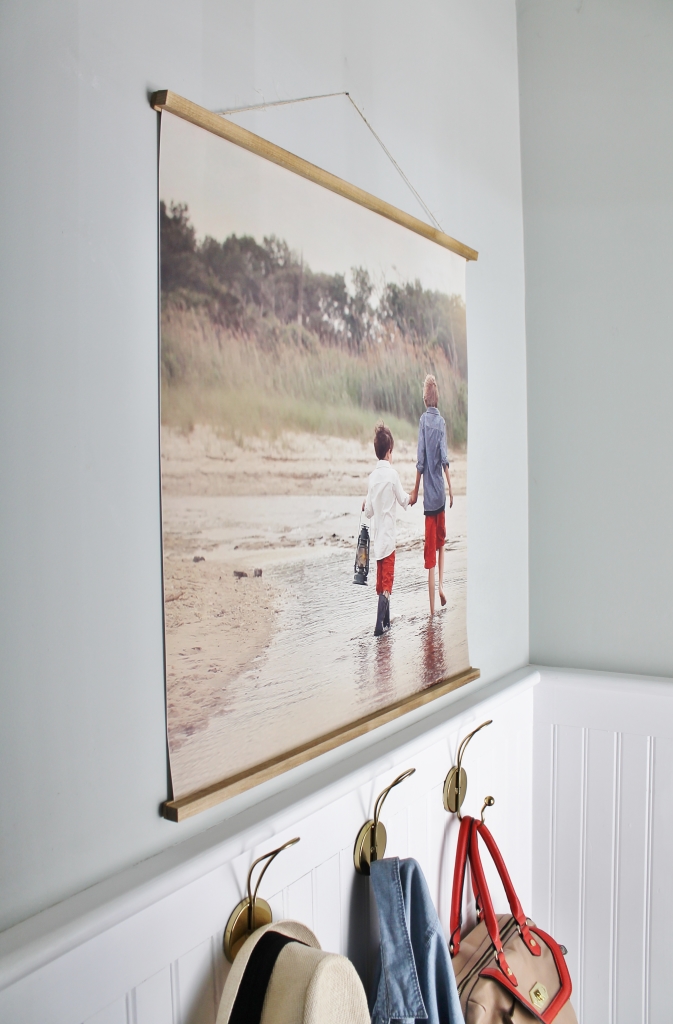
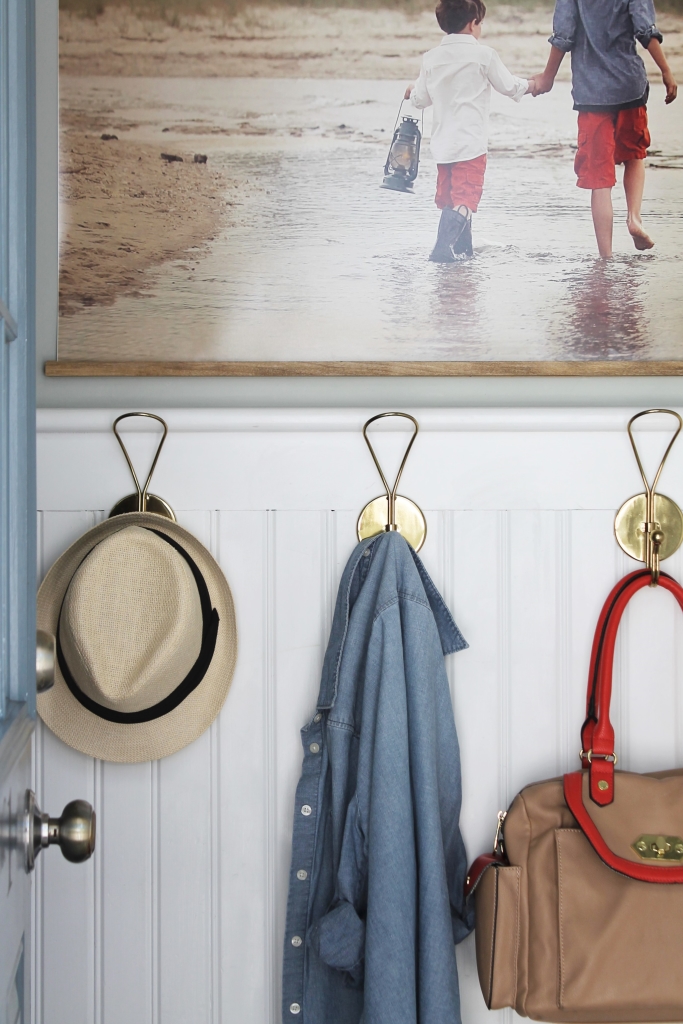
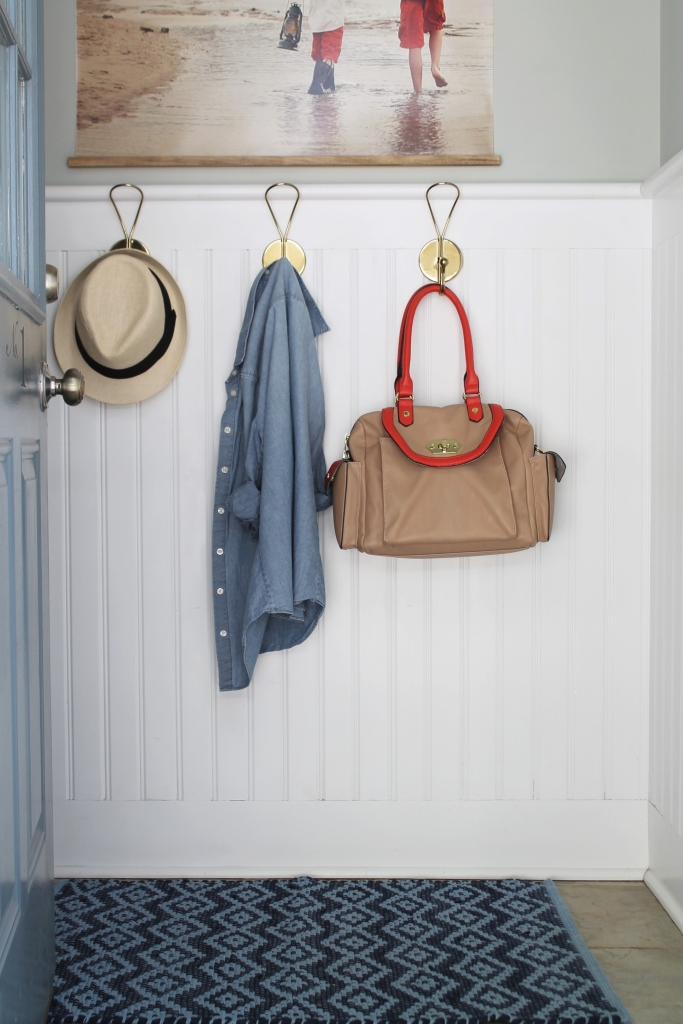
The Easiest DIY Picture Frame. You can check out more beautiful Made With Love projects over at Not JUST a Housewife blog & Thrifty Décor Chick blog.
You can go HERE for more information and watch this BEAUTIFUL video.
Jen shares DIY projects and thrifty decorating solutions. Her design philosophy is that bringing style to your home doesn’t have to break the bank. Learn more about Jen and visit City Farmhouse. You Can also follow her on Facebook, Twitter, Instagram, and Pinterest.
