


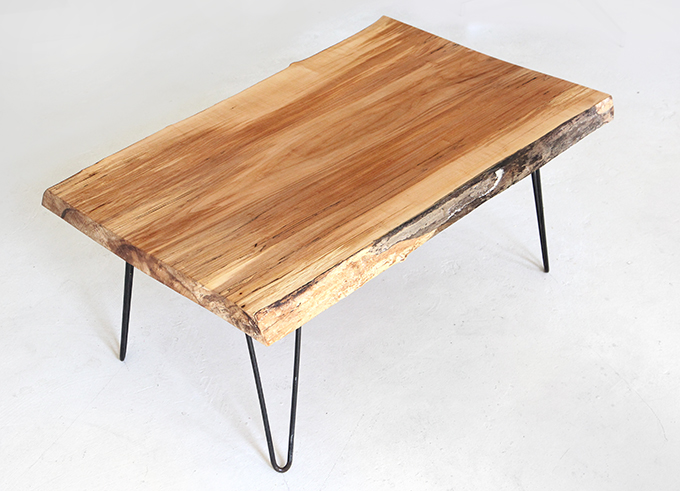
Minwax® has partnered with Jenni Radosevich of I SPY DIY. Her mantra is “spot style you love, and do-it-yourself.” See how she turned a wood slab into a stylish coffee table.
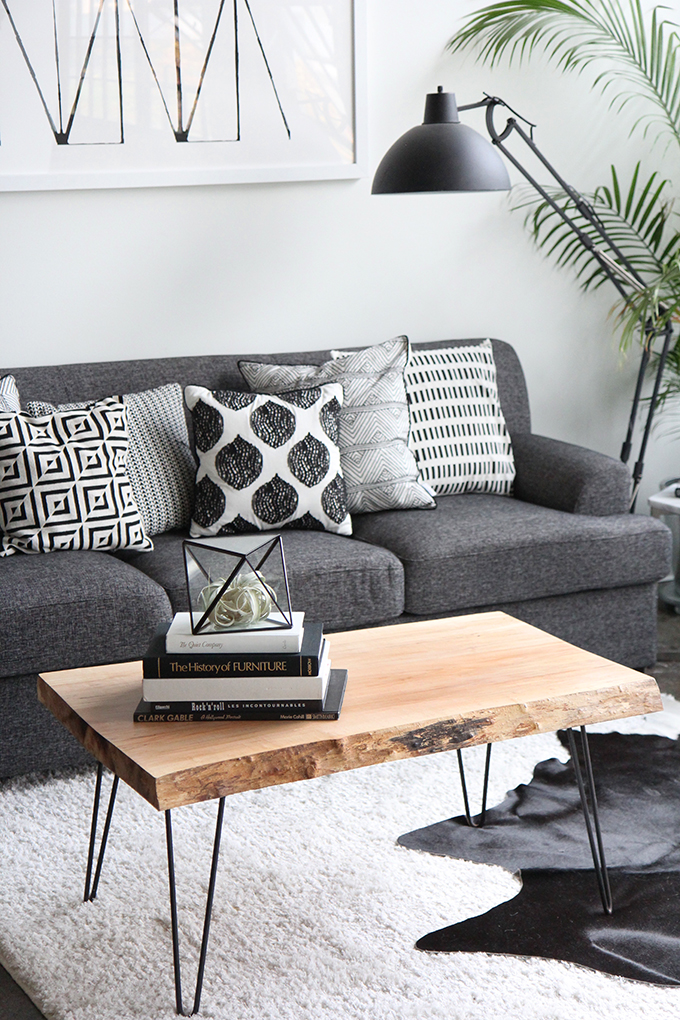
Hey all! I am back from a glorious social-media-free long weekend feeling refreshed. Thanks so much for all the nice words and comments on last week’s post, and I am so sorry to hear that some of you are going through the same thing, it’s the worst. Now back to DIYing! I posted about my coffee table in my apartment tour post, and shared the story behind the wood slab, now it’s on to how to create your own. I was super excited when I found out that my local second hand store started selling unfinished wood. After finding the perfect piece, we got out the power tools to cut it down to size. More step after the break…
 What you need:
- Wooden slab
- Hairpin legs
- Drill
- Rags
- Sander and sandpaper
- Minwax® Wood Finish™
- Minwax® Fast-Drying Polyurethane
I enlisted my Dad to come down to the studio with all his tools, and he was in charge of drilling in all the screws to hold the hairpin legs in place. Thrifting tip: I alway buy old furniture with hairpin legs, and take off the legs and repurpose. It’s usually cheaper then buying just the legs online!
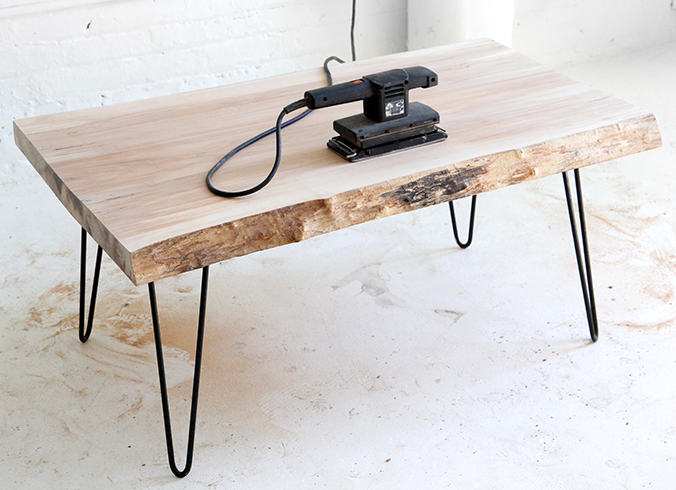
Next came the sanding…oh, the sanding. This took awhile, even with the power sander, because we wanted to get out all the grooves that were made when cutting the slab. That way the top surface would be completely flat. Be patient and stick with it, because it looks so great when it’s smooth!
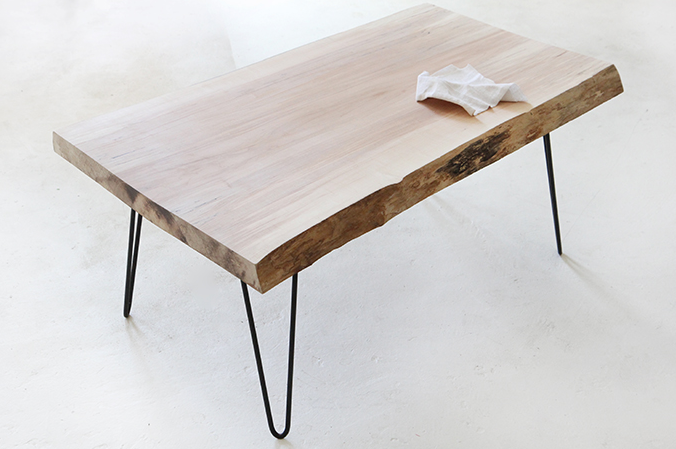
Next, wipe down your surface to remove all the sanding dust.
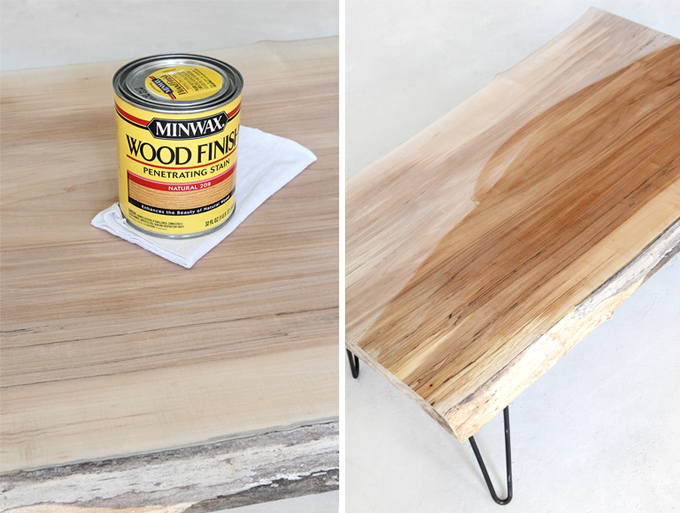
I wanted a stain that would enhance the natural color of the wood, so went with Minwax® Wood Finish™ – Natural, and I absolutely love how the color turned out. It brought out all the character in the slab, giving it more depth and interest. Stir the stain thoroughly before applying it in the direction of the grain with a rag. Let it sit for 5-15 minutes for a rich, darker color. Use a clean cloth to remove the stain that has not been absorbed into the wood, while blending light and dark areas. Let dry for at least 8 hours.
For more of Jenni’s DIY projects. Check out her blog I SPY DIY and follow her on Facebook, Twitter, and Instagram.
