


Project Level: Intermediate
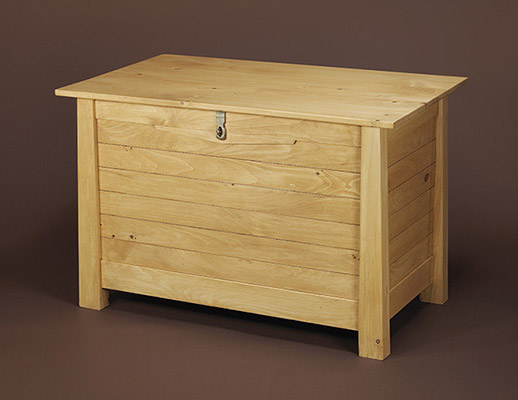
Build a charming storage unit for your home. This New England Pine Blanket Chest project will teach you to practice installing hidden dowel hinges and joining boards and biscuits.
What Do You Need?
- Usual arsenal of tools
- Hammer and 1/32” nail set
- Ball-peen hammer
- Block plane
- C-type springs
- Jointer
- Plate joiner with no. 20 biscuits
- Sanders: belts, random orbit, pad; with appropriate sanding papers in 80,120,150, 200 grits plus, 220 AND 240-grit for pad sander
- Saws (radial, band and table) – Electric drill (with screwdriver bit)
- Assortment of drill bits
- Router, with cutters: 3/4” straight and 1/4″ rounding-over
To see a full list of tools and supplies, as well as detailed instructions and plans, download the project guide.
Before You Begin
Make sure you follow the directions carefully while practicing and developing your safe working habits. Wear your safety goggles and the appropriate respirator when it is necessary.


For Your Chest Project
You can see the chest project guide for cutting plans and assembly steps.
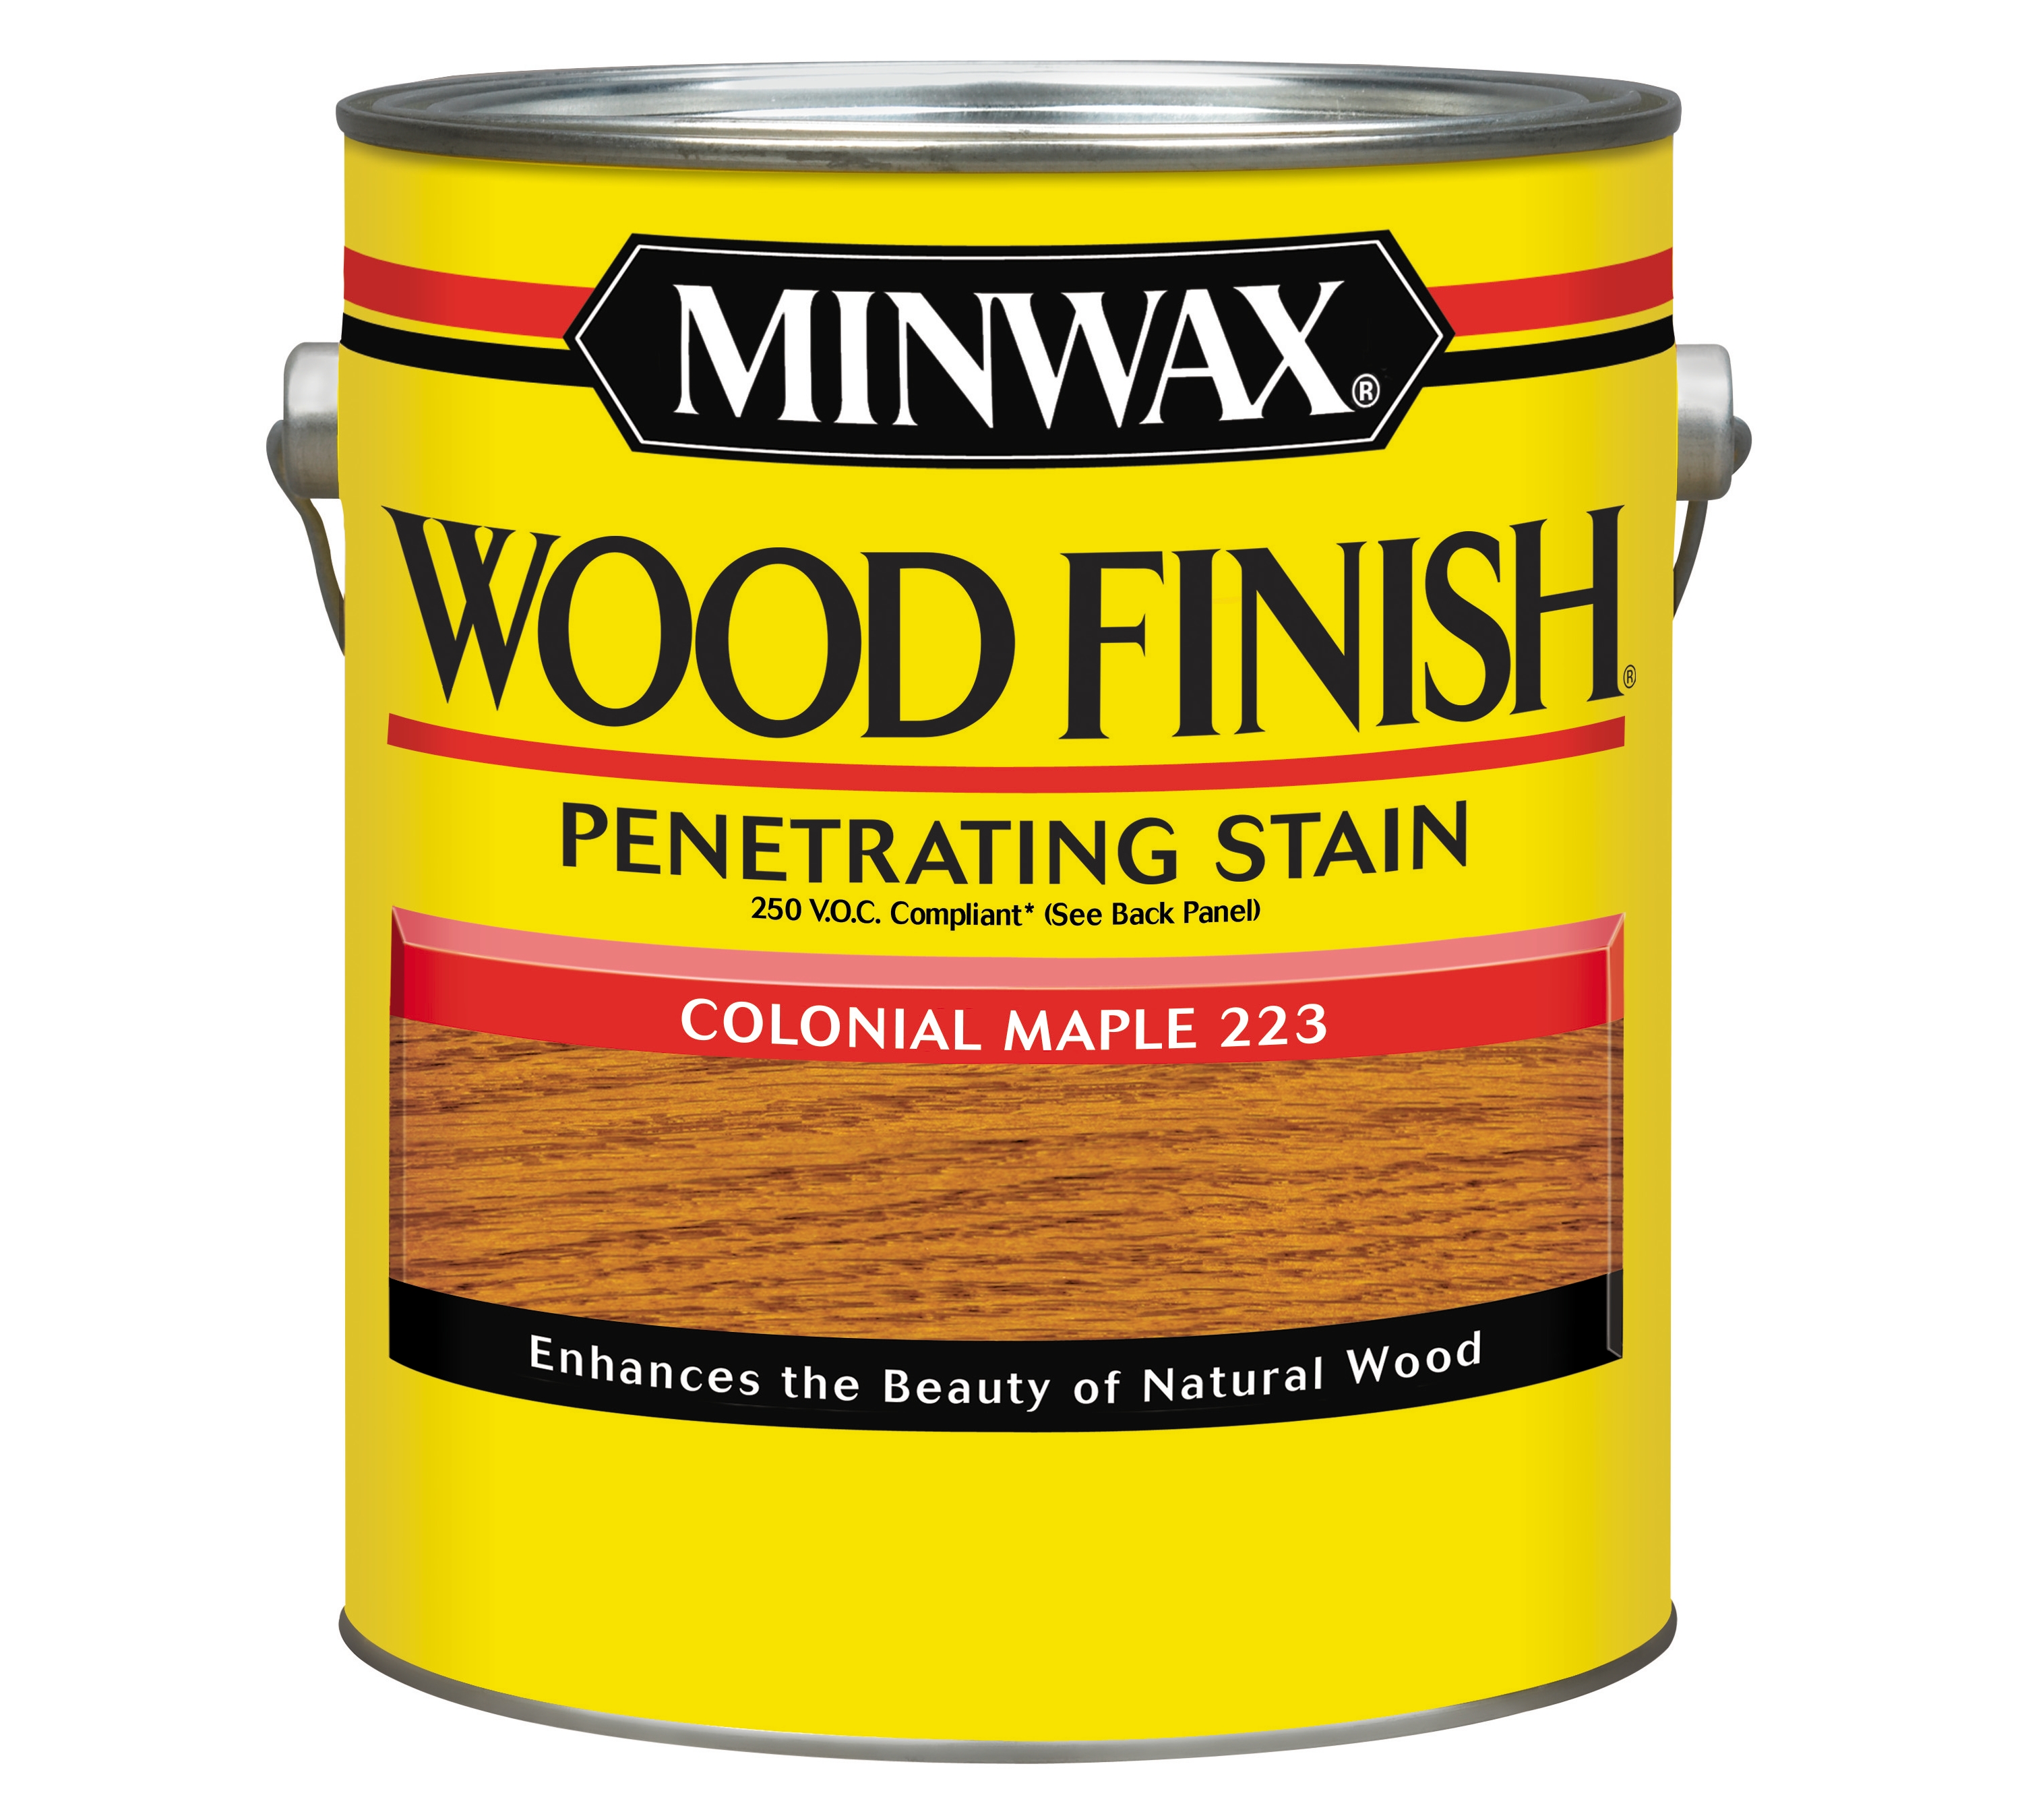
Recommended Finish: Minwax® Wood Finish™ Stain (Colonial Maple)
Before staining and finishing your pine chest, sand the entire piece using 120-grit paper. Then, use 150-grit paper in a pad sander. Dust off the piece and wipe it with a tack cloth.
Make sure to apply Minwax® Water-Based Pre-Stain Wood Conditioner before applying Minwax® Wood Finish™ Stain following the directions on the label. Wait 5-10 minutes, then wipe off excess using a clean, lint-free rag. Proceed to staining within 2 hours.
Working on one section of the chest at a time, apply Minwax® Wood Finish™ Stain using a brush. Allow the stain to set 5-15 minutes to achieve desired color, and then wipe off excess stain. Allow stain to dry 24 hours. The next day, apply Minwax® Fast-Drying Polyurethane using a good quality, natural-bristle brush suitable for use with polyurethane. Allow finish to dry overnight
The next day, sand lightly using 220-grit paper, dust off and wipe with a tack cloth. Apply a second coat of the Polyurethane and set aside to dry overnight.
Finally, sand lightly with 240-grit paper, dust, wipe with a tack cloth and apply the third and final coat of Polyurethane. Allow the chest to dry for several days before putting the piece into service.
For full instructions on staining and finishing, download the project guide.
Useful Tips
- Always test the stains and finishes you have selected on a scrap of wood. On the back of the scrap, mark the stain/finish combination and the type of wood. This is important so you can make sure you like how the color will turn out before staining your chest.
- Remember to pre-treat soft wood (like pine) with Minwax® Pre-Stain Wood Conditioner before staining.
- For a clean, sharp finish, all final strokes with the brush or cloth should be made in the same direction as the wood grain.
- It is critical that all stains and finishes dry thoroughly between coats. Remember that drying times can vary due to humidity and other climactic conditions.
Want to check out other organizer or storage projects?
If you need under-bed storage, see the hideaway locker plan. If you’re looking for a bedroom organizer, download this plan.
We’d love to see your finished projects! Share photos of your step-by-step process or finished product on our Facebook page.
