


Guest blogger Stacy Risenmay of Not JUST A Housewife is back with a creative and fun project. Follow her tutorial on how to create a wood bead planter.
I drew a sketch of this project months and months ago but it kept getting pushed back. When I partnered with Minwax® for several posts, I knew this could be one of the projects which gave me the opportunity to finally cross it off my list 🙂
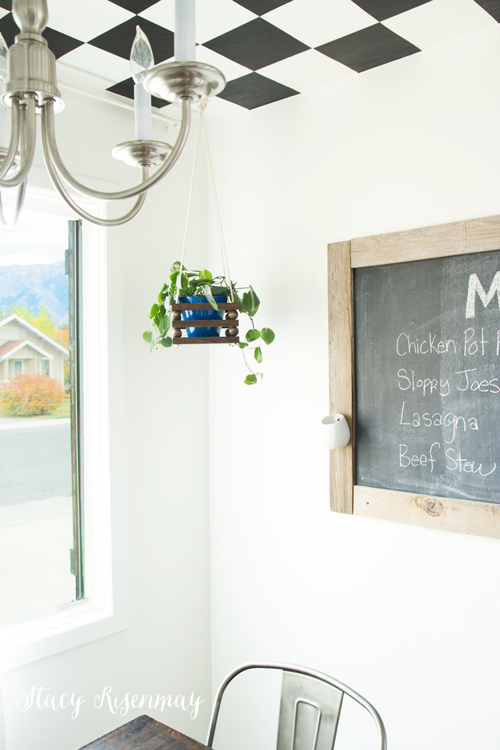
I put it up in my dining room and I like it there but it really is for my future bedroom. Since I don’t know when that room will get done, It has a temporary home that works for now.

Here is what you will need.
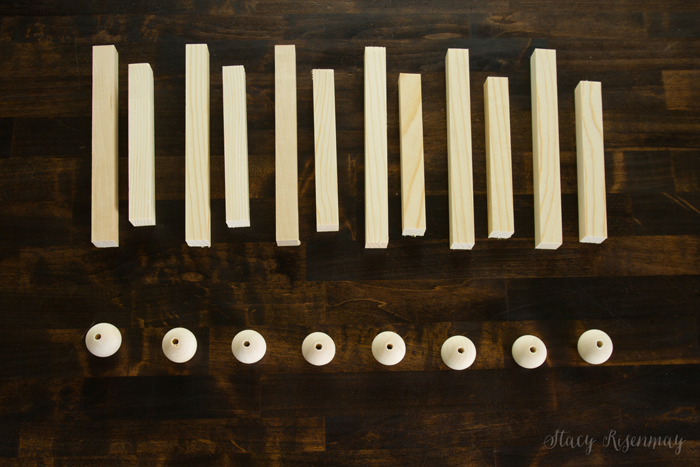
Supplies:
(3) 3/4″ square dowels
(8) 1″ wooden beads
sandpaper
wood glue
cotton rope ( I used clothes line)
foam brush
Minwax® Wood Finish™ stain
drill & drill bit the same size as hole in bead
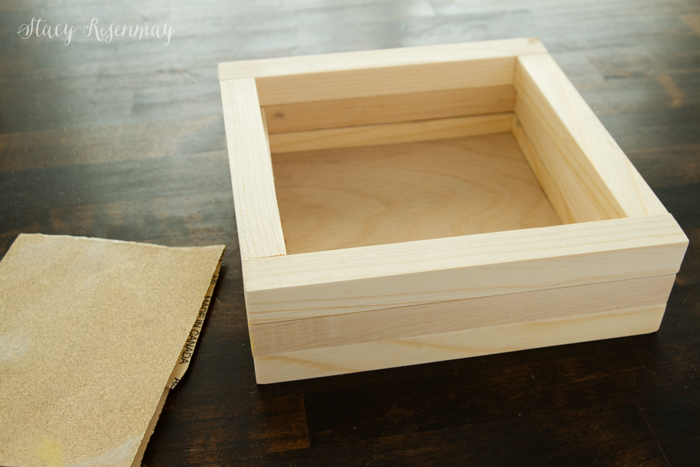
Step 1: I cut six pieces 7.5 inches long and six more pieces 6 inches long.
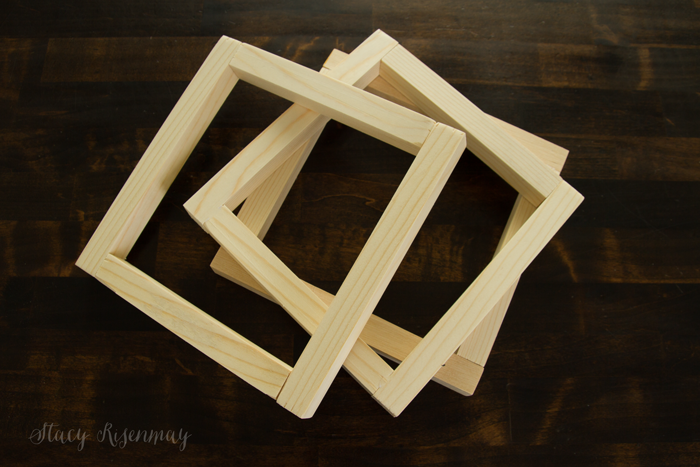
Step 2: Two of the 7.5 inch pieces and two of the 6 inch pieces will be glued together to form a square.
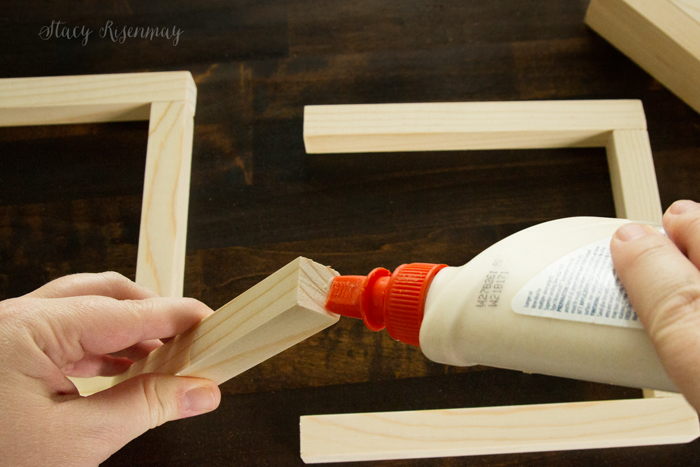
You will end up with three squares.
Step 3: Trace the inside of one of the squares into a thin piece of plywood and cut it out to act as the bottom of the planter. It should fit snugly inside one of the squares. After you sand all the pieces, you will glue along the inside seam of the bottom piece. Wipe away excess glue with a damp paper towel since even the “stainable” wood glues don’t stain as well as bare wood. The glue seams will be on the inside and won’t really be visible once the planter is hanging.
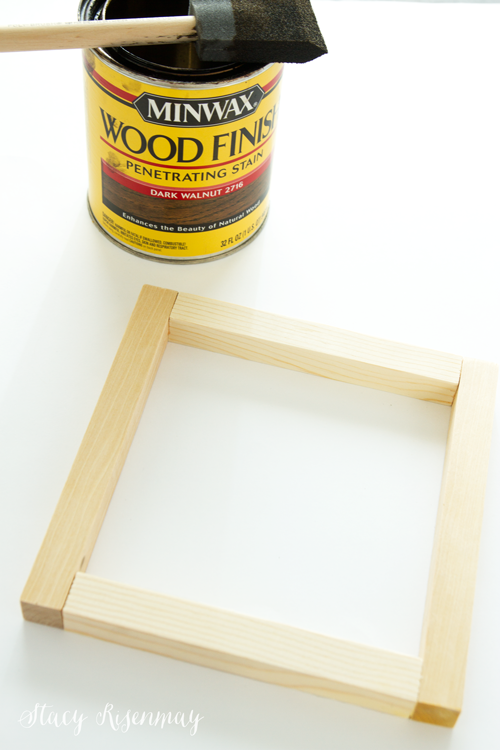
Step 4: It is time to stain! I chose my old time favorite, Minwax® Wood Finish™ in Dark Walnut. I like to use a foam brush to apply the stain.
*TIP* I used a paper clip that I straightened out a bit to dip the beads into the stain.
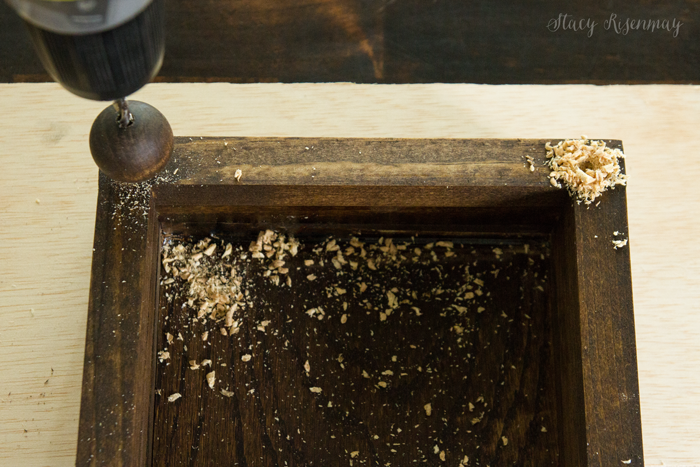
Step 5: Once the stain has dried, stack the squares up and using the bead as a guide, drill all the way through. Put a scrap piece of wood underneath to protect your work station.
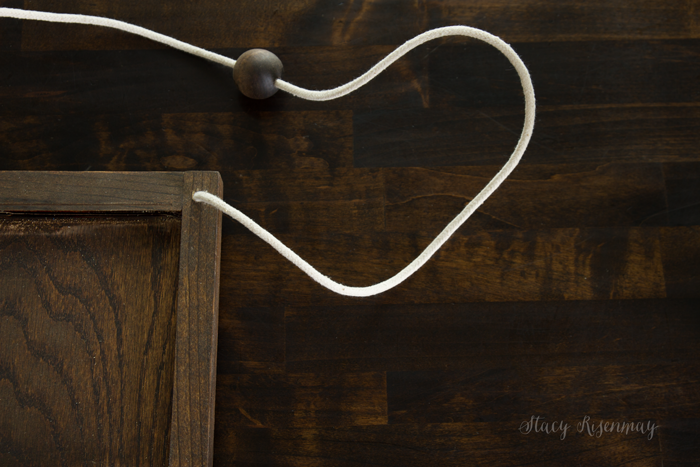
Step 6: Cut four pieces of rope to your desired length. Knot one end and add tape to the other end so it won’t fray and so it will thread more easily. Thread the rope through the holes of the bottom piece.
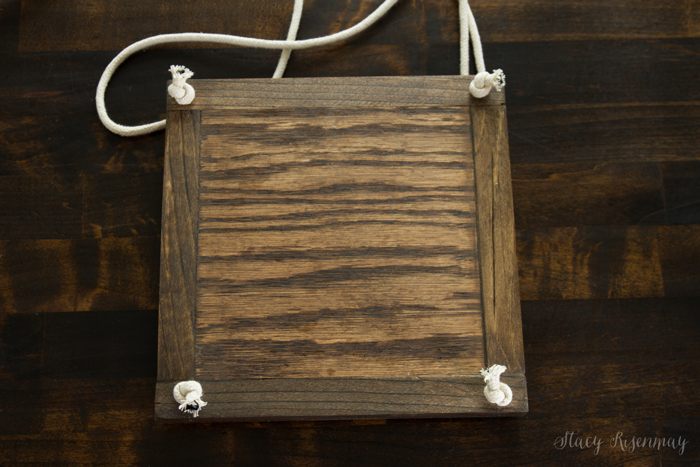
Turn it over and start threading the beads and other squares.
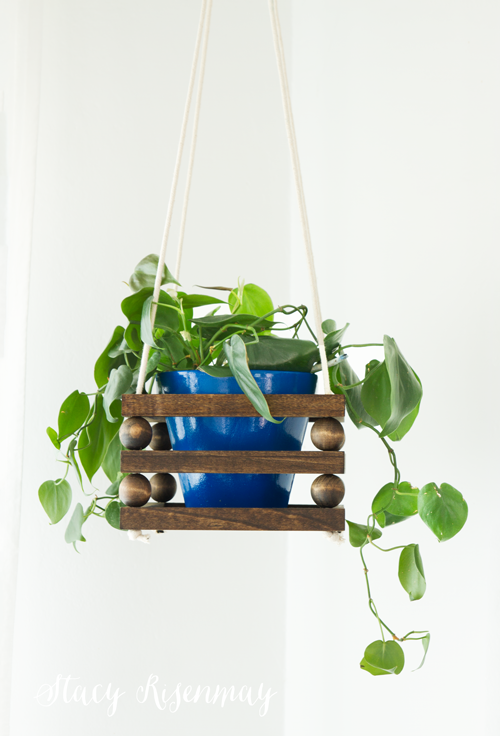
Now it is ready for you to add a plant and hang it up!
Here is a quick video recap of the process:
Stacy Risenmay is a DIY enthusiast. In her blog, Not Just a Housewife, she shares her adventures of fixing up her 1938 cottage. She believes that whether it’s big or small, everyone should love their space. Learn more about Stacy and visit: http://www.notjustahousewife.net/about. You can also follow Stacy on Facebook, Twitter, and Instagram.
