


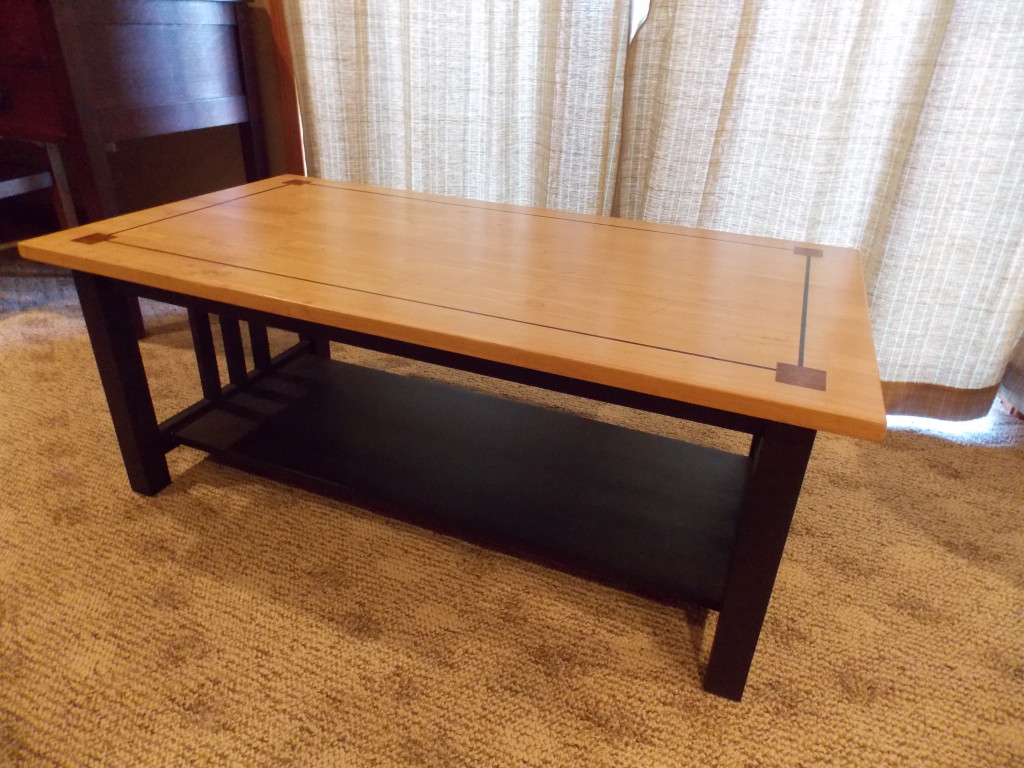
Several years ago I stained this unfinished coffee table with a black base and a Golden Pecan top, then applied Minwax® Fast-Drying Polyurethane. But when I got done, I thought it looked a little, well — boring. So, I decided to add some faux inlay using just painter’s tape, a sea sponge, and Minwax® Gel Stain. If you’d like to see how easy this is to do, just keep on reading.
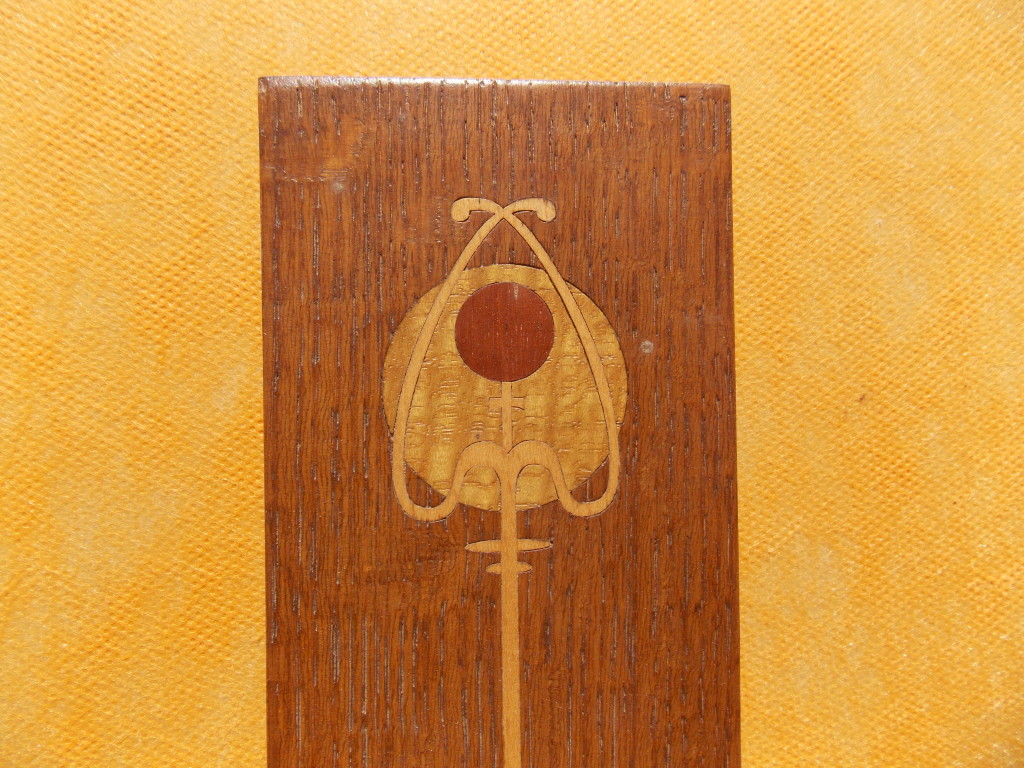
Real inlay like this can either be metal or wood glued into a carefully cut groove or space. It takes a lot of time and skill, so I decided to mimic real inlay using stains instead.
 My faux inlay is much simpler, but is much easier — and faster! Of course, the more you practice, the more complex you can make your faux inlays.
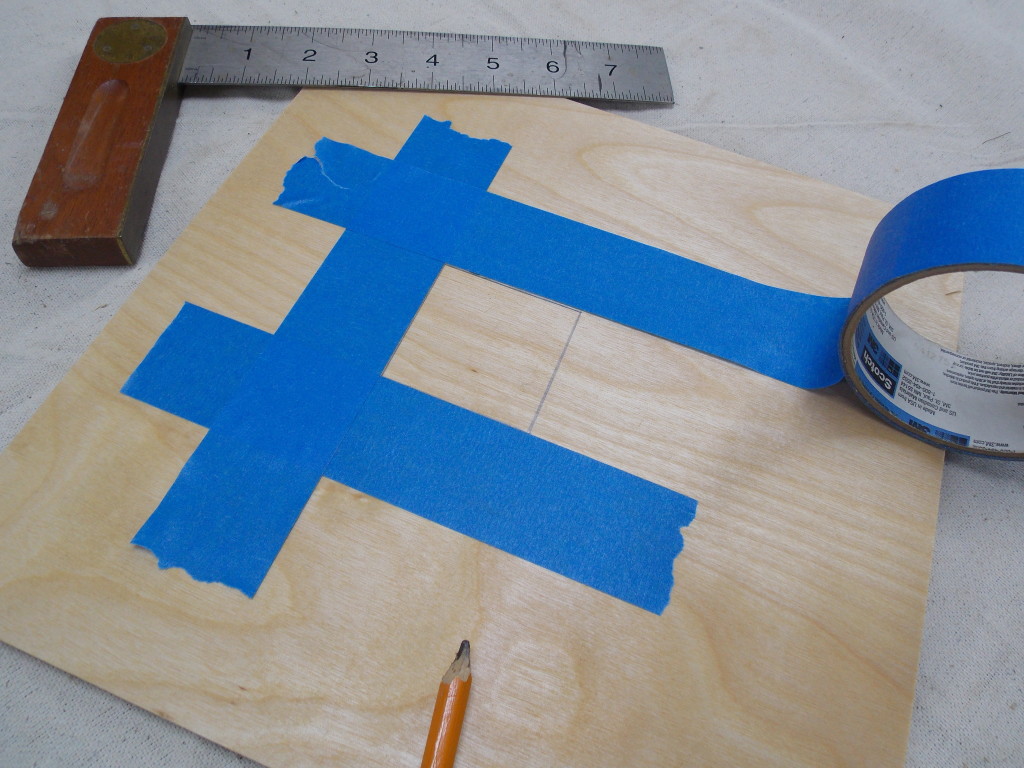
And it’s always a good idea to practice, so I’ll go through the steps on some scraps of wood. I start by drawing the pattern I want in pencil, then using painter’s tape to isolate the area I first want to stain.
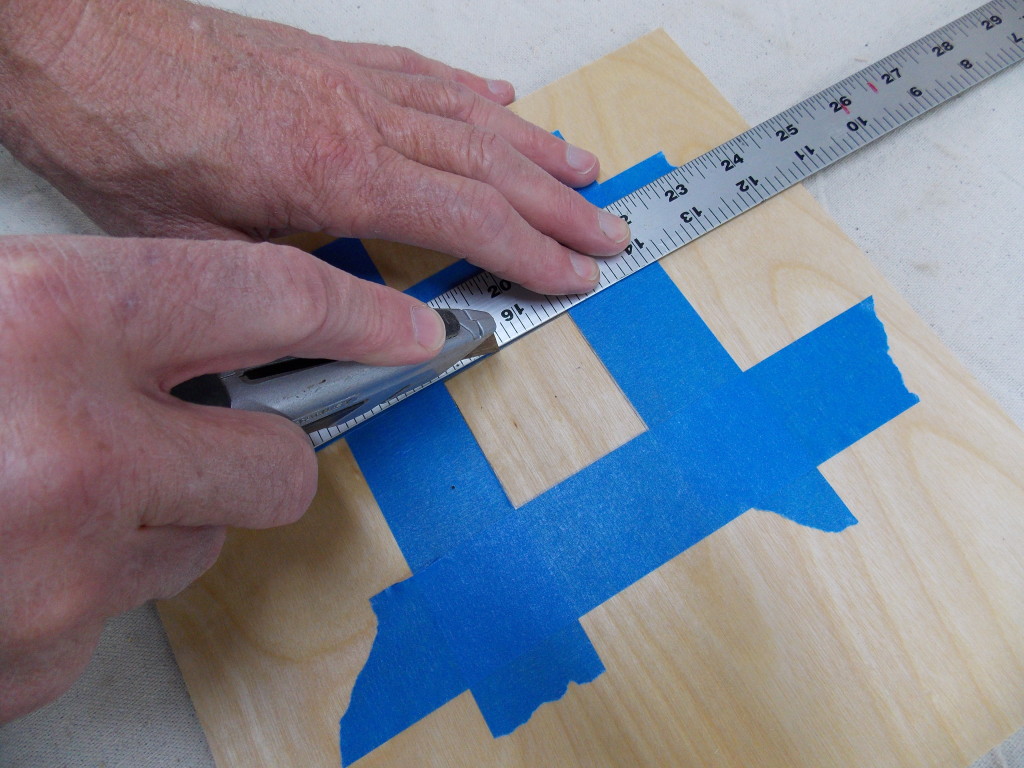 To help prevent the stain from seeping under the tape, I then score a shallow line using a ruler and the tip of a hobby knife. These lines will also give your faux inlay a more authentic look.
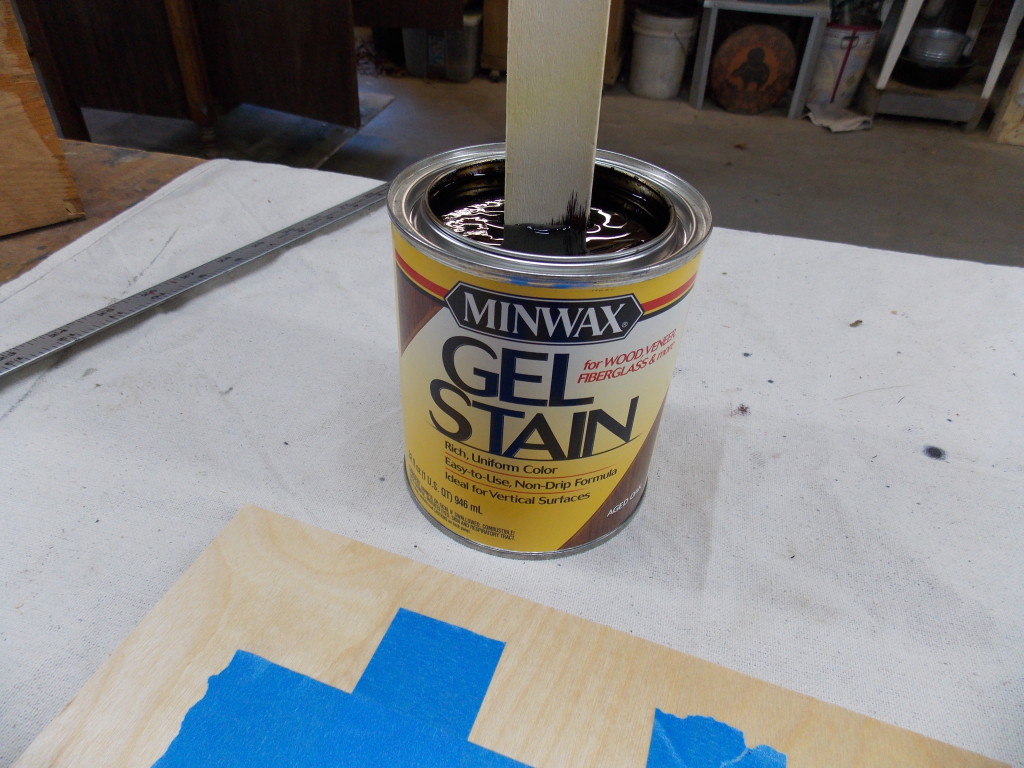
Minwax® Gel Stain is simply a thicker version of their oil-based line of stains, which means it is less apt to run, and it clings better, especially to vertical surfaces, such as doors and paneling.
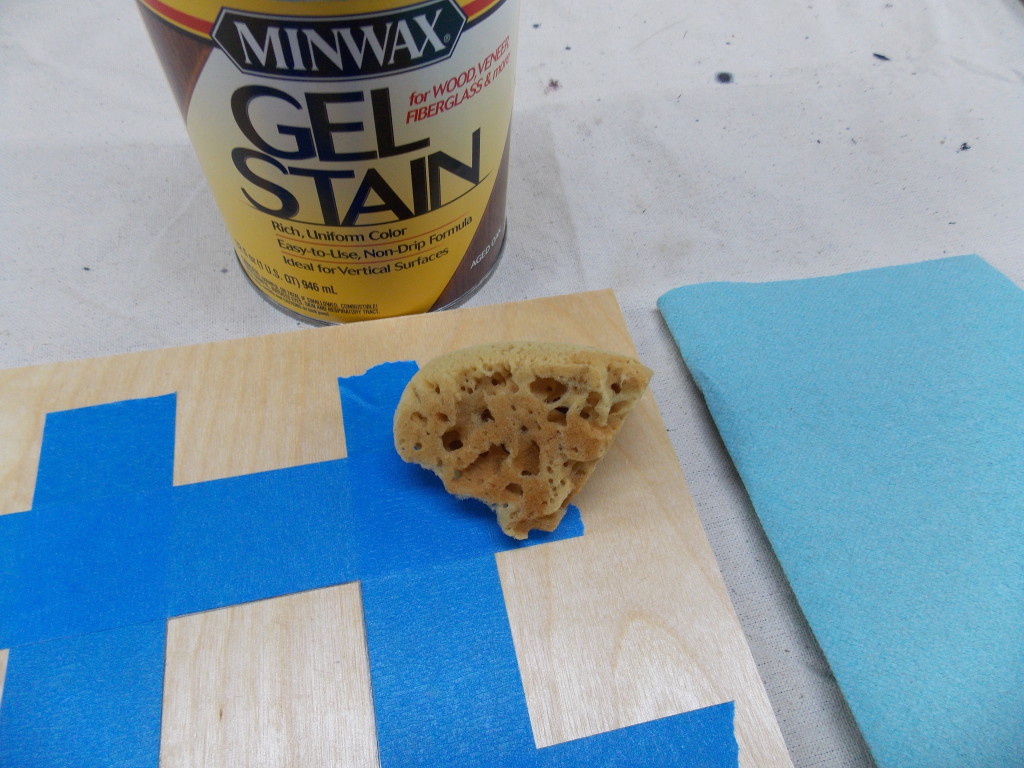
Rubbing or brushing even the thicker Gel Stain can force it under the tape, so I prefer to use a small piece of sea sponge to apply my stain. The texture of the sea sponge also makes the stain look like the swirling grain of wood.
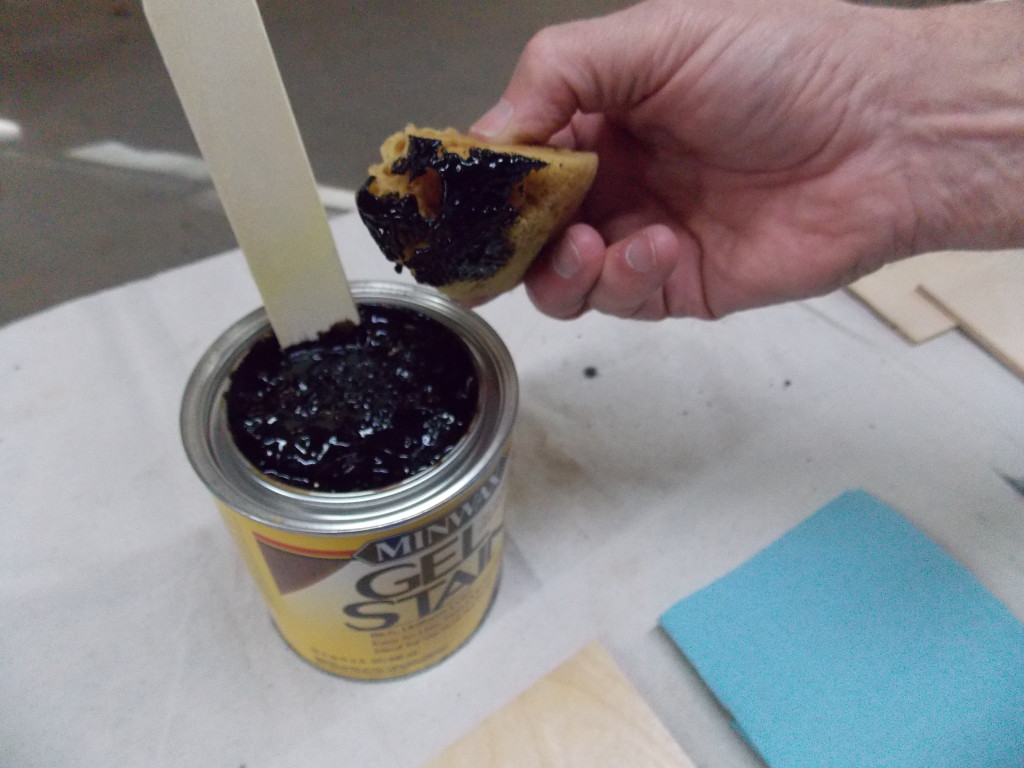
I start by dipping just a small portion of the sea sponge into the Gel Stain.
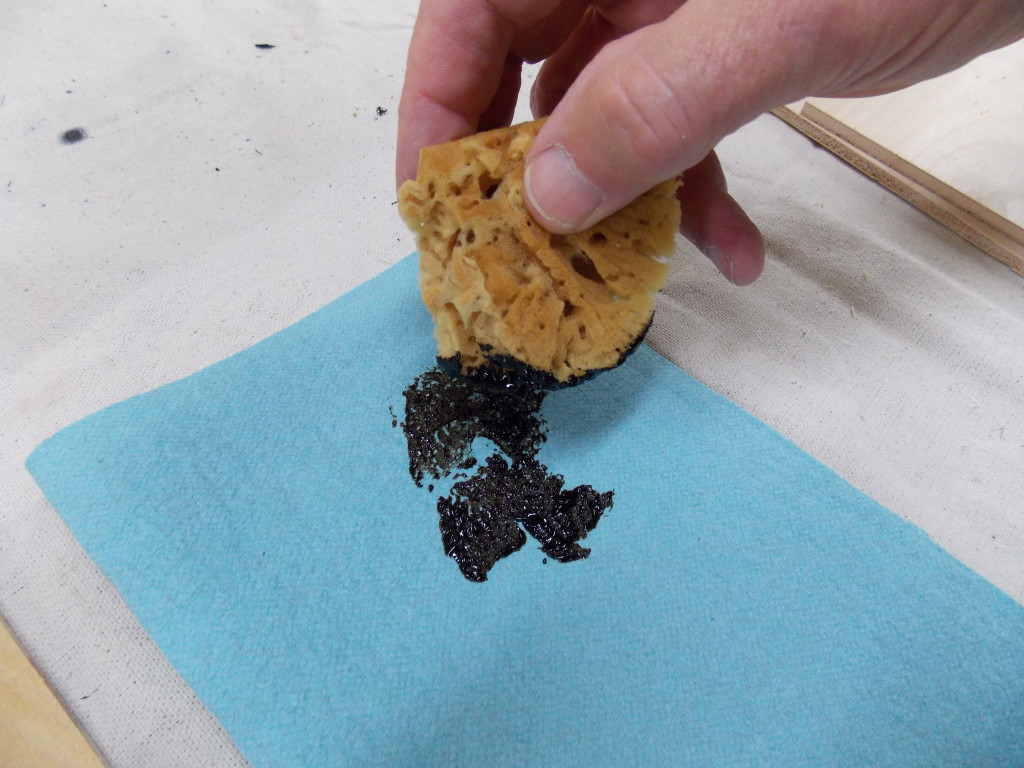 Then I remove the excess stain by pressing it first on a clean rag.
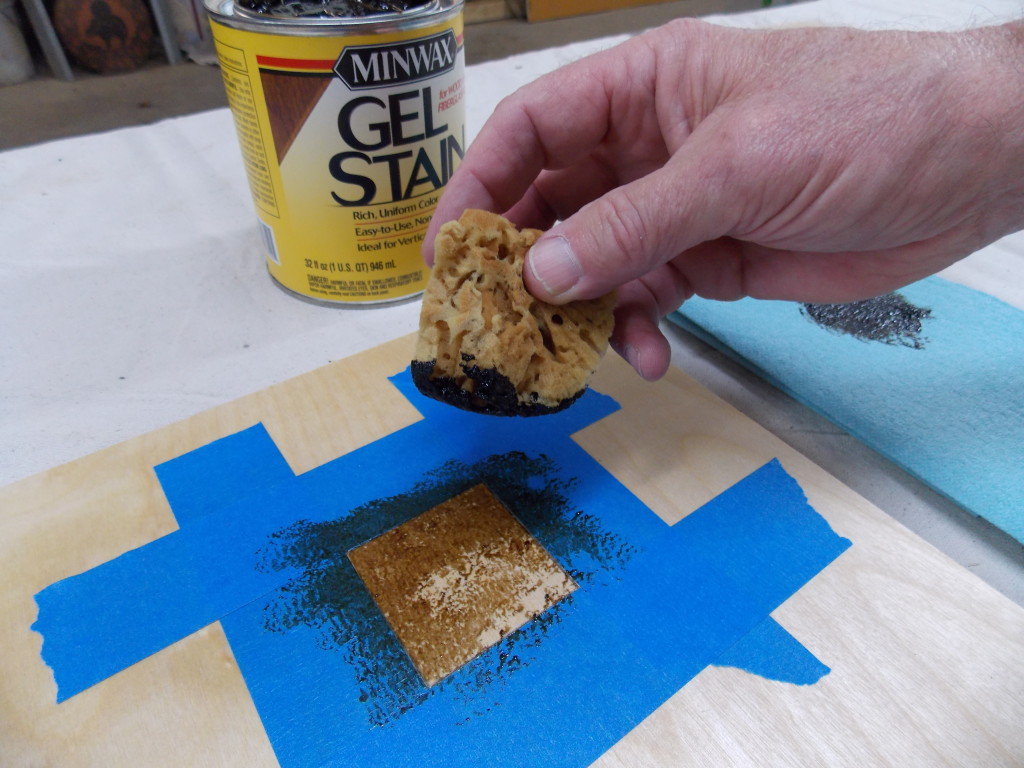
I then apply a very light first coat of stain by lightly ‘dabbing’ the sea sponge straight down onto the area I want to inlay. Quick Tip: use a light touch as you dab, applying the Gel Stain in thin layers that will dry quickly. Remember: dab, don’t rub!
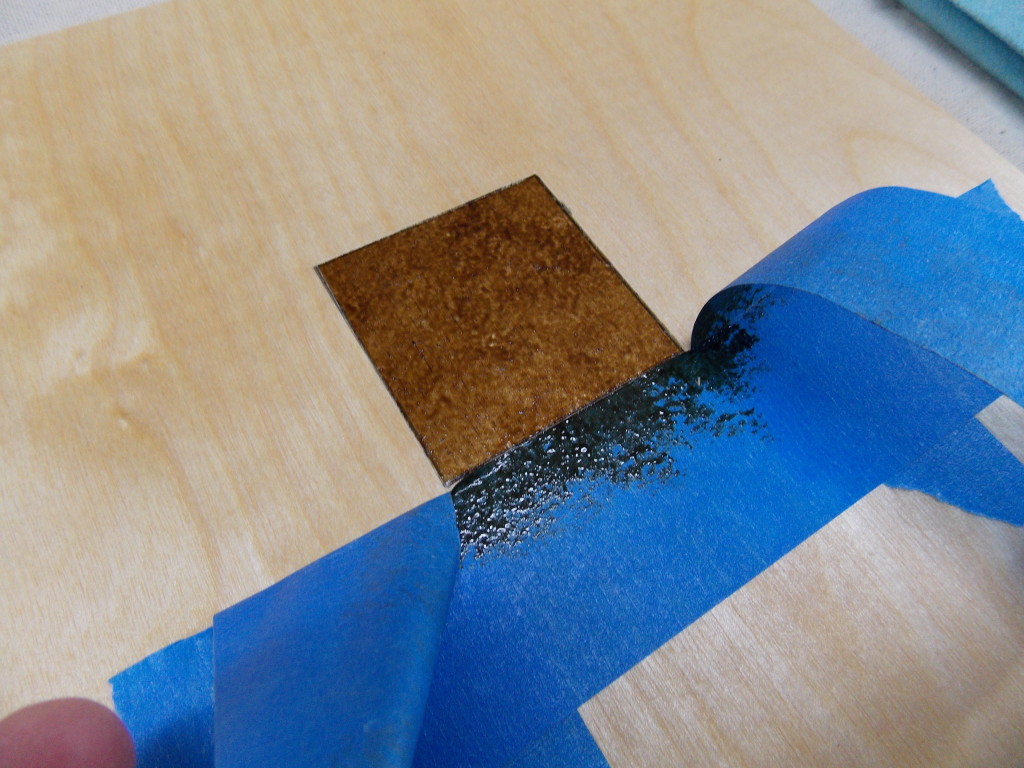
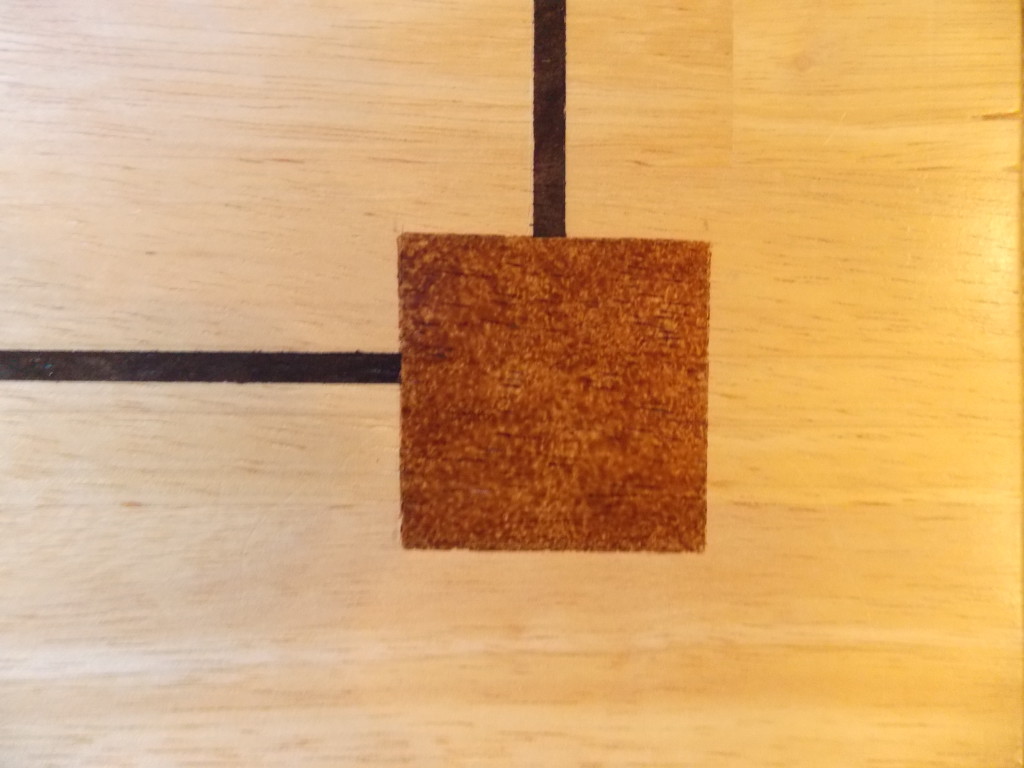
Once you have applied the amount of stain you want, carefully peal off the tape. If any stain did seep under the tape, use the tip of your hobby knife to remove it.
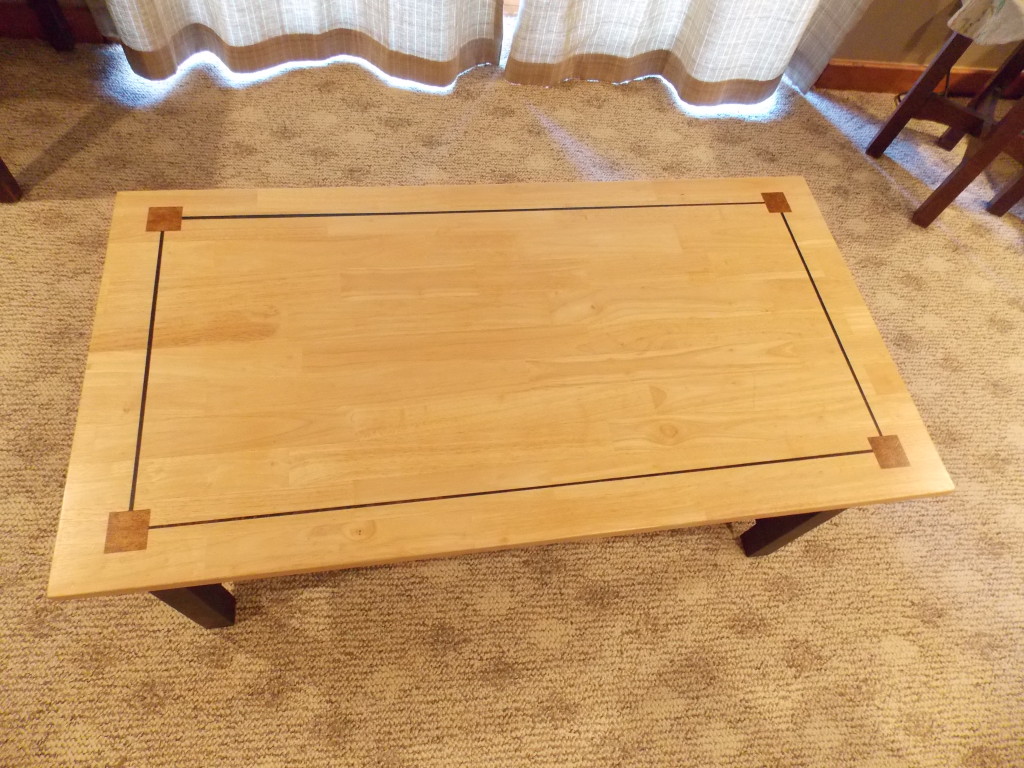
Once I completed my faux inlay, I let it dry overnight, then protected it with a coat of Minwax® Fast-Drying Polyurethane. My family has been using this coffee table for everything from pizza to projects for more than seven years, and you can see it’s still looking great!
Until next time,
Thanks for stopping by!
Bruce

can Minwax Polycrylic gloss finish be used on top of three coats of Minwax Polyurethane satin finish
It could, Don, provided the last coat of the oil-based Polyurethane has dried completely. To be safe, however, I always recommend applying oil-based over oil-based rather than switching to water-based Polycrylic.
Hi Bruce! I’m Kelly and I blog at Here Comes the Sun. I really love this project. Thanks for the tutorial.
Thanks for stopping by, Kelly!
How about the black lines connecting the brown squares. Same process?
This is a great idea for wood with little figure
Yes, the process is the same, Clark, regardless of the design you create. To really get the look of an inlay, after applying your tape, use a hobby knife and a straight edge to score lines alongside the tape. This will prevent the stain from bleeding under the tape and will give it a more authentic look. Good luck with your future projects!