


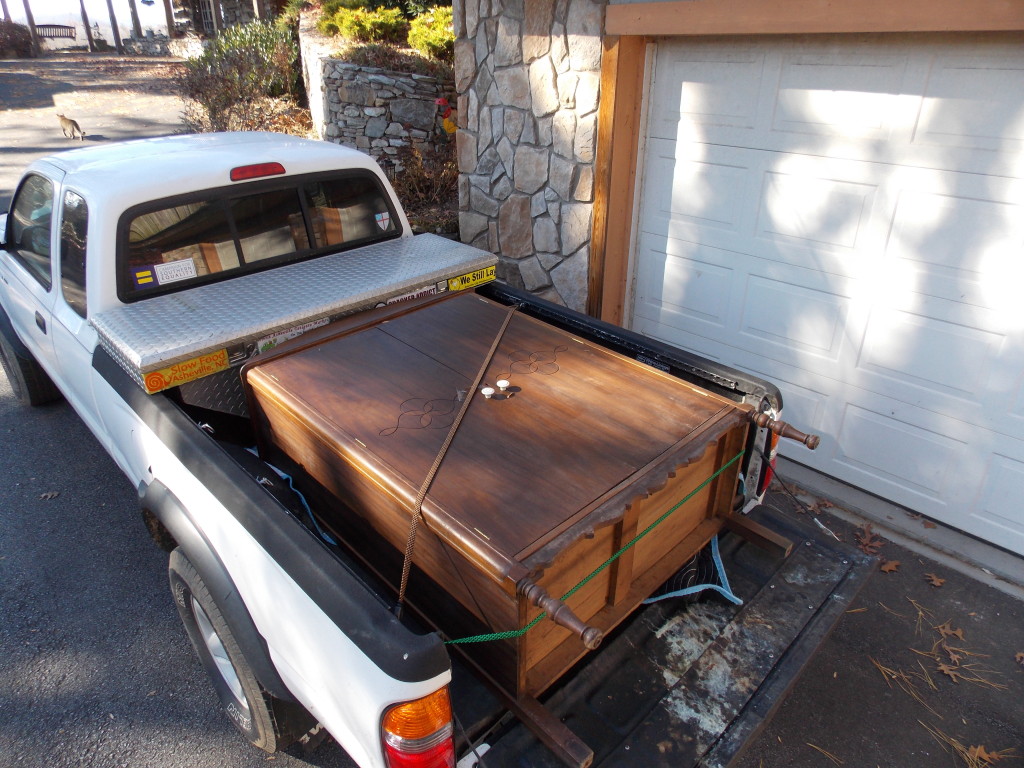
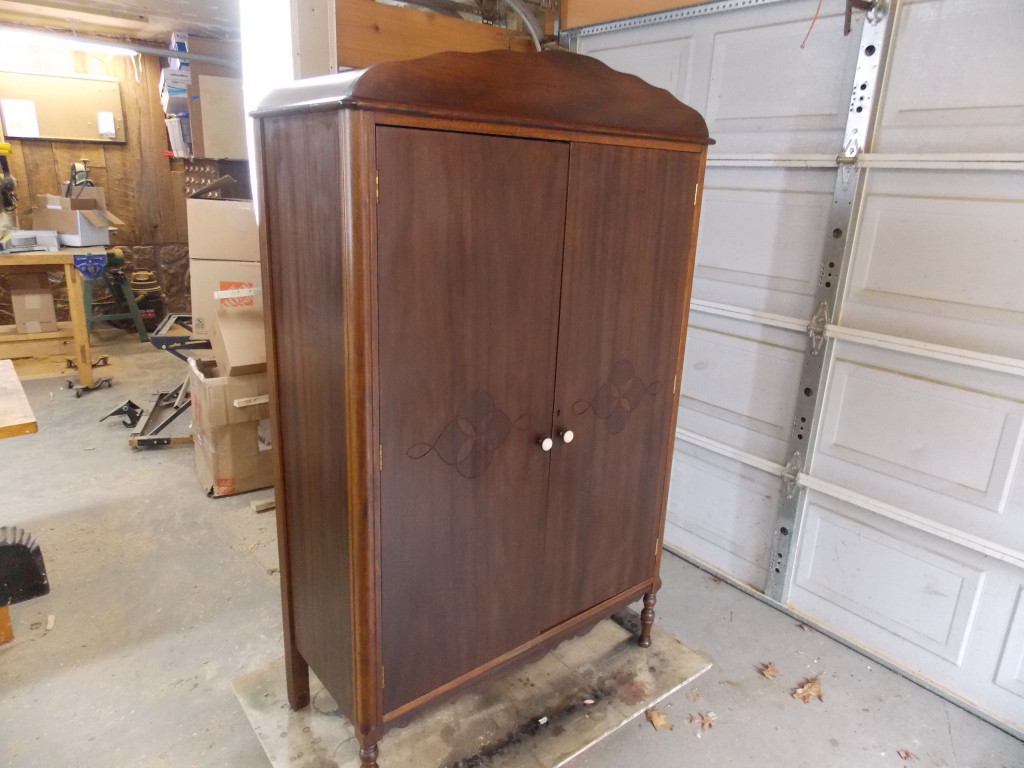
It isn’t often that a truck pulls into your driveway with an antique walnut wardrobe strapped to its back, so this certainly got my attention. My assistant Alex is moving, so she “rescued” it from her parents’ house (hoping they won’t want it back when she’s done restoring it). Want to see how she did? Just keep on reading!
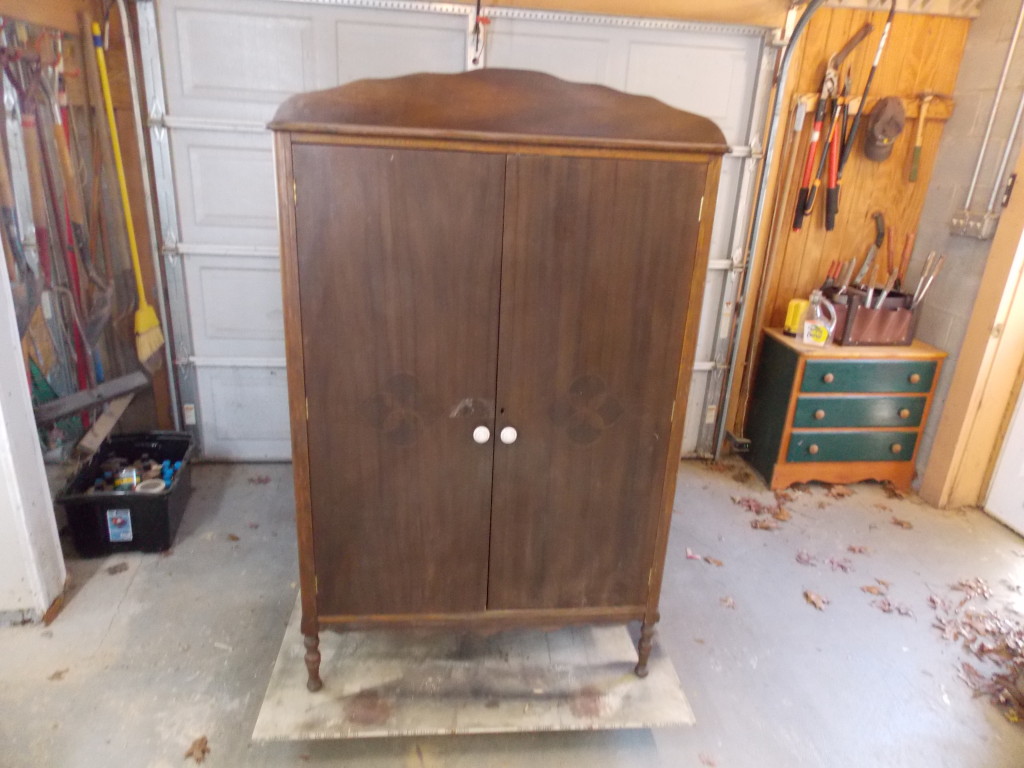
It certainly looks better standing up in my garage, where we got started on it. Quick Tip: a four-wheel furniture dolly under a piece of plywood sure makes working on large furniture easier!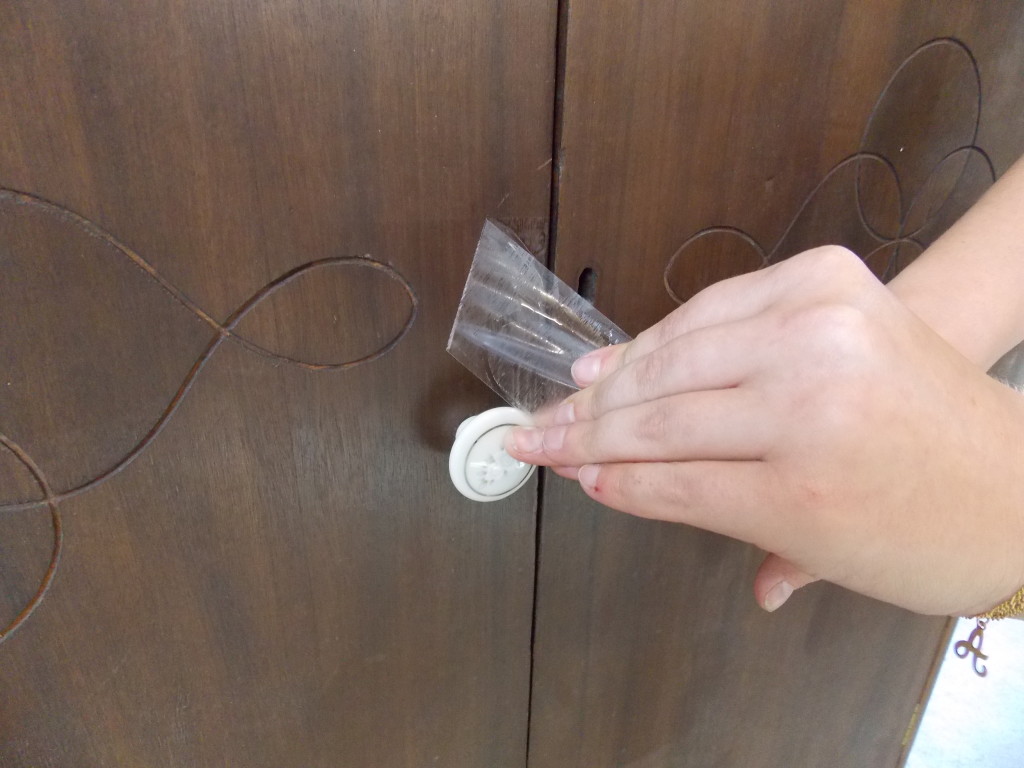
I winced when I saw someone had taped the doors shut, as tape can damage an old, fragile finish, but we got lucky when Alex pulled it off — no sign of any damage! (Next time she’ll tie the doors together.)
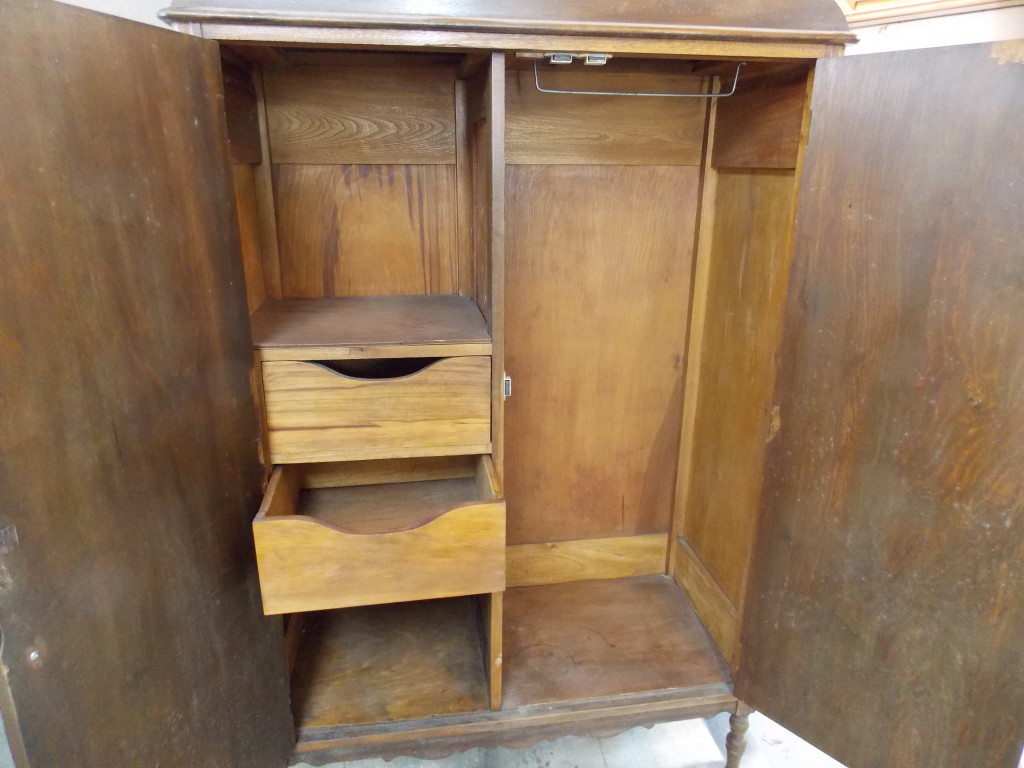
And when I saw all the storage space inside, I was really impressed, even with the old finish looking dirty and dried out.
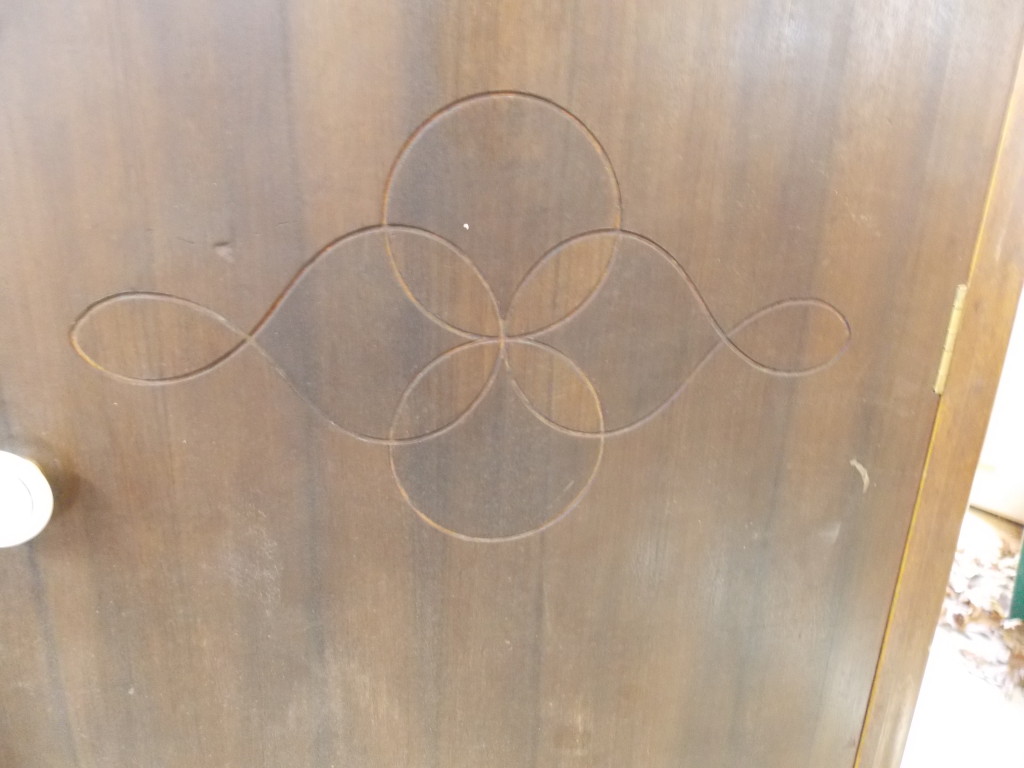
They did faux inlay in the 1930’s, too. In case you missed it, I showed how easy this is to do in last week’s posting, so check it out.
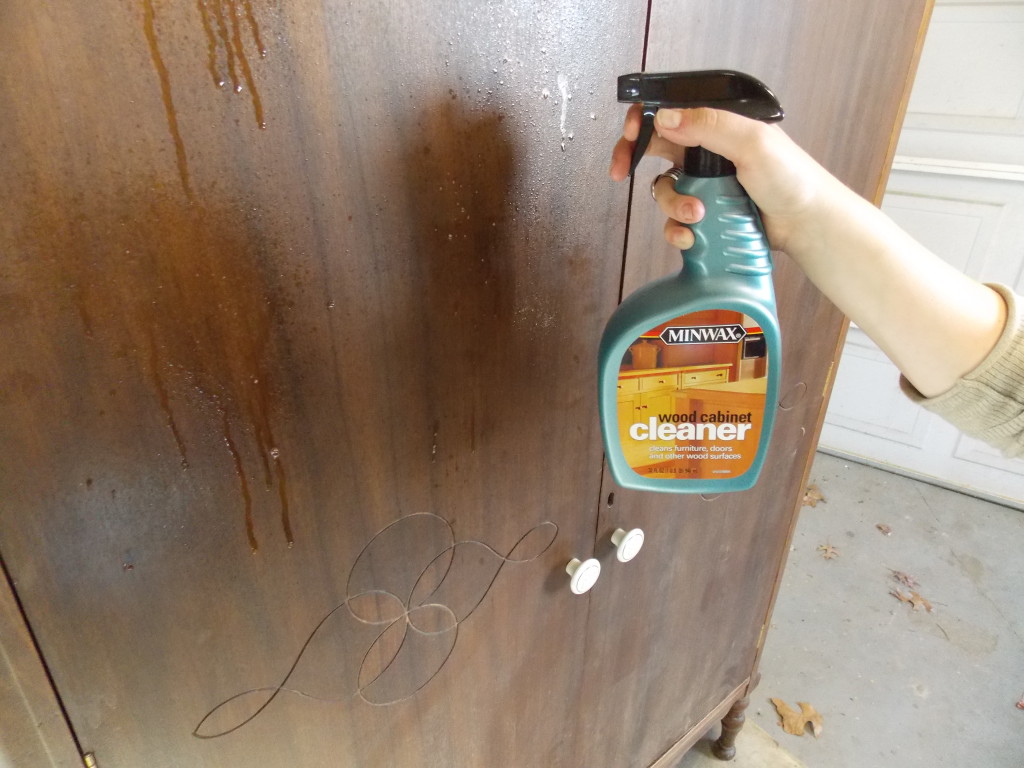
The first step in any restoration is cleaning the old finish using Minwax® Wood Cabinet Cleaner and a soft cloth or paper towels.

You can immediately see the difference as the dirt and grime disappear.
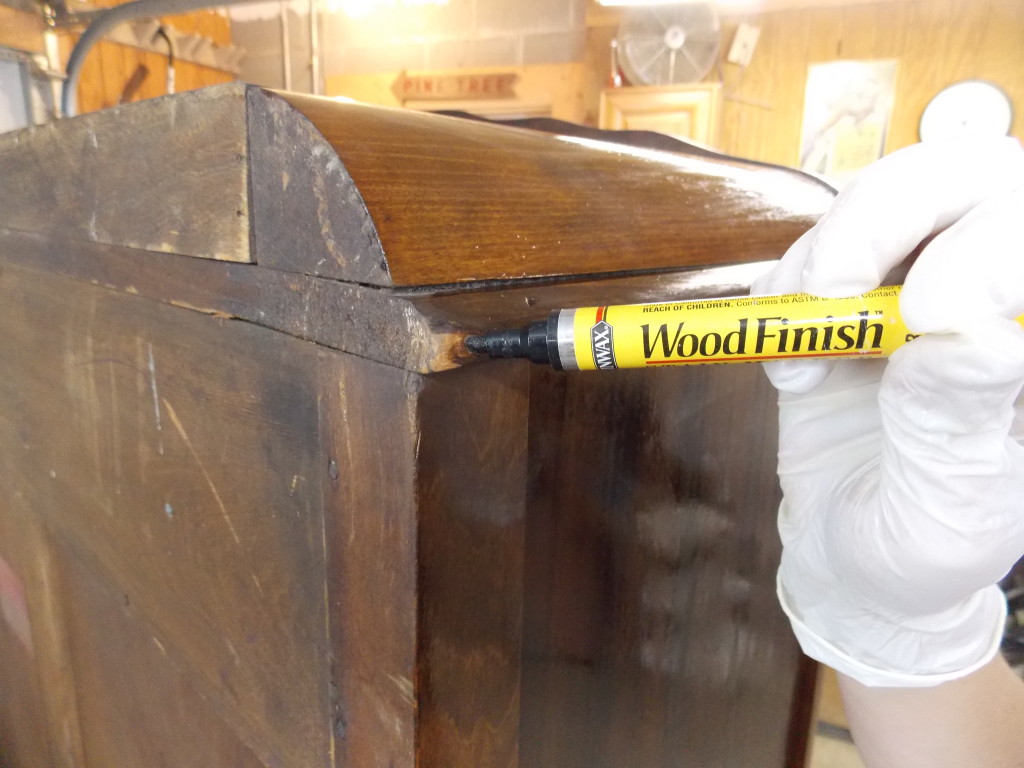
With the dirt gone, Alex can then touch up the nicks and scratches with a Minwax® Wood Finish™ Stain Marker.
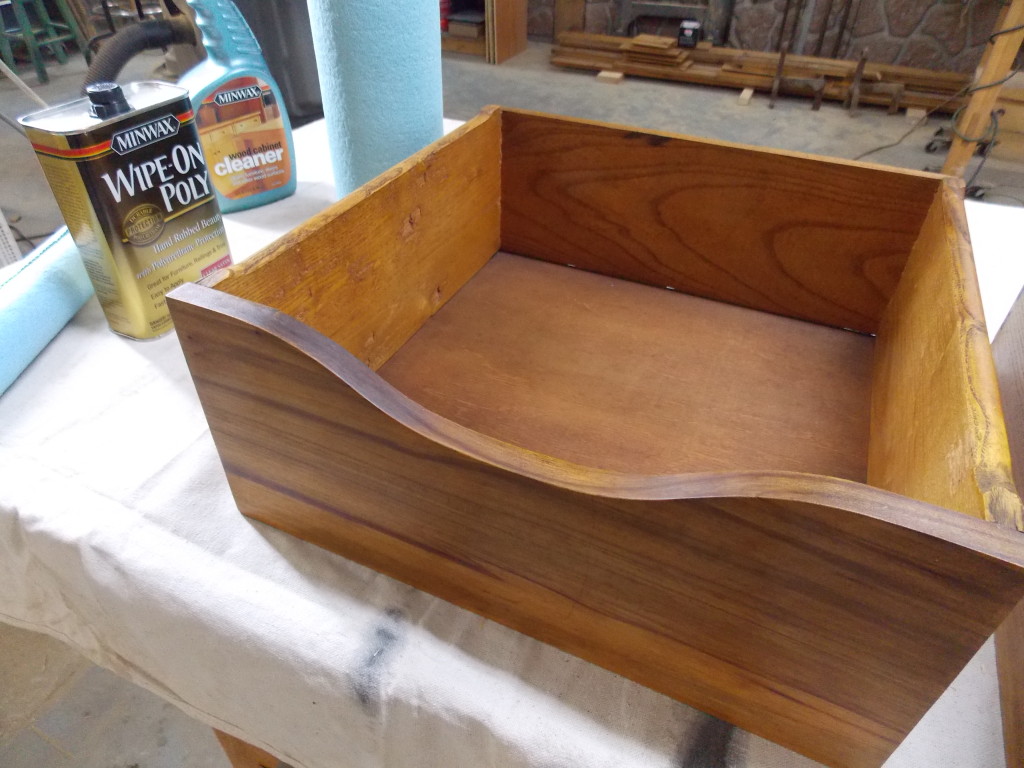 A light coat of Minwax® Wipe-On Poly, inside and out, will restore the luster and protect both the old finish and the wood.
Just a couple of hours later and what a difference! And no sanding, no stripping, and no brushes required in this restoration.
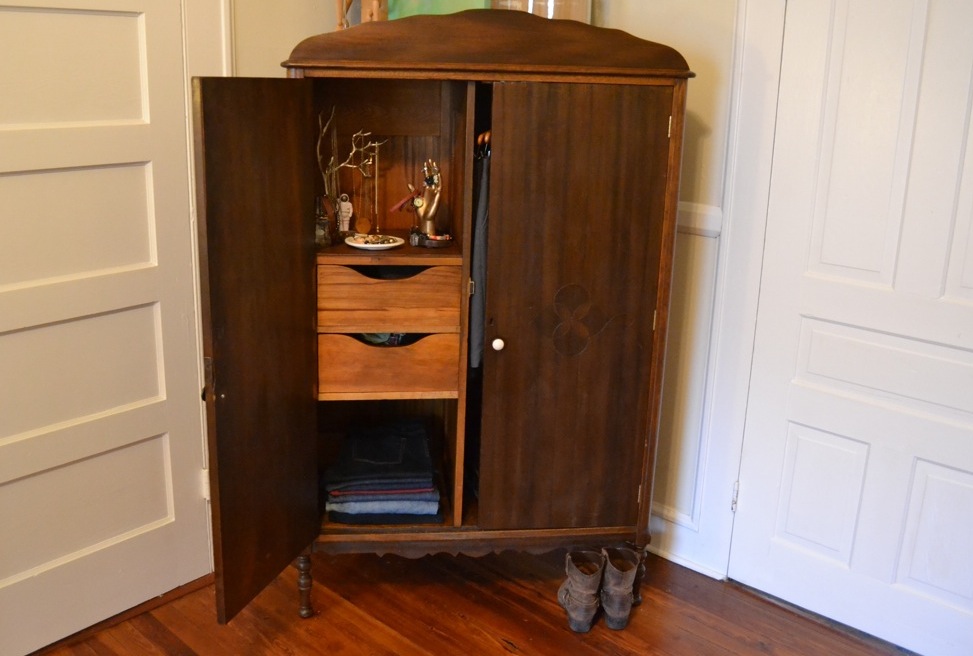 Alex was smart: not only did she rescue this 1930s wardrobe from her parents’ house, but she rushed it right over to her new place and quickly filled it up — before they could say, “Hey, what ever happened to that old wardrobe in the guest room?”
Until next week,
Thanks for stopping by!
Bruce
Parting Shot
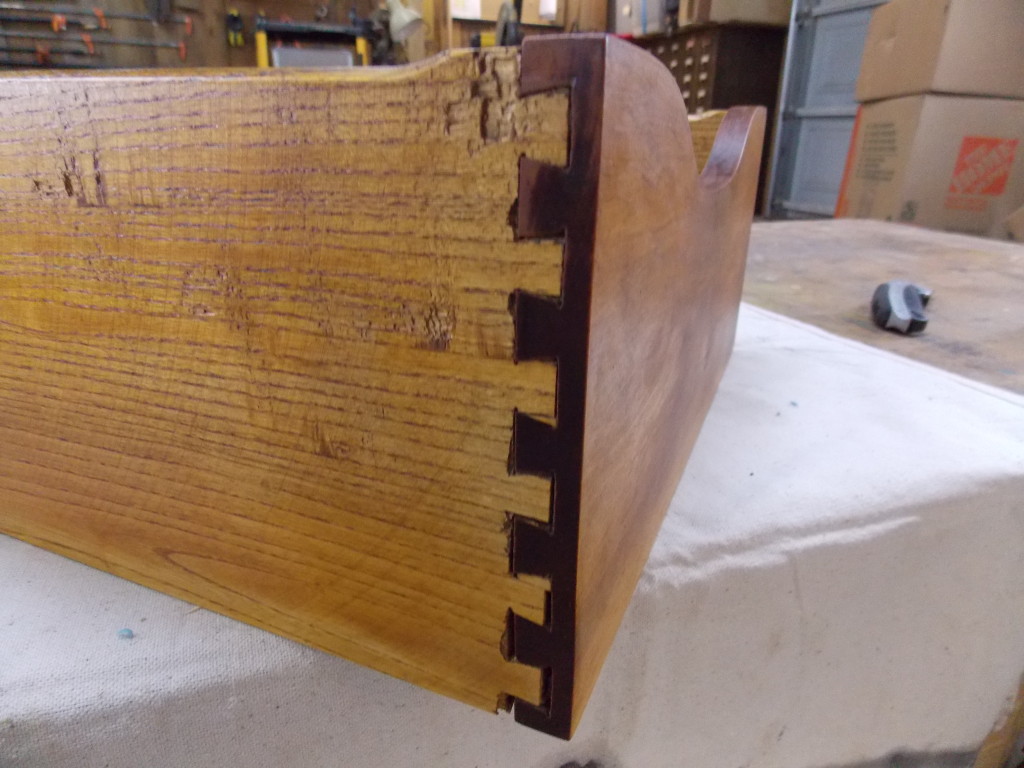
Quick Tip: One sign of a well-made piece of furniture is this strong dovetailed joint, so named because it resembles a bird’s tail. The interlocking front and sides are always better than just nails, so watch for it when shopping for furniture!

This is an absolutely beautiful piece. I love products that make jobs like this easy and straightforward. I’m visiting from SNAP and so glad I had the chance to be introduced to your blog. There is a ton of great information and I love your style. So excited to spend more time looking around.
Amy
Hi Bruce! I love how simple a finish this wardrobe was, sometimes I tend to over complicate things with all that sanding, staining and such. Thanks for showing how just a little elbow grease and cleaner can really make an old piece look new. I am very excited to meet you at SNAP and hopefully some of your expertise will rub off on me! 🙂 Thanks!
WOW! What a difference—love that it required No sanding, painting and hours of labor! My name is Katie and I blog over at Made to be a Momma…coming over from SNAP!
I am just loving all of your tips and ideas on your blog! I had no idea on all of the cleaning supplies you have for wood furniture and cabinets. Reading your blog gets me excited to tackle some home projects of my own. So excited to meet you at Snap!
That wardrobe is so beutiful. Thankful for products like Minwax that allow beauties like this to be restored instead of just painted over! By the way, I am Adrianne Lentine stopping by from SNAP conference! I blog over at Dream Book Design.
Hi Bruce!
My name is Steph and my blog is Crafting in the Rain. I’ll be attending SNAP in April and I think it’s so exciting that you’re partnering with the conference again! My first Minwax project was staining a piece of plywood to serve as the counter of the old bathroom vanity we moved to the garage to act as storage space in my laundry area. It’s been 4 years and it’s holding up beautifully. As far as this wardrobe goes, I love how easily this cleaned up, and the storage is perfect!
Oh – I love this! The wardrobe looks beautiful with it’s original finish restored – and I had no idea it would be so easy! I have several pieces that need some “love”, I will definitely be working on them now. My name is Bev and I blog over at Flamingo Toes (flamingotoes.com) and I can’t wait to check out more of your posts. Those tips are super helpful too!
Trying to cover some wear in finish of dining table, but the stain doesn’t seem to absorb into the wood. And after 24 hours is sticky and wipes off. I’m thinking the top may be a veneer and not real wood. Ideas?
Hi Anne – I don’t think the problem has anything to do with whether it’s solid wood or veneer. Instead, even though some of the finish has worn off, the pores are still sealed with a lower coat of finish that is preventing the stain from soaking into the wood. Short of a total refinishing you are not going to be able to get a stain into these worn areas. Sorry…