


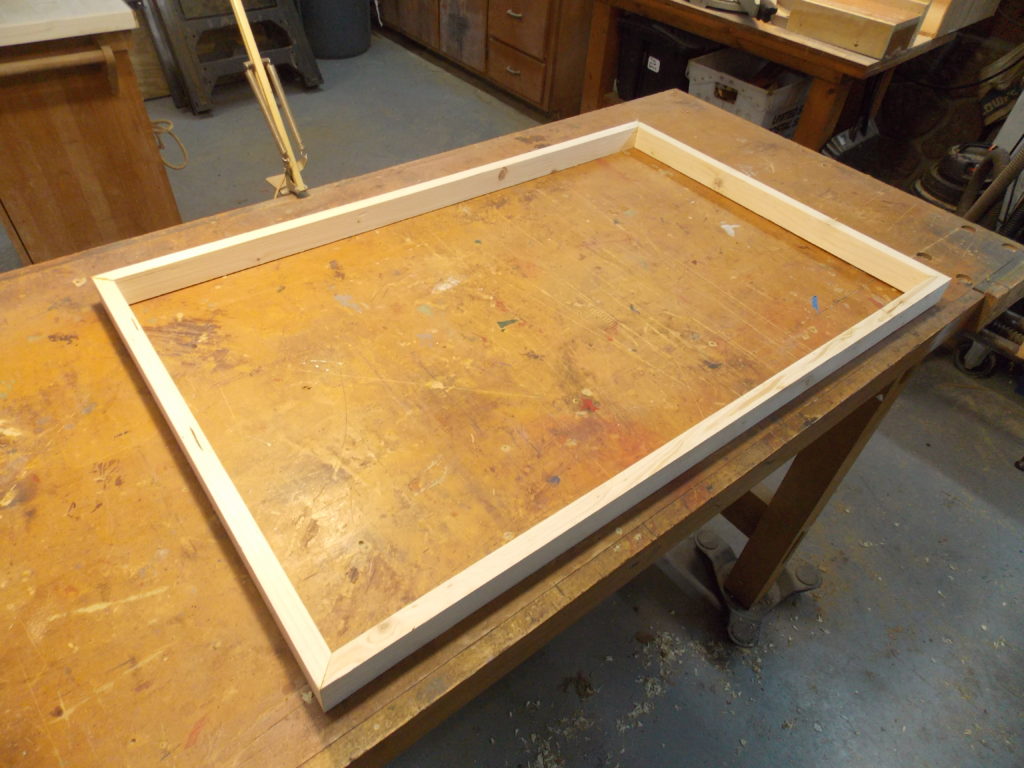
I like nothing more than being able to make something that looks both complicated and expensive out of inexpensive materials — such as 1″ x 2″ strips of common pine. I started my wall art project by making a simple frame to fill a section of wall in our family room.
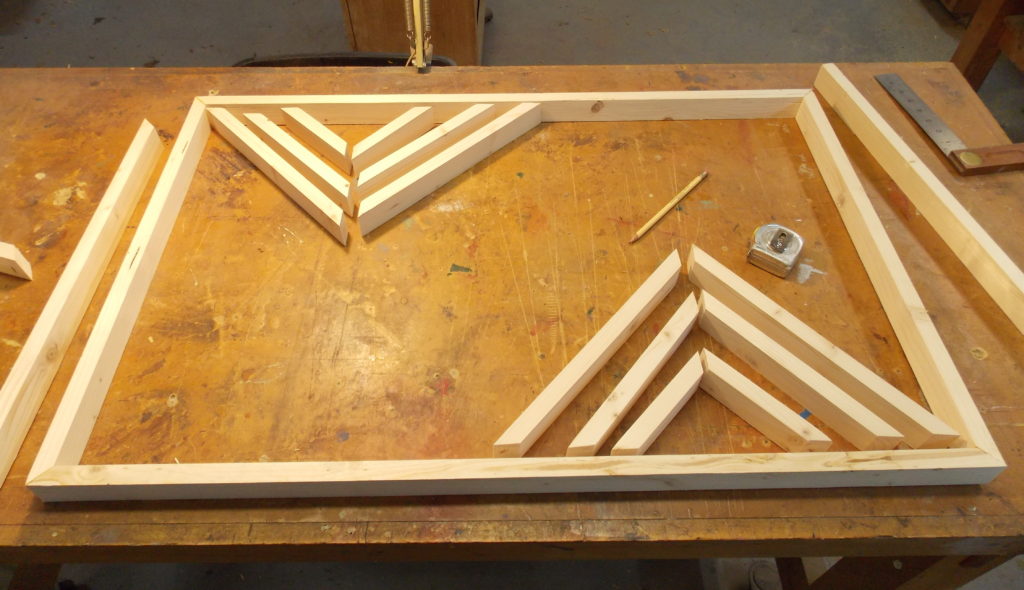
I then began experimenting with different lengths of 1″ x 2″ boards, cutting the ends at a 45-degree angle before both gluing and holding them together with finish nails.
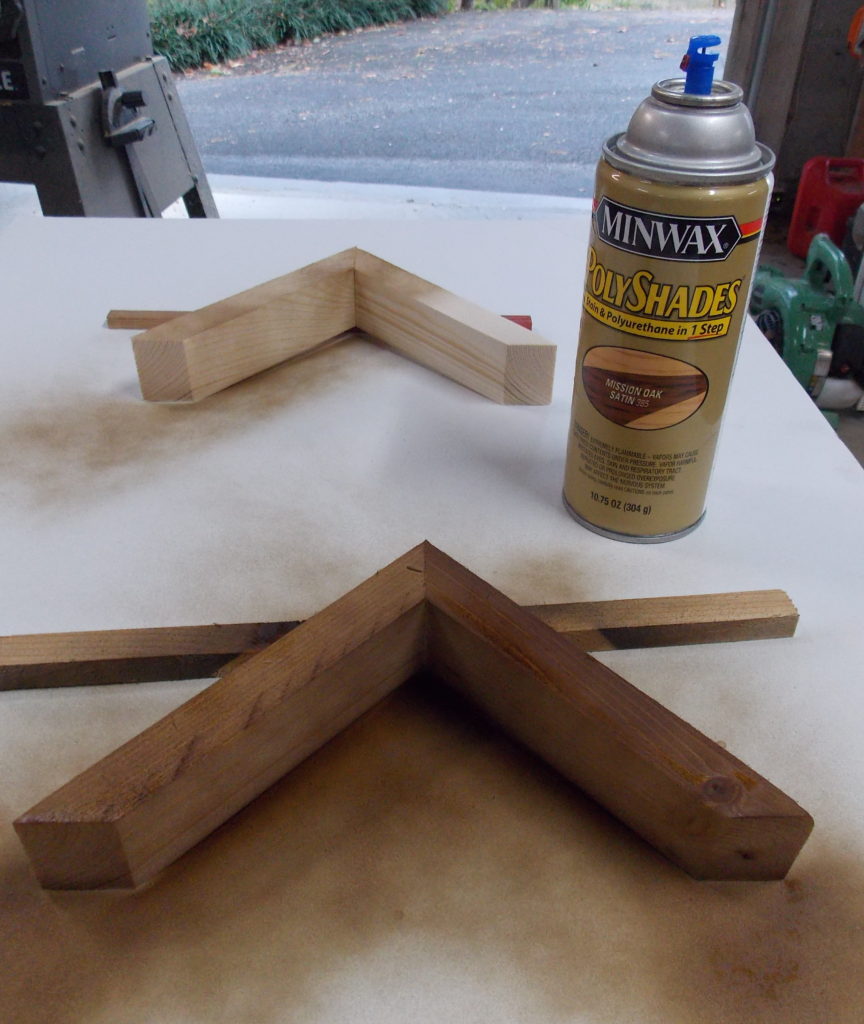
With several pieces to stain and finish, I decided to use the aerosol version of Minwax® Polyshades®, which provides both stain color and a polyurethane finish at the same time. For this project I alternated boards finished with “Mission Oak,” “Classic Black,” and “Pecan.” Quick Tip: it is easiest to stain each board before you attach it to the frame.
![]()
To keep my spacing uniform between each of the slats, I slipped in spacers of wood scraps before nailing each 1″ x 2″ board to the frame.
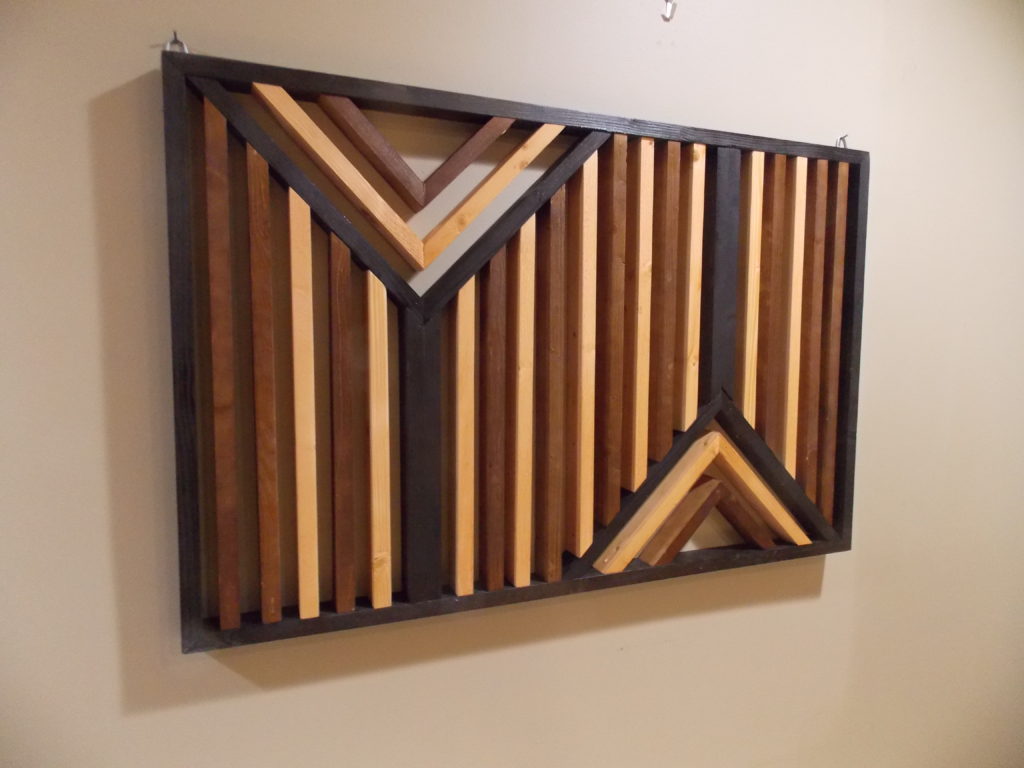
And while at first glance my wall art looks both complicated and expensive, it really was easy and fun to make.
Until next time,
Thanks for stopping by!
Bruce
