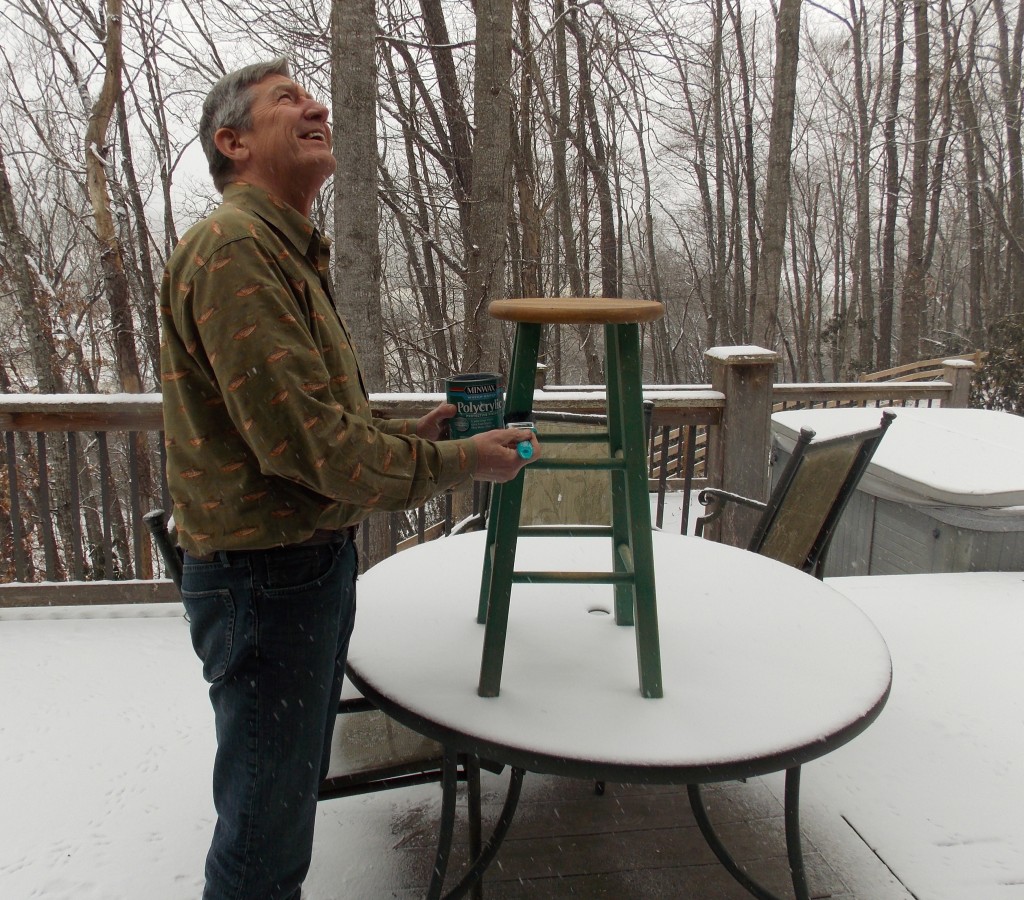
 I was preparing to give a talk last month when the moderator introduced me as a woodworking and wood finishing “expert.” In thinking about what qualifies me, or anyone for that matter, as an expert, I’ve decided it only means I’ve been around long enough to have made nearly every possible staining and finishing mistake. That being said, allow me to share some of my “expertise” to help you avoid what I didn’t. Just take a look here.
Mistake #1 Working when it’s too cold, too hot, or too humid.
All stains and finishes depend on evaporation to dry, but when the temperature is below 65 degrees or above 90 degrees, or the humidity level is above 50%, then the evaporation process is either too slow or too fast, causing your finish to either not dry or dry too quickly, turning white — like my deck!
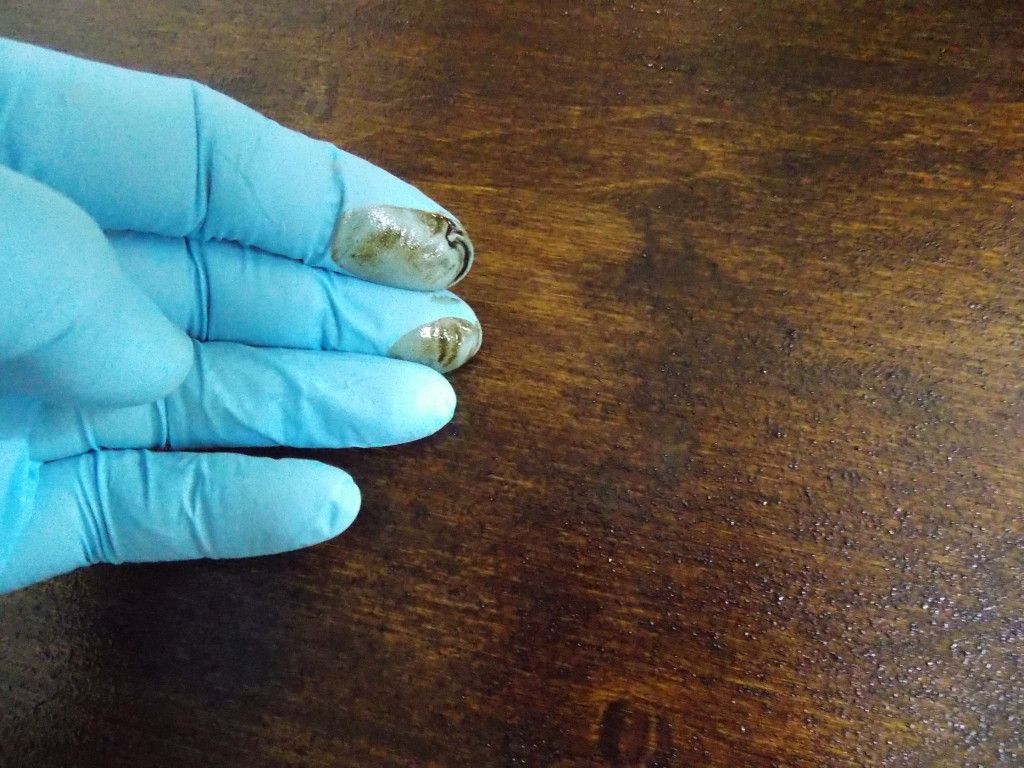
Mistake #2 Not wiping off my stain.
Stains are designed to dry in the wood, not on the wood. Anytime I have let my stain harden on top of the wood, it turned sticky and uneven, and rubbed off easily. The solution: wipe off any stain the wood does not absorb.
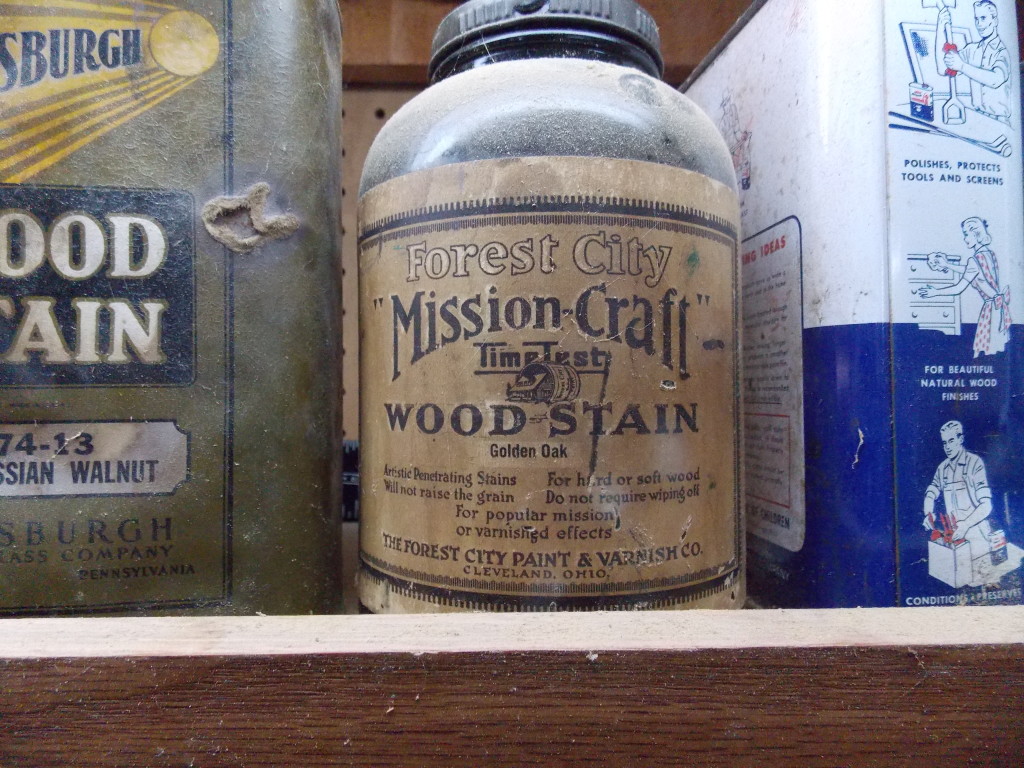
Mistake #3 Using an old can of finish.
If you have to break or peal off a layer of dried finish inside your can, it’s beyond its prime. Once the drying agents start to react to the oxygen trapped inside the can, they don’t stop. As a result, the old finish you apply may never completely dry. Best bet: buy only the amount of finish you need for each project. Start fresh!
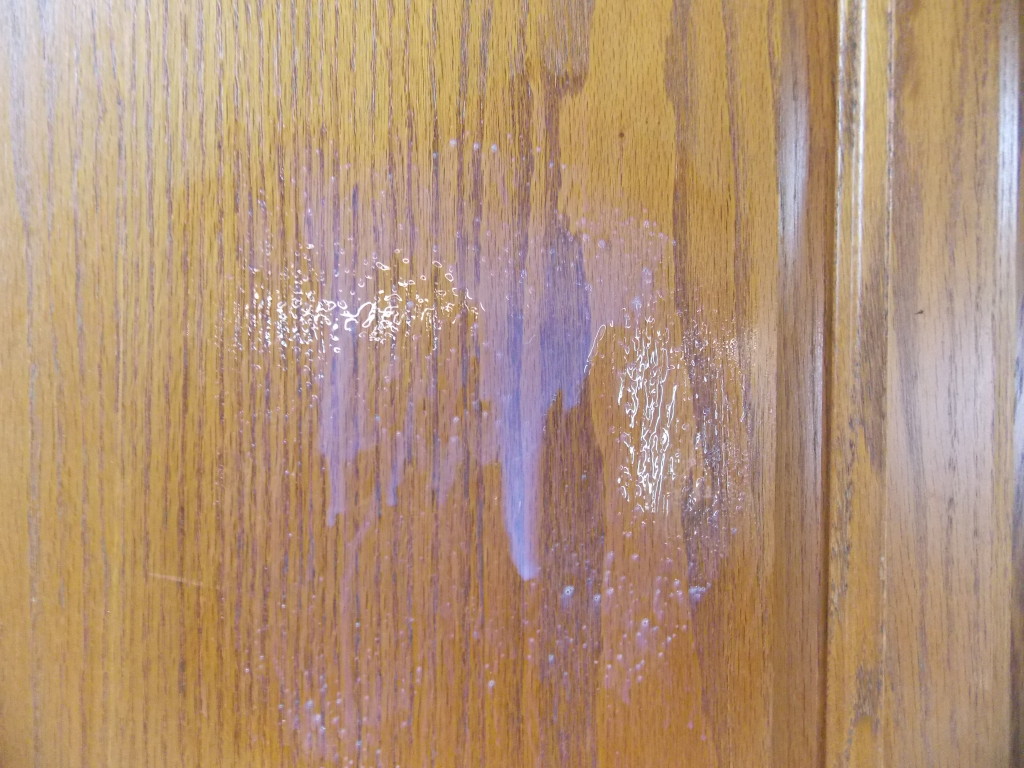
Mistake #4 Applying too much finish.
Just as plywood gets its strength from layers of thin wood, so does a finish. Applying too much finish only results in runs, drips, or a thick layer that never completely dries or hardens. Thin coats dry faster, look better, and provide more durability. Thin is better!
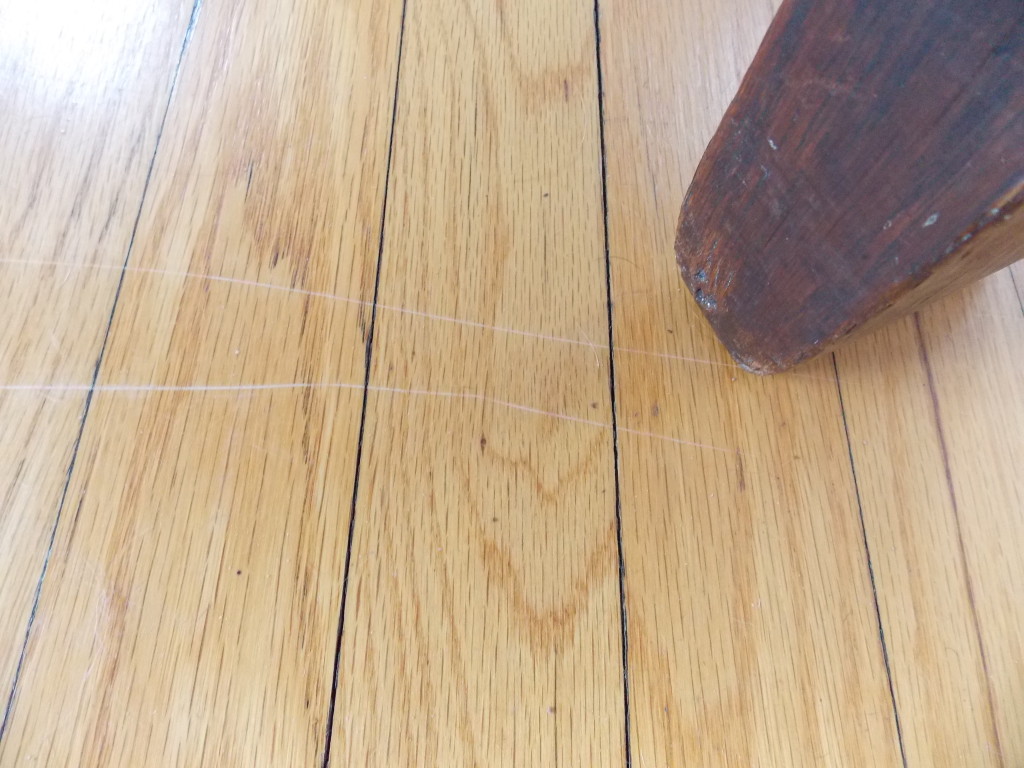
Mistake #5 Dry is not the same as cured.
Finishes dry quickly in the right environment, but the curing process, where they reach their maximum hardness and durability, takes longer. Don’t be impatient — like me! Give your furniture projects a couple of days and your floors a week before you subject them to any stress — or they may scratch easily!
Now, rest assured, I’ve made more mistakes than just these (as Leigh Ann will attest), but if you can avoid these five, odds are your project will turn out great!
Until next time,
Thanks for stopping by!
Bruce


I used minwax quick drying polyurethane to topcoat a dining room table. I used 2 coats. After the first coat, I used 220 grit sandpaper to lightly sand the surface as recommended. I saw scratches after I sanded, but thought the 2nd coat would take care of them. It didn’t. What did I do wrong?
Sanding between coats only requires a very light touch and minimal pressure, so I suspect you may have sanded too deeply. I would apply an additional coat to see if that will fill the scratches. Good luck, Bob!
Hi Bruce! I’m visiting from SNAP! conference and wanted to say “hi”. I mostly share sewing and pattern design posts, but as the daughter of a residential home builder I also love the occasional DIY project. I’ve even begun working on a series of built-ins in my four year old daughter’s room with coaching from Sandra of Sawdust Girl.
I’ve been guilty of all of these, haha but that how you learn.
Hi Bruce! I’m Sarah from Pretty Providence – a frugal lifestyle blog. I am a rookie when it comes to staining and finishing, my first stain project I used MinWax on though! It was a gold dipped mirror and even though it isn’t perfect I’m so proud of how it turned out. These tips are super helpful! I’m pinning to consult before I do my next project! I hope to meet you at SNAP! conference in April!
I appreciate you sharing your worst mistakes because I’m fairly new to the staining world!
I made several of these mistakes myself including applying stain when it was too hot and not wiping off enough of the stain. But there are also several items I hadn’t even considered including using an older product and not allowing an item to finish curing. That’s definitely something I need to change. Thank you for the tips!
HI Bruce! My name is Alli and I write for the blog Diapers-n-Heels.com. We love working with wood and loved hearing these tips from an expert. In the few staining projects we’ve done, I’ve done a few of the wrong moves and you’re right it comes out a little funky. Will definitely bookmark these for the next time I’m working with wood. Looking forward to meeting you at SNAP!
Hi! I’m Allison and I blog over at Cupcake Diaries (cupcakediariesblog.com). I’m headed back to Snap! Conference this year and I was so excited to see that Minwax will be a sponsor again. My dad builds custom cabinets and was pretty excited for me! 🙂
This is such valuable information! So good to know. Definitely pinning this for later!
Hi! I’m Karly. This post is awesome. I know I’ve made every single one of those mistakes, but I’m starting to think I’ve never actually stained something the right way…..ha ha! Thank you for such great tips! We’re about to finish our basement and I want to really start decorating our house, so these tips will help a lot with future projects!
I can totally relate to the old poly!! Love the blog !! I am going to snap and would love the free room!!!’
See you there!
This is really helpful info Bruce! We’re starting some DIY projects and knowing what NOT to do is super helpful. Looking forward to meeting you at SNAP!
Bruce, I am SO glad I found this post. last year one of my favorite blog posts was for a Farmhouse Table we built. It was gorgeous! The stain was beautiful, brown, and I loved it! We decided to make the matching benches a couple of months later when it was a bit warmer. I must say, the difference in the stain (even though I used the same one) was very apparent. In Louisiana, we are almost ALWAYS over 50% humidity. Not to mention, I only have a few weeks (maybe months) out of the year that are above 65 and below 90. Needless to say, it was warmer, and my stain looks awful. Streaks and just – YUCK! I am hoping to tackle re-finishing these benches this Spring when the weather is right! Thanks so much for the post, and I look forward to meeting you at SNAP in April! Jen @ PinKWhen
This post is really helpful! I never knew about the temperature guidelines, those are great to know! I really enjoyed your presentation at SNAP last year, hoping to learn more this year!
These are great tips! Thank you for sharing your expert advice. I look forward to meeting the Minwax team at SNAP this year.
This is such a great post! I’m going to stain my banister soon and since its my first time staining, I definitely needed to know these things!
I’m Sarah by the way, from Becoming Martha. I believe I met with you at last years SNAP! and I am so excited to see the Minwax booth again this year!
I’m looking forward to SNAP too, Sarah! Thanks for reading and I’ll see you soon.
So what can you do if it is always above 50% humidity? I live with no air-conditioning but wish to do a staining project this summer. At best our house is around 60-65% humidity. What do you recommend? Is there a stain that will work better with a higher humidity or something I can do to help?
Good question, Olivia. Naturally, we never seem to have ideal conditions. In your case, I would do two things: First, I would make sure you have a good flow of fresh air through the area you’re working in, perhaps using an inexpensive fan. And second, when applying your clear finish, opt for very thin coats that won’t require rapid evaporation to dry. I think this combination will overcome your high humidity. Thanks for writing and good luck!