Tools Needed:
- Minwax Gel Stain
- Minwax Helmsman Spar Urethane
- Wood burning tool
- Stencil
- Decorative handles
Decorative wood burning is a centuries-old technique, but I hadn’t tried it for years, so when I wanted to personalize a serving tray for a friend of mine, I reached for my wood burning tool. (But you can also use a soldering iron.)
Stencil your design and begin wood burning.
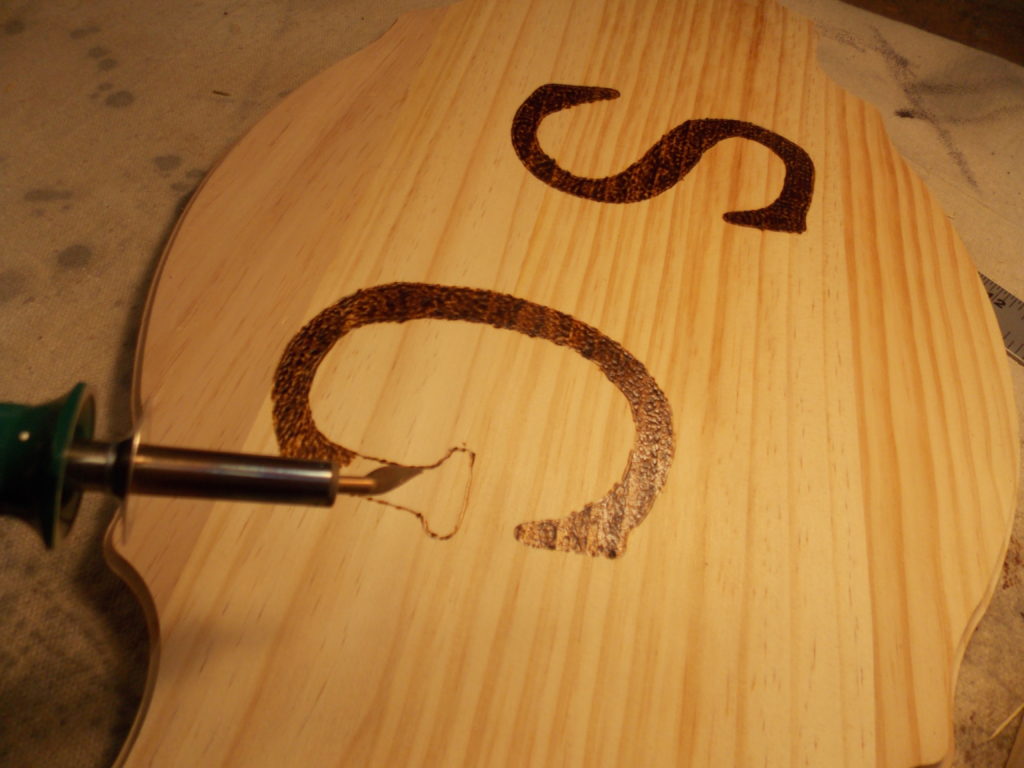
I used a stencil to outline her initials, then began burning this inexpensive, unfinished wood plank I got at my local craft store.
Apply layer of Minwax Gel Stain.
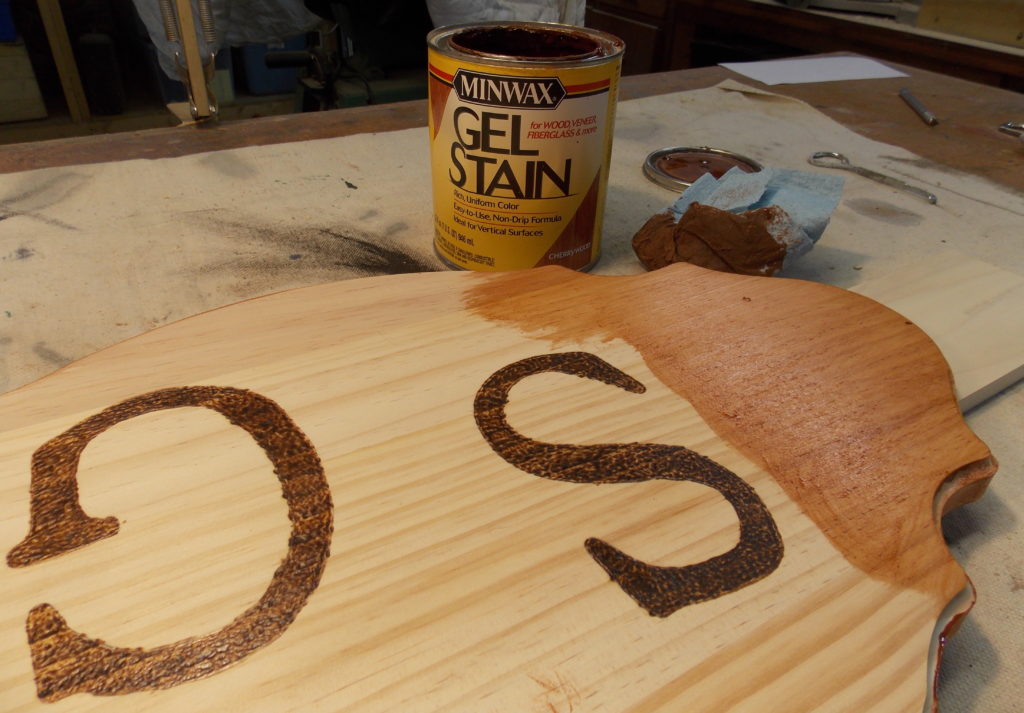
I then stained the tray with Minwax Gel Stain. You can apply your stain right over the burnt initials, as the scorched wood won’t absorb any stain.
Add a protective layer of Minwax Helmsman Spar Urethane.
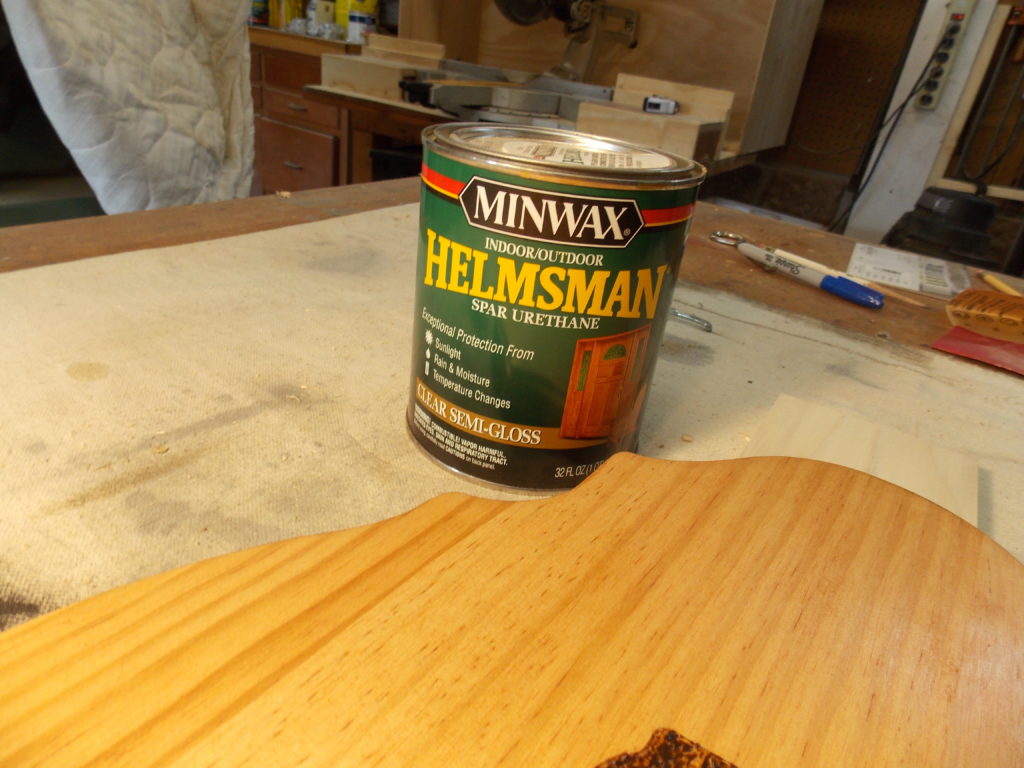
Since the tray will often have water spilled on it, I opted for Minwax Helmsman Spar Urethane as my finish, for it has superior resistance to moisture.
Attach decorative handles.
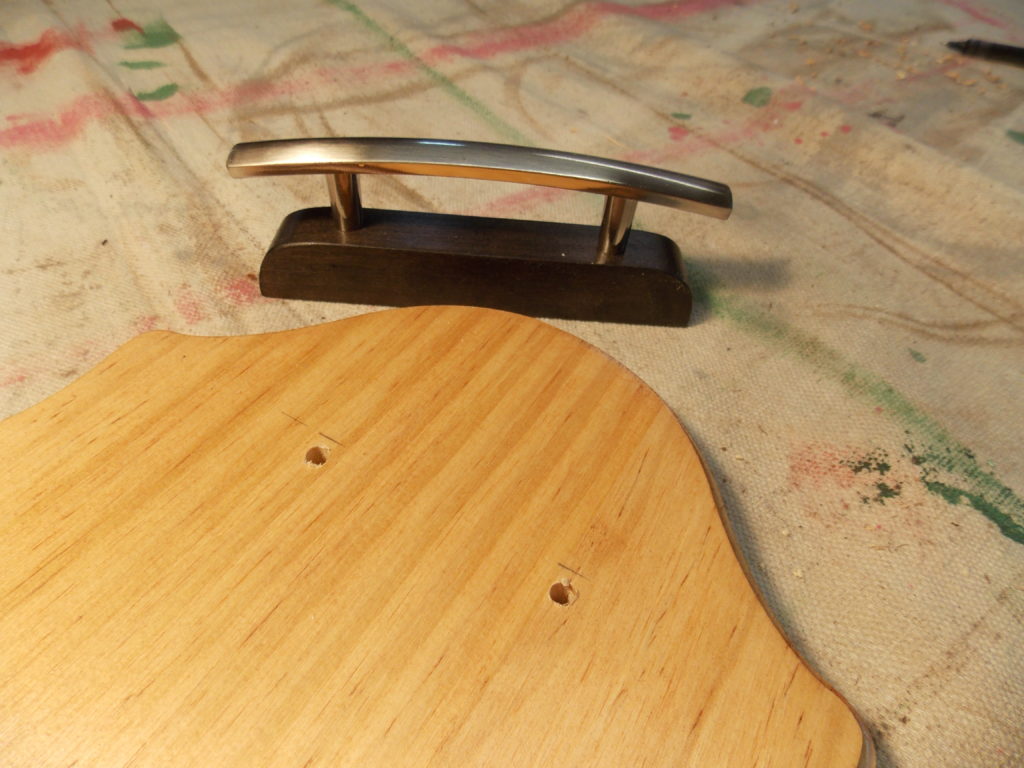 I then attached two chrome handles, which I first mounted to scraps of rosewood I had in my workshop.
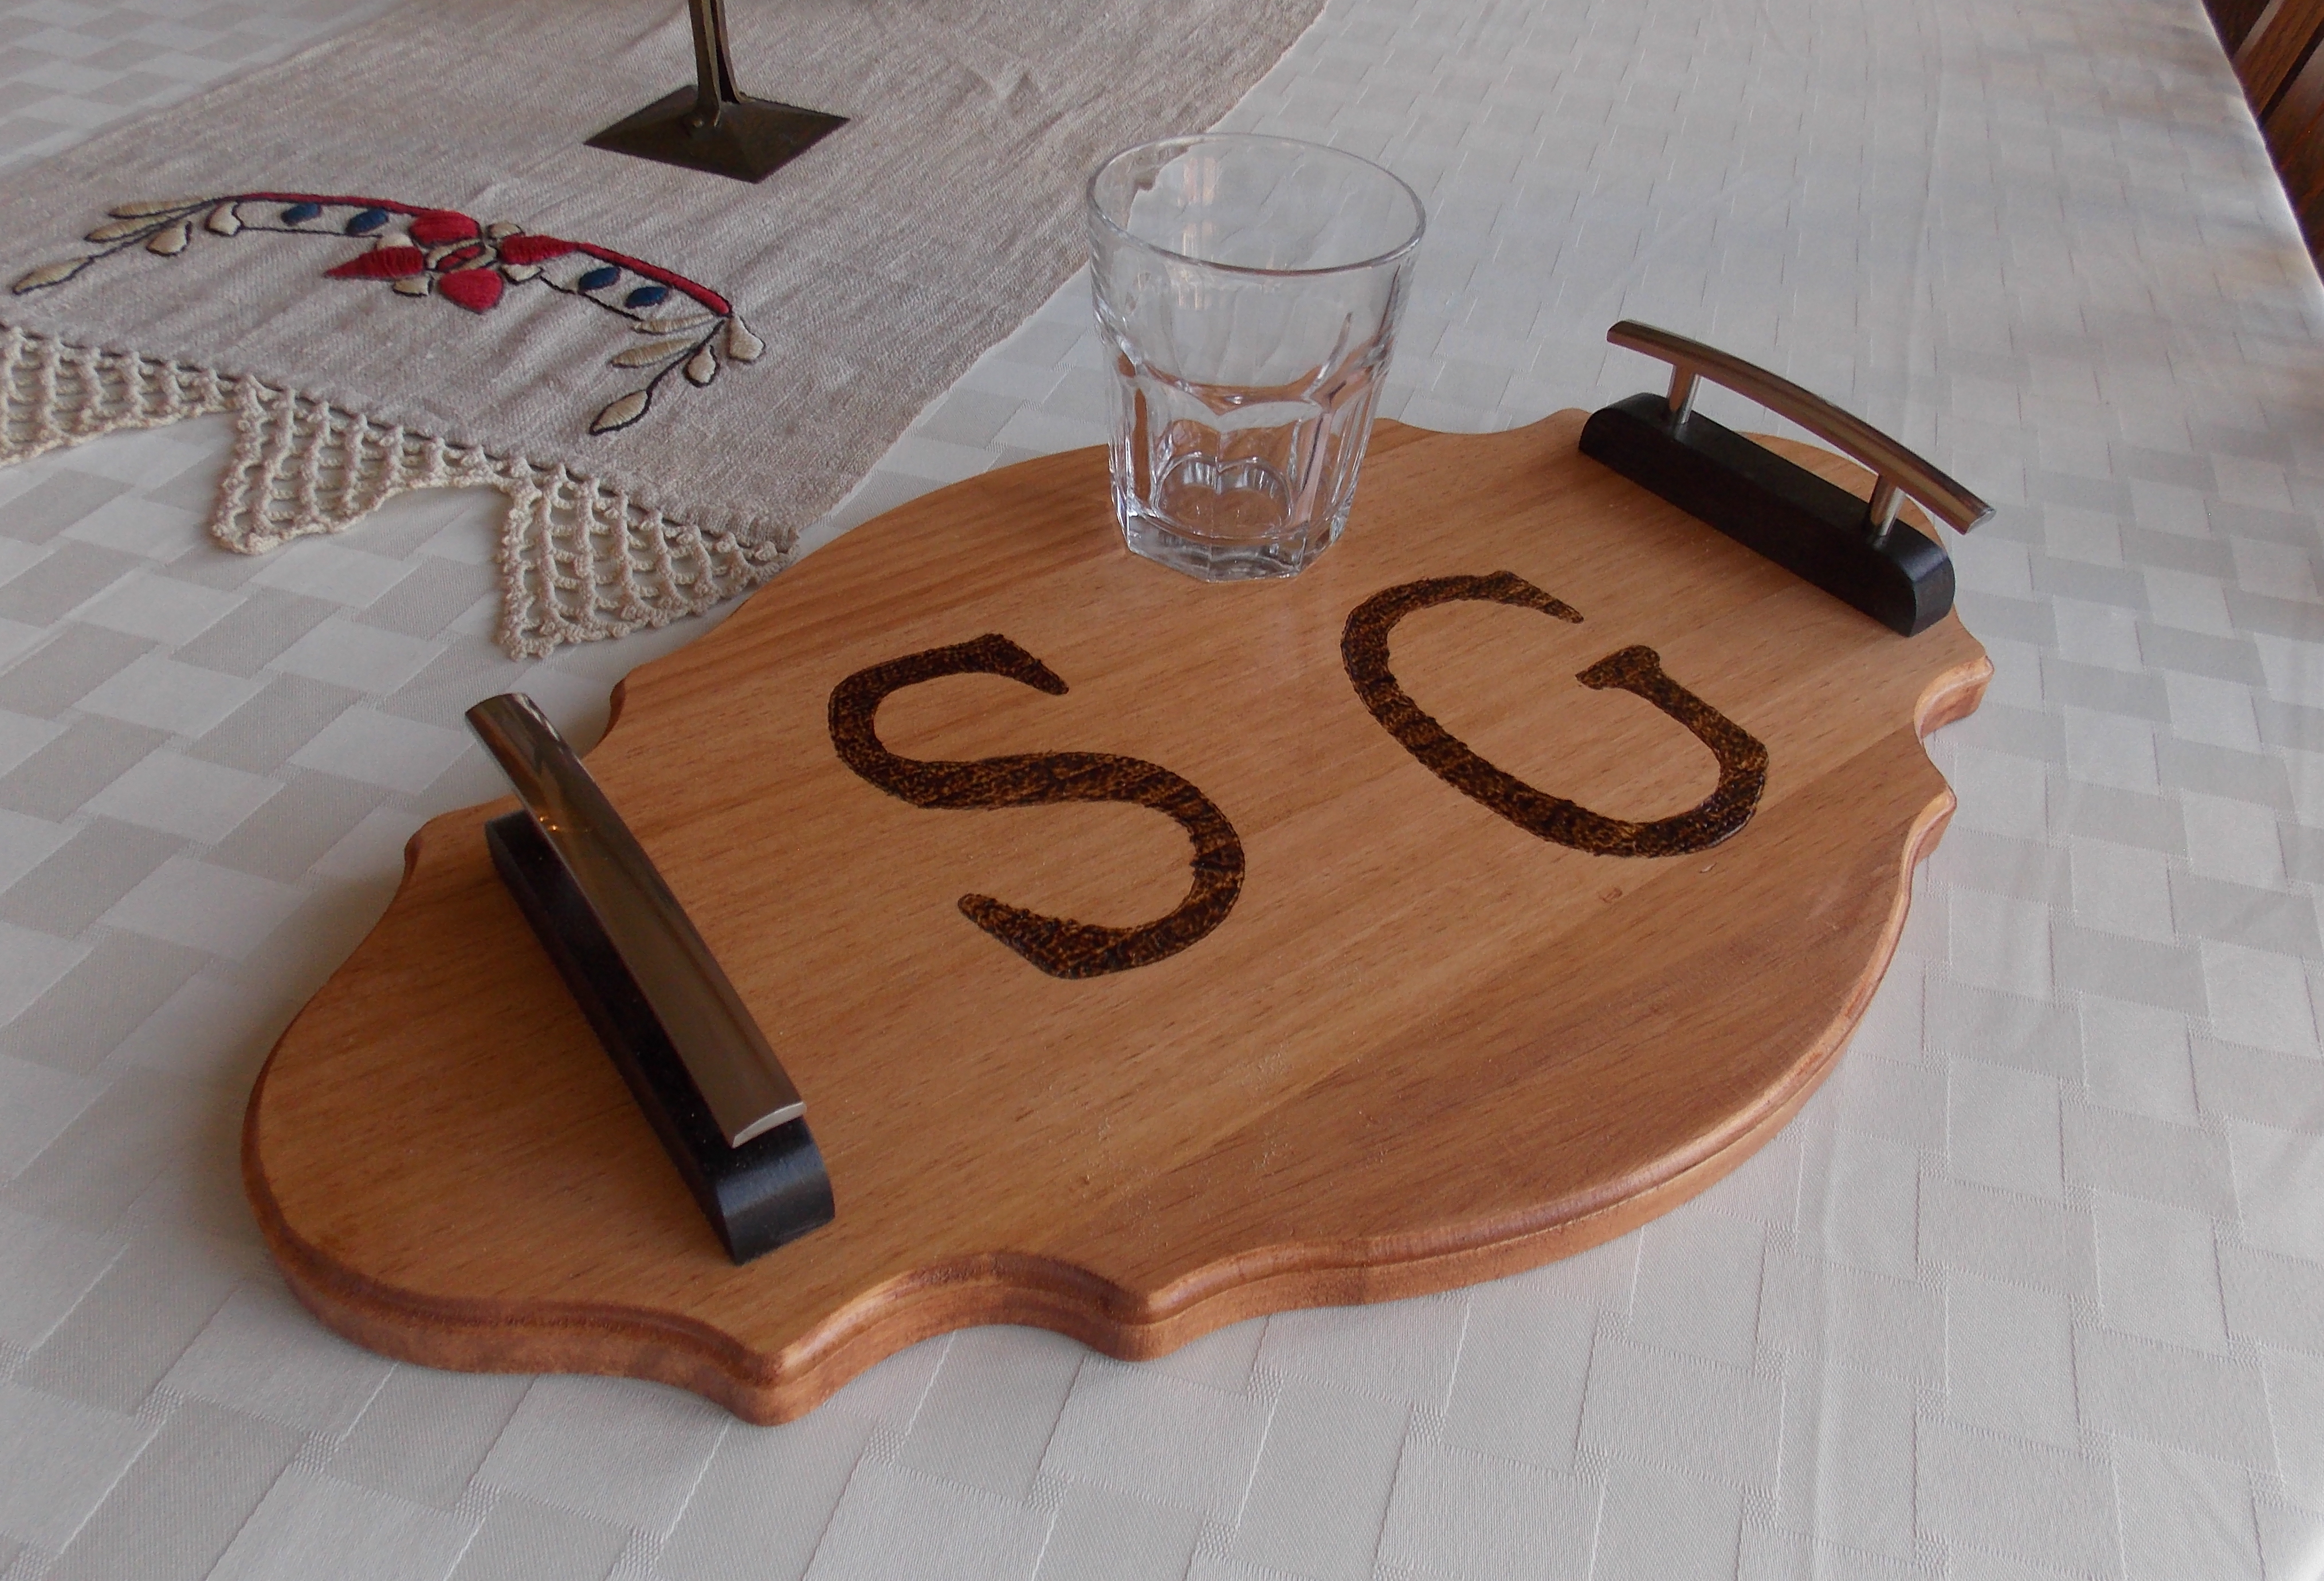
As you can see, when you personalize a gift, you make something very special — and very practical — for a friend or family member.
Until next time,
Thanks for stopping by!
Bruce


