Tools Needed:
- Minwax Wood Finish
- Minwax Fast-Drying Polyurethane
- Natural bristle brush
- Drop cloth
- Disposable gloves
- Dish pan
I spend a lot of time in my garage workshop, and I also spend a lot of my time looking for bargains, so when these unfinished oak cabinets went on sale, I bought them to go with some cherry cabinets left from our recent kitchen remodeling.
1. Apply wood stain to the surface

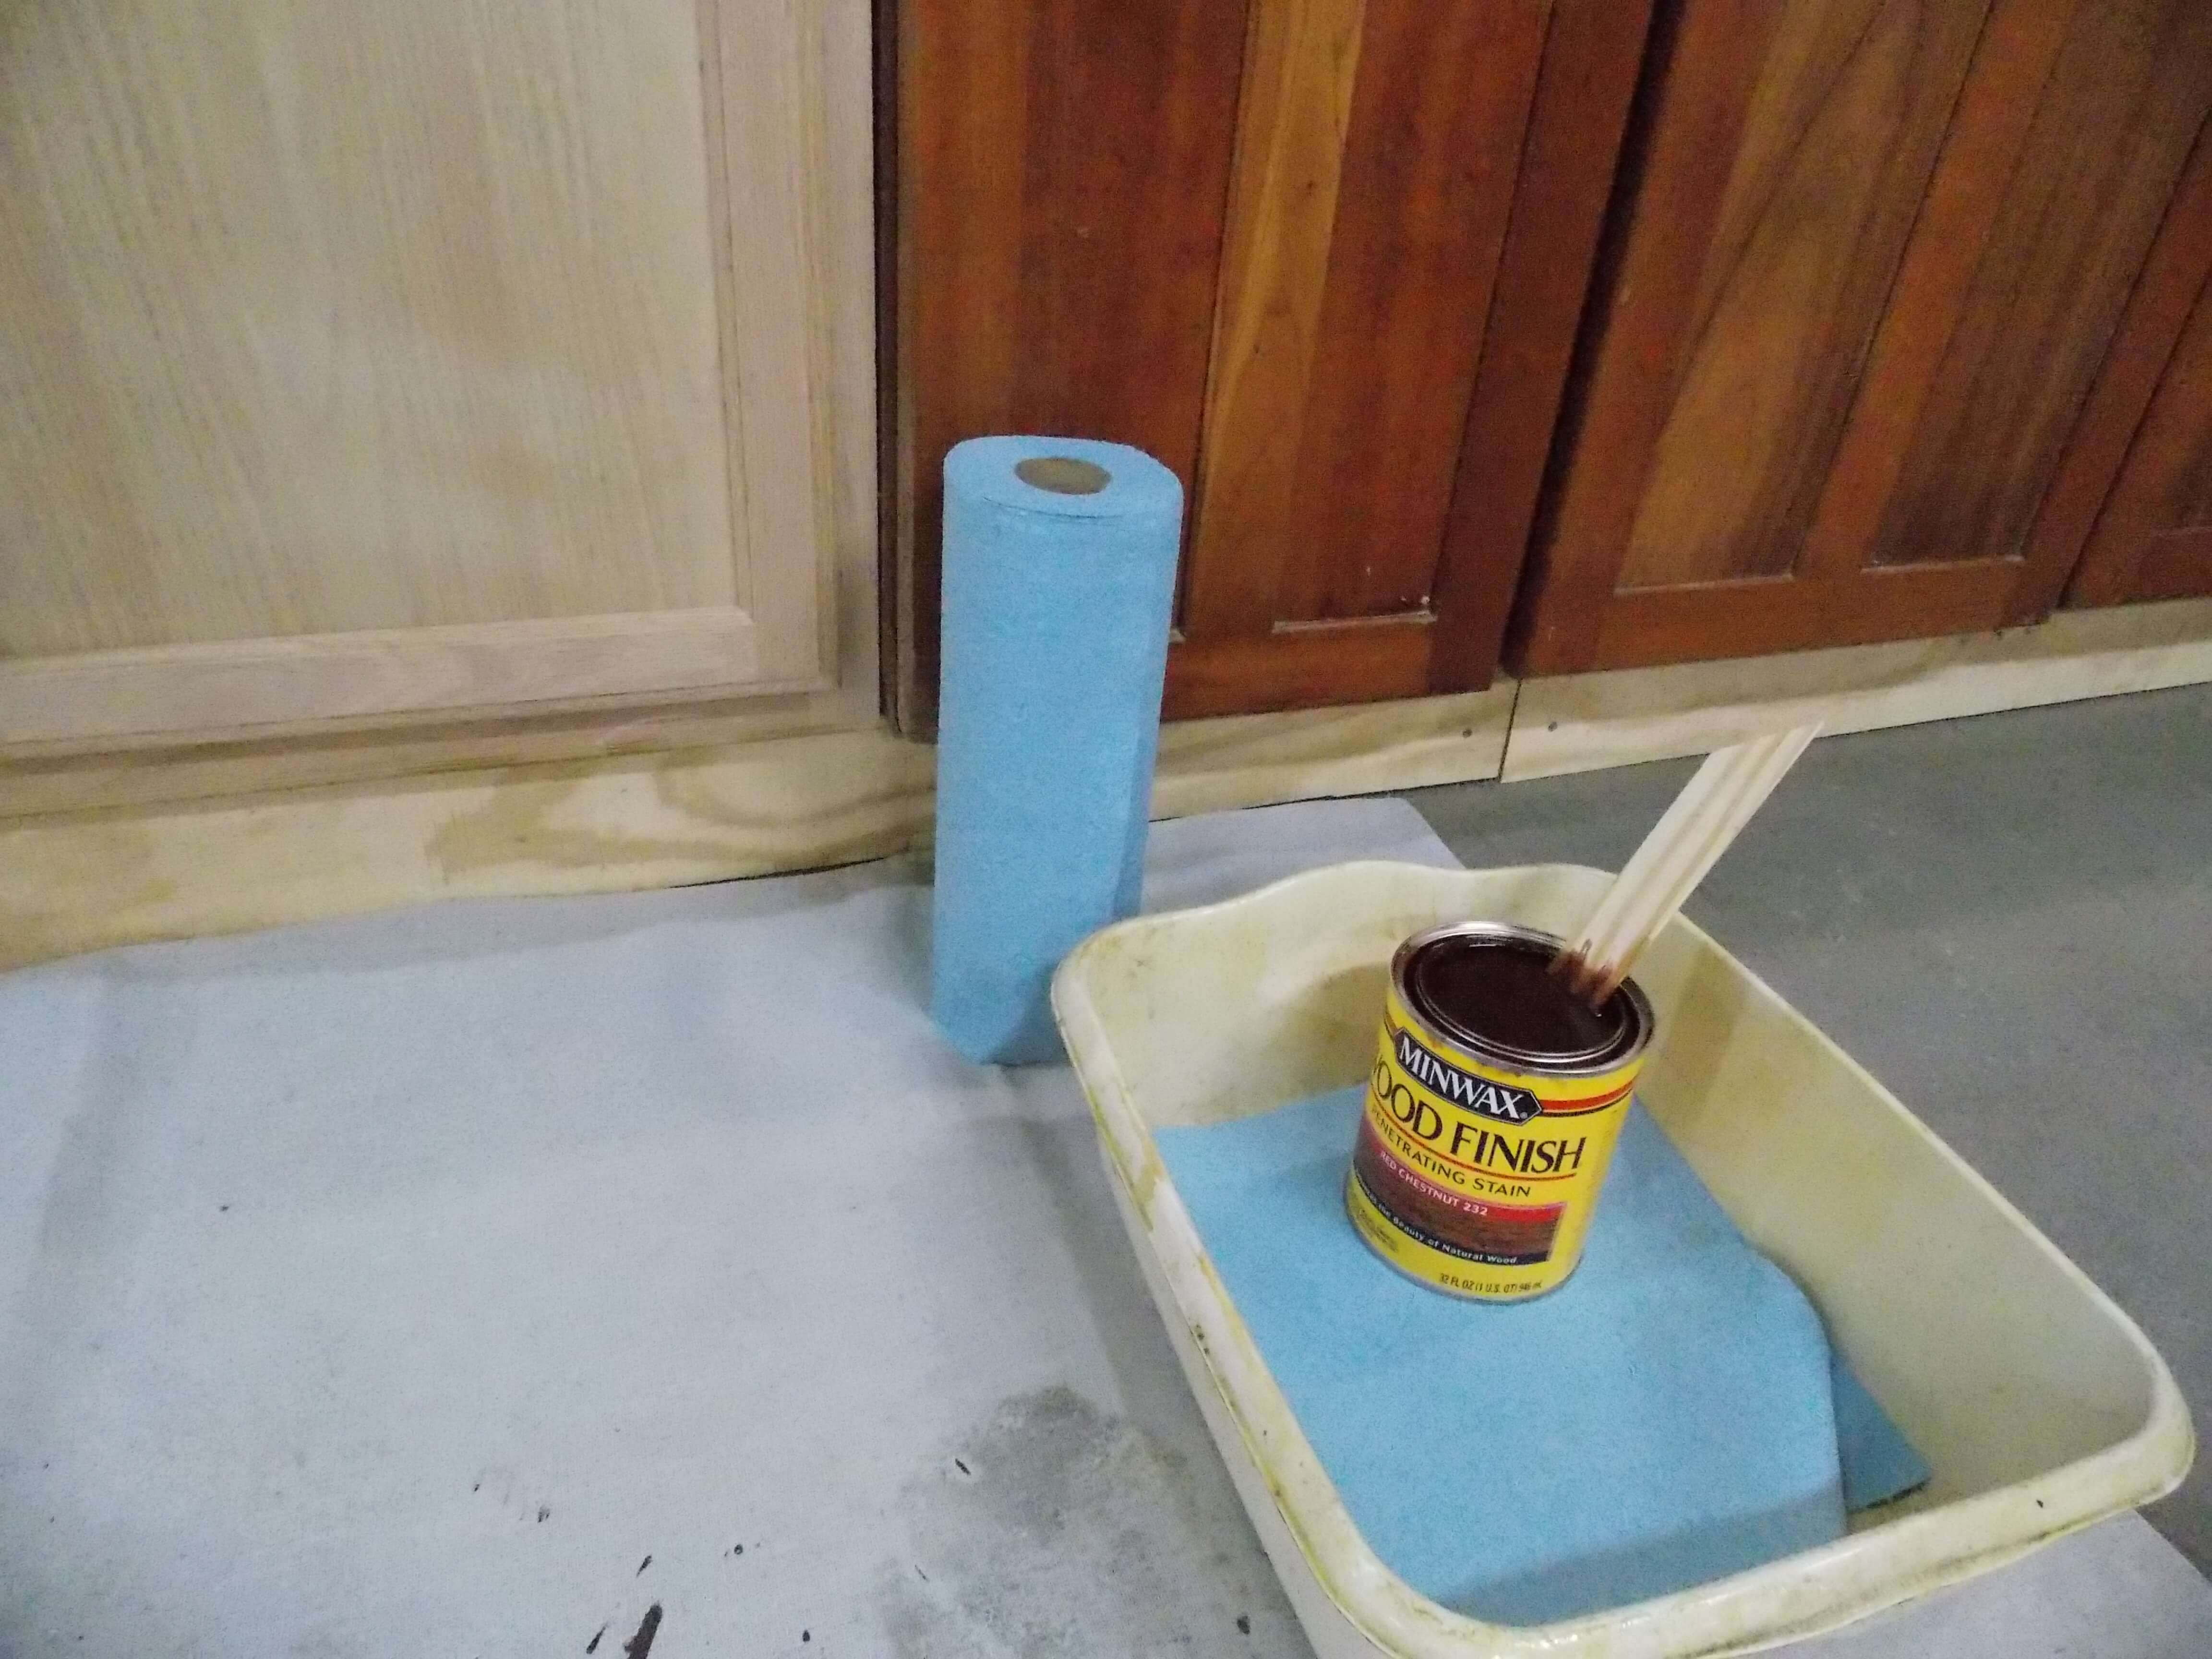
While I knew from experience that I could never make my oak and cherry cabinets look identical, as they have totally different grain lines, I also knew that the right Minwax Wood Finish, such as Red Chestnut, would come close. And to make sure that it wouldn’t ruin my floor if I accidentally knocked over my can of stain, I placed my can of stain in an old plastic dish pan.
2. Remove excess stain
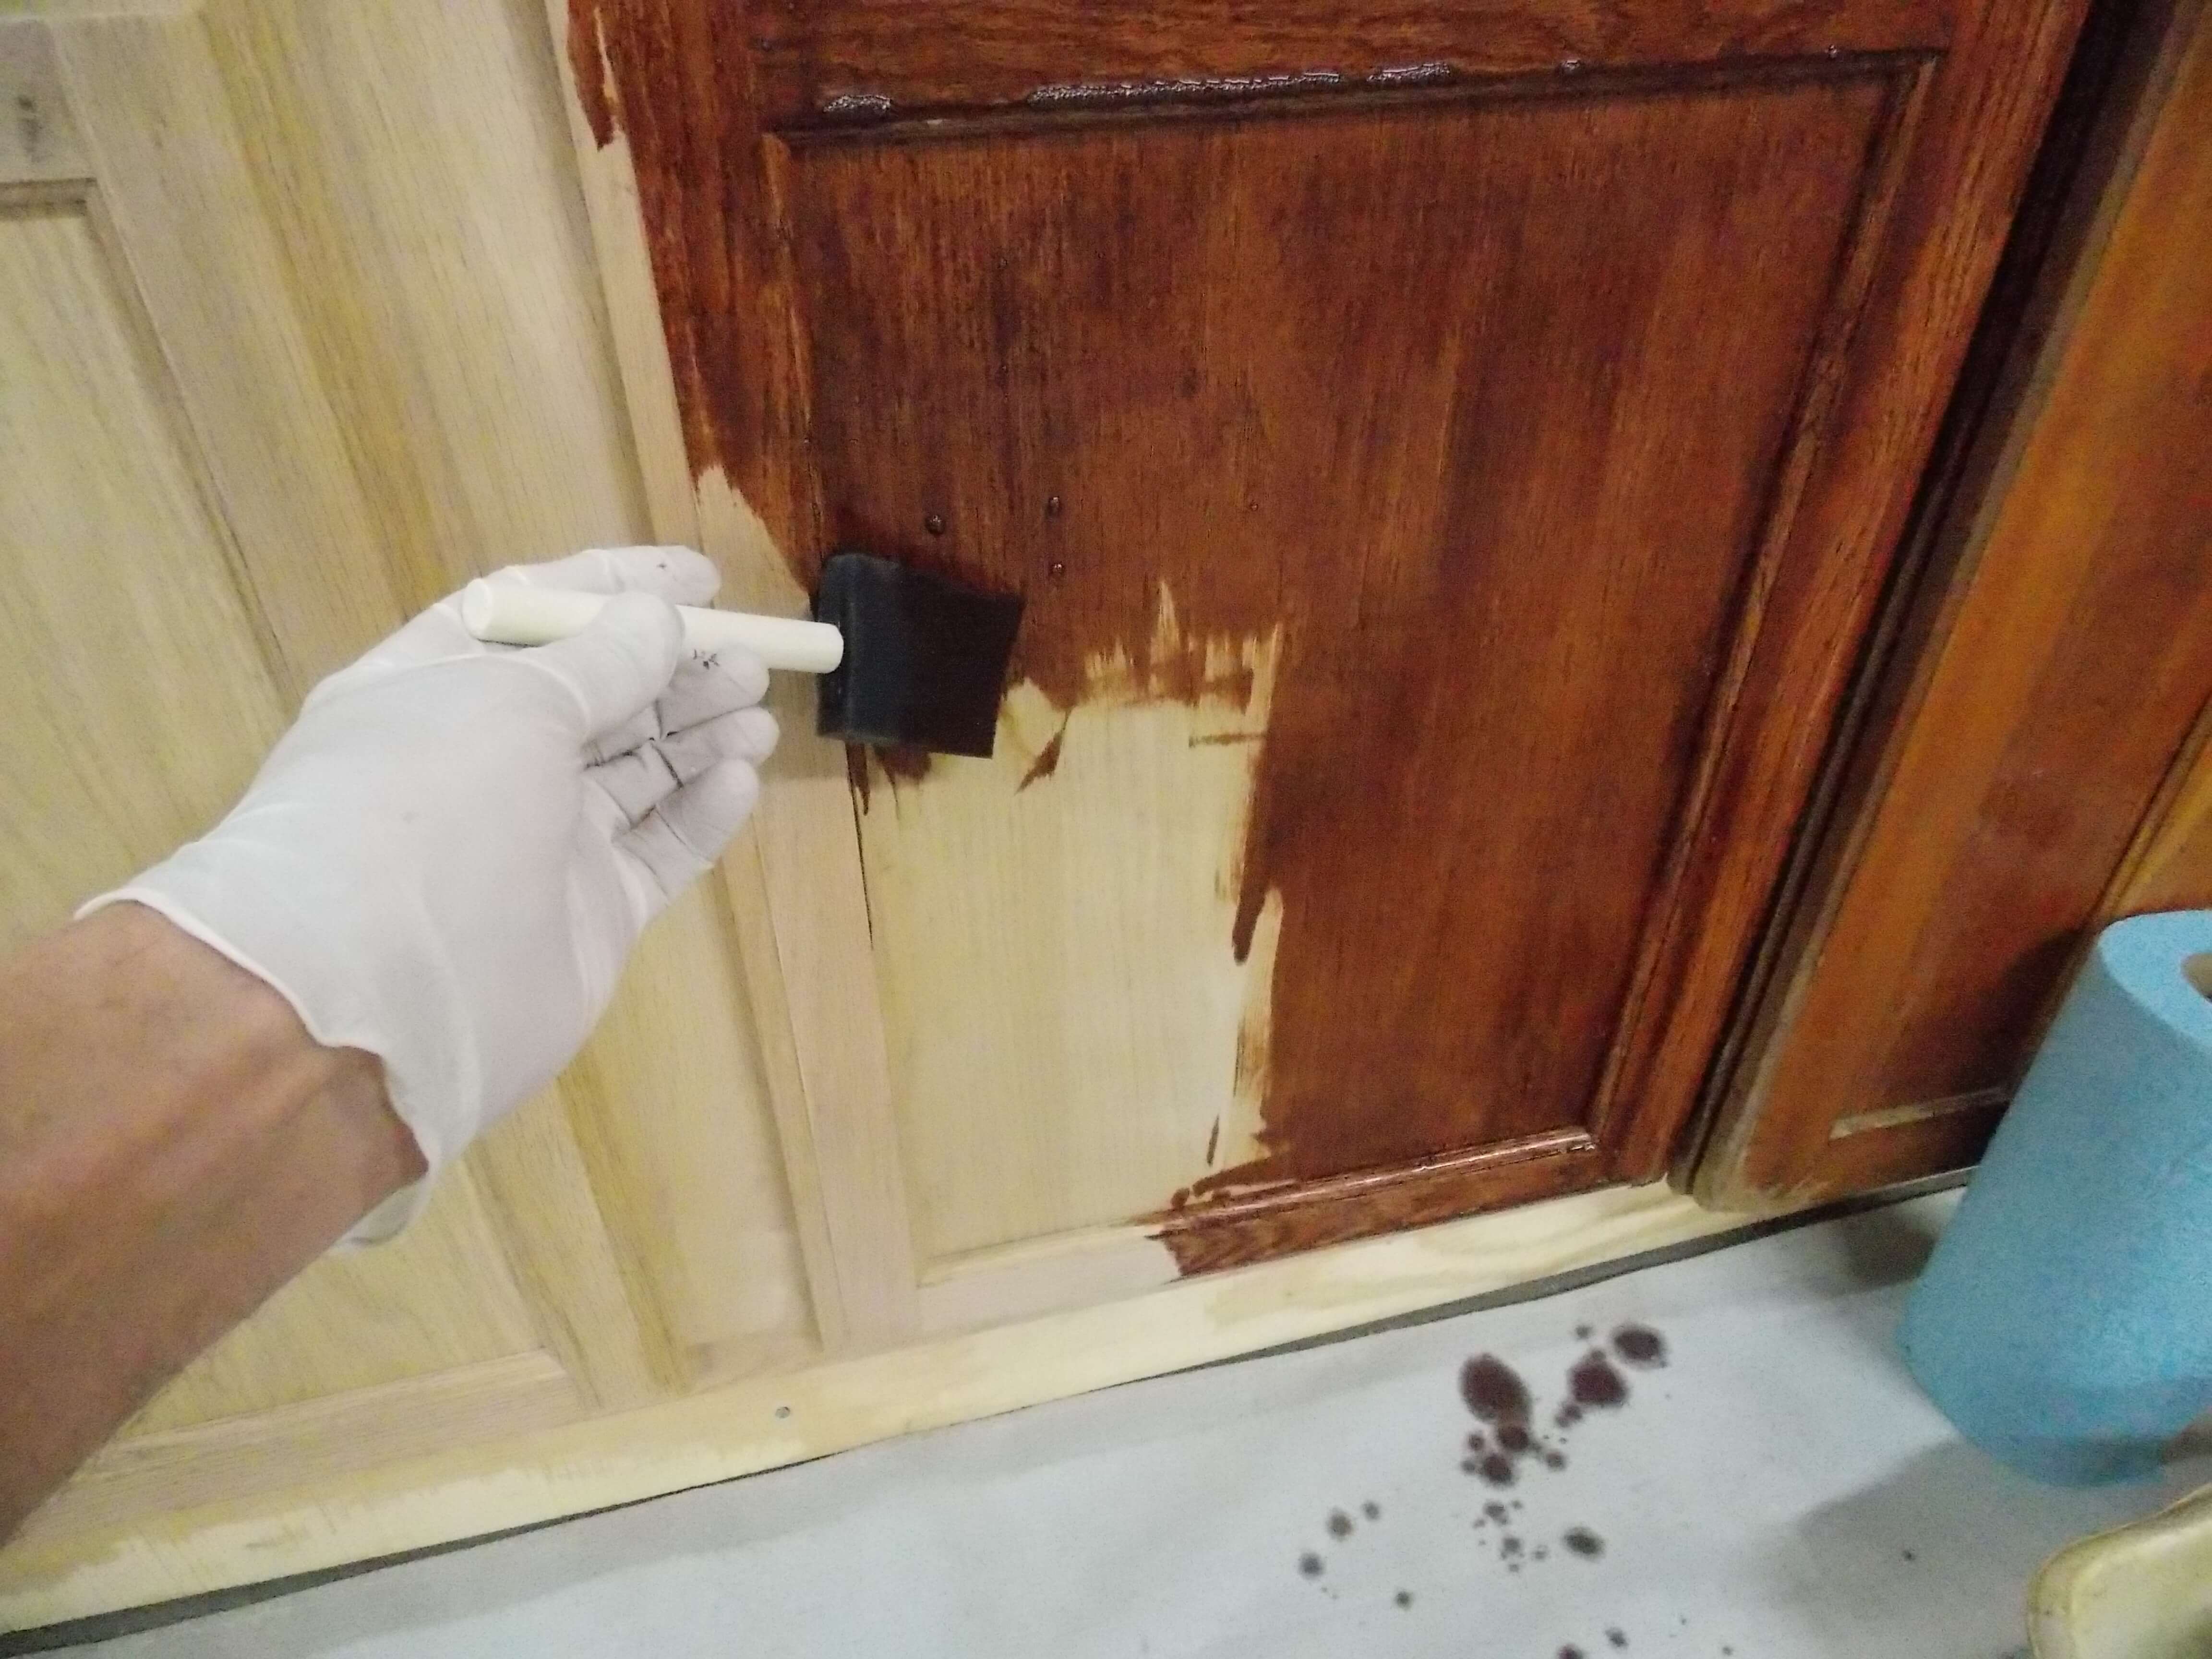
Brushing stain on a vertical surface can be messy, which is why I also used a drop cloth — and wore disposable gloves — but ….
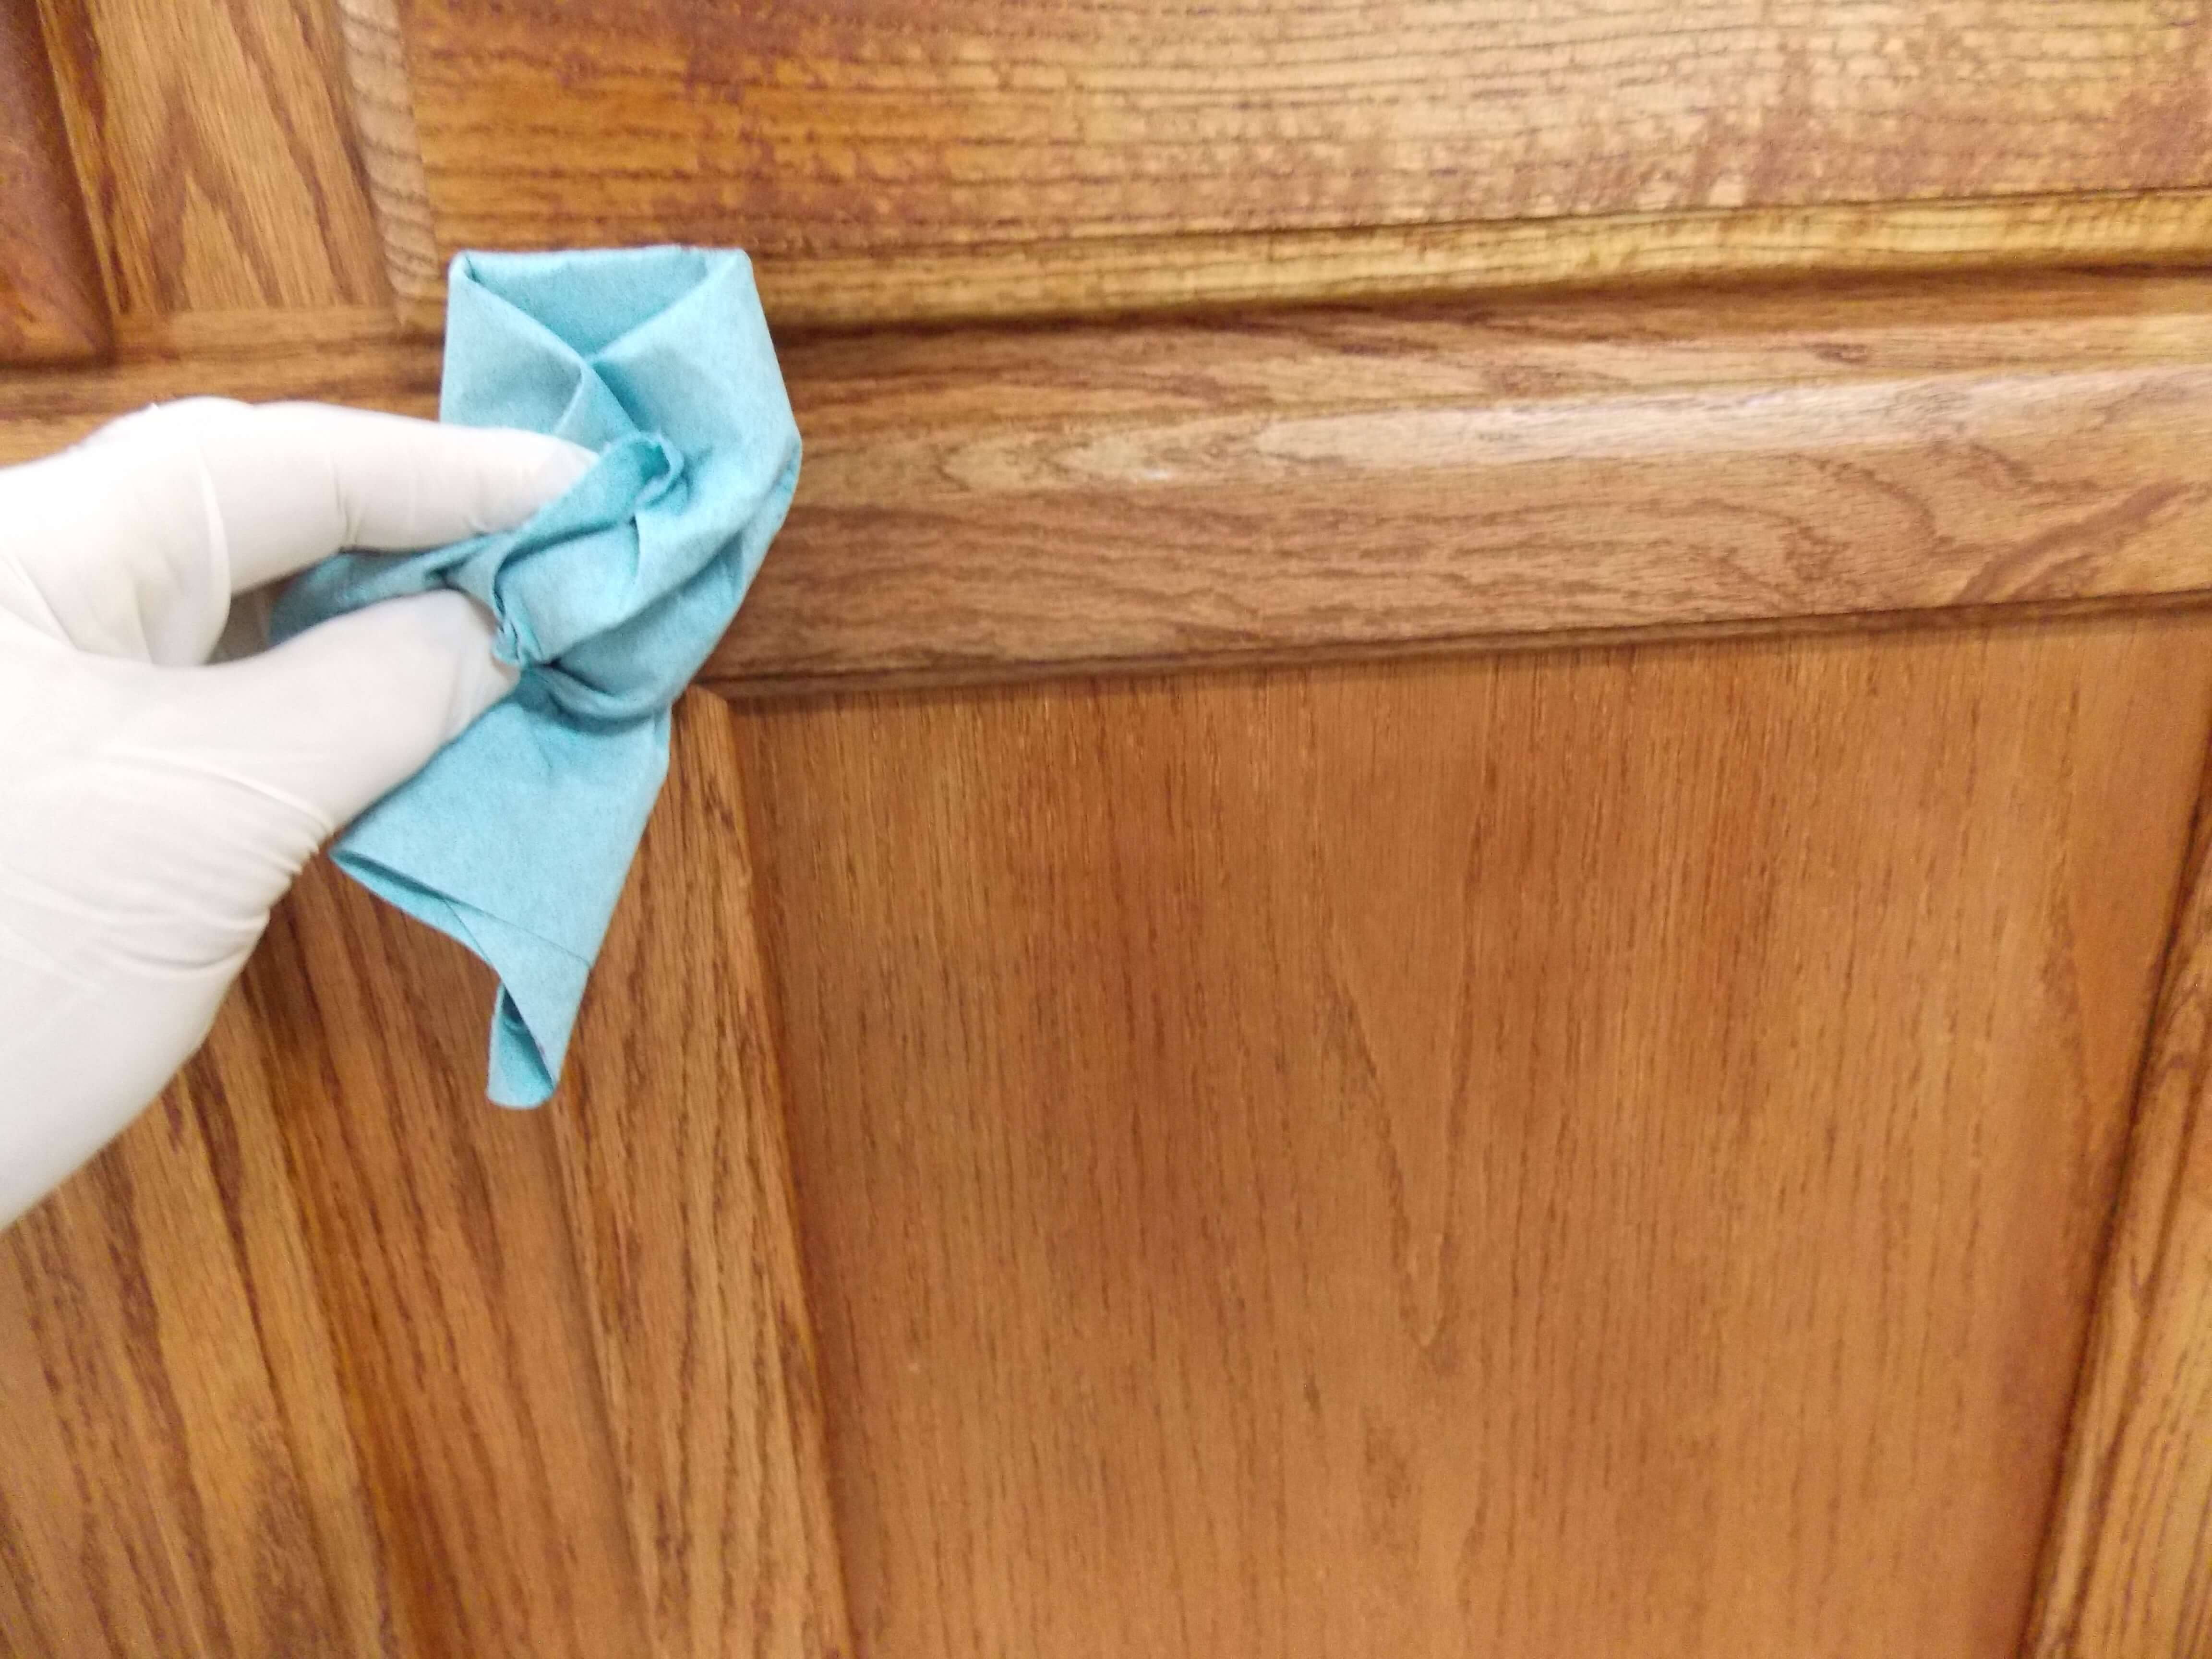
… when I wiped off the excess stain a few minutes later, the color really brought out the beauty of the oak grain.
3. Apply a clear, protective finish
Stain provides color, but not the protection these garage cabinets would need, so I reached for a trusted finish: Minwax Fast-Drying Polyurethane. Two coats brushed on with a natural bristle brush gave both my stain and the wood itself the protection they need.
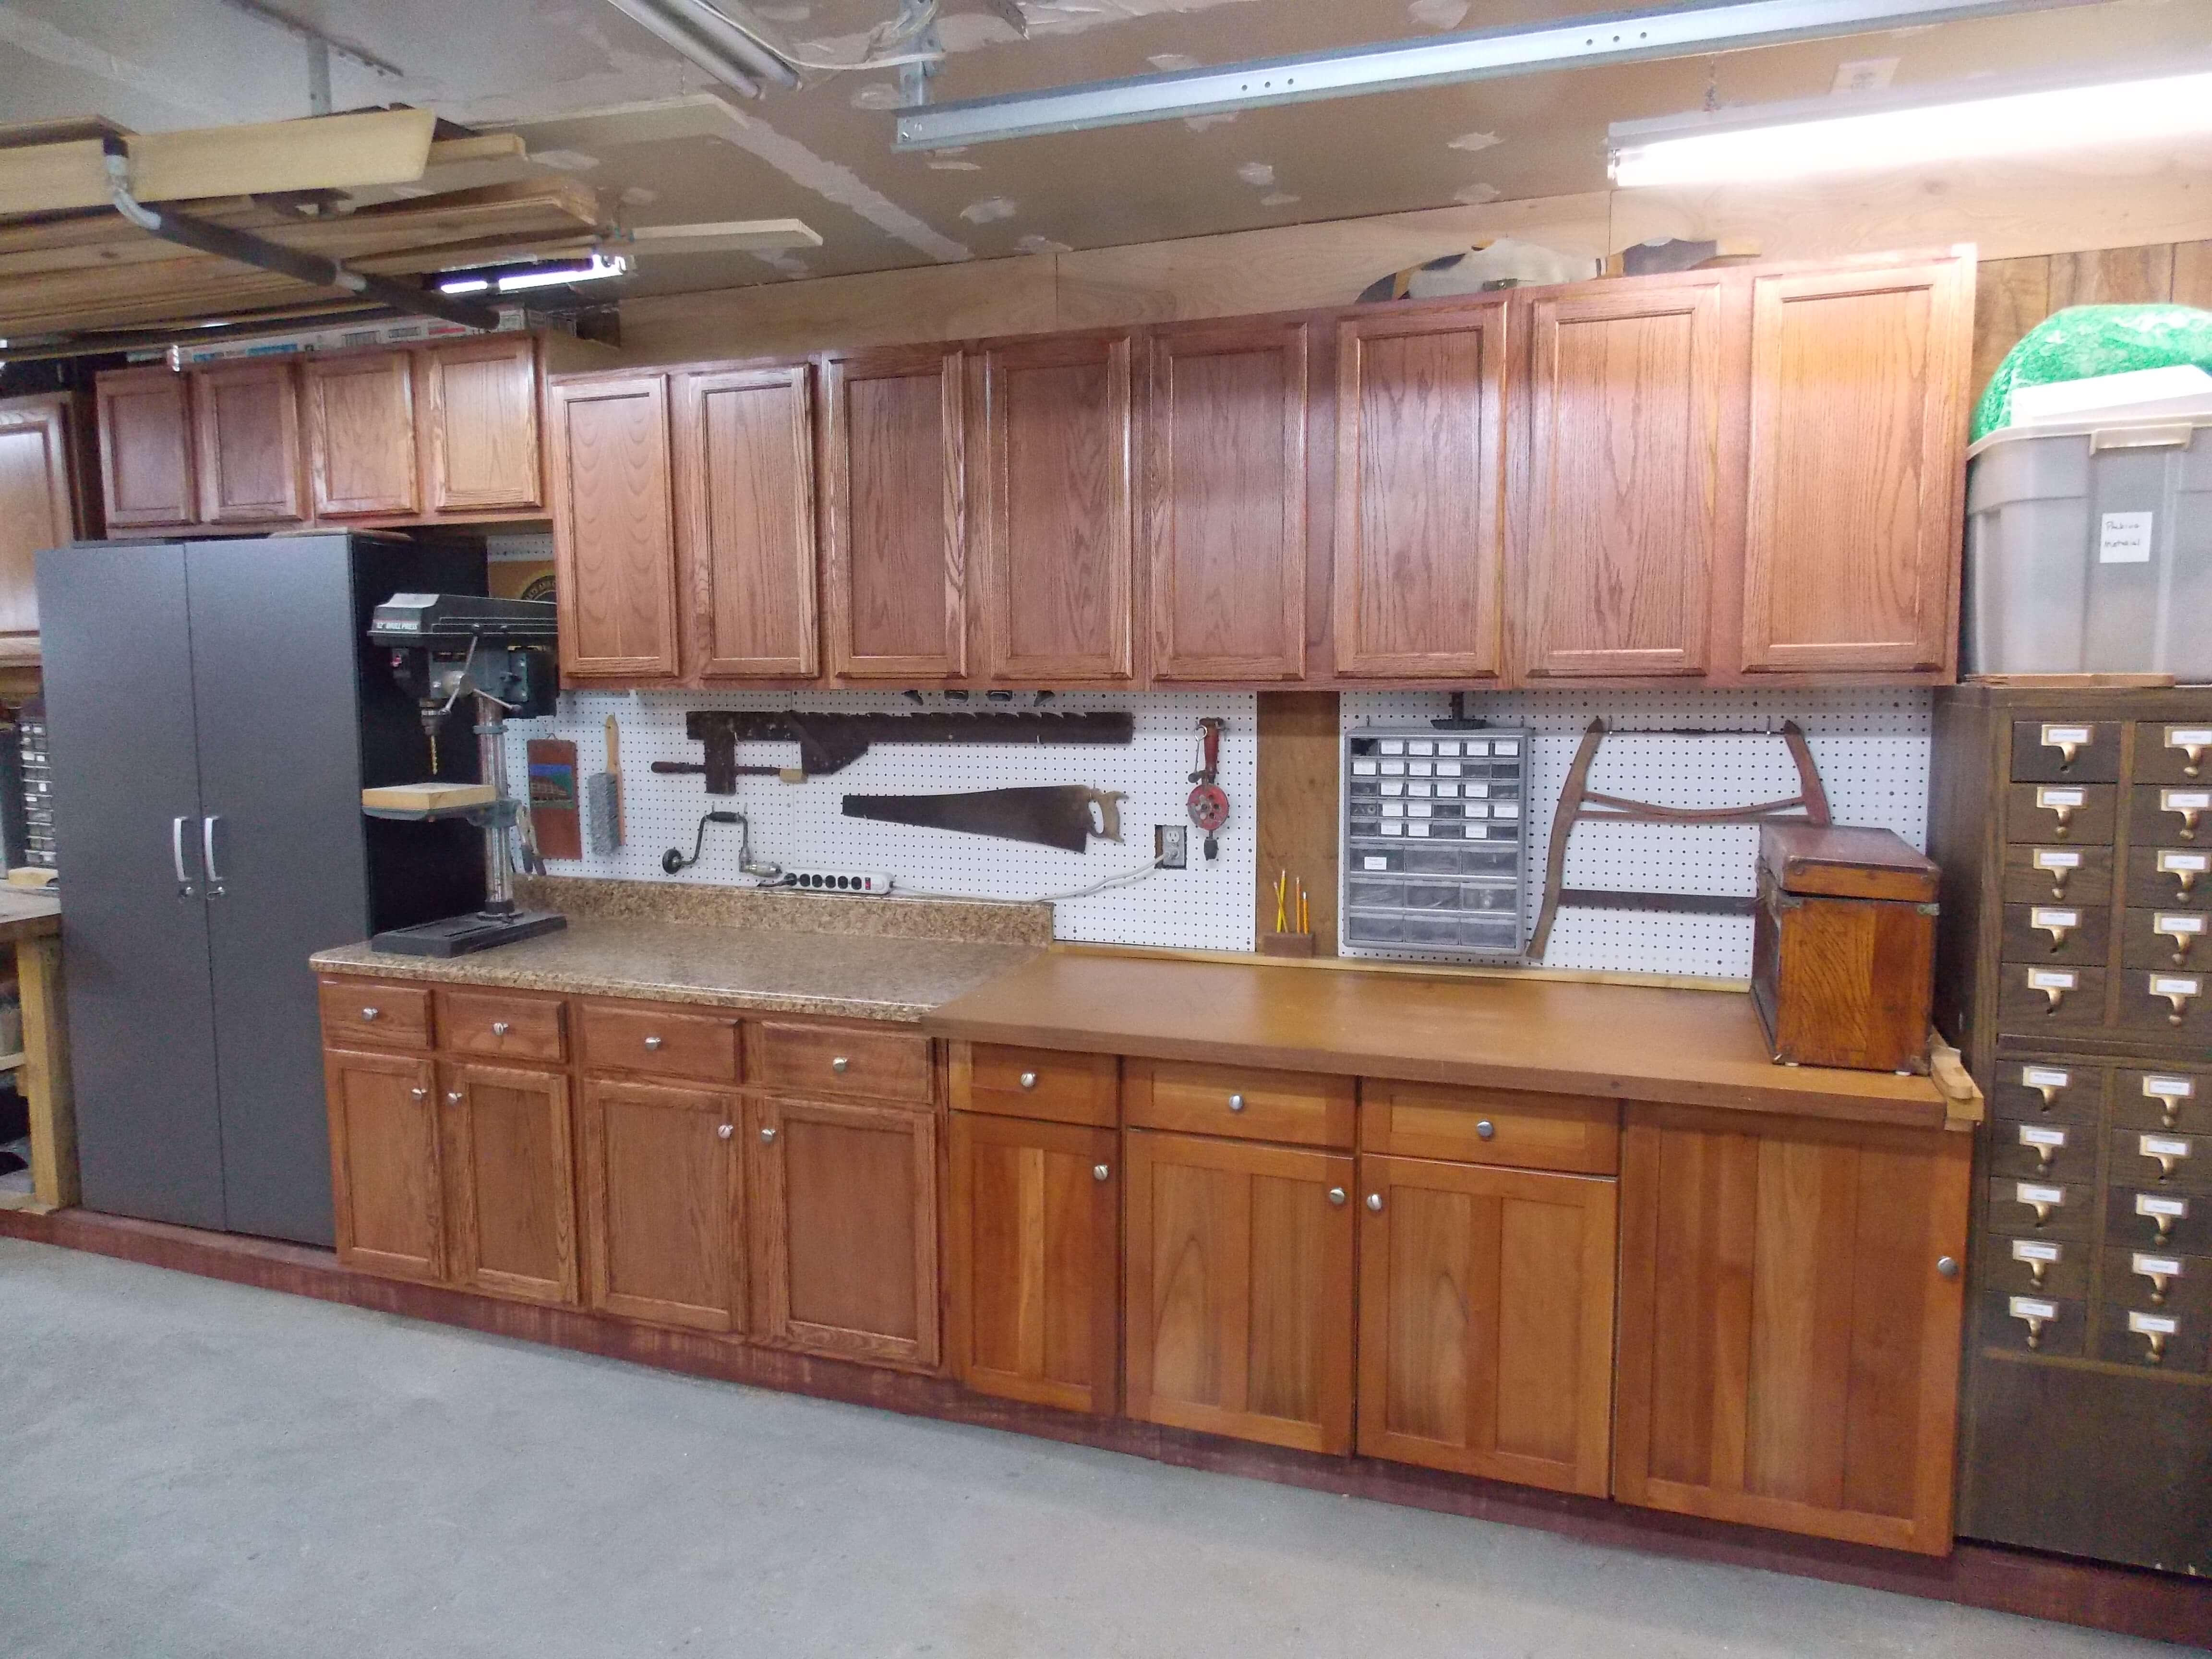
And while the oak cabinets still look a little different than the cherry cabinets, the combination of Minwax Wood Finish stain and Fast-Drying Polyurethane made me happy — and the cabinets take away any excuse I might have had for not keeping my workshop organized.
Until next time,
Thanks for stopping by!
Bruce


