Tools Needed:
- Minwax Wood Finishing Cloths
- Lazy Susan mechanism
- Round pine top
- Scrap wood for a base
- Awl
- Screwdriver
- Screws
- Gloves (to protect hands from the wood stain)
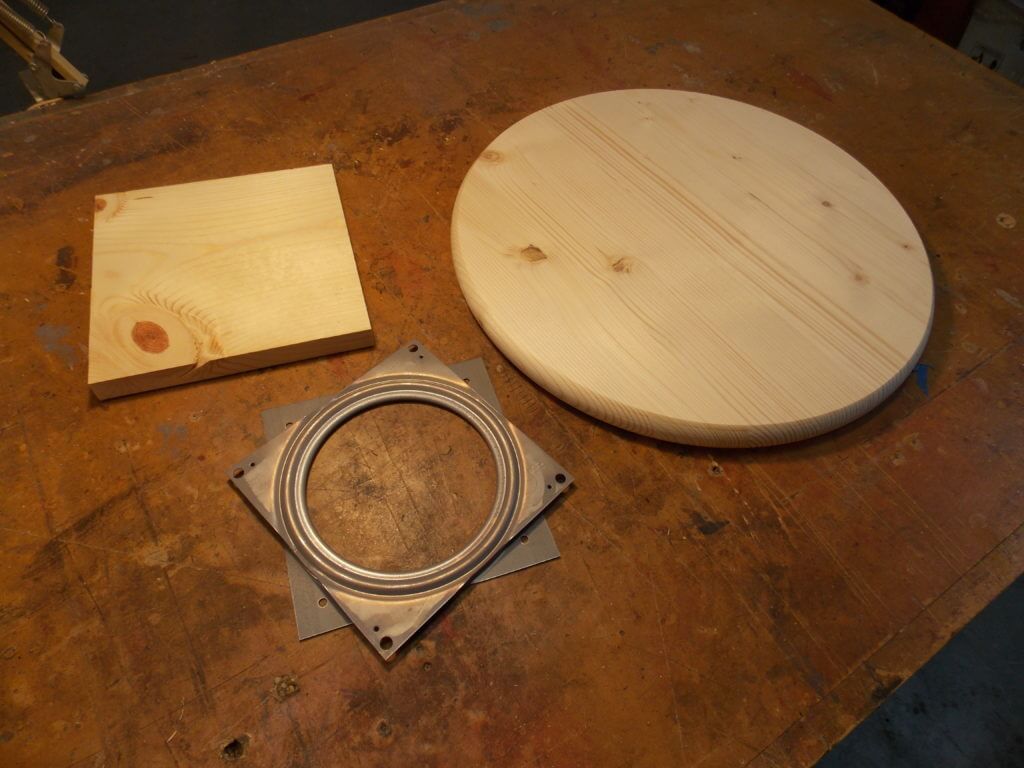
How about an easy project that makes a great house-warming or birthday gift? You can pick up an inexpensive, pre-glued, pre-cut round pine top and a roller-bearing Lazy Susan mechanism at your local home improvement or craft center, then add to that a piece of scrap wood for the base.
1. Attach the Lazy Susan mechanism to a wood base
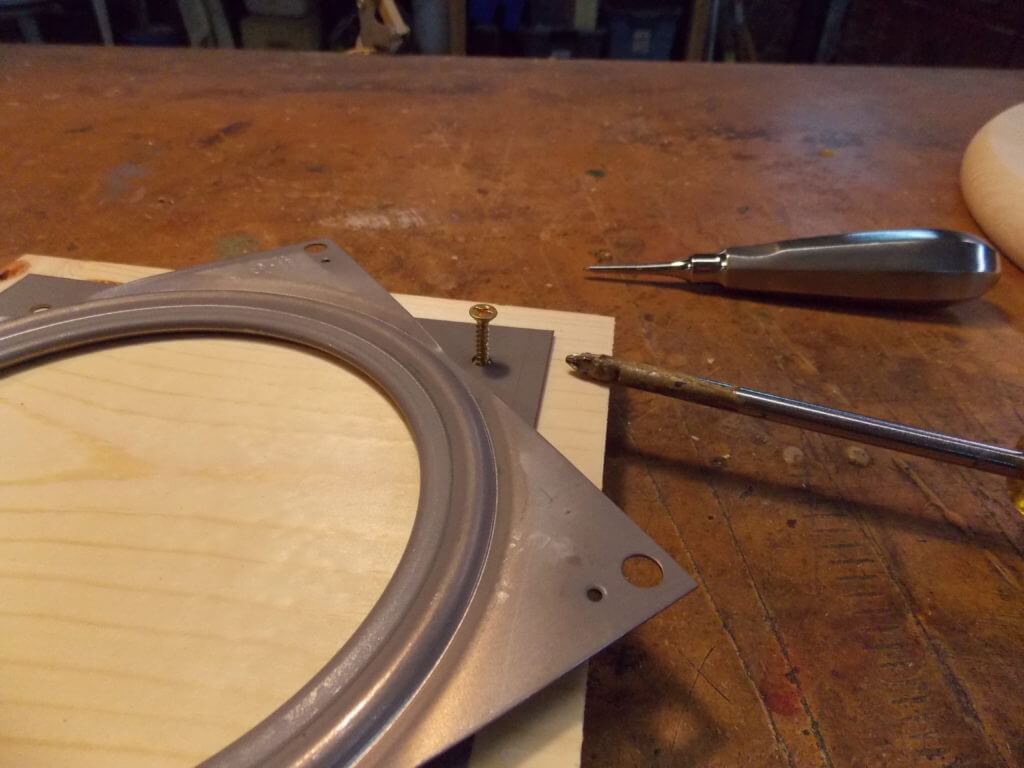
The first step is to screw the mechanism to your base. The pine is soft enough to use an awl (visable in rear) to make a starter hole for your screws.
2. Attach the mechanism to the pine top
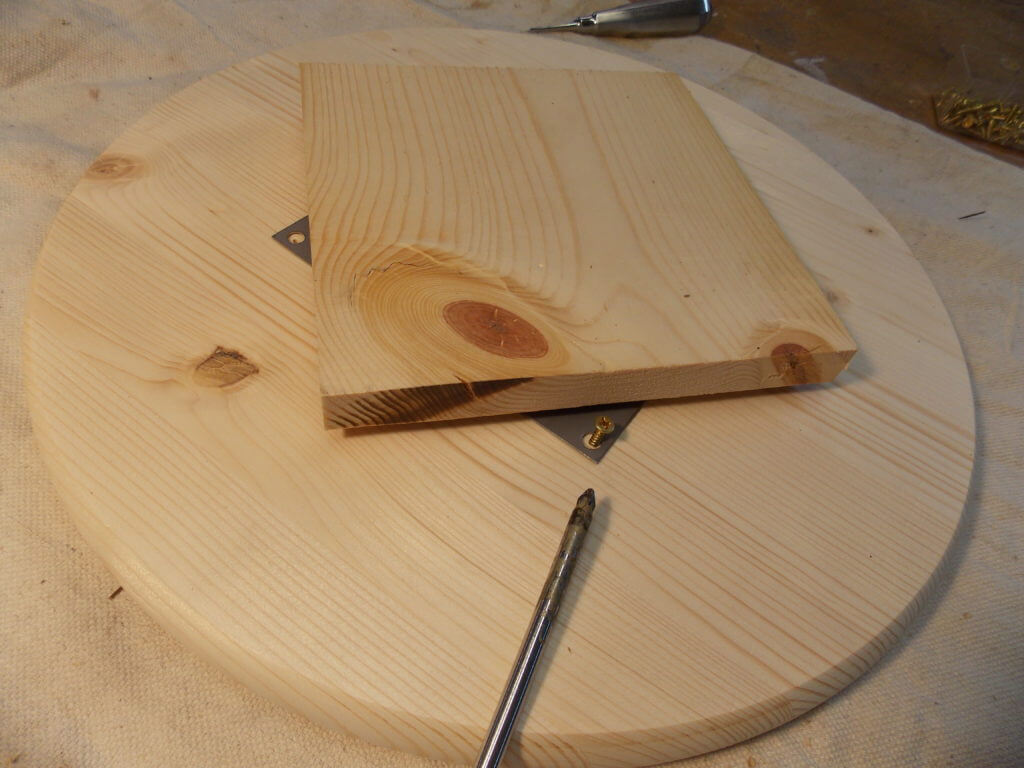
You then flip the top over and do the same, attaching the top side of the two-piece mechanism to the underside of the wood top.
3. Apply stain to the wood
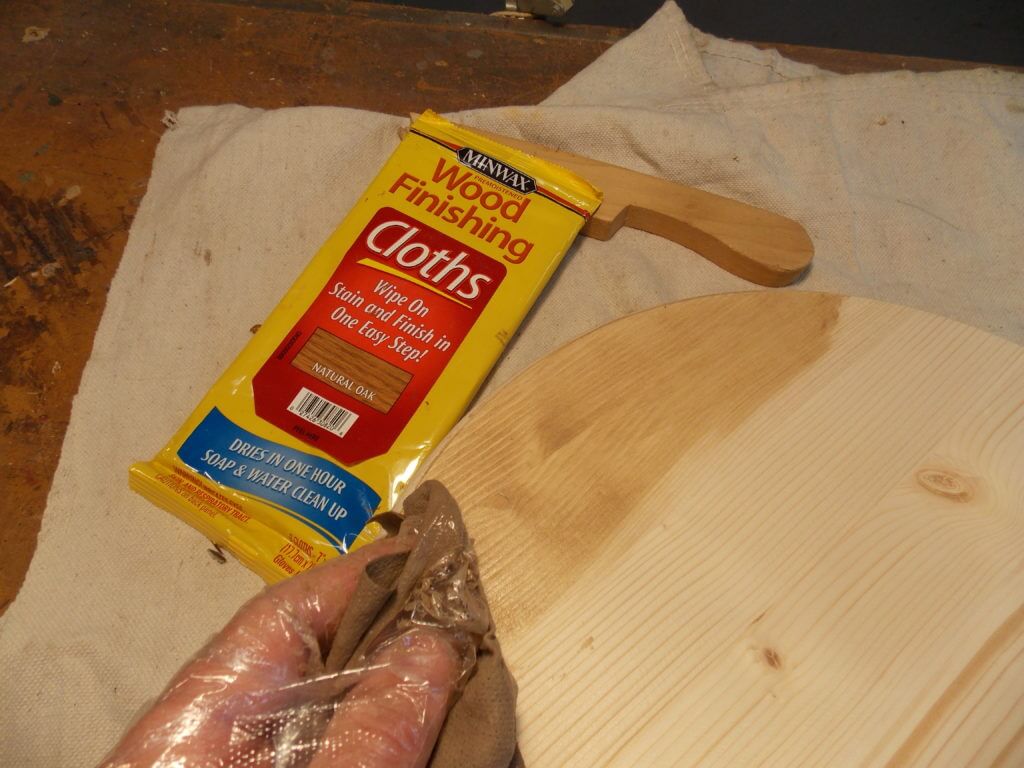
And what could be better for an easy project than an easy combination stain-and-finish — one that comes in a resealable bag, and that you apply with pre-moistened cloths rather than a brush? Minwax Wood Finishing Cloths are water-based, so they dry quickly and have no odor, making them perfect for small indoor projects.
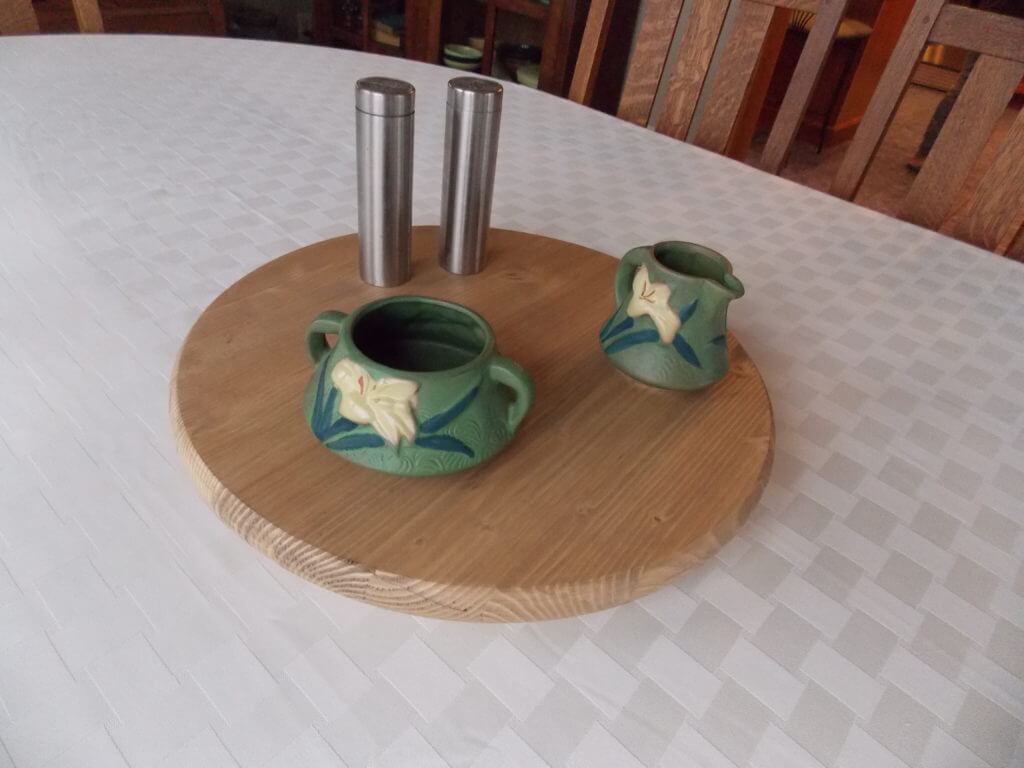 And literally in just minutes you can make a handy Lazy Susan, either for your dining room table — or to have ready for the next time you need a gift for a friend or relative.
Until our next time,
Thanks for stopping by!
Bruce


