

Sarah of Thrifty Decor Chick has shared yet another simple and inexpensive way to decorate your home. See her how she created her first “shelfie” using to warm up her kitchen wall.
Well hello! I’m so thrilled to tell you I am this close to done with the kitchen. My list is still long but it’s little stuff. Lots of painting and touch ups to do. I’m thoroughly enjoying it right now because I’m so happy with the space and did I mention I’M ALMOST DONE.
Today I’m sharing my first shelfie. 😉 Yeah I totally went there. I’m so excited to have the shelves up on the empty wall. Having a blank slate for so long was kind of nice — so open. But I was definitely craving some function and to warm it up a bit.
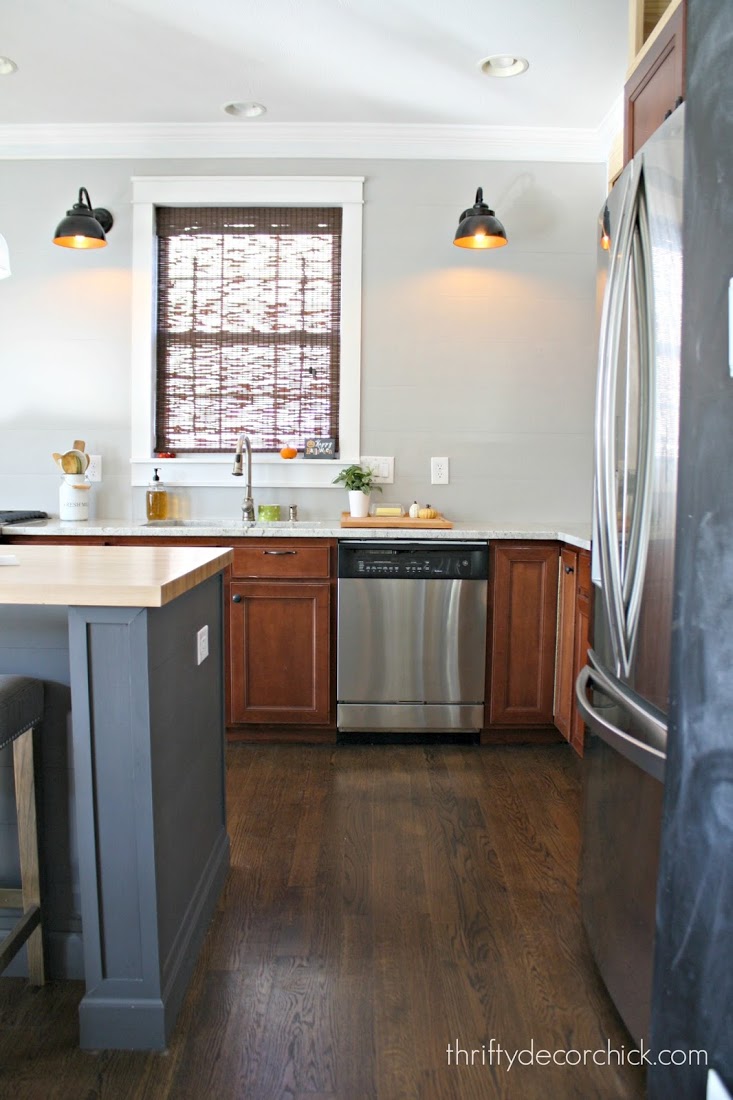
The last time you saw this space (the area to the right) it was empty.
I have worked with Minwax on a few projects over the past few months and this is another one. I use their products all the time and I’ll say it again — I love staining. It’s instant gratification. Seeing the color go on and how it pulls out the beauty of the wood is a winner every time.
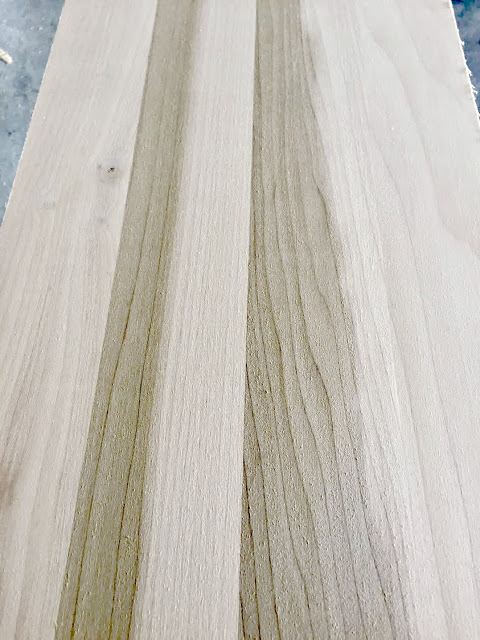
At first I thought I wanted thick chunky shelves but then I ended up going with something more streamlined. The two inch thick wood that is readily available has a lot of knots and I wanted something without. I went with a piece of poplar.
Here’s a tip to make sure your wood isn’t bowed — you want it nice and straight for something like this. Turn it on it’s side and eye it down the length of the wood. You’ll be able to see if there are any curves or bows.
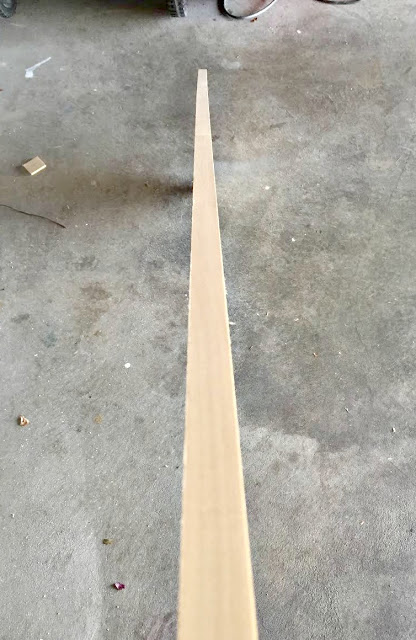
Sorry for the garage floor. I obviously do this in the hardware store before I buy and that would have made for a much nicer backdrop. 😉
I’ve preached this before but it’s so important — use a pre-conditioner before you stain. It takes just a few minutes to swipe it on and it makes a big difference in how the stain absorbs.

If it’s rough in between coats of this or stain, use some steel wool to knock down the texture a little bit. You can go ahead and stain within a few minutes of applying.
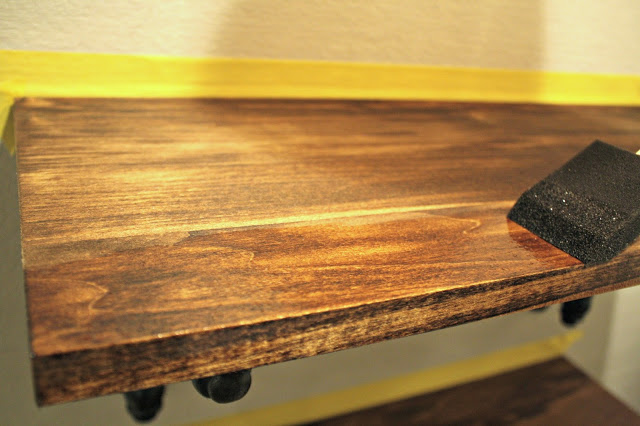
I was going for a little lighter stain than what I typically use. I loved this Provincial color when I did the planked wall a couple months ago and decided to go with that.
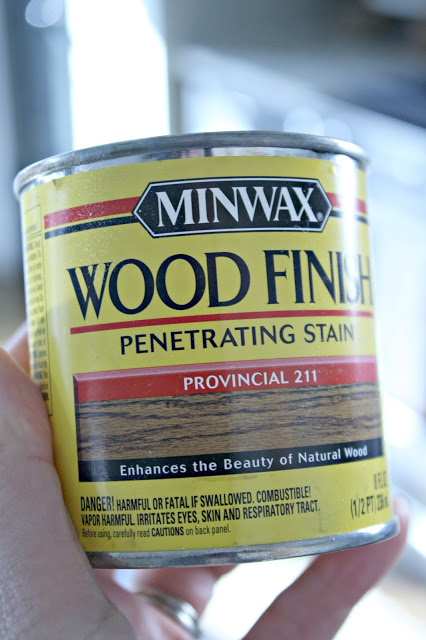
It went on much darker than I expected, but I love it. More on that in a bit.
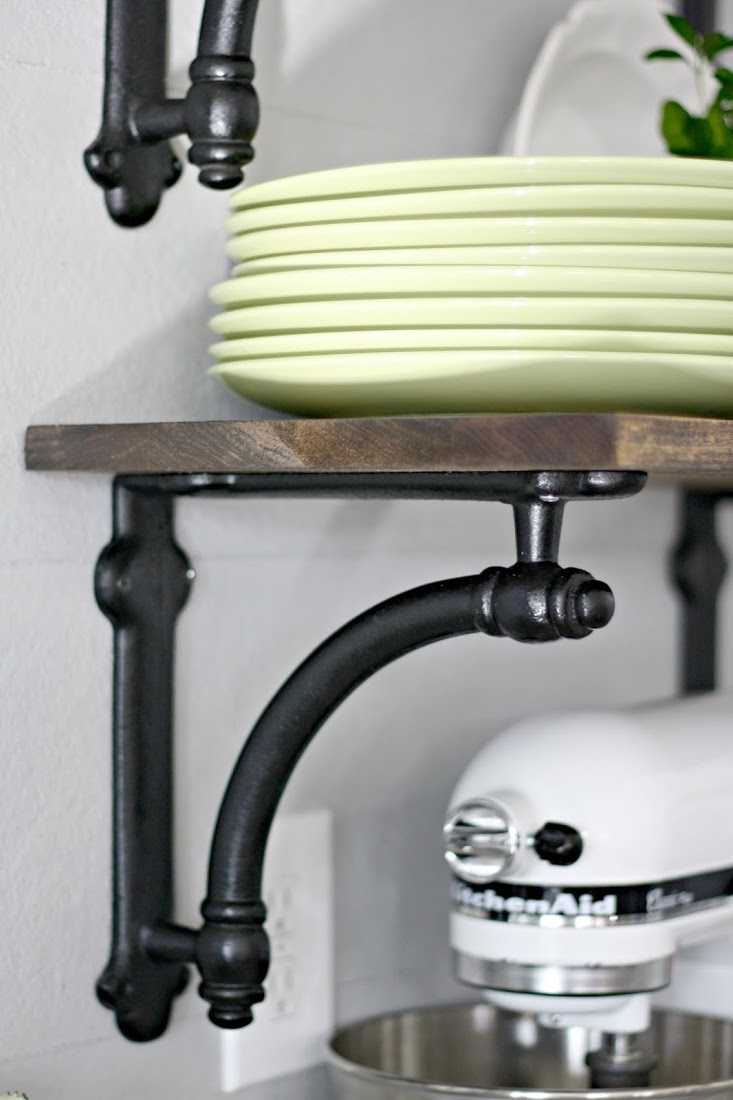
The brackets were something I’ve been planning to use for awhile. I first fell in love with these when I showed you Nicole’s kitchen here. I had to have them! These are the Arc Bracket from Restoration Hardware and they were a splurge! But they were on sale and I found an online discount so that helped a bunch.

They are big and heavy and really substantial — you get what you pay for. I knew that Nicole had painted hers and I knew as soon as I saw them that I wanted to do the same. I wasn’t a big fan of the brown color.
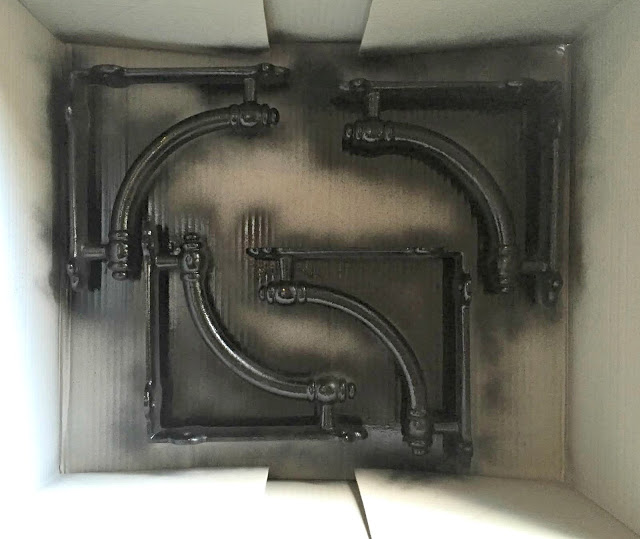
I used a black spray paint and they looked SO much better. It works so well with the black lights and other touches we have in this room.
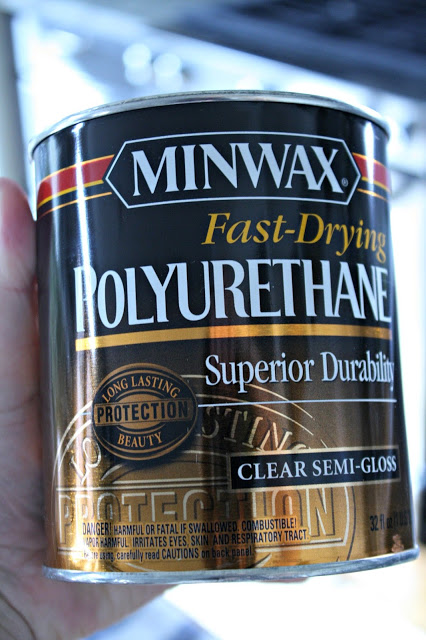
I got the brackets and boards up and then started the process of adding a polyurethane to the top.
You can do all of this before you hang them but I like to see things up and figure it out before I do this final step. It’s easy to finish them up while hanging.
See how much the poly brings out even more of the wood detail? Love it.
I use a foam brush to apply the poly — it helps to cut down on bubbles. Bubbles are not your friend when doing this part. If you get them.
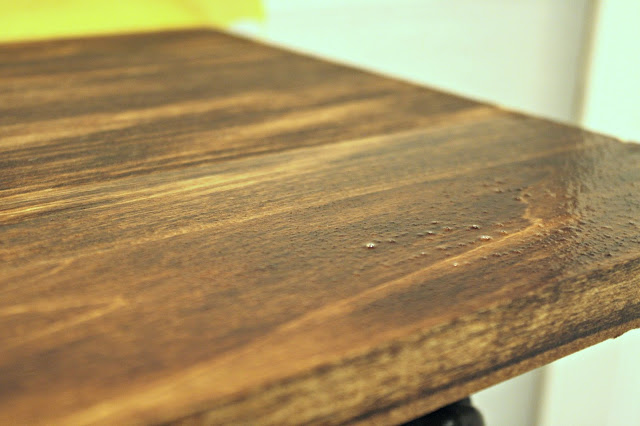
Be sure to make a swipe over them to make it smooth. If you don’t they will dry that way.
This is the fast drying version but I let it sit overnight anyway.
I was able to fit quite a bit on these two shelves! I put our plates and some decorative items up as well.

This hangs right over the dishwasher and let me tell you — it is AWESOME to just put stuff right up there. I don’t worry about dust because we use these nearly every day. Love.
It’s funny — I thought for sure I’d want white dishes up there, but I put our green plates up and LOVED it. I did mix it with some white we have as well, but the green looks so pretty.
And even though the stain came out darker than I expected, it turns out it works perfectly with the bamboo shade on the window and with the wood chairs at the island. I don’t believe woods and metals have to match in a space — that’s a matter of personal preference. Variety = interest for me. But you do want to try to tie things together somewhat.
Speaking of that, I’m so glad I painted the brackets.
They tie in beautifully with the lights in this room and some other accents like our pantry door and the chalkboard wall. It’s all coming together and I couldn’t be happier!
Many of you have asked about the cabinet to the right and my plan with that. I knew all along that I’d still be able to open that up — it opens plenty to access everything inside, but I do have a trick up my sleeve. More on that later if it works out. 🙂
There you go — my very first shelfie. Not gonna lie, I’m excited to dress these up for the holidays as well.

A little tip when hanging shelves like this — look at both sides of your wood and pick the prettiest side for the top of the lower shelf and the bottom of the upper shelf. Those are the only parts you’ll see. 🙂
This is probably the last you’ll see of the kitchen until I share the reveal next week. Not sure what day it will be but it WILL be next week! 🙂
P.S. It’s driving me crazy that my text won’t all align left in this post. Sorry for the back and forth — it’s being wonky today.
Sarah’s blog, Thrifty Decor Chick, features more great DIY projects that will help you have a lovely home without spending a ton of money. Follow her on Twitter, Facebook, Instagram or Pinterest for more.