


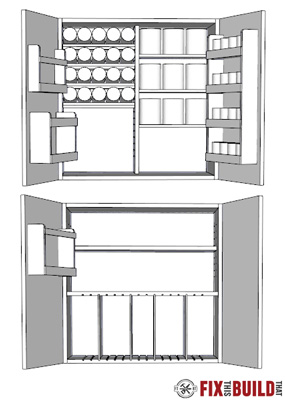
I’ve needed to upgrade my shop cabinets for awhile now, and I wanted something with lots of storage. These DIY wall cabinets with five storage options was the solution I came up with. With this system you can build custom DIY shop cabinets to fit your specific needs. You can even add the door storage options to existing wall cabinets you already have installed!
I love the way these storage cabinets turned out, and the Polycrylic from Minwax really protects and seals my cabinets. Thanks to Minwax for sponsoring this build!

Materials/Supplies
- Minwax Polycrylic
- (12) Door hinges
- (4) Door handles
- (32) Shelf pins
- (1.5) 4’x8′ sheets of 3/4” Plywood
- (1) 4’x8′ sheet of 1/2” Plywood
- (1) 4’x4′ sheet of 1/4” Plywood

How to Build DIY Wall Cabinets
- Breakdown Plywood Parts
- Prep Dividers and Adjustable Shelves
- Assemble Cabinet Frames
- Build Shelves and Door Racks
- Assemble and Attach Door Rack
- Build an Prep Doors
- Apply Finish and Install Cabinets
I’ve had cheap particle board cabinets in my shop for years, and they were great…until this happened. Yeah, the right one literally fell apart from the weight and dropped down 2 inches. So I threw a wood peg leg on it decided it was time to upgrade my cabinet game and started these DIY wall cabinets.
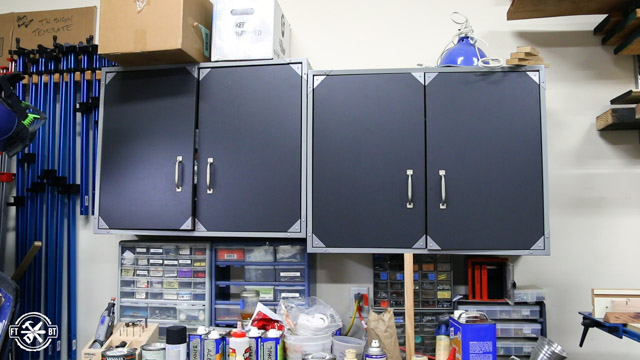
The old shop cabinets are made from ½” particle board and knockdown hardware with no back. I wanted the new cabinets to be heavy duty and able to hold a ton of weight, so I’m using ¾” Baltic Birch Plywood for the carcass and I’ll have a full ½” back to tie it all together.
1. Breakdown Plywood Parts for Wall Cabinets
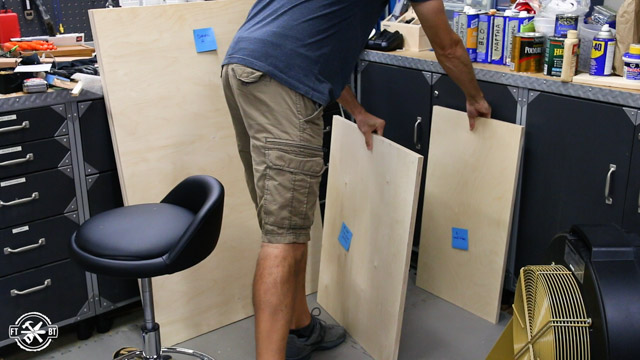
I started by breaking down the plywood into the right widths for the frame of the wall cabinets. Labeling your parts is a great way to keep them organized. There’s nothing worse than realizing you drilled into or cut down the wrong piece because you grabbed the wrong one.
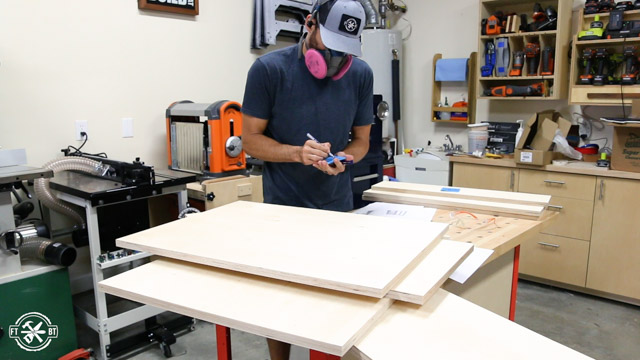
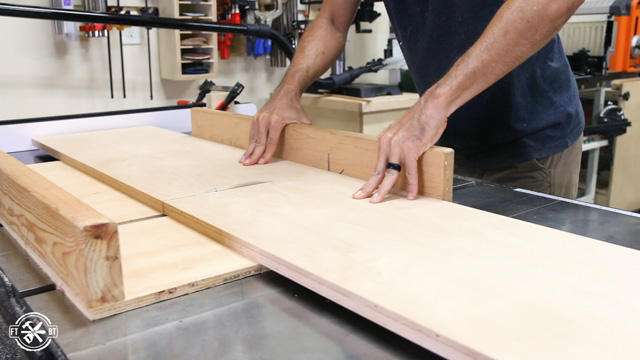
The tops, bottoms and sides are the same for both cabinets and I cut them to width using my crosscut sled and a stop block on my fence.
2. Prep Shop Cabinets for Dividers and Adjustable Shelves
One of the storage options for the DIY wall cabinets is to make flexible cubby storage with removable dividers. I’ve found the easiest way to cut the slots for the dividers is to cut slots in a larger piece then cut it into two perfectly matching pieces.
The slots are sized for ¼” plywood and I made the cuts in two passes using a test piece to get exactly the right fit for my plywood.
When I was finished I ripped the piece down to a bottom and center shelf for cabinet B. And the slots will line up just right at assembly.
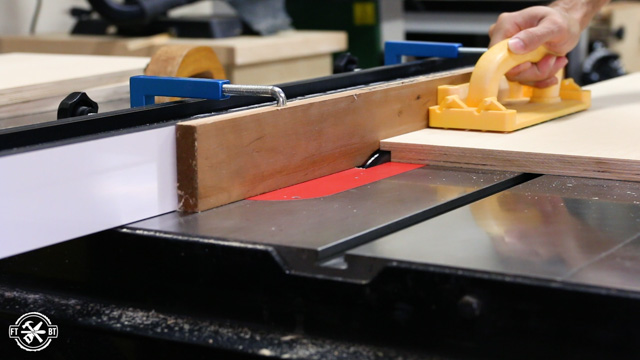
Before assembly the sides need a few more steps done. I’m attaching the ½” back into a recessed rabbet on the sides. I switched over to my dado blade to make the rabbet cut, but this could also be made in two passes with a regular blade or with a router bit.
I used a test cut here to make sure my setup gave a good fit. Then I made the rabbet cut on the inside back edge of each side.
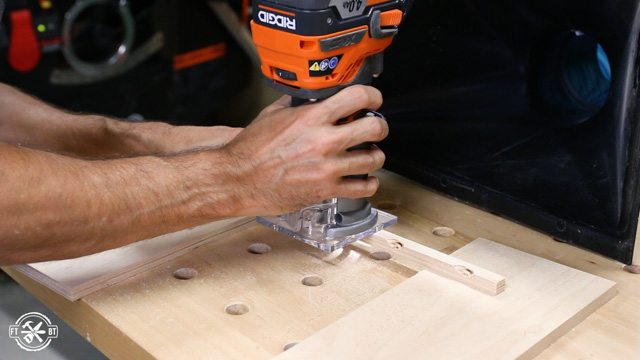
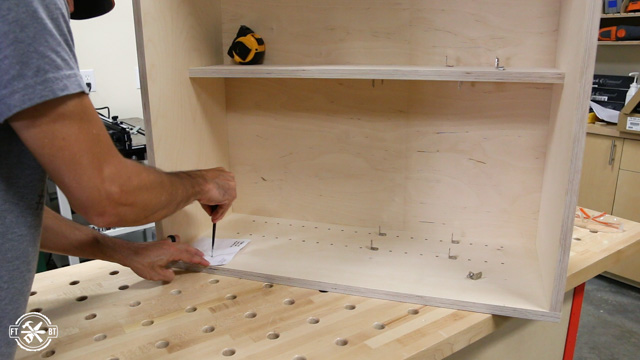
Several of the storage options come from a variety of different shelves in the cabinets. Drilling the shelf pin holes now before assembly is much easier than after it’s together. I used my shelf pin jig to drill holes on all of the appropriate pieces for the adjustable shelves.
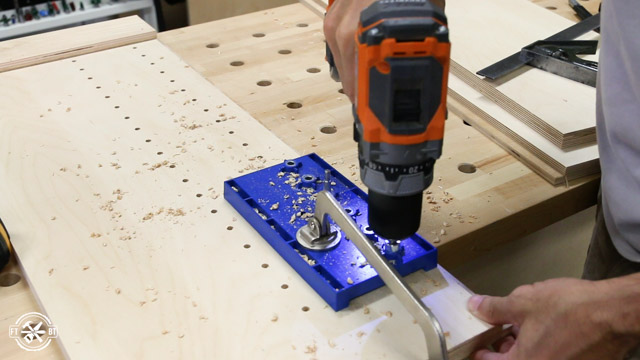
For the center divider I made holes on one side then drilled straight through that hole to make the holes for the other side.
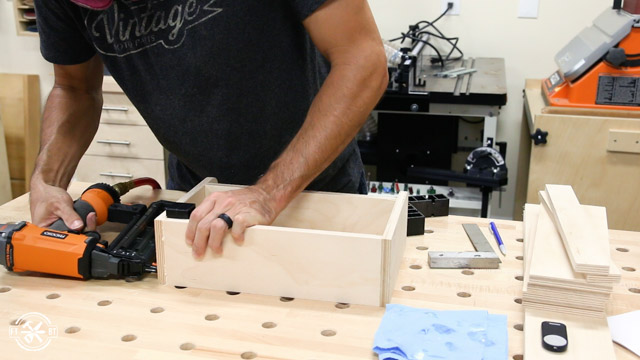
3. Assemble DIY Wall Cabinets Frames
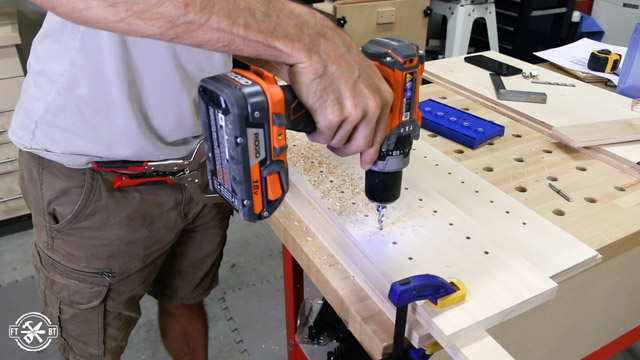
The bottoms and tops are joined into the sides to keep a clean exterior for the cabinet. I used 1-¼” pocket screws and a corner clamp to hold things tight while I secured the bottom to the side.
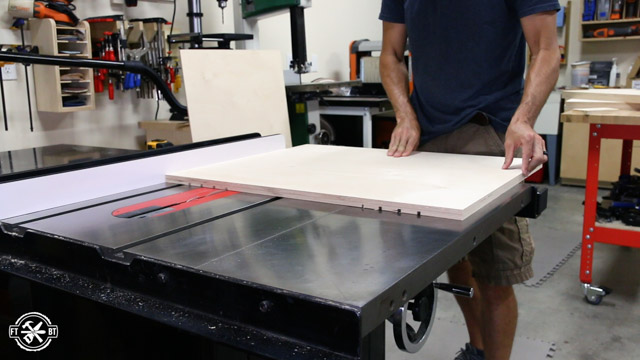
I finished up the frame assembly for cabinet A attaching the top to the side then putting the remaining side on and securing everything with screws. The key during assembly is to make sure all the front faces are flush and the corners are square.
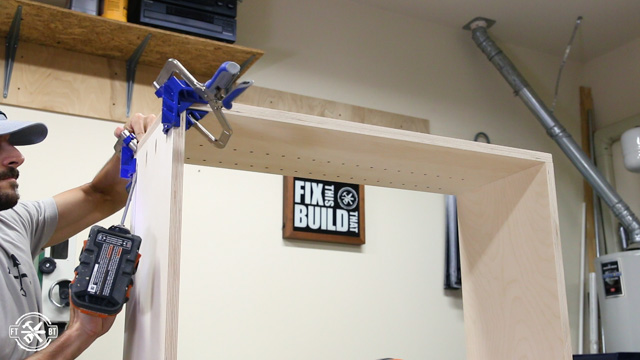
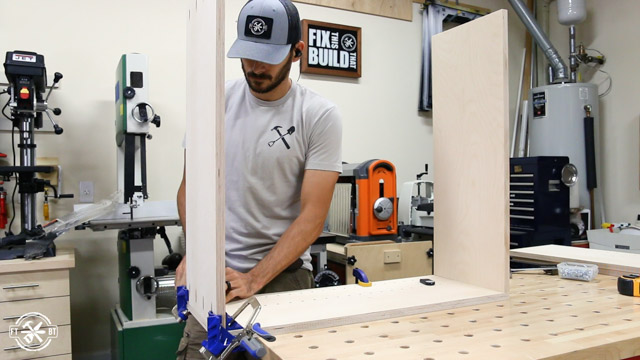
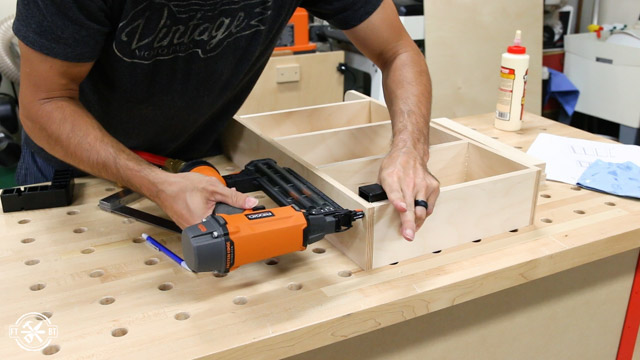
The center divider for cabinet A went in next. The divider was held in place flush with the back with a long clamp. Then I predrilled through the top and bottom and secured the divider in place with 1-¼” screws checking for square as I went.

Cabinet B is assembled much the same way as cabinet A. The only difference is having the center shelf instead of the center divider. I used wooden spacers to get consistent spacing between the bottom and center shelf and attached everything together with pocket screws.
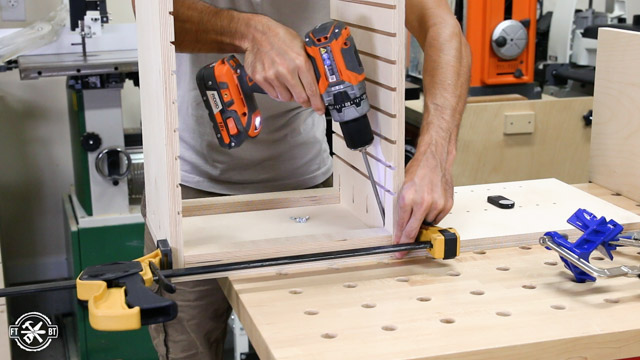
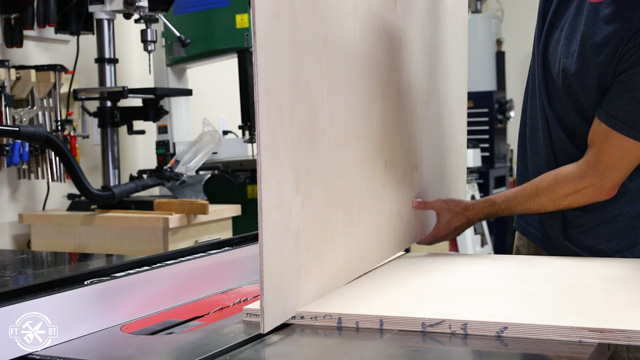
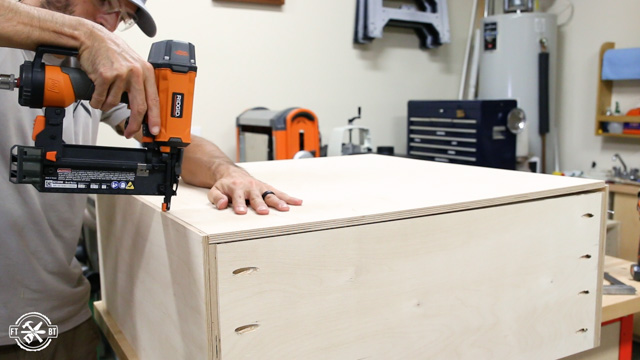
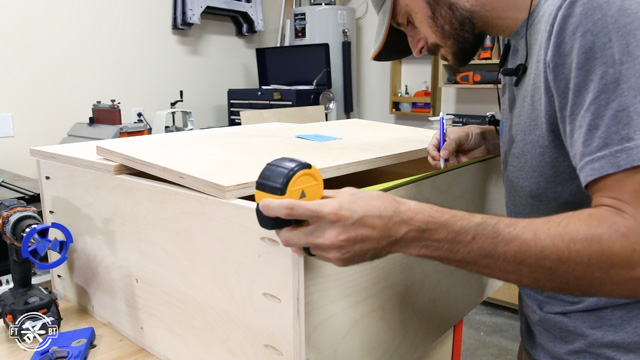
Then I measured the shop cabinets and cut the backs to size from ½” plywood. The backs sit in the recessed rabbet on the sides but fully overlap the top and bottom. I laid down a bead of glue all around the perimeter then secured the back onto the cabinets with brad nails on the sides and 1-¼” screws into the top and bottom.
4. Build DIY Wall Cabinet Shelves and Door Racks
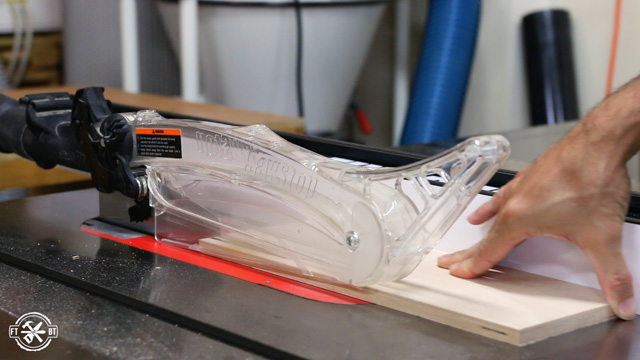
All the shelves in cabinet A are made from ½” plywood. I ripped a few strips to width on the table saw then cut them down to length based on my cut list. Check out my detailed plans that have a full cut list, parts list and step by step instructions.
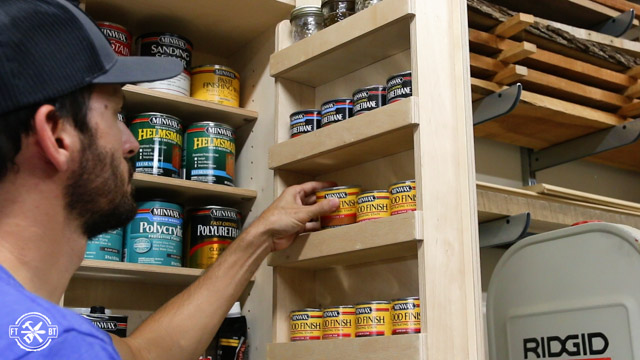
The right side shelves will just hold cans, but the left side of the cabinet will hold spray cans. I used a small strip of ½” ply as a lip to tilt the cans towards the back. Then I laid out 5 marks on the strip and made a small notch on the back side of the spacer strips with a chamfer bit in my router. This was just enough to hold the cans in place and keep them from rolling.
Then I glued and nailed the strips to the shelves and moved onto the shelves and inserts for cabinet B.
The top of this cabinet gets a full length shelf. I used ¾” plywood for this one to prevent sagging since it runs the width of the cabinet. This is a basic but great storage option for your wall cabinet.

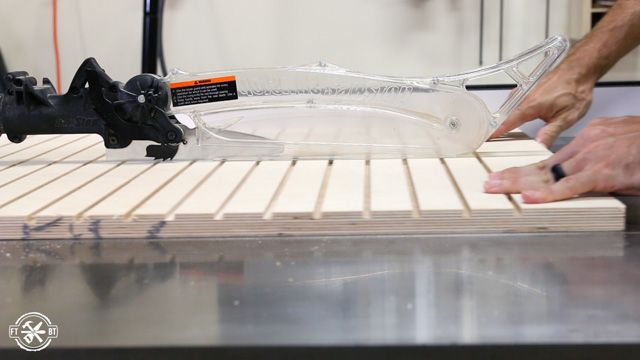
For the lower cubbies I cut down ¼” plywood into a series of small panels that I’ll slide into place later.
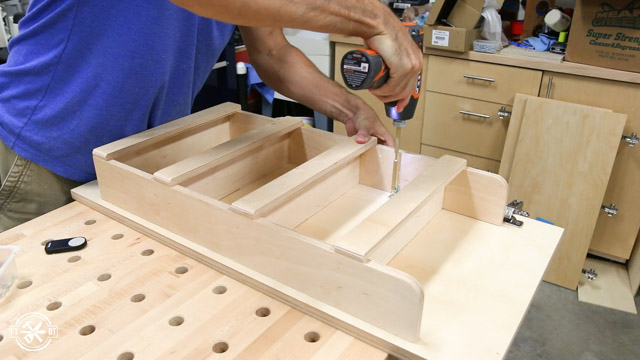
5. Assemble and Attach Cabinet Door Racks
If you’re not ready to build shop cabinets yet these door racks could be a great way to add some storage to your current setup. The racks are made from ½” plywood that I cut a to size per my cut list to make four different size racks and holders.
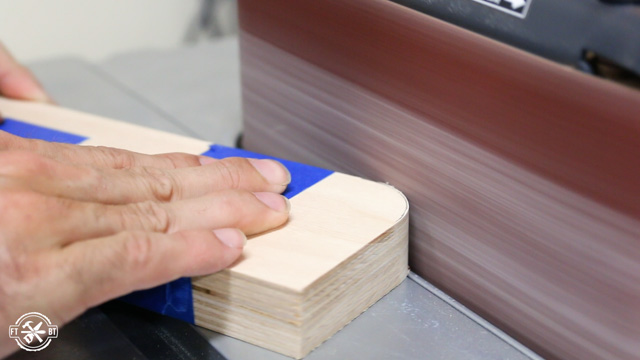
To give the door racks a little refinement I laid out a curve on the top corners of the sides using a small section of PVC pipe to trace a nice radius. After that I taped each pair of sides together and cut the majority of the corner off at the bandsaw.
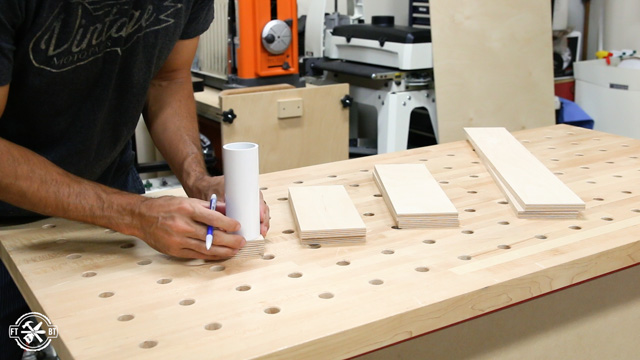
Then I went over to the spindle sander and sanded down to my line. This can easily be done with a jigsaw and hand sander as well.
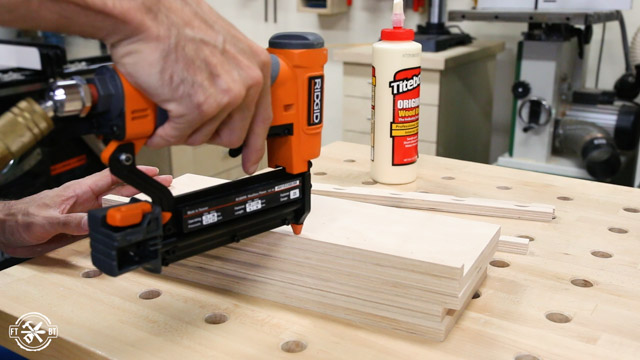
I started off making the racks for tall items using a right angle block clamped down to the bench I attached the sides and fronts with a 23 gauge pin nailer and glue.

The final two door racks are a series of small shelves with lips. I switched over to my 18 gauge brad nailer and just held the parts in place. The brad nails held together way better. I was trying to hide the holes better with the 23 gauge nailer, but it just isn’t beefy enough.
You could also use screws obviously, but this is a quick and easy method and the wood glue along should be plenty strong to hold it all together when dry.
6. Build and Prep Doors for the DIY Wall Cabinets
The last thing I needed before final assembly was the doors for the wall cabinets. I cut the doors from ¾” plywood and used a large sheet to get continuous grain between them. I laid out the locations for the hinges on both the doors and cabinet bodies.
I’m using full overlay European door hinges. Using my concealed hinge jig I drilled holes for the hinge cups on the doors at the marks I’d made earlier and drilled two small pilot holes for the screws. The hinges fit right in the holes and stay out of the way.
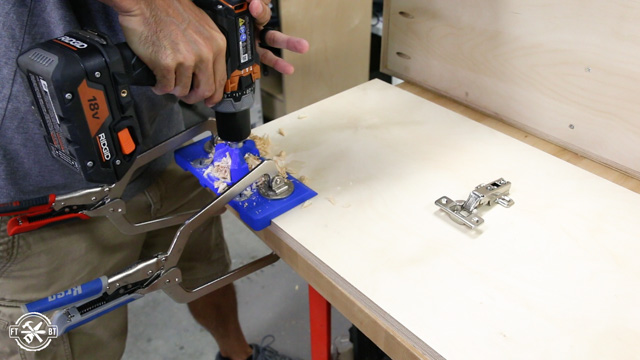
To hold up to the extra weight of the door racks and contents I’m using three hinges per door.

On the shop cabinet side I used a template from the hinge packaging to lay out for the mounting plates. I marked the locations and drilled pilot holes for installation later.
7. Apply Finish and Install DIY Wall Cabinets
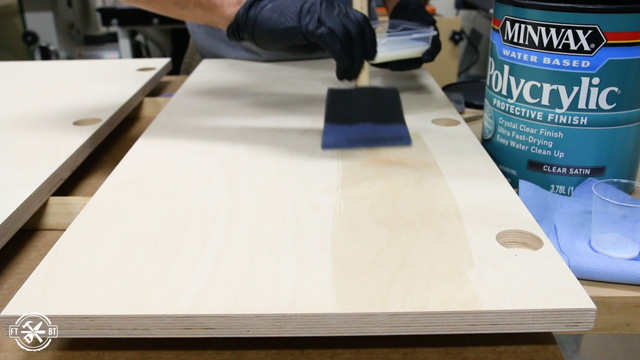
To give the DIY wall cabinets some protection I’m using Polycrylic from Minwax, the sponsor of today’s project. It’s a water based durable protective finish that goes on easy with a foam brush and dries quickly.
I’ve been using this finish on all my shop cabinetry and I love the low VOCs and easy cleanup. And I personally like the water based look vs the yellow look of oil on a light wood like birch, I think it looks more modern and less like pine.
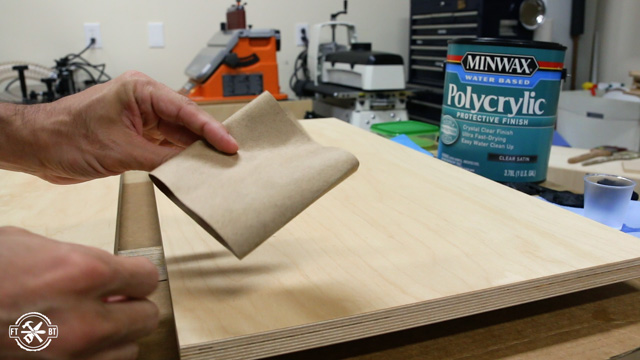
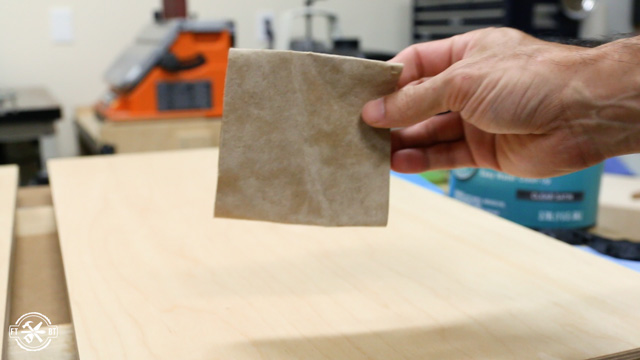
In between coats I use a small section of craft paper or a brown paper bag to smooth the surface. When the paper picks up this white dust you know the finish is dry and ready for another coat. Using the paper bag after the final coat also knocks down any dust nibs for a smooth finish.
I installed the door hardware then mounted all the door racks to the doors with small right angle brackets.
The first wall cabinet here will hold all my finishes including the fresh supplies Minwax hooked me up with. It can hold 9 quart cans and 20 spray cans on the shelves with room for taller items at the bottom. The large door rack holds 16 pint cans or mason jars and the other door holds caulk and small items.
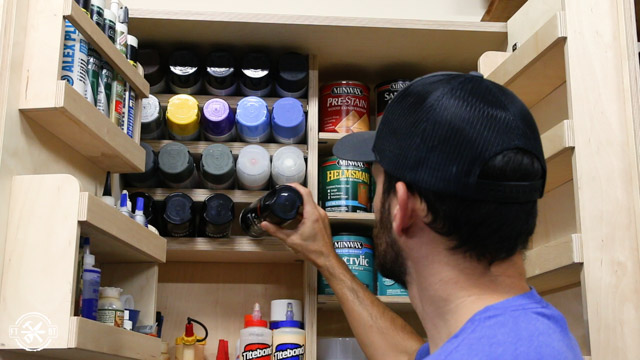
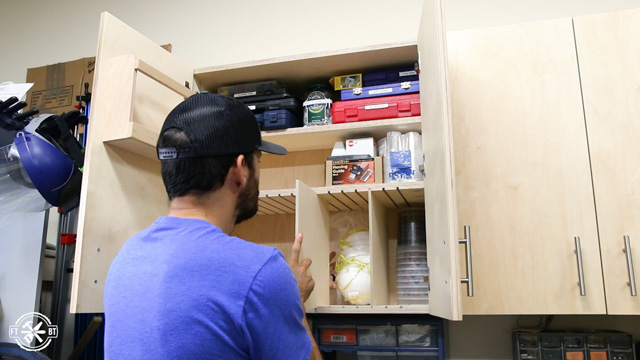
The other shop cabinet holds a lot of my finishing supplies and the cubbies are great for storing stuff that wants to go everywhere like rags and chip brushes. And having a spot on the door for my nitrile gloves is sweet for grab and go usage when using stains, epoxy or finish.
If you’re looking for more DIY Shop Storage Solutions head over to the Shop Projects section of my site where I have tons of different shop storage plans available.
Minwax provided me with product and/or monetary compensation as a sponsor of this build. All opinions are my own and are not filtered by the sponsor.
Affiliate links are used on this page. See my disclosure page for info on affiliate programs.
Check out more projects from Brad at fixthisbuildthat.com.
And follow him on Social Media: