

Sarah of Thrifty Decor Chick loves sharing simple, inexpensive ways to decorate your home. Check out her latest project using Minwax® products.
This post is sponsored by Minwax®. I only work with and share brands I know and love!
Hey there!! I’m SO excited about this project my friends! It’s been so very long since I’ve been able to focus on a DIY anything since my back injury. And this one has been such a long time coming — I finally finished this up with the help of Minwax®. I work with throughout the year and their stain made this project shine!
We’ve had these nightstands for years! Goodness. I mean…this is one of my biggest procrastinations ever. 🙂 Here’s a reminder of the Tarva dressers (from IKEA) I started with:
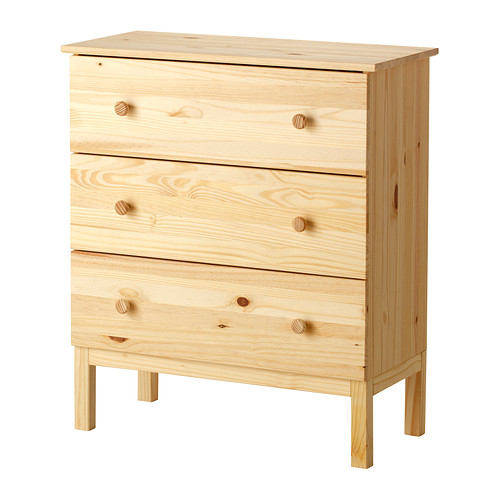
These are small dressers but were the perfect size for a nightstand as well. I really wanted something with storage. 👍 When I put them together years ago I cut down the legs with my saw. It makes them the perfect height for by the bed and I just prefer the shorter look.
I went back and forth on a look for these forEVER. Here’s a reminder of how they looked in our old master:
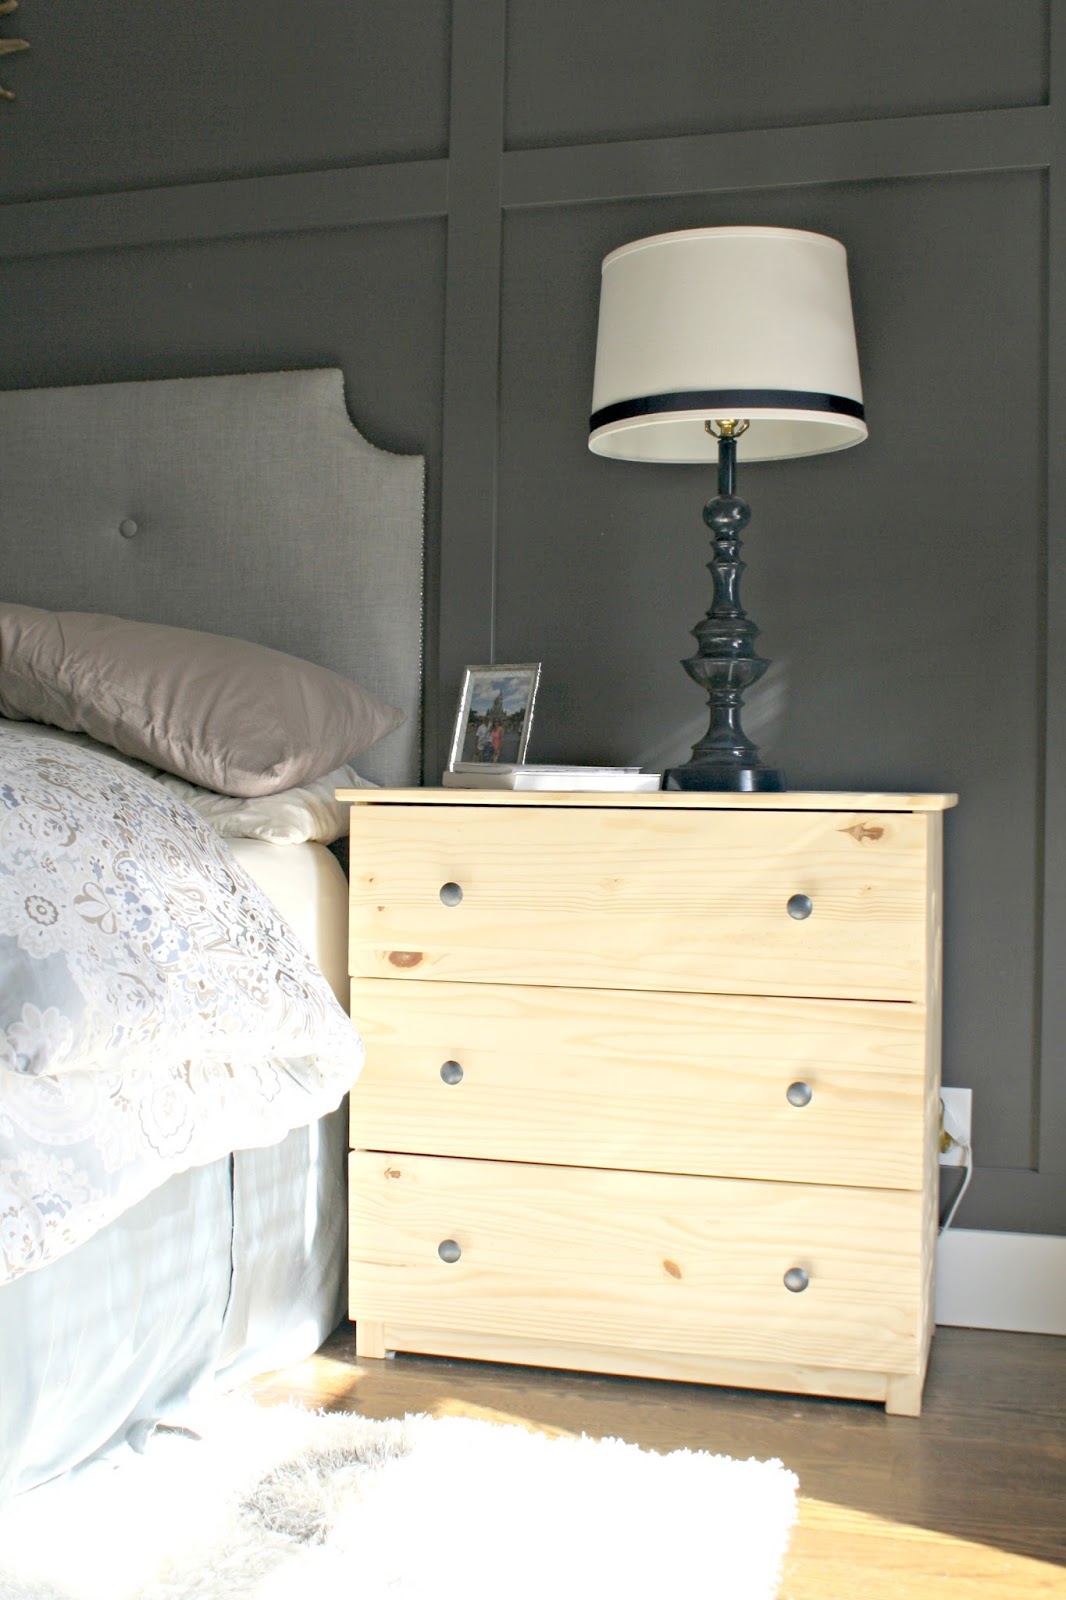
I replaced the wood knobs with random IKEA ones we already had — not sure why cause it didn’t do a whole lot to help it out. 😉
I always knew I’d use stain somehow and add some trim. The exact details I wasn’t sure of. But when we moved into this house it all fell into place. My inspiration is a project for our master I haven’t even started yet — I’ll share with you (hopefully) soon!
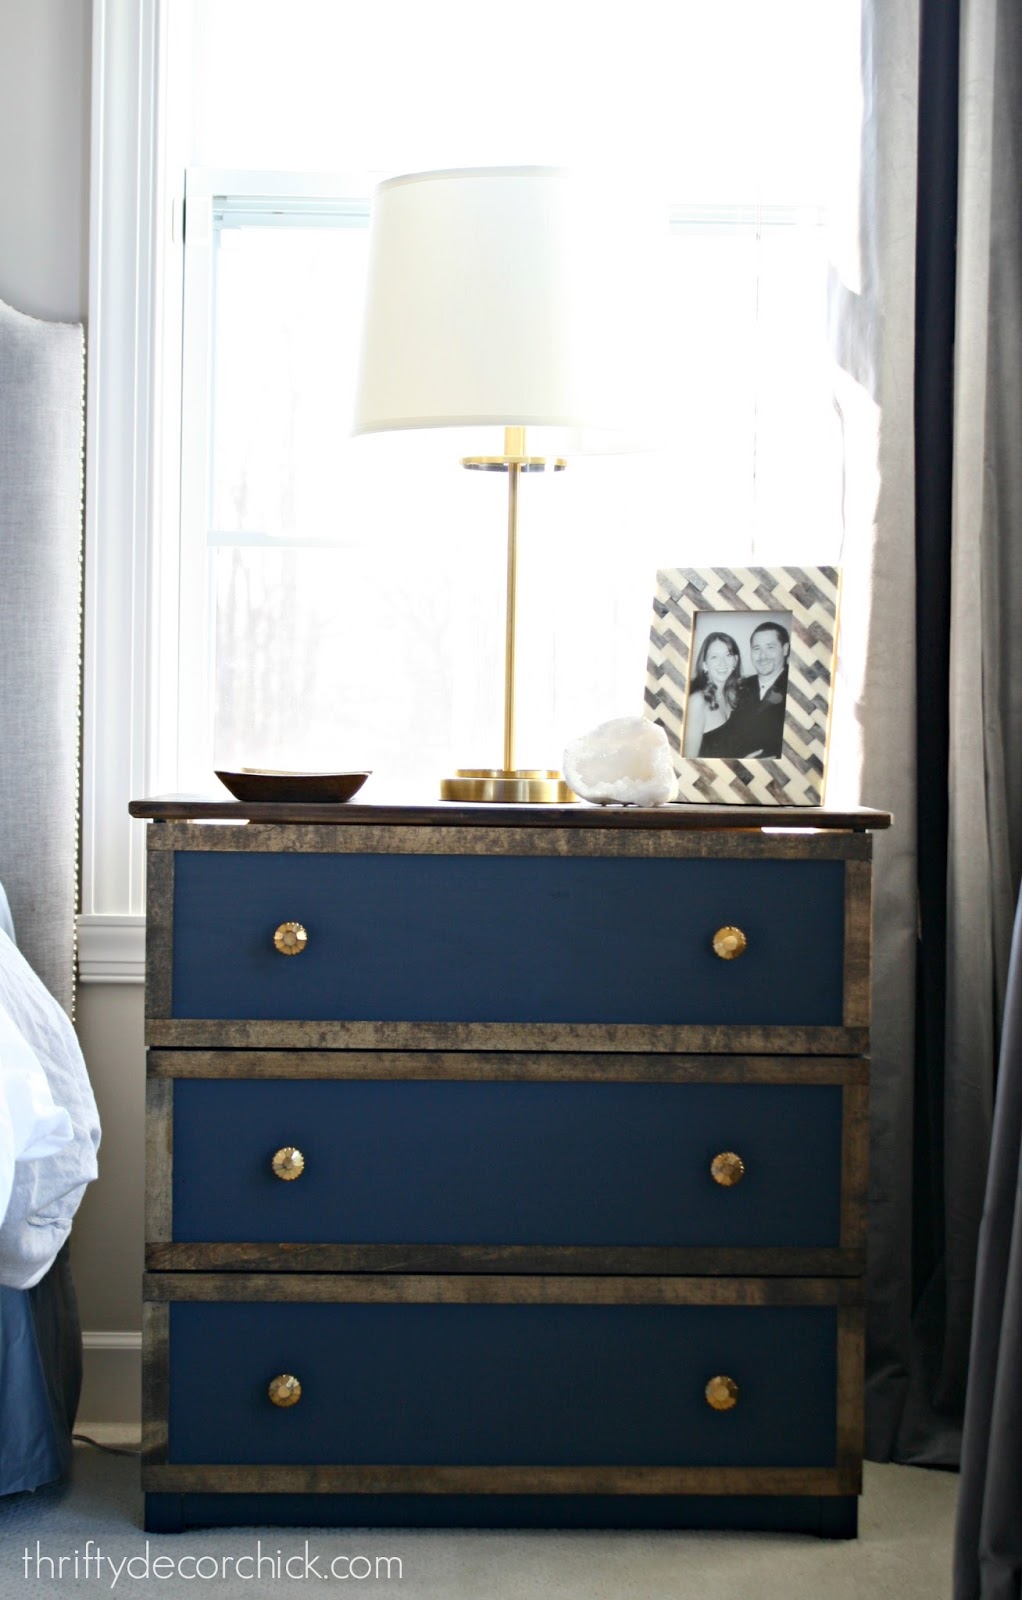
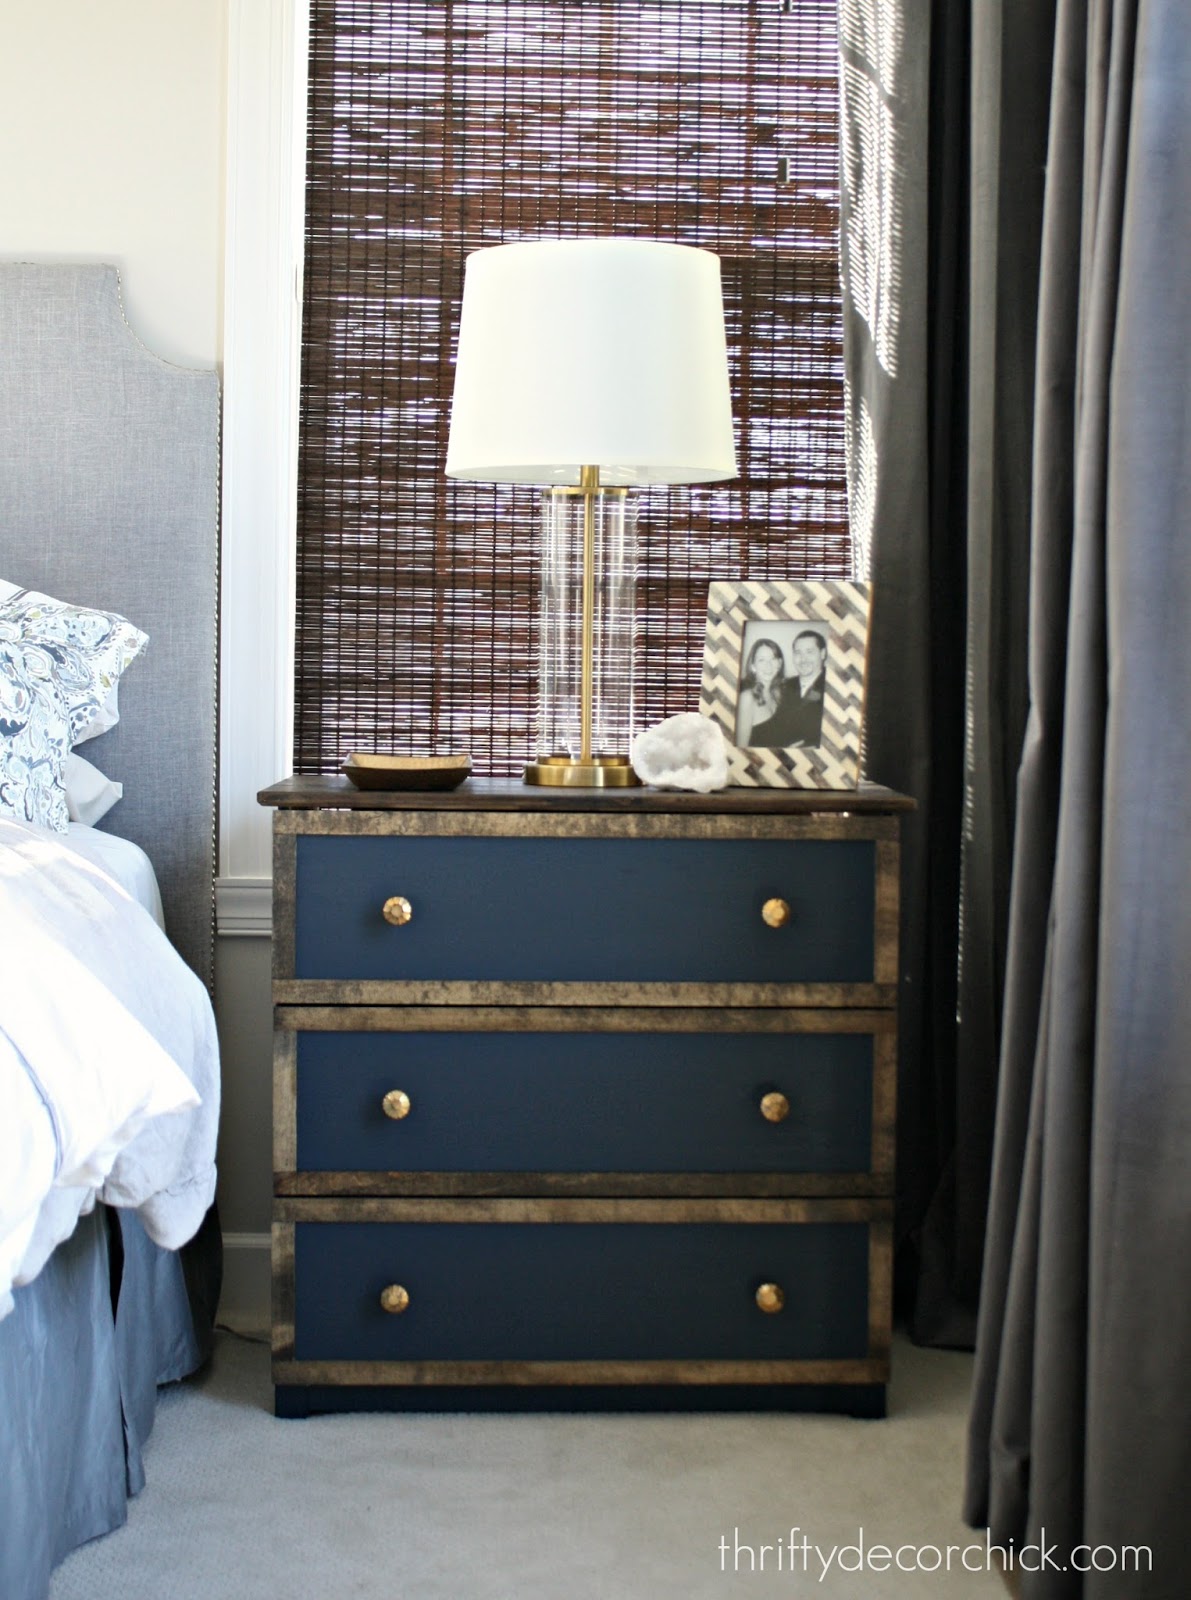
I wanted to use a deep blue color and a dark stain. I went back and forth on whether I should stain the front of the drawers or stain the trim and top. I decided on the latter mostly because the pine these are made of isn’t necessarily the best. Lots of knots I didn’t want to accentuate.
So I started painting with no primer. I’m a total rebel! I knew I was going to have to do multiple coats no matter what. After the first coat it’s important to do a light sanding to knock down the texture that pops up with paint:

You’ll have to do that with primer as well. No need to go crazy with it — just a light going over is fine. Wipe it down with a rag or tack cloth before moving on to your next coat! (This pretty blue is called Gale Force.)
What a difference another coat makes! The grain becomes less and less noticeable:

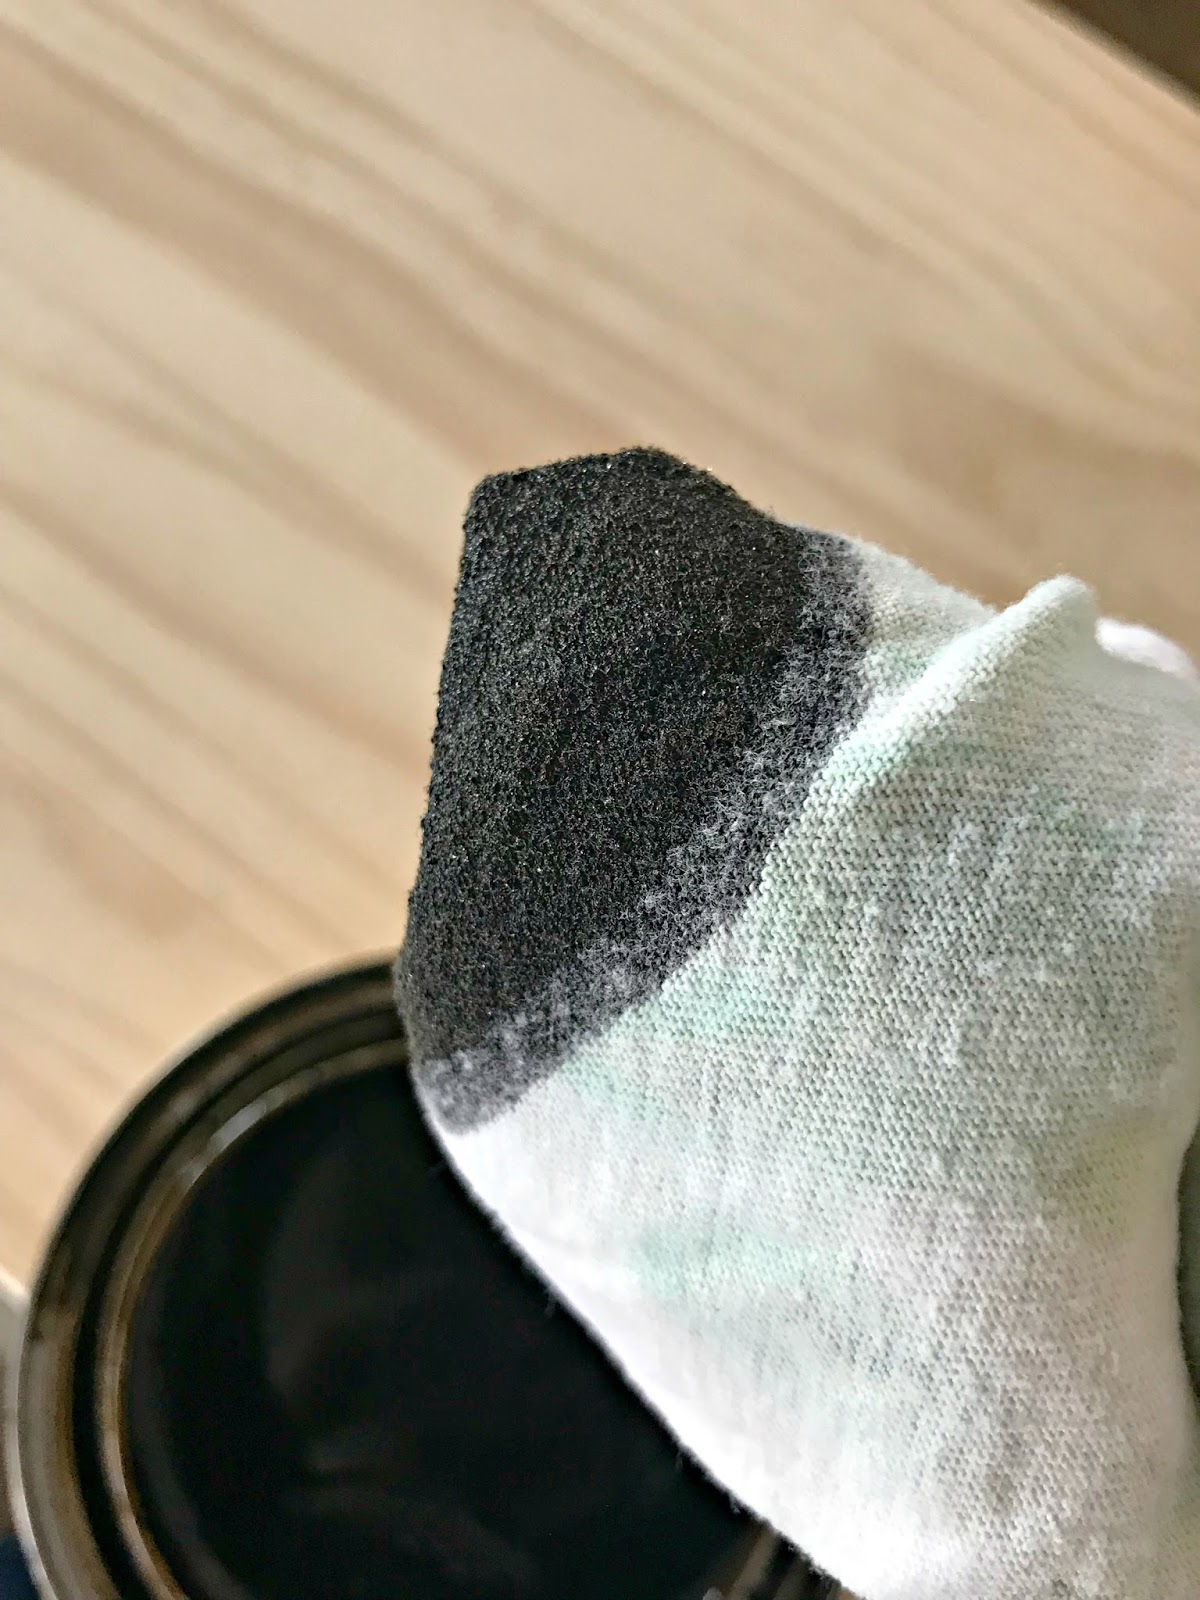
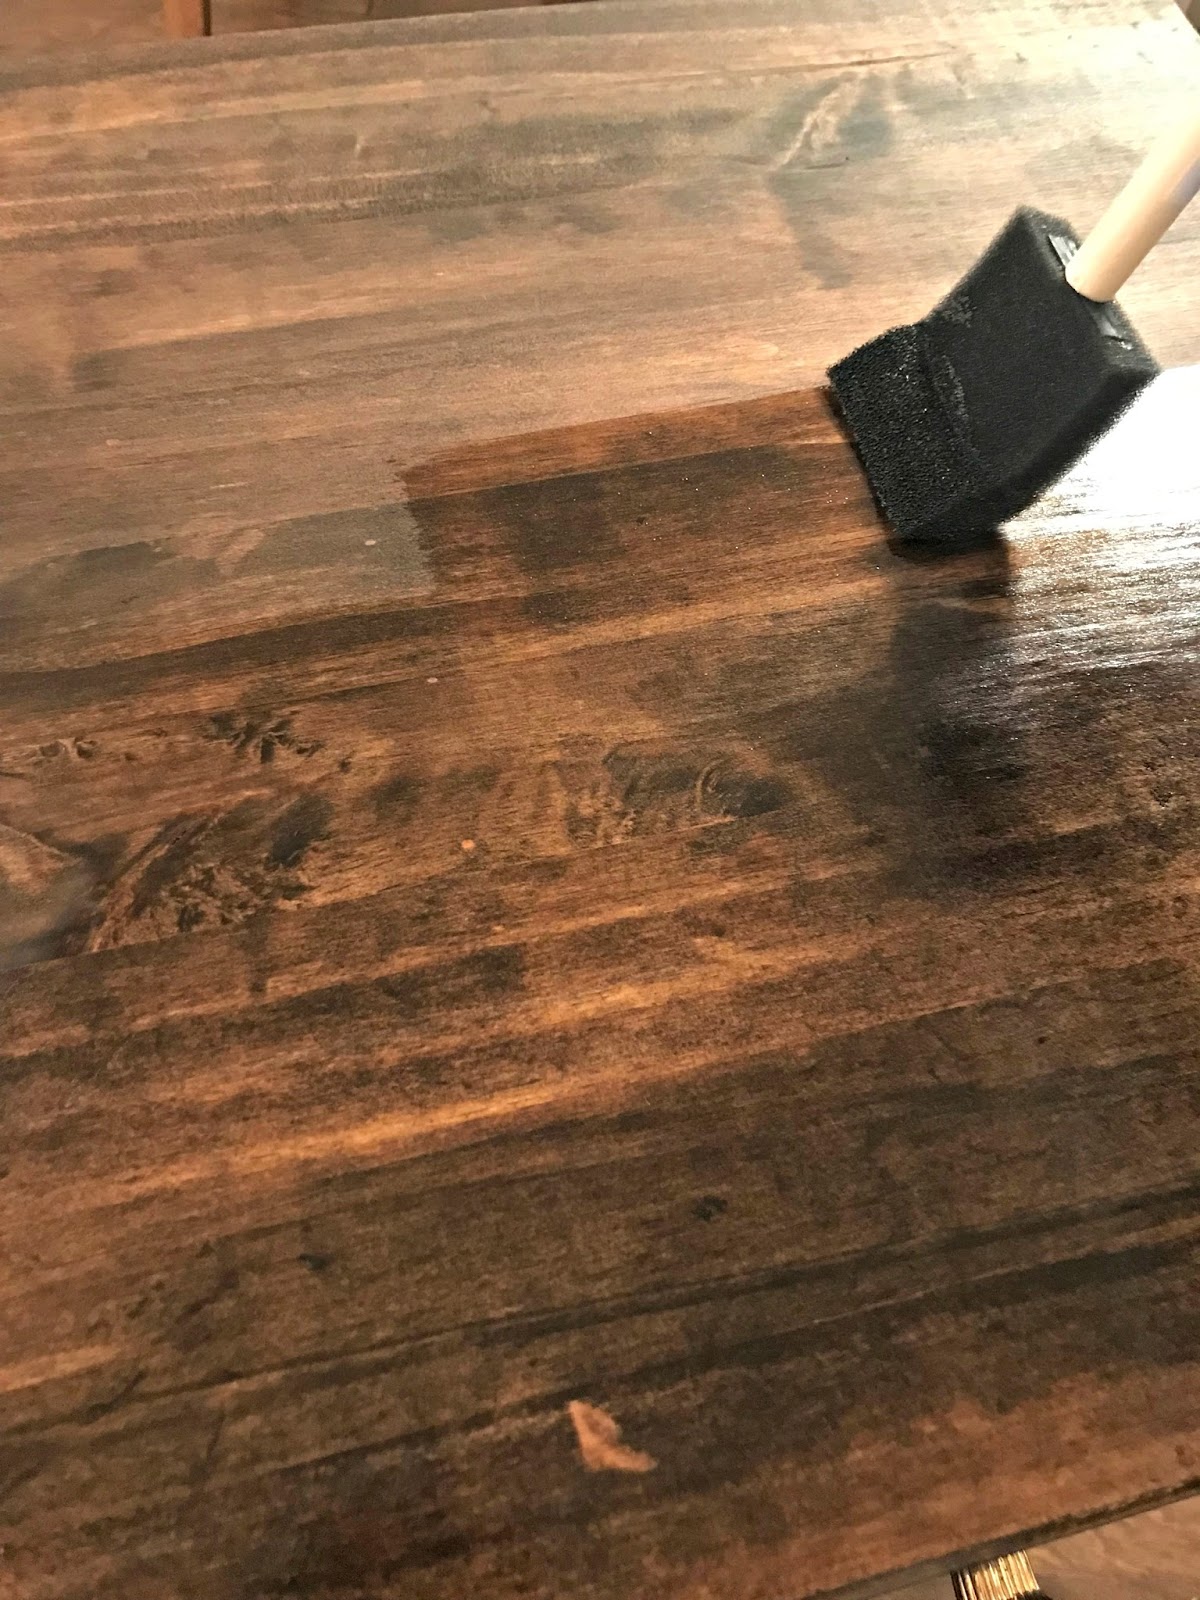
I started on the stain while I waited on the paint to dry. I wanted to go darker this time and went for an old favorite, Jacobean by Minwax:

It’s just a yummy color! I used it on our hardwoods in the old house and it’s a beautiful dark brown without any red tones.
I use gloves and a rag to stain. Makes it super easy to apply and I find it quicker than using a brush:
It really gets the stain into the wood too — you’re really rubbing it in.
I only do one coat of stain but if you want to deepen the color you can do one or two more. Do be sure to wait till it’s dry in between coats or you’ll have a gummy mess.
Make sure your stain is dry before starting the protective coat as well. I used their fast-drying semi-gloss polyurethane because I have absolutely zero patience. 😂 Never shake your poly — it will create bubbles and bubbles are the enemy of a beautiful, smooth finish. Always stir:

Staining is my favorite because it’s immediate gratification, but poly is a close second because it really brings out the beauty of the wood:
You want to smooth out that finish as much as possible. It’s helpful to use your light source and look at the item from the side to see what needs touching up. I find a few lighter coats work much better than one heavy-handed coat.
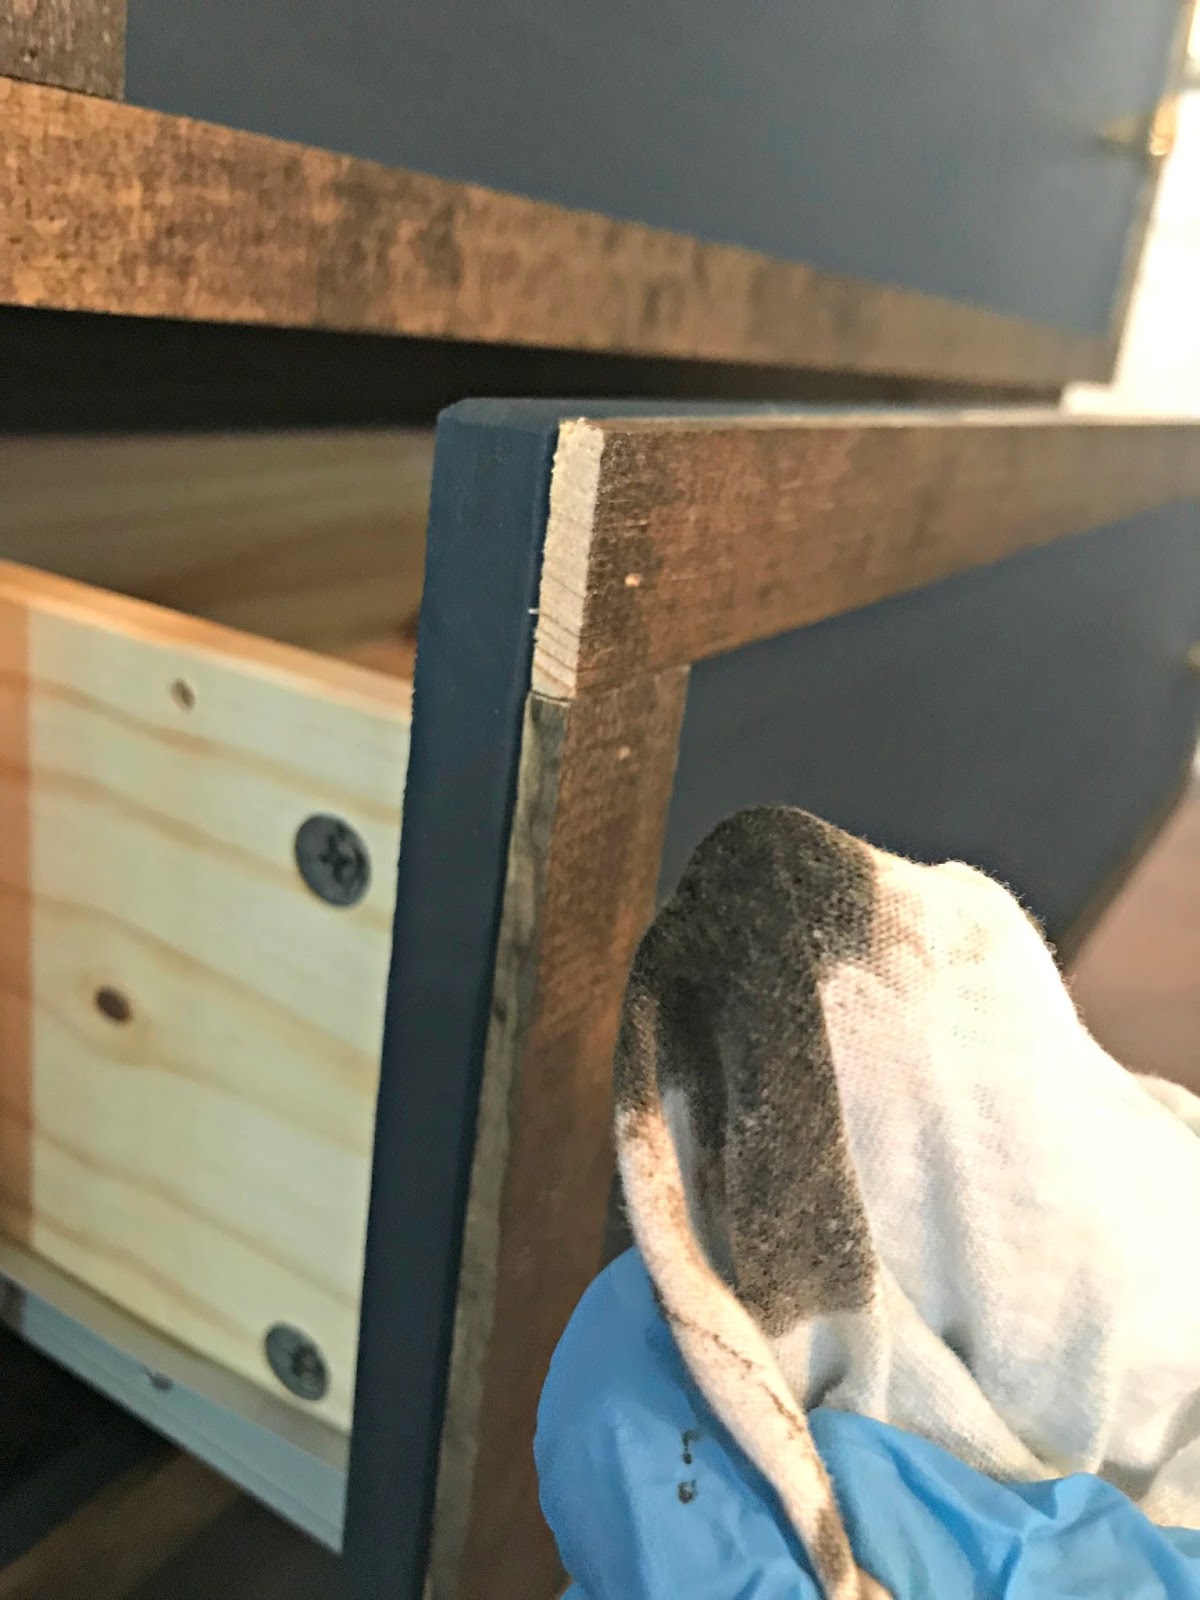
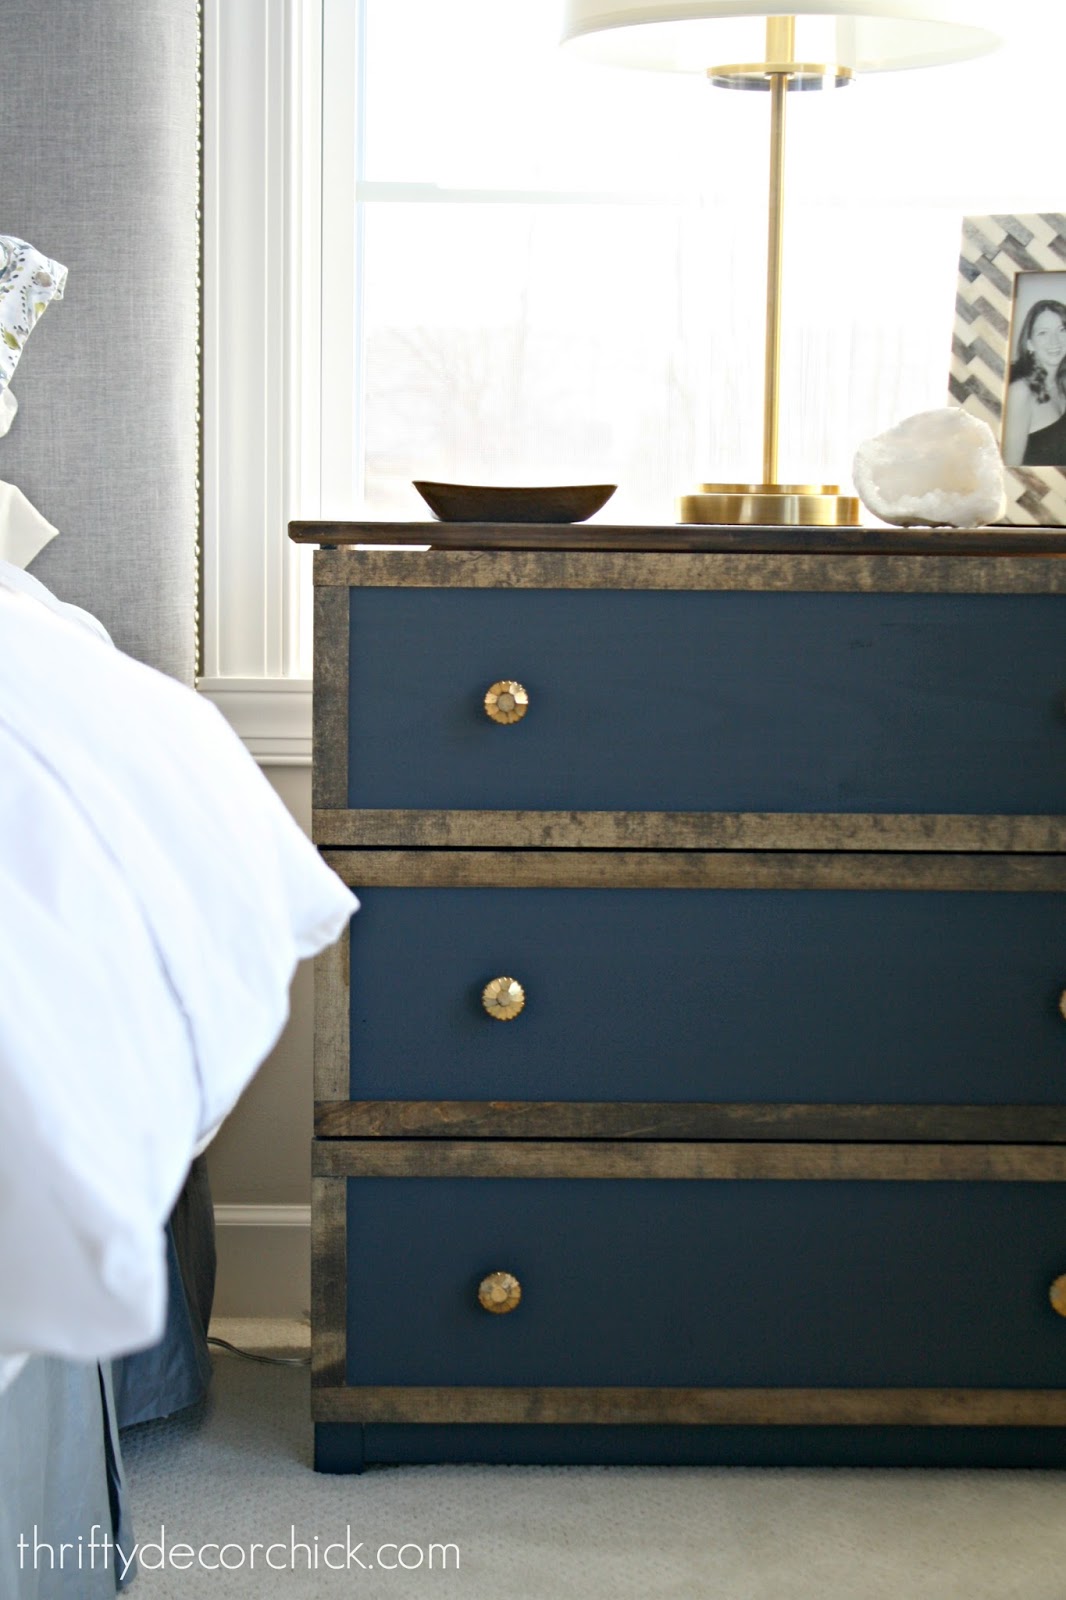
It already looked SO good! But I knew the final addition would make it even better. I used this inexpensive lattice wood trim I’ve shown you a million times to trim out each drawer front. I stained the pieces first and then cut them down to the correct size:

A nail gun makes for quick work (I used very short nails — make sure they won’t go through the back!) but you could absolutely use glue too!
You’re going to have a rough edge if you trim them out like I did. I could have mitered the edges but I’m still using my handheld saw and miter box. (You can (affiliate) get your own here!) I knew the mitered cuts would take little more finesse. Turns out our saw was lost in the move and I need to get that figured out with the movers.
I preferred to have my rough edges facing to the side of the drawers, so I did a long piece along the top and bottom. A bit of stain covered them right up!:
And then when dry, it was time to poly these as well. See how using the light helps?:

I’m absolutely THRILLED with how this came together! Gah! I love it!
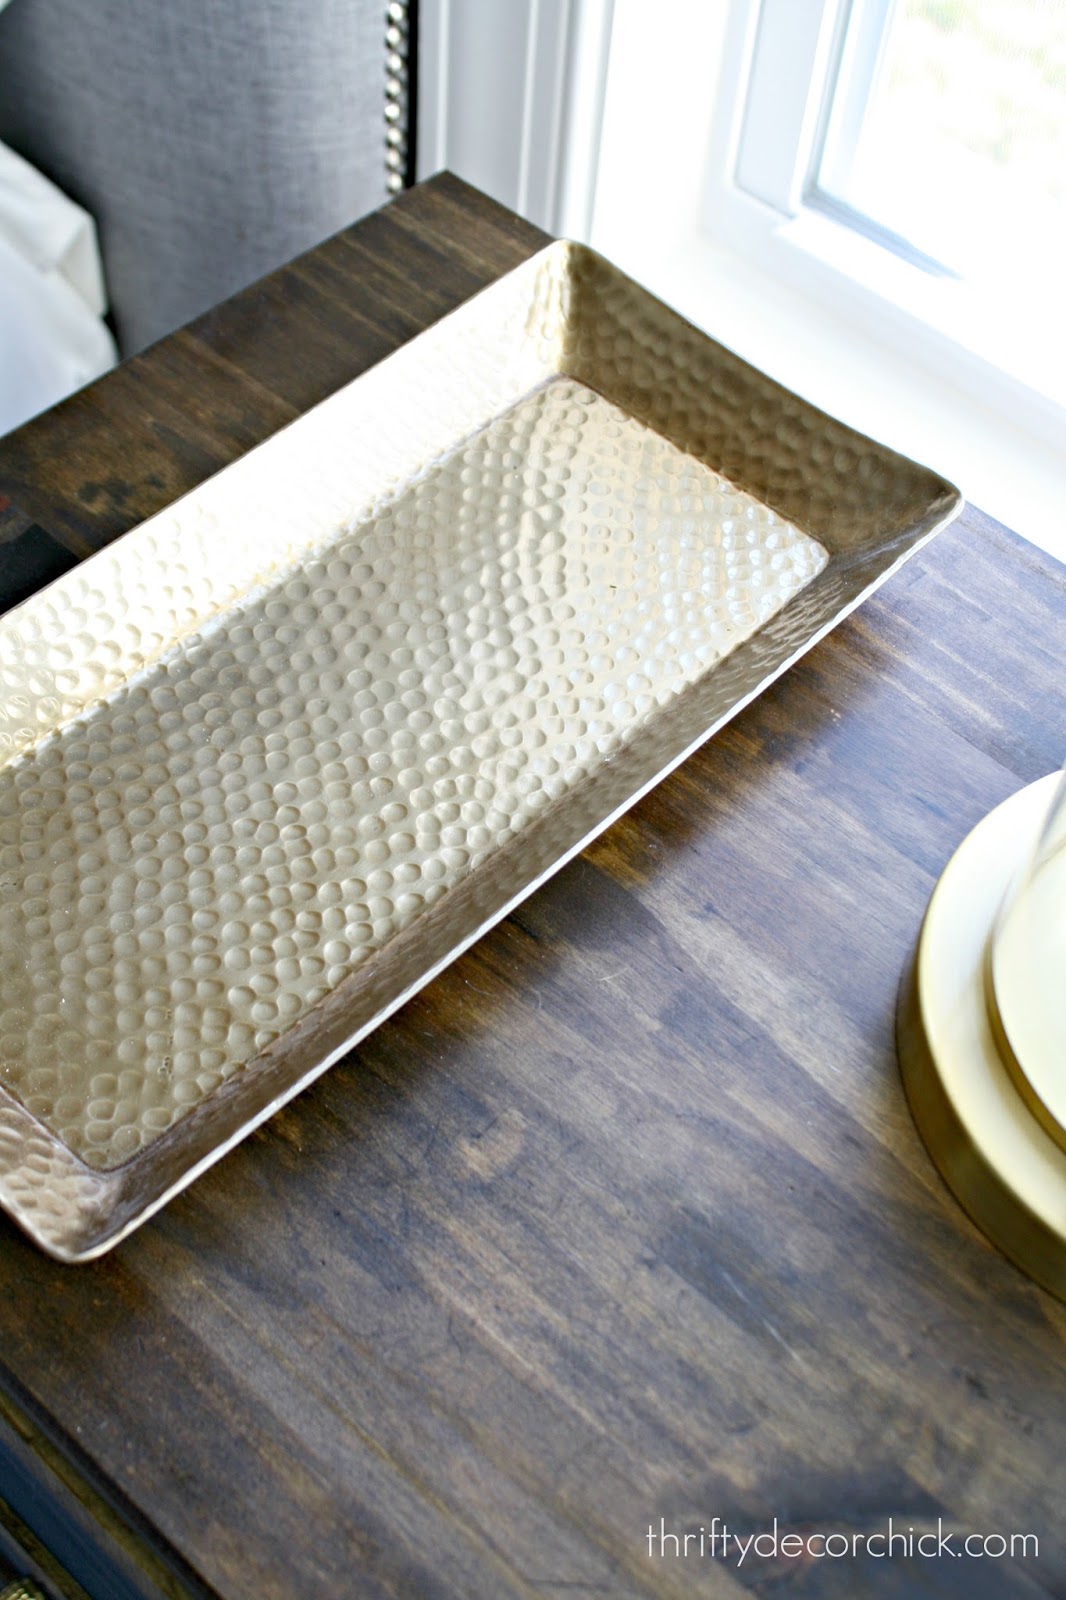
The top of the dressers stained up much prettier than I thought it would!:
I’m impressed because we’ve been using these for years without any protection. I tried to stay on top of any spills and avoided leaving drinks on them, but still, I was surprised.
I used pine trim to match the top. Different woods will stain up differently and even the same will have small differences. Pine is definitely a more rustic look, so plan accordingly:

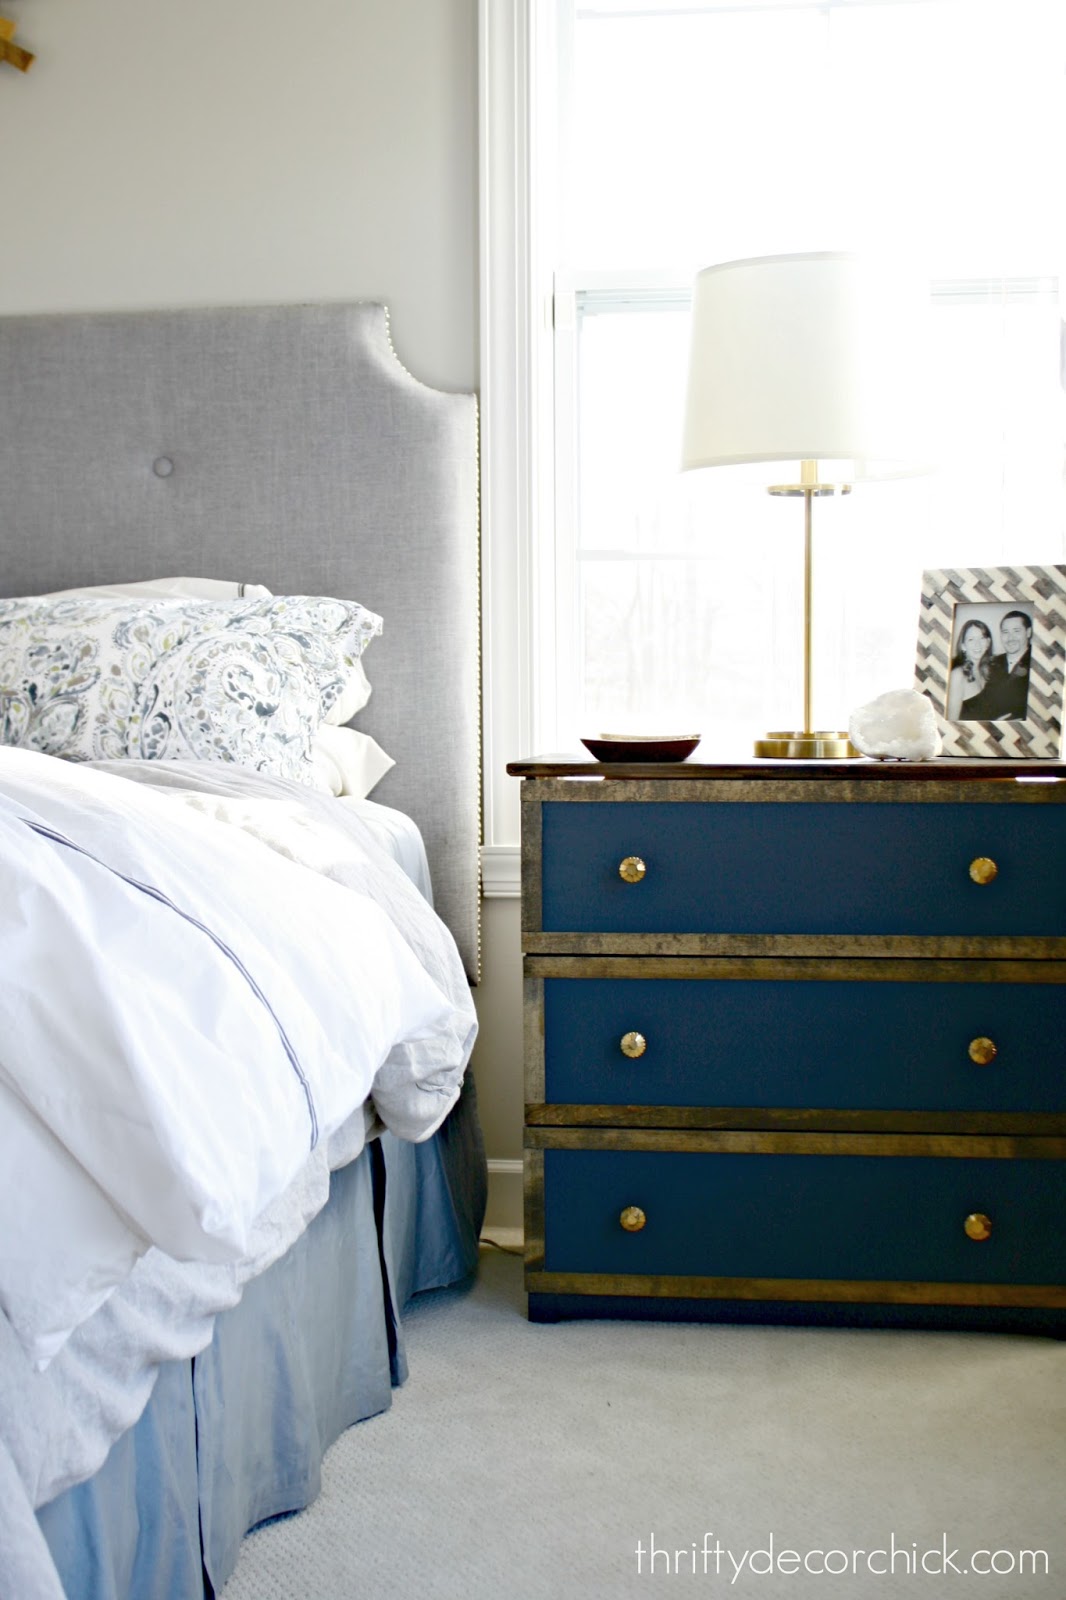
I got the hardware half off at Hobby Lobby weeks ago and just LOVE them on here! My whole plan for this space is kind of a rustic elegance design and the nightstands fit that perfectly:

The blue looks navy sometimes, sometimes a blue green. I like them both. 🙂
I don’t know if it’s just because I’ve been looking at the pine dressers for so long or what, but I’m smitten. They’re just so pretty and…finished. 😉
I still have to finish up my husband’s side though — so close to having these done after years! Sometimes it’s a good thing that I procrastinate. I didn’t have a great vision of what I wanted until we moved into this house.
I had the lamps — I thought I had returned them and went to the basement looking for something else and there they were! I must have known they’d work perfectly!:
Of course, like usual, one finished project starts a series of changes. I plan to change out the bedskirt eventually. It looked great with our old wall color but I don’t like it in here with the drapes and dresser color:
But that I can deal with!
That photo above makes the dresser look really navy, but this one is the more true color. I am obsessed with it! It’s such a pretty blue:
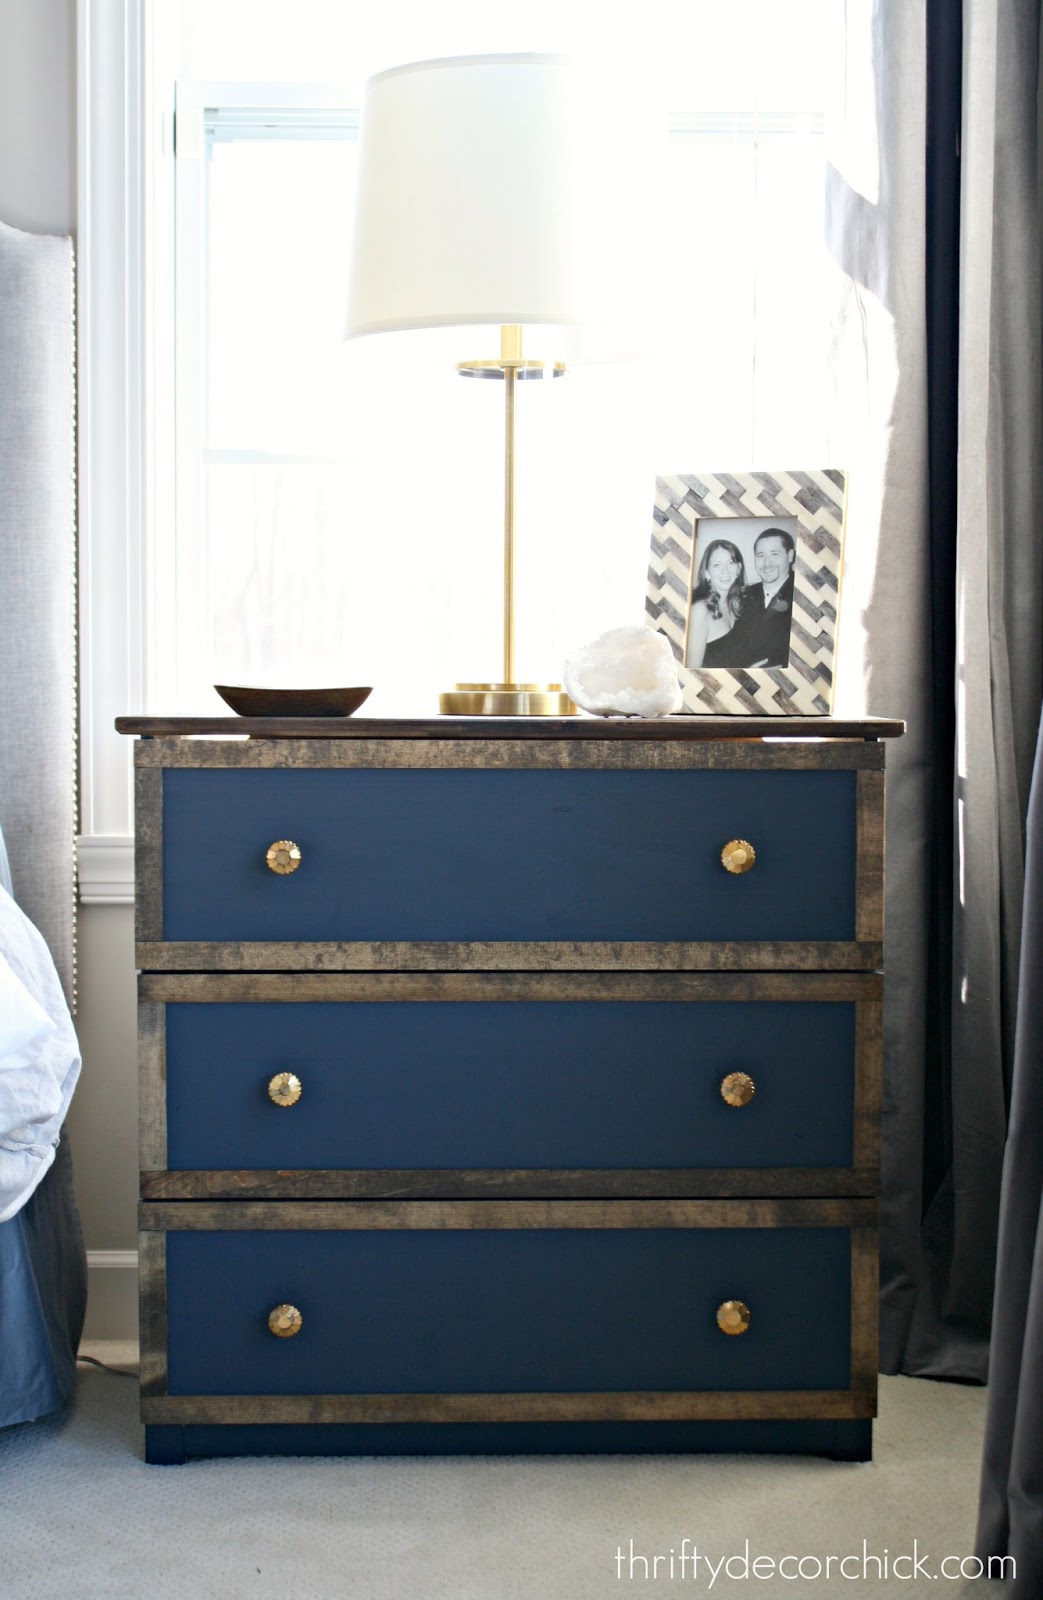
Because you know I have to do it…here’s the before of this dresser:
And this is the after, with some paint, stain and beautiful hardware!:
YAY!! I’m not going to celebrate too much till I finish the other one — but YAY. 😉
If you have any questions about this project let me know! It feels so very good to get things done again after nearly six weeks!!