

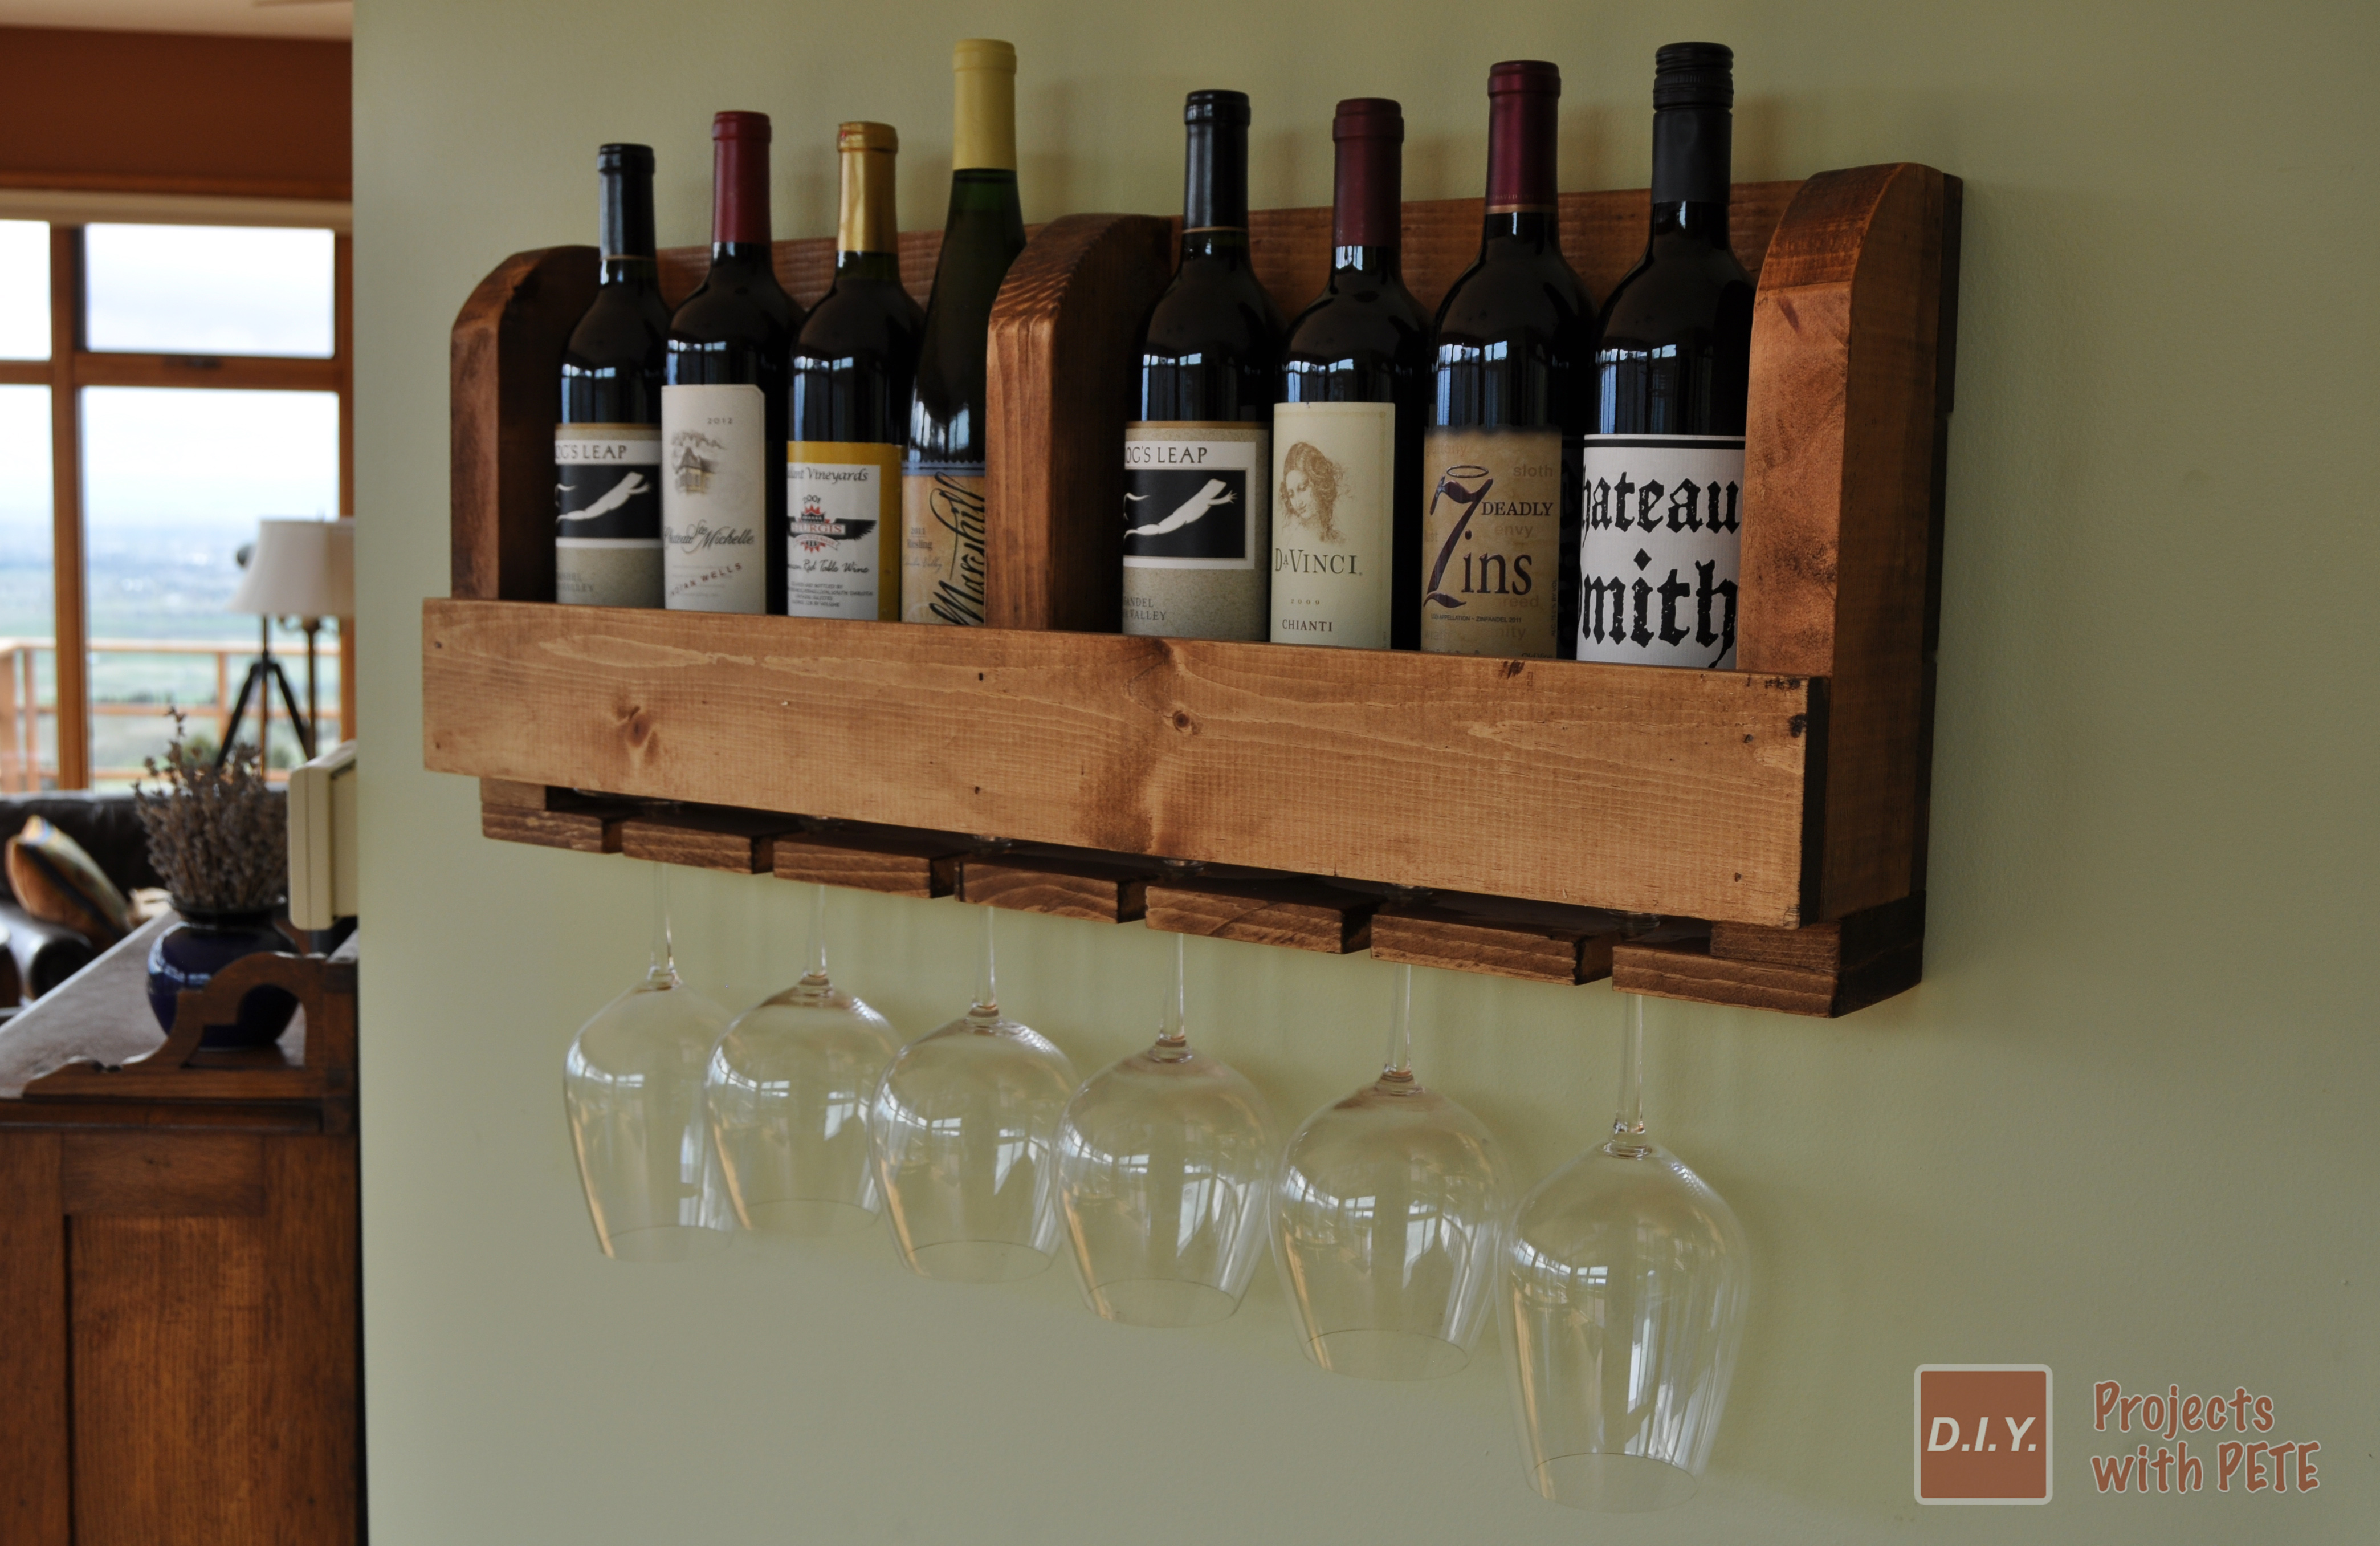
Minwax® is happy to share a post from guest blogger, DIY Pete. In this tutorial DIY Pete will show you how to make a simple yet functional wine rack for your home or patio. This wood wine rack is a quick and affordable project any Do It Yourselfer can accomplish. The project is made from 1×4 and 2×4 lumber, which is readily available at your local lumberyard. Take action and have fun with this project!
Please refer to the video tutorial at the end of this post for more detailed step-by-step visuals and instructions.
Lumber:
QTY: 1 – 2×4 by 8-foot-long board
QTY: 2 – 1×4 by 8-foot-long board
Approximate lumber cost (construction grade pine): $19
Supplies:
Polyshades Antique Walnut Finish
QTY: 4 – 1 ½-inch screws
QTY: 1 box – 18-gauge 2-inch nails
QTY: 4 – 3-inch wood screws
Wood glue
Safety Equipment:
Eye protection
Hearing protection
Dust mask or respirator
Tools Needed:
Saw – (miter saw, circular saw, or hand saw)
Drill
Orbital sander
Jigsaw
Air nailer or hammer and nails
Wood clamp
3/8-inch bit and 5/64-inch drill bit
Carpenters square
Tape measure
Optional Tools:
Kreg jig
Cut List:
QTY: 5 – 1×4 by 30 inches long
QTY: 1 – 1×4 by 27 inches long
QTY: 2 – 1×4 by 2 inches long
QTY: 2 – 2×4 by 11 inches long
QTY: 1 – 2×4 by 10 ¼ inches long
*Please note all 1×4 boards are ¾ inch thick and 3 ½ inches wide.
All 2×4 boards are 1 ½ inches thick and 3 ½ inches wide.
Step 1
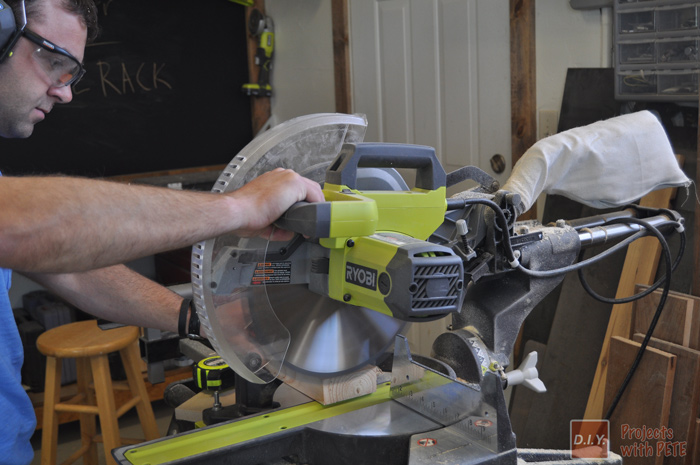
Use a miter saw or circular saw to cut the boards to size. Cut the 1×4 and 2×4 boards.
Step 2
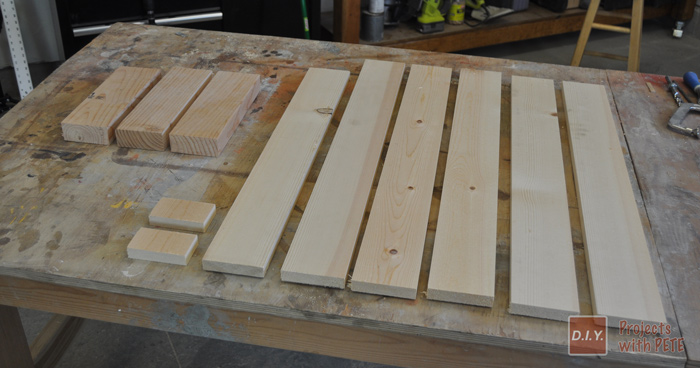
Lay out the cut boards. This is what the lumber will look like once cut to size. You’ll have a total of 11 boards.
Step 3
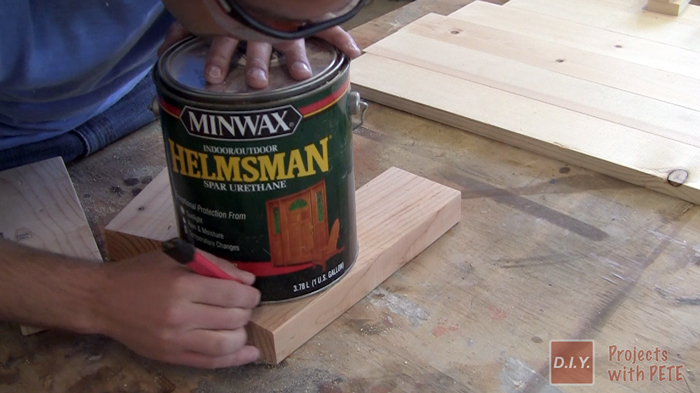
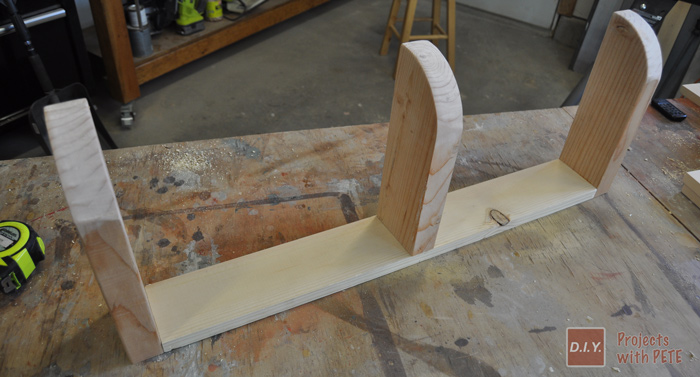
Trace around a paint can to create a rounded edge on the front/top of all three 2×4 boards.
Cut the rounded edge using a jigsaw.
Step 4
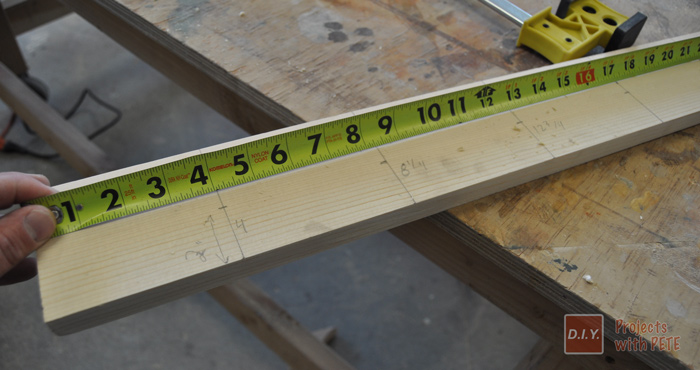
Mark where the notches for the wine glasses will go on one of the 30 inch long boards. Start by measuring from the left edge. Put a mark at the 4 inch, 8 ¼ inch, and 12 ¾ inch measurements. Then do the same from the right edge. Next, measure 2 inches in from the front and put a mark.
Step 5

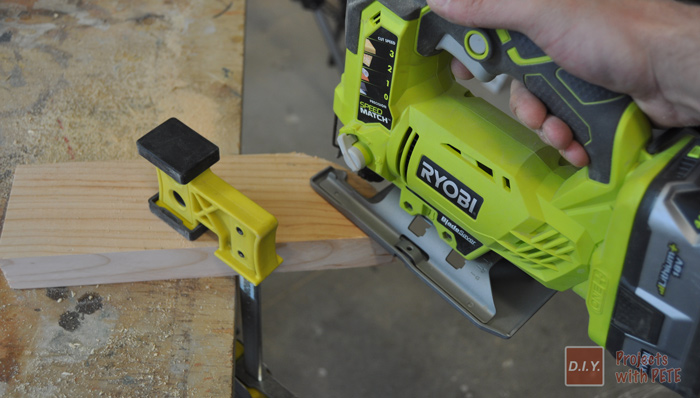
Use a 3/8 inch drill bit to put a hole at each mark. Then use a straight edge to draw straight lines to follow with a jigsaw for the wine glass notches.
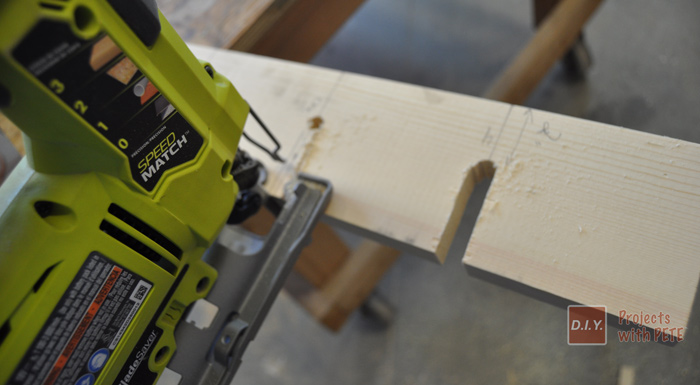
Cut the notches with a jigsaw.
Step 6
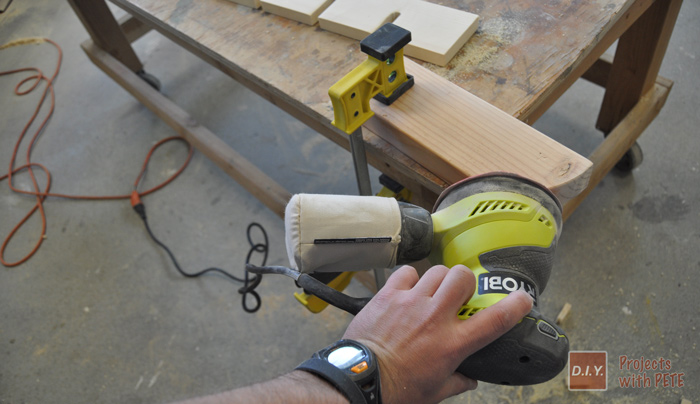
Use an orbital sander to smooth the wine glass rack and any other boards with rough edges. Sand the rounded ends of the 2×4 boards.
Step 7
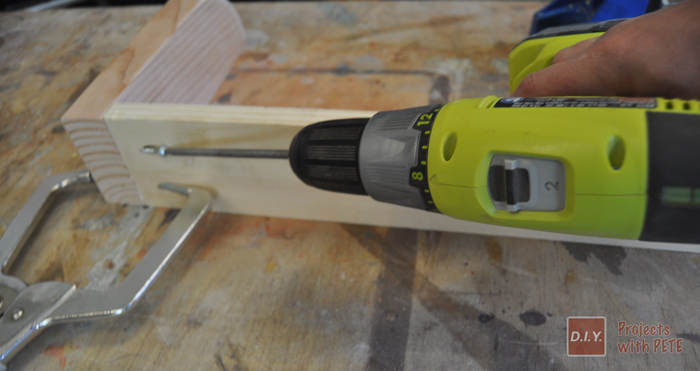
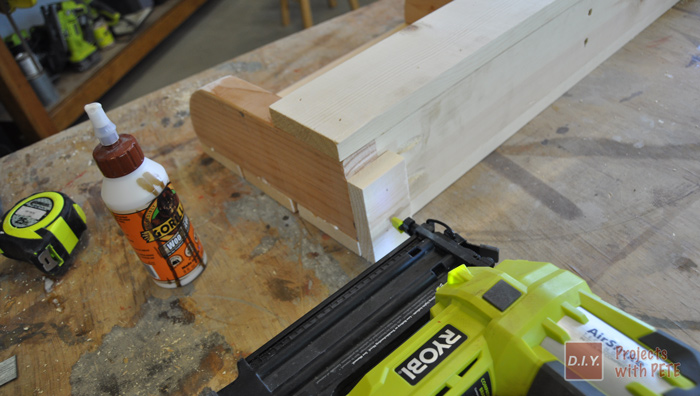
Attach the 27-inch 1×4 board to the outer 11 inch long 2×4 boards. Pocket holes are used in this example along with wood glue and 1 ½-inch Kreg Jig screws. If you do not have a pocket hole jig you can attach the boards using normal wood screws or nails. Make sure to pre-drill so the wood does not split.
Step 8
Attach the 10 ¼-inch long 2×4 board to the center of the 1×4 board. Attach using 3-inch wood screws from the bottom side. Drill pocket holes to prevent the wood from splitting and use glue to ensure a solid connection.
Step 9
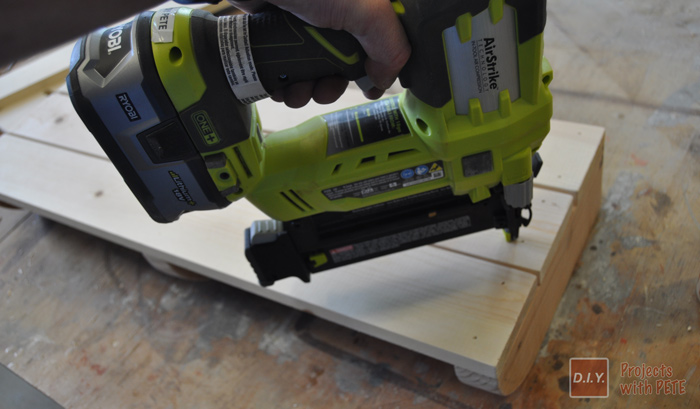
Attach the 30-inch long 1×4 boards to the back side of the rack using wood glue and nails. 18-gauge 2-inch nails are used in this example. Space the boards evenly.
Step 10
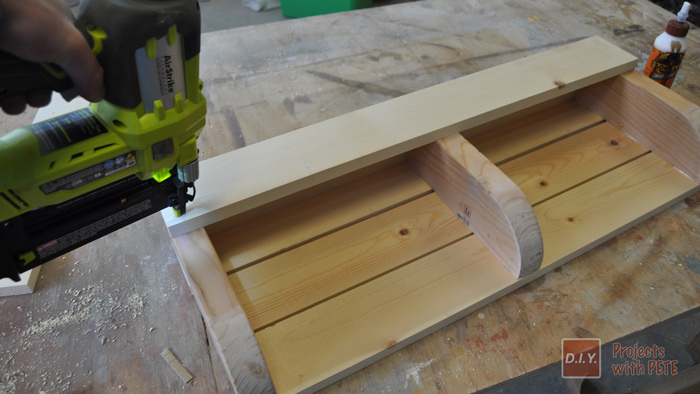
Attach a 30-inch long 1×4 board to the front side of the wine rack. Use wood glue and nails.
Step 11
Attach the 2-inch long 1×4 boards to the underside of the rack using glue and nails. These serve as spacers for the wine glass rack.
Step 12

Attach the wine glass rack to the spacers using wood glue and nails.
Sand any left over rough edges and remove dust prior to applying a finish.
Step 13
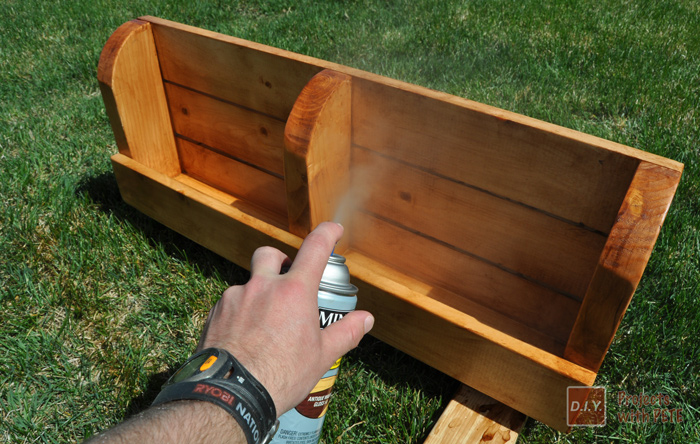
Apply a finish to your wooden wine rack. Minwax® Polyshades® is a great product for this application. Apply 2 to 4 thin coats to the rack. Make sure you are in a well-ventilated area when spraying.
Step 14
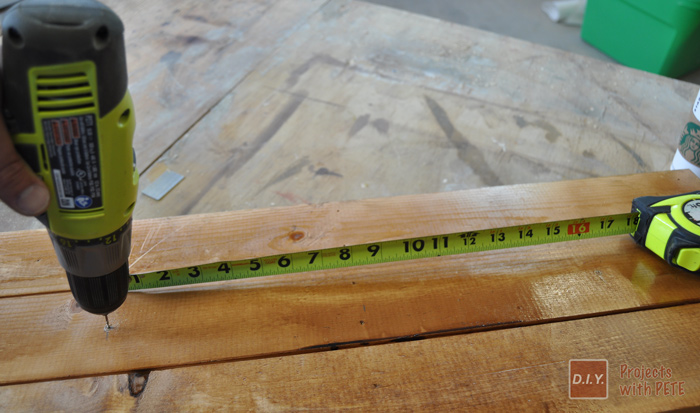
Prepare the wine rack for hanging on your wall. The wine rack is 30 inches wide. Measure 15 inches in to find the center. From the center point, measure 8 inches to the left and 8 inches to the right. Mark each spot and drill a pilot hole with a 5/64-inch bit at the marks. The pilot holes will be 16 inches on center, which will allow you to attach the rack to the studs in your wall. (As long as you have standard wood studs 16 inches on center.) Next, attach the wine rack to the wall using 3-inch wood screws.
Enjoy your new wine rack! For the FREE downloadable PDF plans click here.

Pete Sveen is an avid outdoorsman and DIY’er living in Bozeman, Montana. He is passionate about helping and inspiring others. On his website, Pete shares video tutorials and plans to build projects out of wood, metal, and concrete. To learn more please visit http://www.diypete.com/about/.
Interested in trying PolyShades Aerosol? Visit your local Walmart or Menards and pick up a can for your next project!