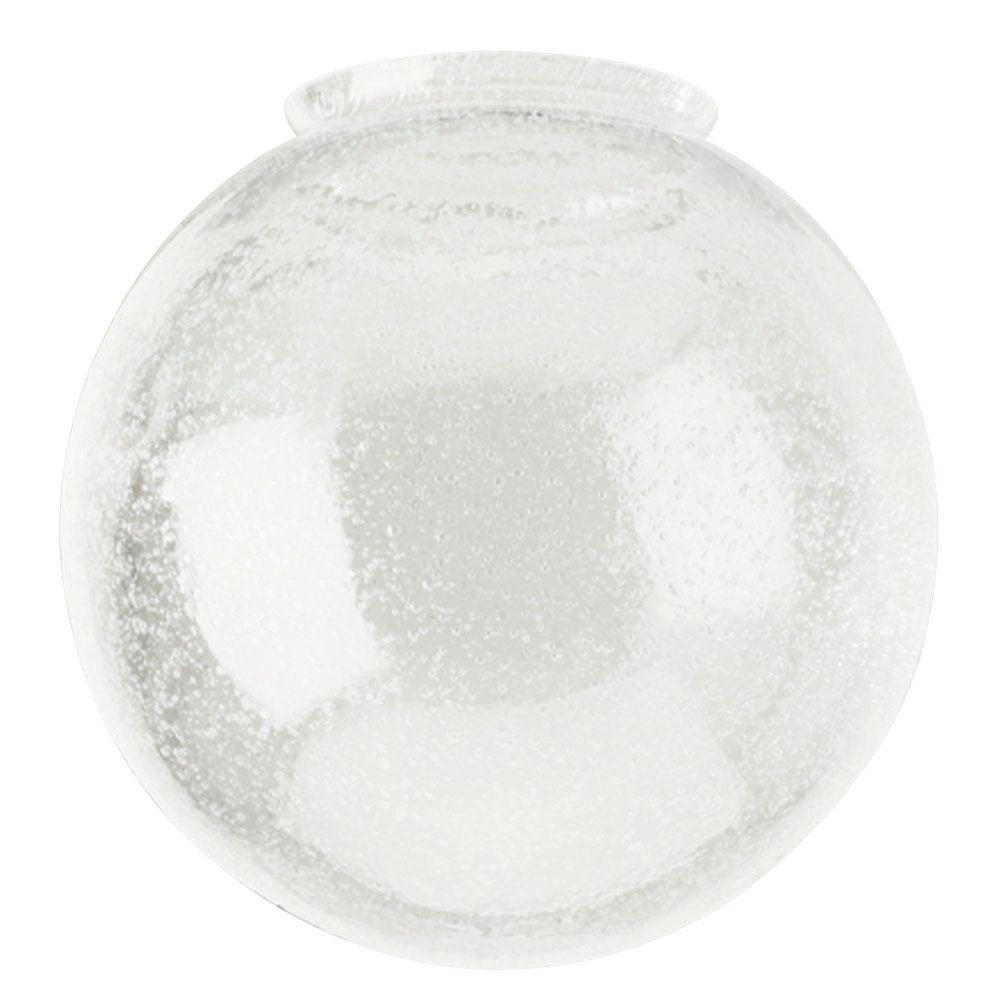
Guest blogger Stacy Risenmay of Not JUST A Housewife is back with a chic, whimsical DIY solution for displaying your summer flowers. Follow her tutorial and see how to create your own glass light shade vase.
When I finished the bathroom in the basement, we couldn’t do recessed lights because of all the pipes and such in the ceiling. I had to find light that didn’t hang down very far from the ceiling since the ceiling is lower in the basement than upstairs and I have a tall husband. I have a love affair with seeded glass (glass with bubbles) and so I ordered some seeded glass light shades online. I ended up with an extra one and it has been sitting on the window ledge for almost two years collecting dust. Every time I get in the shower, I see it sitting there and think that I should do something with it. I decided to make a vase out of it but never got around to it since I could not decide on which base idea to create. Well, this week I decided to make all three and see which one I liked best!
Ever since my first trip to Trader Joe’s a couple weeks ago, I have been wanting to go back for some more fresh flowers. A post about vases was the perfect excuse! It is probably a good thing it is an hour away or I would spend most of my money there.
Vase 1: Hanging Vase
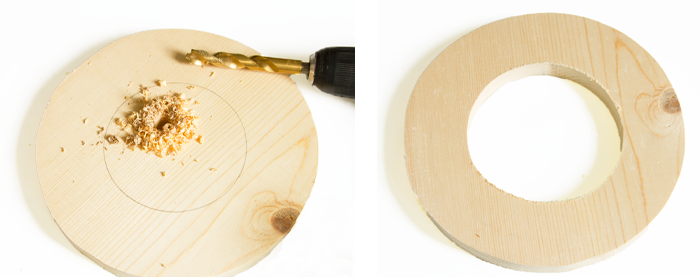
This first vase I decided to make round. You could make it any shape you want really. After tracing a bowl on the wood, I cut out the 9 inch circle. I then traced another circle in the center. It was 4 inches. Drill a hole large enough that your jigsaw blade can fit then use the jigsaw to cut out the center circle. Be sure to sand it all really well with a 220 grit sandpaper.
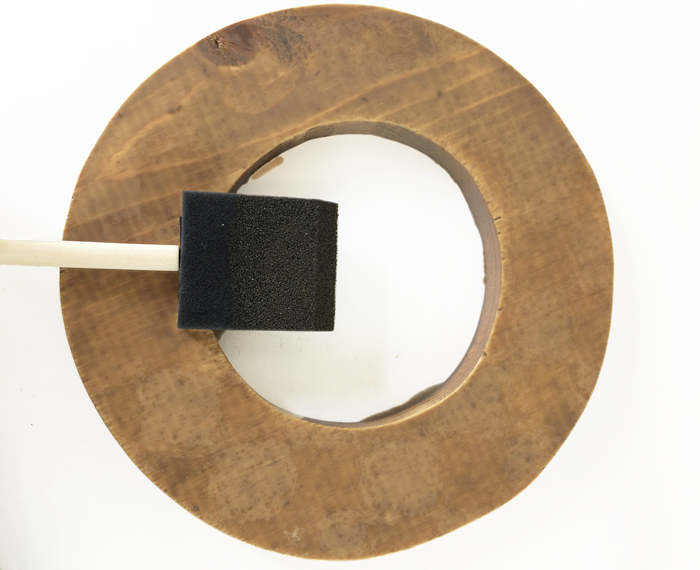
I stained it the same color as the peg board and boxes in my new office closet. I love it!
Once the stain was dry, I drilled three small holes evenly around the circle and threaded faux leather lacing through it. I knotted the ends so it wouldn’t pull back through the small holes.
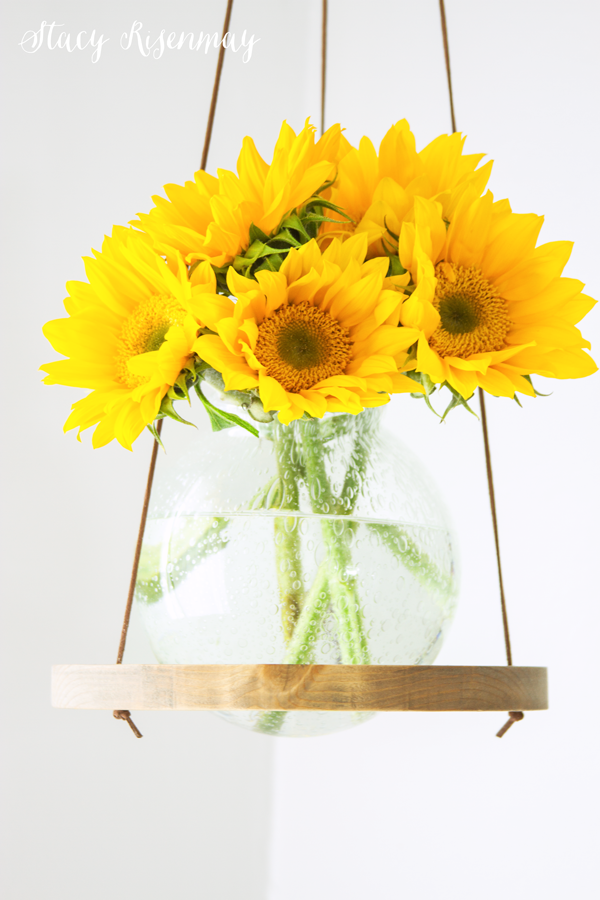
I still can’t believe these giant sunflowers were only a few bucks at Trader Joe’s!
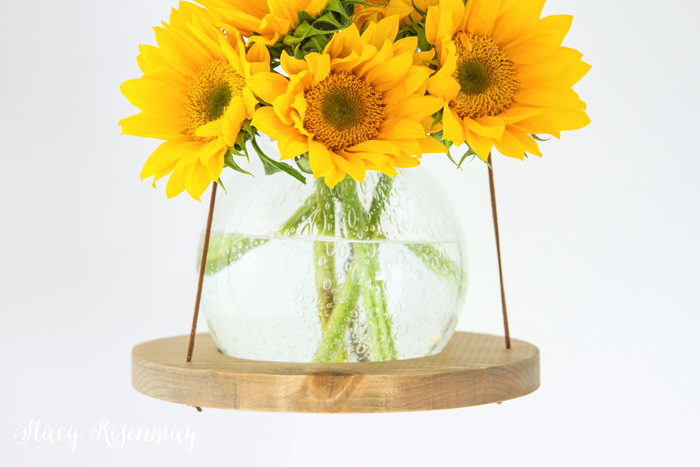
Vase 2: Gold Legs
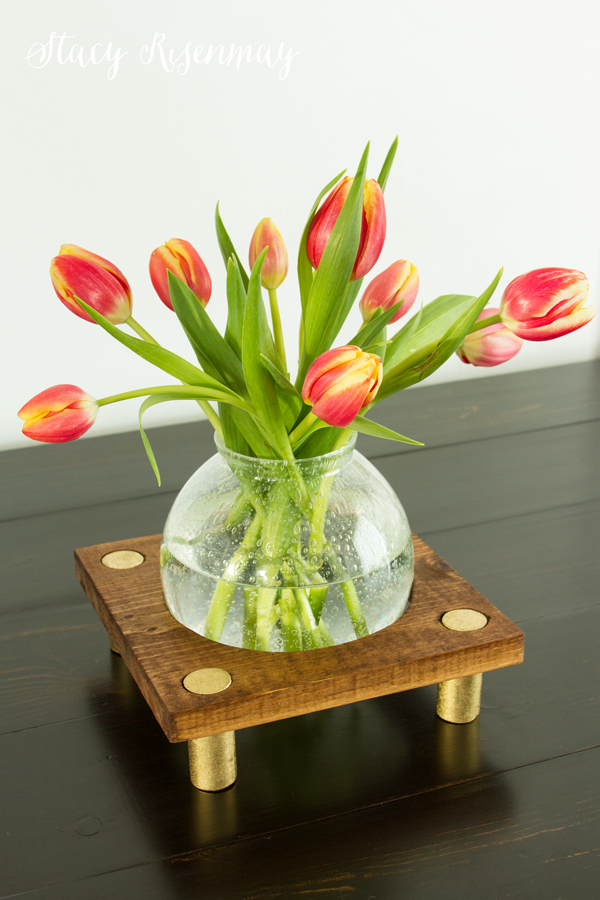
For this one, I cut out an 8 inch by 8 inch square. I traced a 5 inch circle in the center. Just like the one above, I drilled a hole big enough for the jigsaw blade to fit. I cut out the hole and sanded the whole thing really well.
I had a 1 inch wooden dowel I was going to use for the legs so I used a 1 inch drill bit to drill holes in each corner. Measure and mark it before drilling.
I cut the dowel into 2 1/2 inch pieces for the legs. I didn’t want to too tall, but it needed to be just tall enough that the bottom of the vase wouldn’t touch the table top. Think pot bellied pig verses gangly teenage boy.
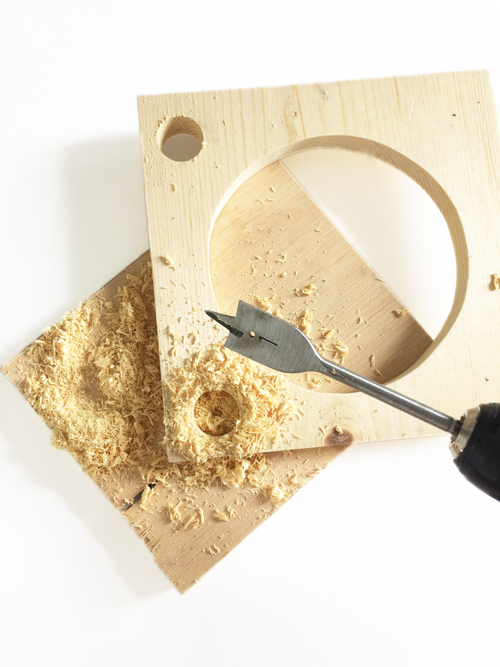
I stained it using Minwax® Wood Finish in “Early American.” The legs I spray painted gold. I added some wood glue and pushed the legs into the holes. I waited for the glue to dry before turning it over and adding the vase.
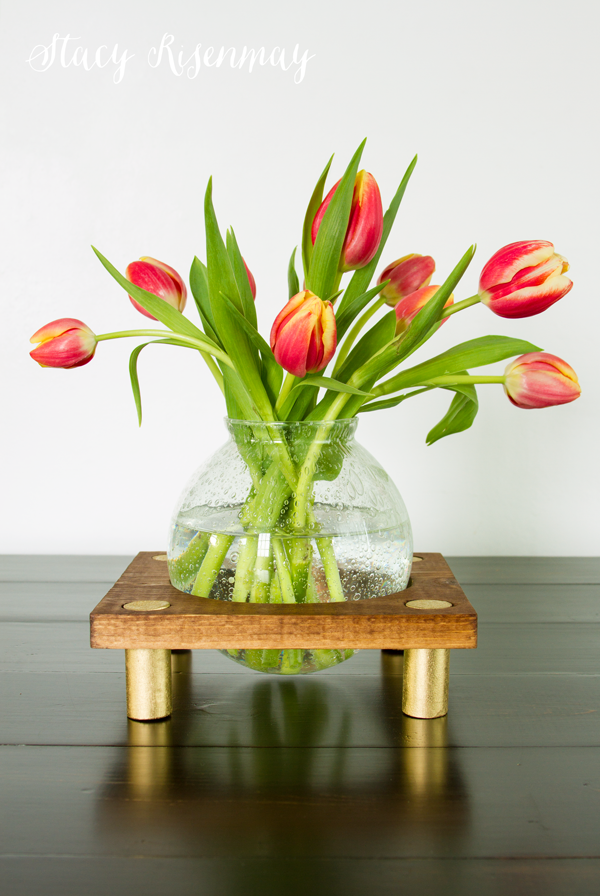
I love that you can see the legs on the top!
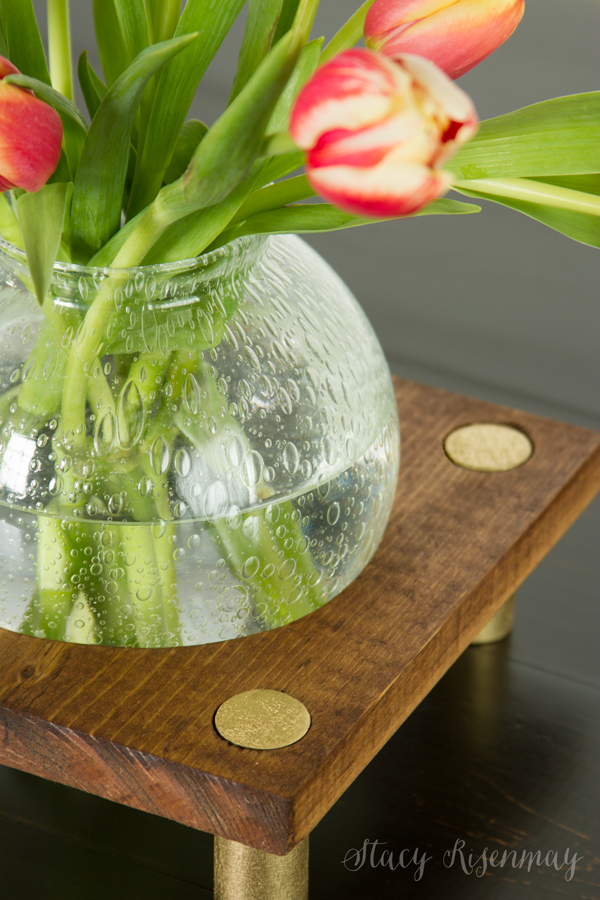
I ended up liking the 5 inch size hole better than the 4 inch hole.
Vase 3: Geometric!
I started out by cutting three 8 inch squares out of plywood. You can use any wood, I just chose to use scrap wood for these vases. Once I had the square cut, I measured and marked about an inch and a half from each corner, drew a line, and using the miter saw chopped off the corners. It helps to have clamps to hold the wood in pace on the base of the saw. This created the octagonal shape.
Like the hanging vase, I drilled a large hole for the saw blade to fit through. I used the jigsaw to cut out a center circle in two of the pieces.
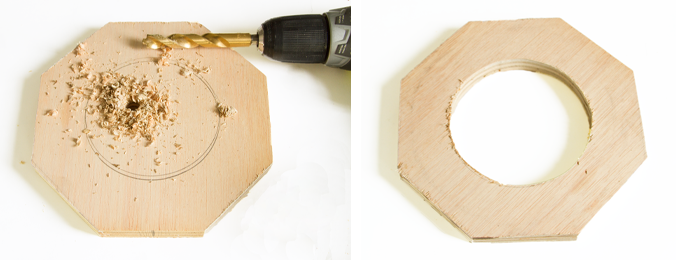
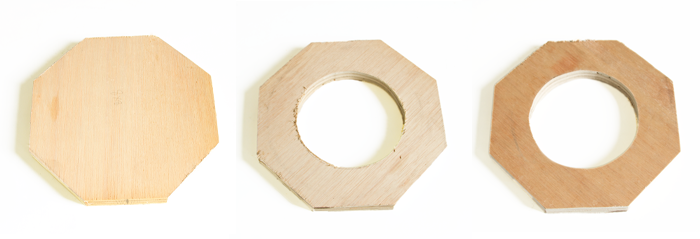
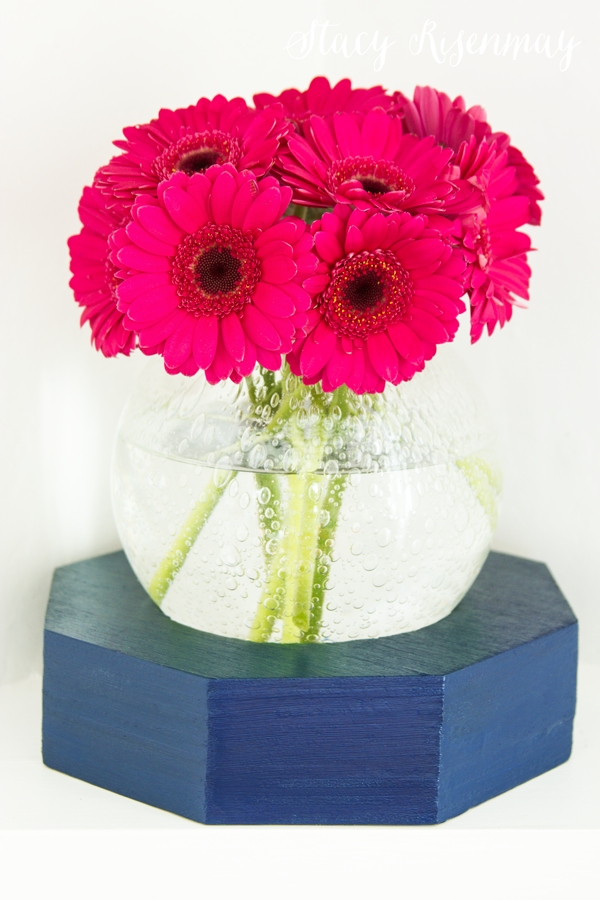
You will end up with two pieces that have center circles and one that does not. You can either use wood glue to attach them together or a brad nailer. Putty it really well and when dry, sand it smooth.
I painted it my favorite cobalt blue!
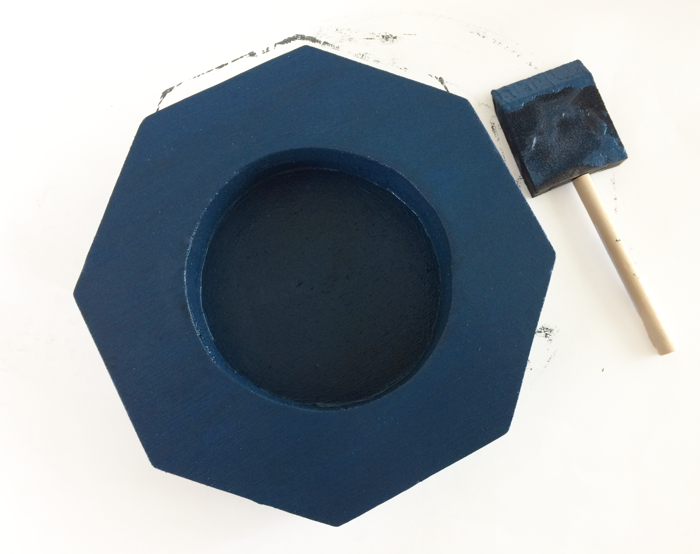
It looks so cheery on the shelf!
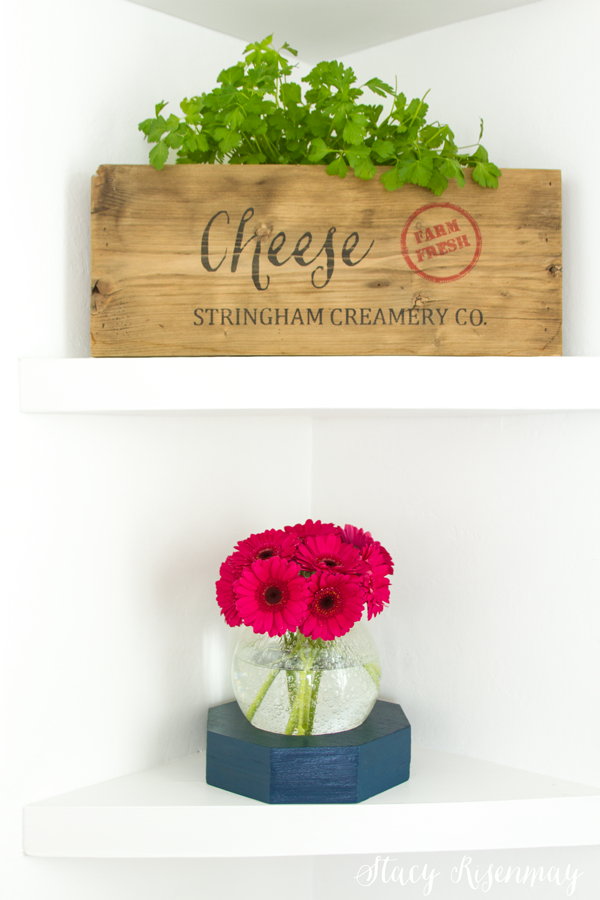
Real gerbera daisies are so perfect that they look fake even in person! They are such a great cut flower.
Be sure to check out Minwax’s new “Made With Love. Finished With Minwax.” campaign currently going on. The theme is ‘Find. Finish. Love.,’ celebrating the thrill of finding real wood pieces – sometimes in the least expected places – and the joy of making them into something we love.
Stacy Risenmay is a DIY enthusiast. In her blog, Not Just a Housewife, she shares her adventures of fixing up her 1938 cottage. She believes that whether it’s big or small, everyone should love their space. Learn more about Stacy and visit: http://www.notjustahousewife.net/about. You can also follow Stacy on Facebook, Twitter, and Instagram.


