

Sarah of Thrifty Decor Chick is back with another amazing DIY project. See how she created this beautifully modern bathroom vanity.
Hey all! I just finished up a DIY bathroom vanity that I wanted to share with you. My Dad and I built it together and I thought this would be a great opportunity to show off the staining process.
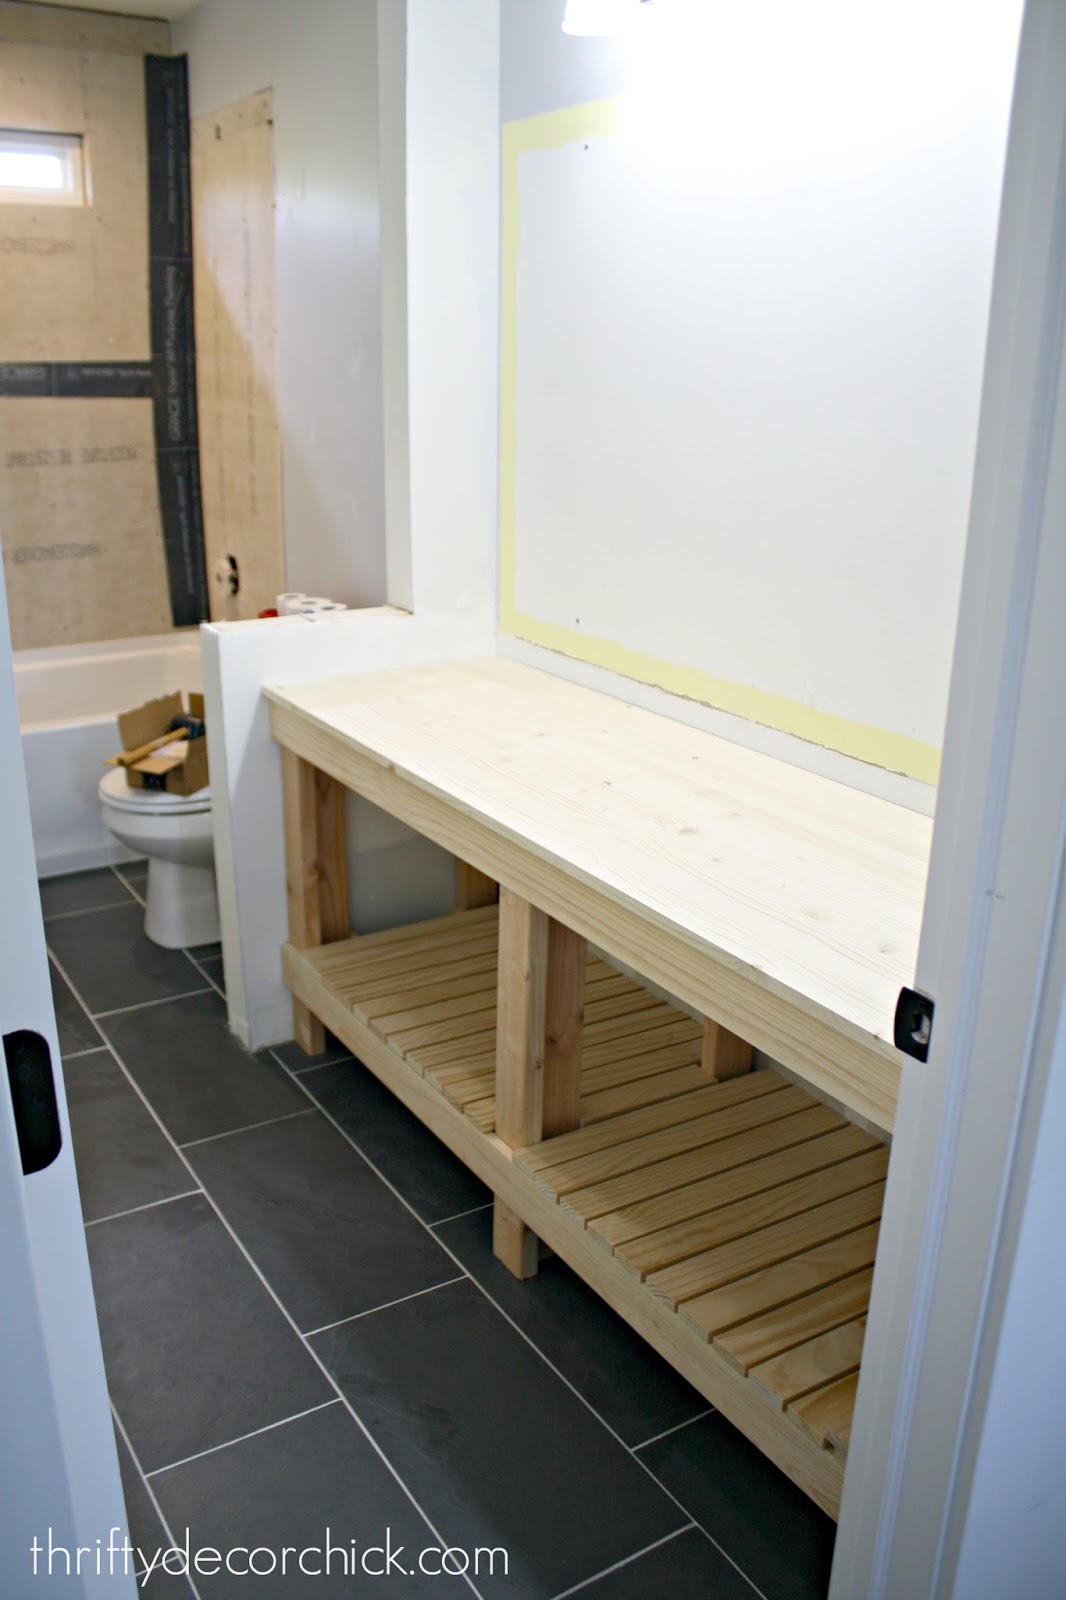
Here’s what we started with:
I work with Minwax® occasionally to share how to bring stained wood projects into your home and I knew this one was going to be a great fit. I started with my go to, Minwax® Pre-Stain Conditioner:
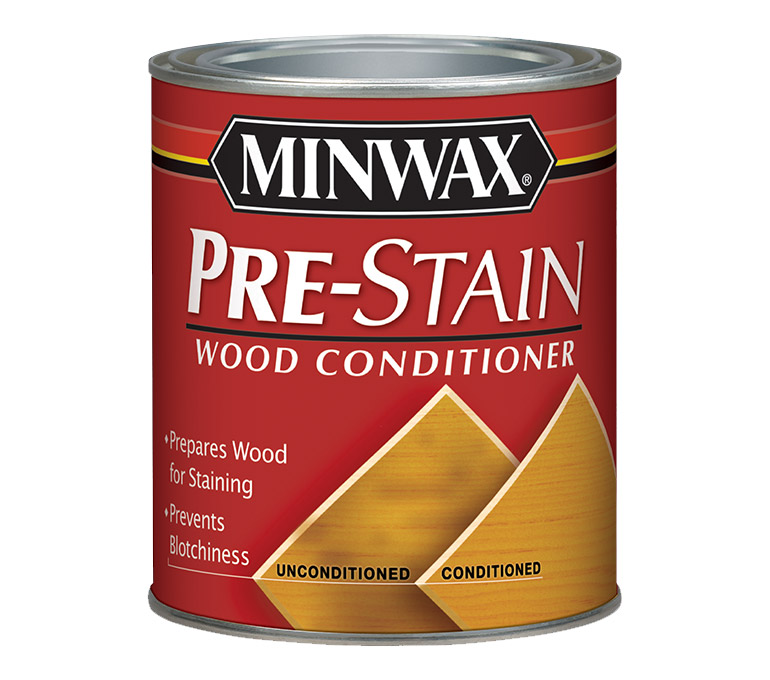
It helps to prepare the wood for staining — it’s such a quick process it takes no time at all. I use a foam brush to apply:
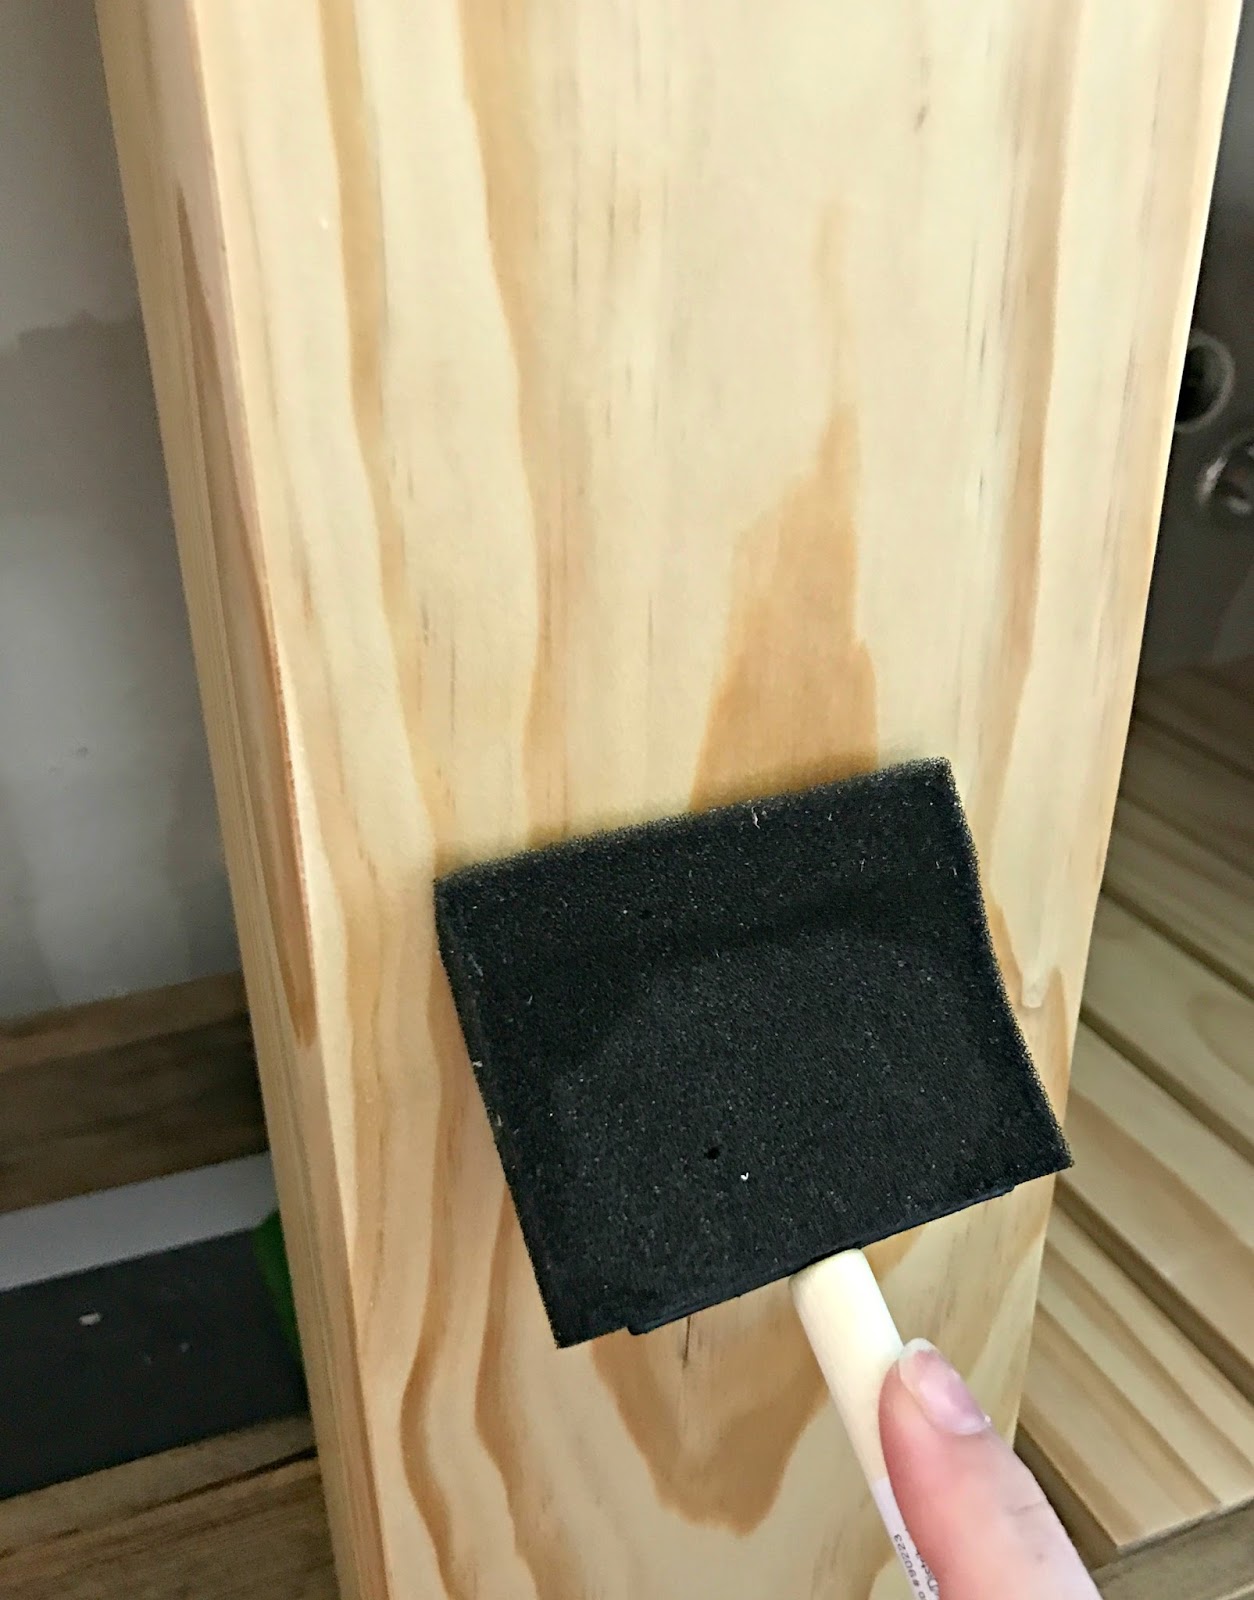
You don’t even need to wipe it off, as long at you don’t brush it on too thick. I immediately started staining after that step with Minwax® Wood Finish™ in my new favorite color, “Provincial.”
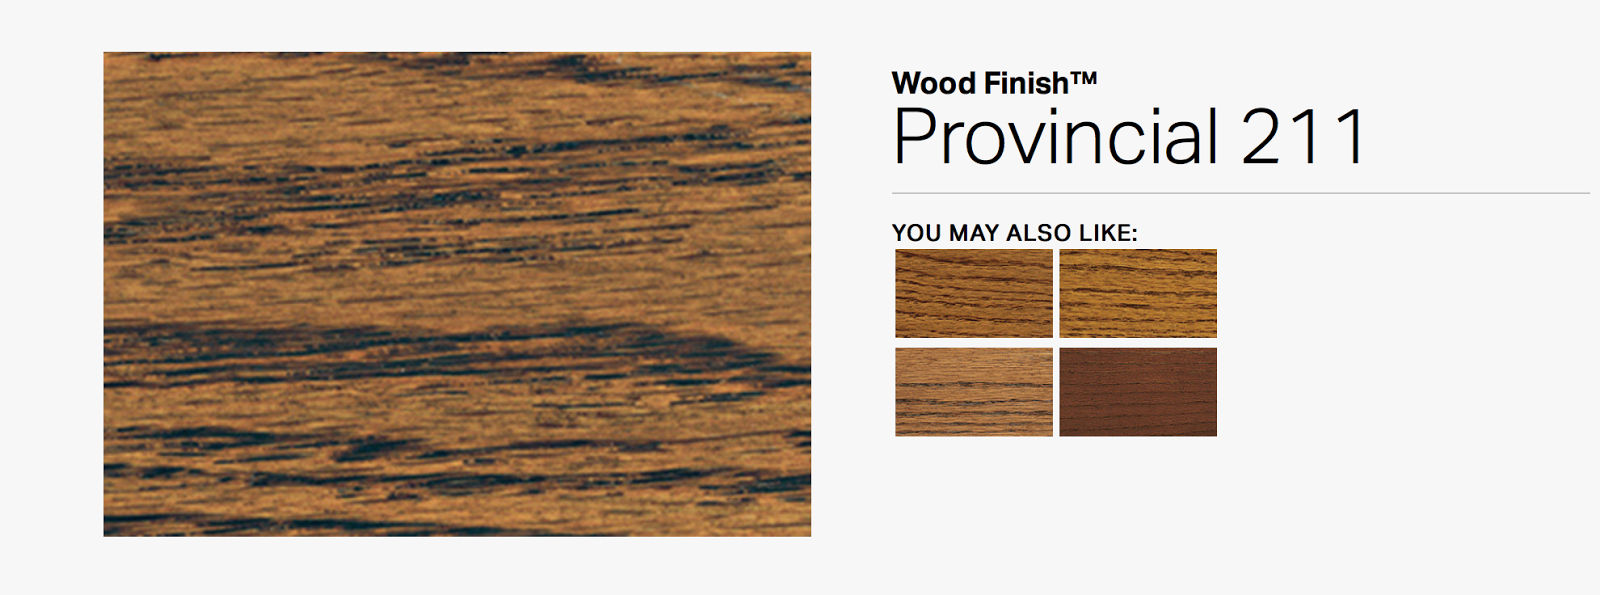
It is such a pretty stain and doesn’t look nearly as red (at least on pine) in real life as it does in that photo above. It’s a nice in between brown tone. I usually use a foam brush to apply the stain as well, but when you’re working with vertical surfaces that’s a little trickier. Applying with a rag is a bit messier (use gloves for sure), but I think goes on quicker. I did two coats on the top of the vanity.
If you use a brush to apply stain, you’ll need to wipe down any excess a few minutes after. When you use a rag you’re wiping off that extra stain as you go so you save a step. Staining is such an easy DIY project and I LOVE the instant gratification it gives. 🙂 It’s so fun to see wood come alive when you work with stain. I always like to share a few staining tips with you that I think are important:
- You need to give yourself enough time to complete one surface at a time. If you start and stop (and let the stain dry) you will see where you left off. Always leave a “wet edge” as you work — meaning keep moving across the surface with the wet brush.
- It is important to let each coat dry well. If you add another coat too fast it will gunk up and take forever to dry. I usually only do one coat but you can add more for a deeper tone.
- Gloves are always recommended! Even if you don’t use a rag to apply you’ll need one to wipe off excess stain afterwards.
- If you can stain outside, great! If not, keep windows open or a fan running. And if you notice a weird smell coming from your dryer or oven after you stain, check out this post. 🙂
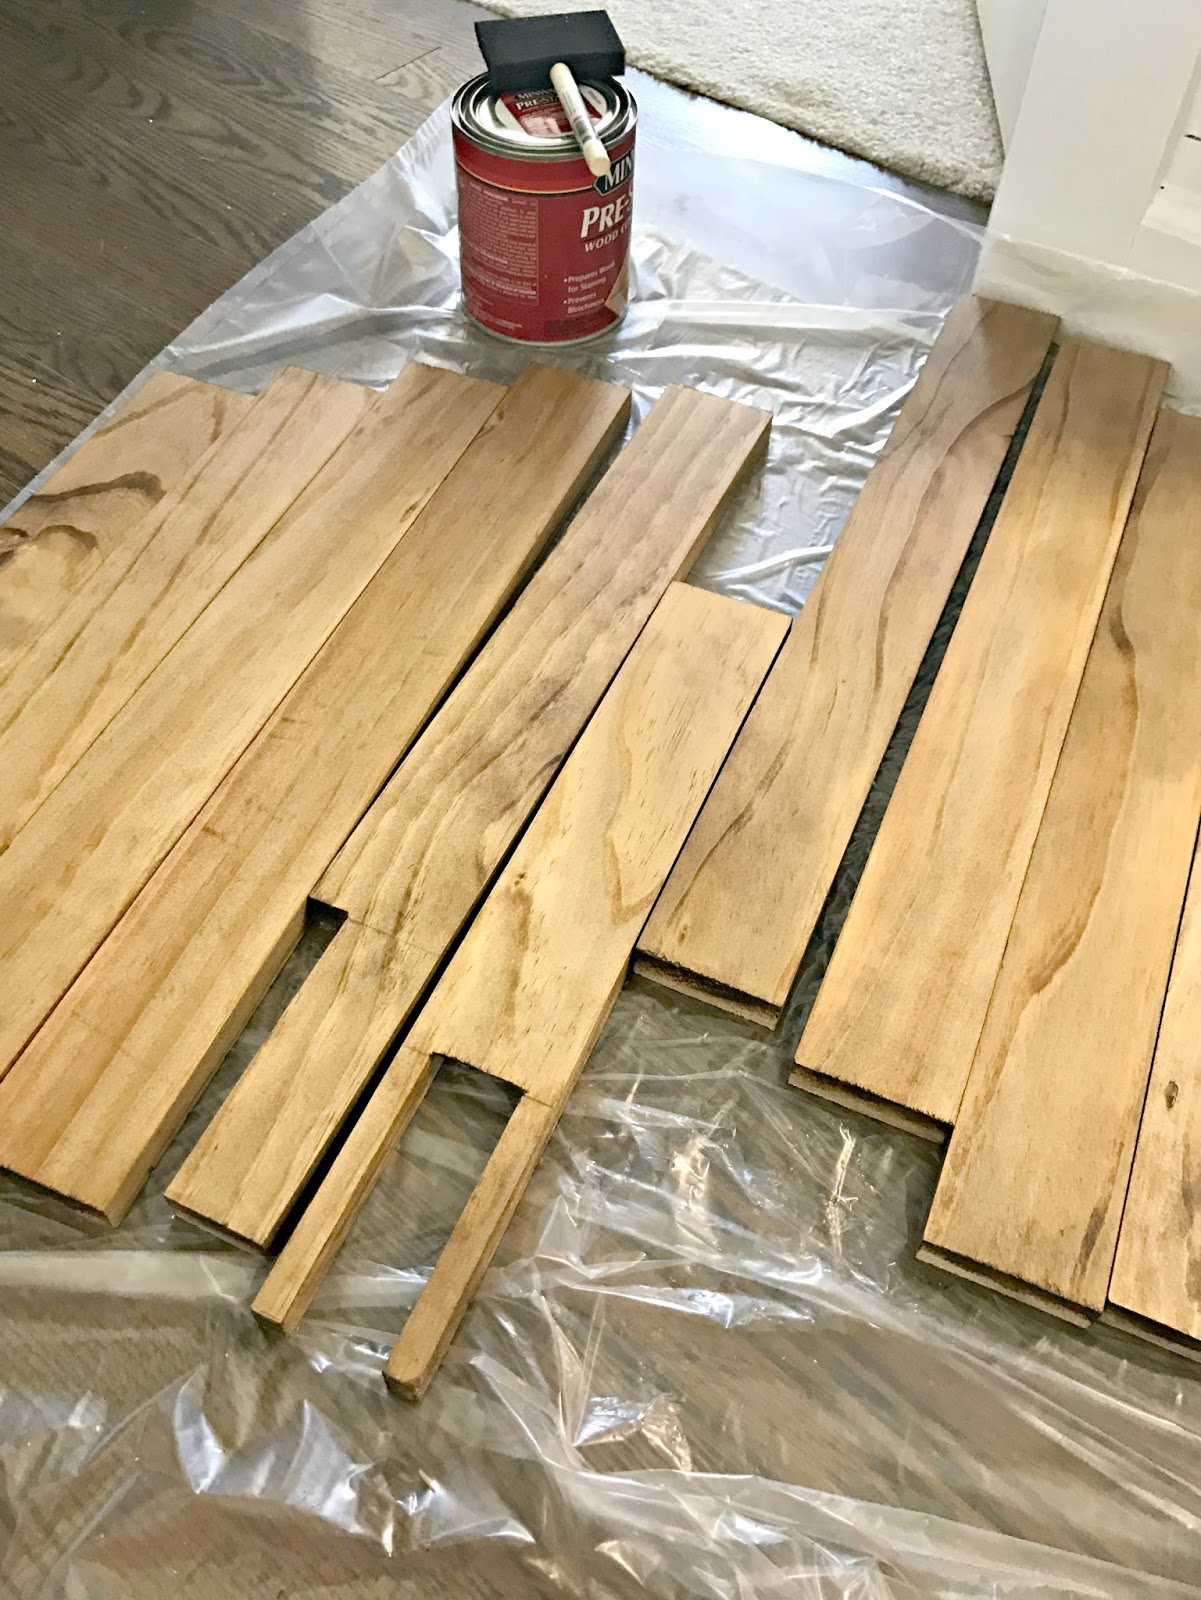
I did the top and then started the bottom part of the vanity…and the two pine pieces we used weren’t staining the same. I kind of figured this would happen because the 2x4s were a little rougher than the select pine I used for the rest of it. The 2×4’s were looking more red. But I had a plan! It added about $50 to the cost of the vanity, but I’m still coming in at less than $250 for the whole thing so I’m thrilled. I had some pine boards mitered down so we could wrap the legs. Here’s a reminder of how they looked:

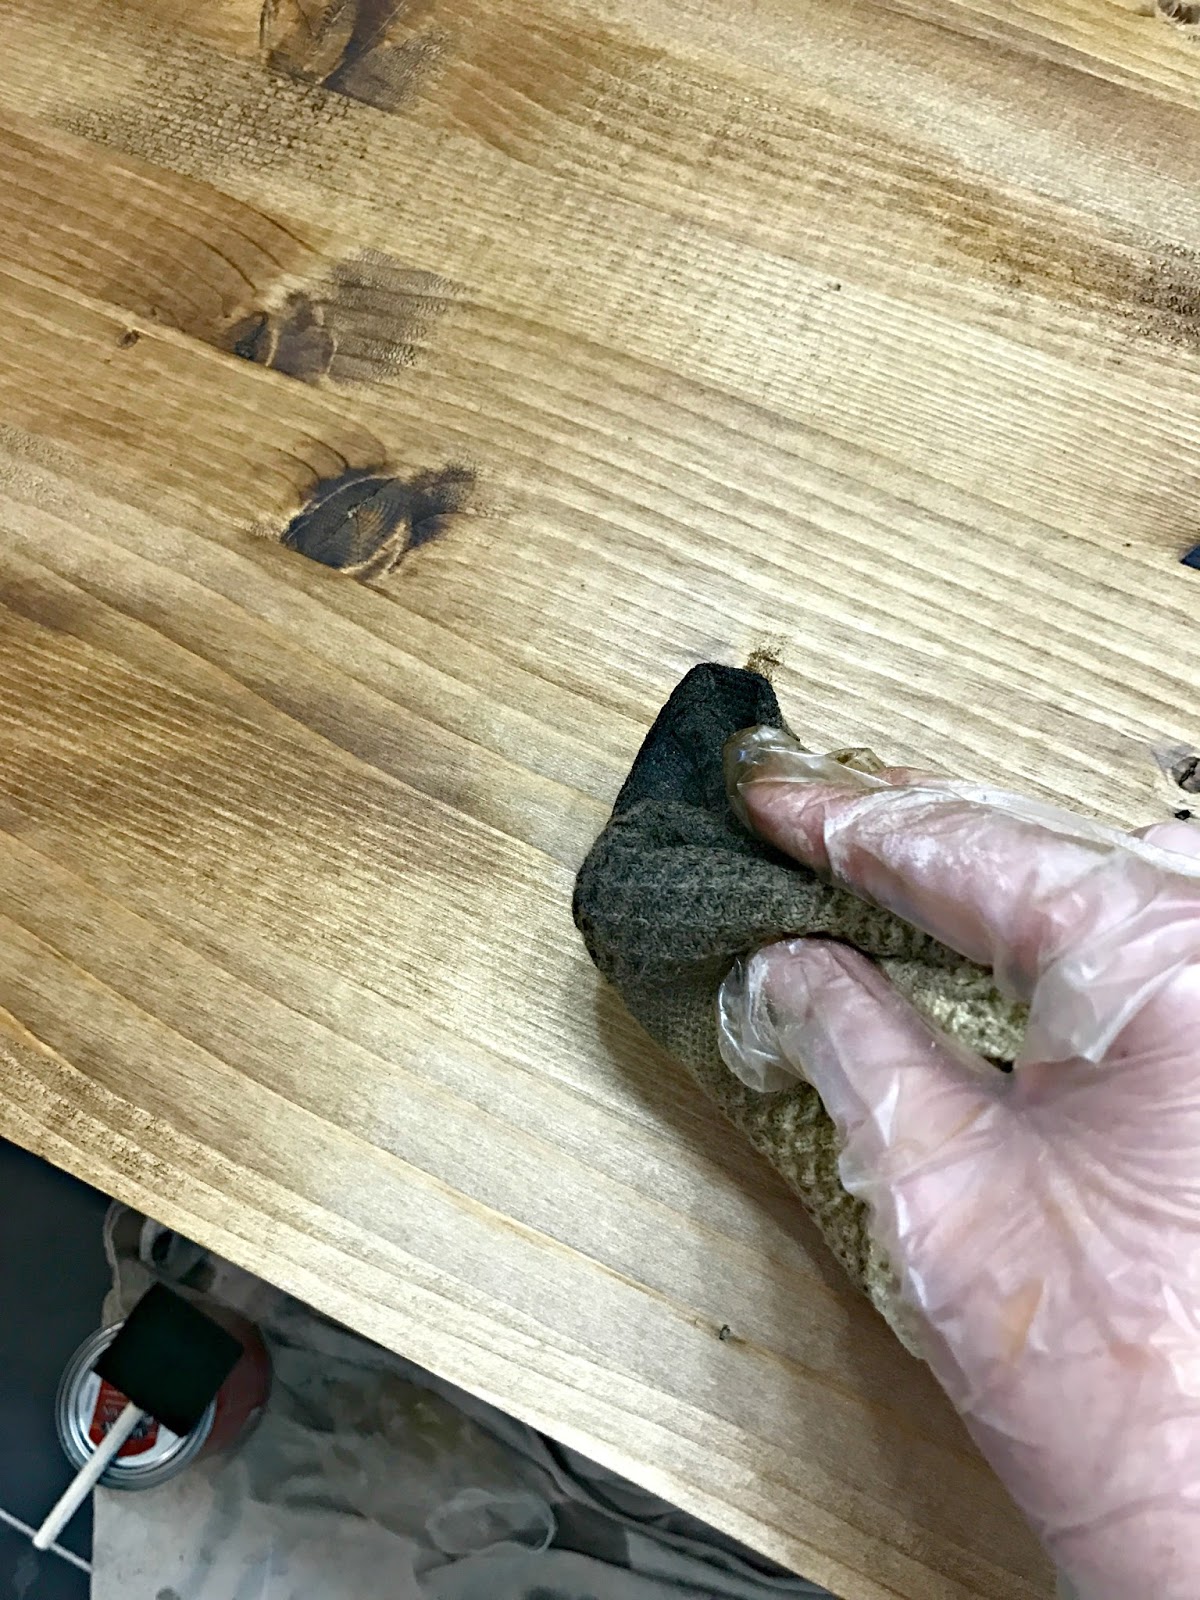
Instead of the 2×4’s, those are now covered in the nicer wood to match the rest. I also changed the shelf a bit and I’ll show you that below. I didn’t want the cut ends of the shelf pieces showing because I knew they’d stain up so much darker than the rest. The cut sides always absorb more stain.I grabbed a lawn trash bag and set up on the floor to condition and stain each board for the shelf individually:
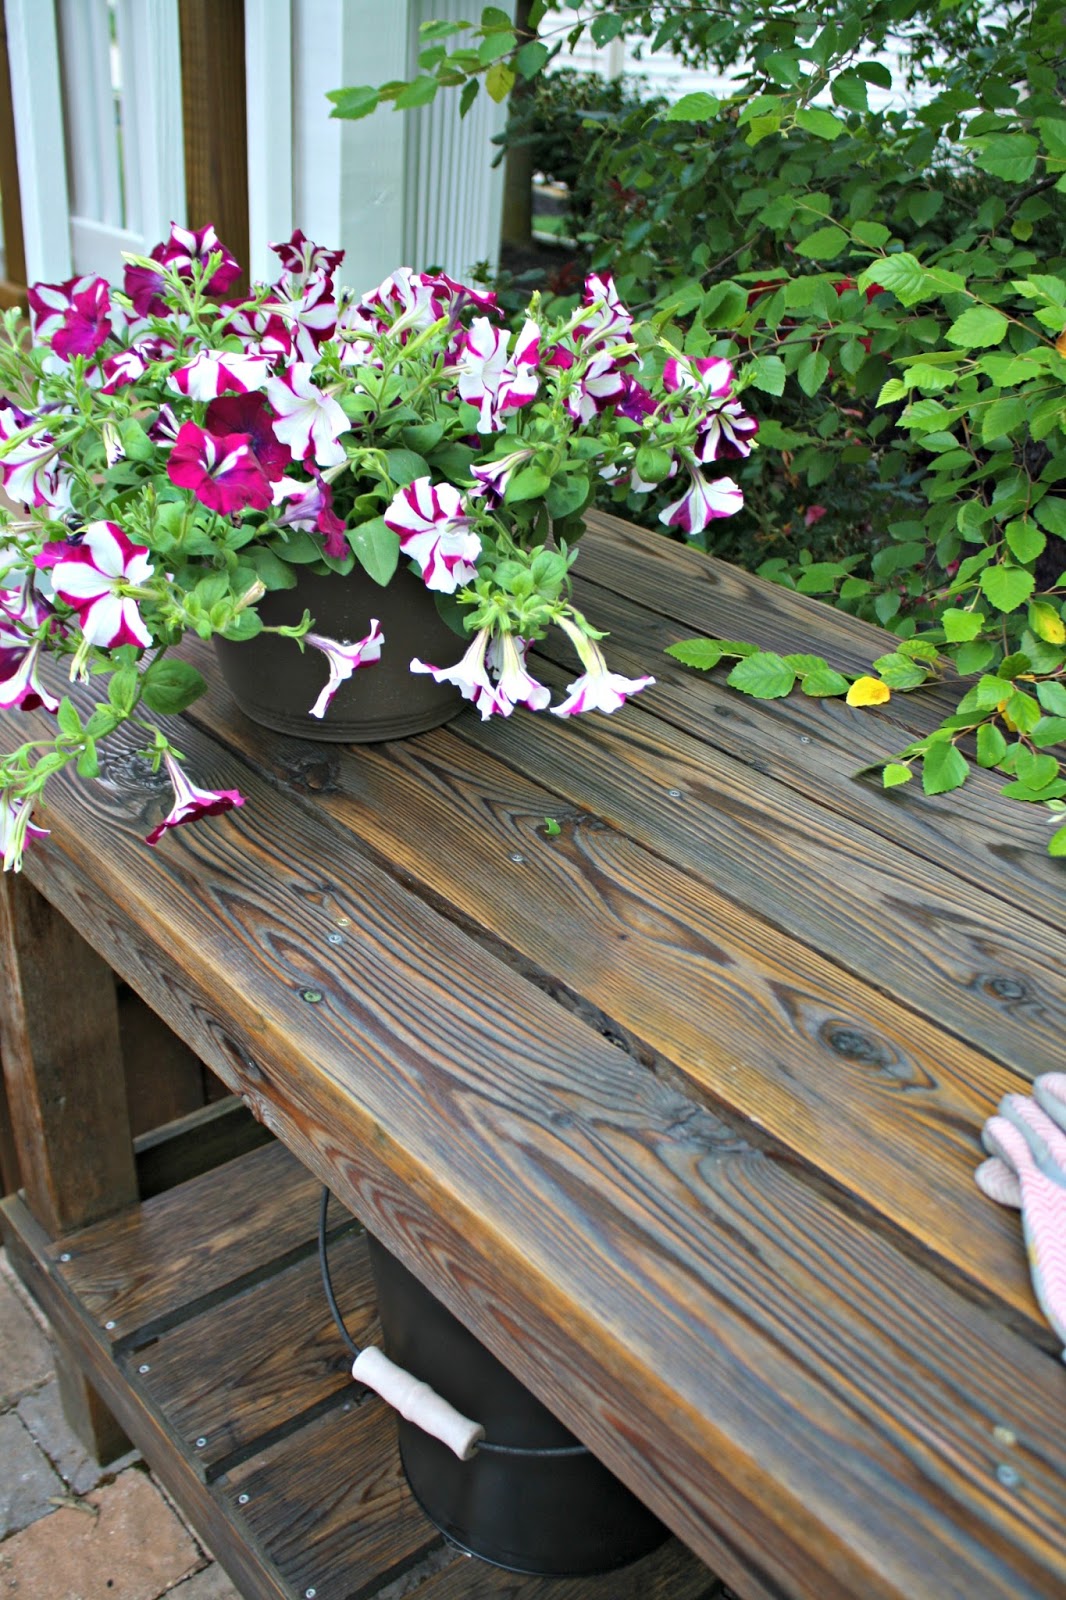
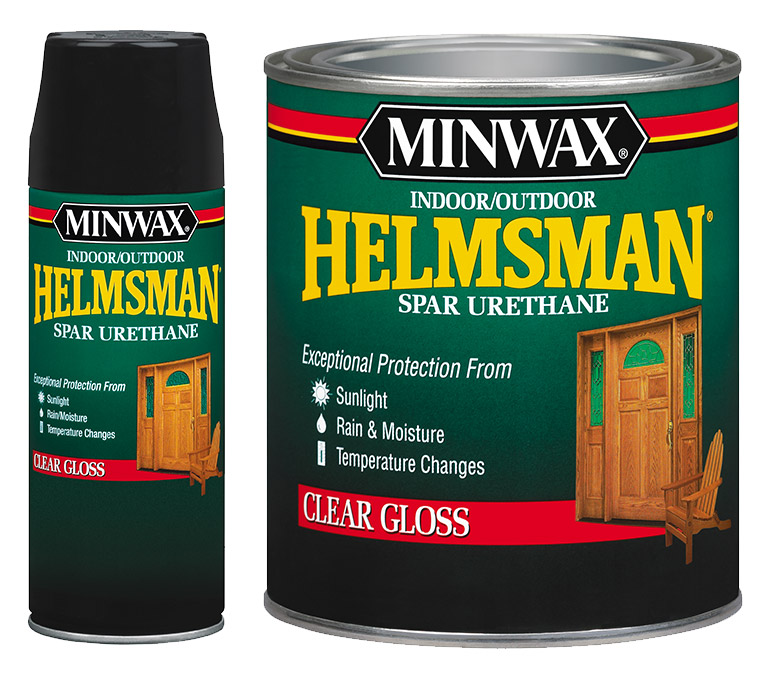
Like I said, using a rag makes the process SO much faster than a foam brush. It’s just faster to wipe it on and you eliminate taking off the excess stain after. I went ahead and installed the slats for the shelf when the stain dried and got ready for my next step. I wanted to use a polyurethane that would hold up to the water that will inevitably get all over the countertop. I chose the Minwax® Helmsman® Spar Urethane I used when I refinished the potting bench last year:
I did two coats over the whole vanity and will probably do one more to the top. Between a good poly and lots of caulk around the sinks, the wood counter should hold up fine. You can use a fine grit sandpaper or steel wool in-between coats of poly, but I’ve found my new trick works just as well or better:
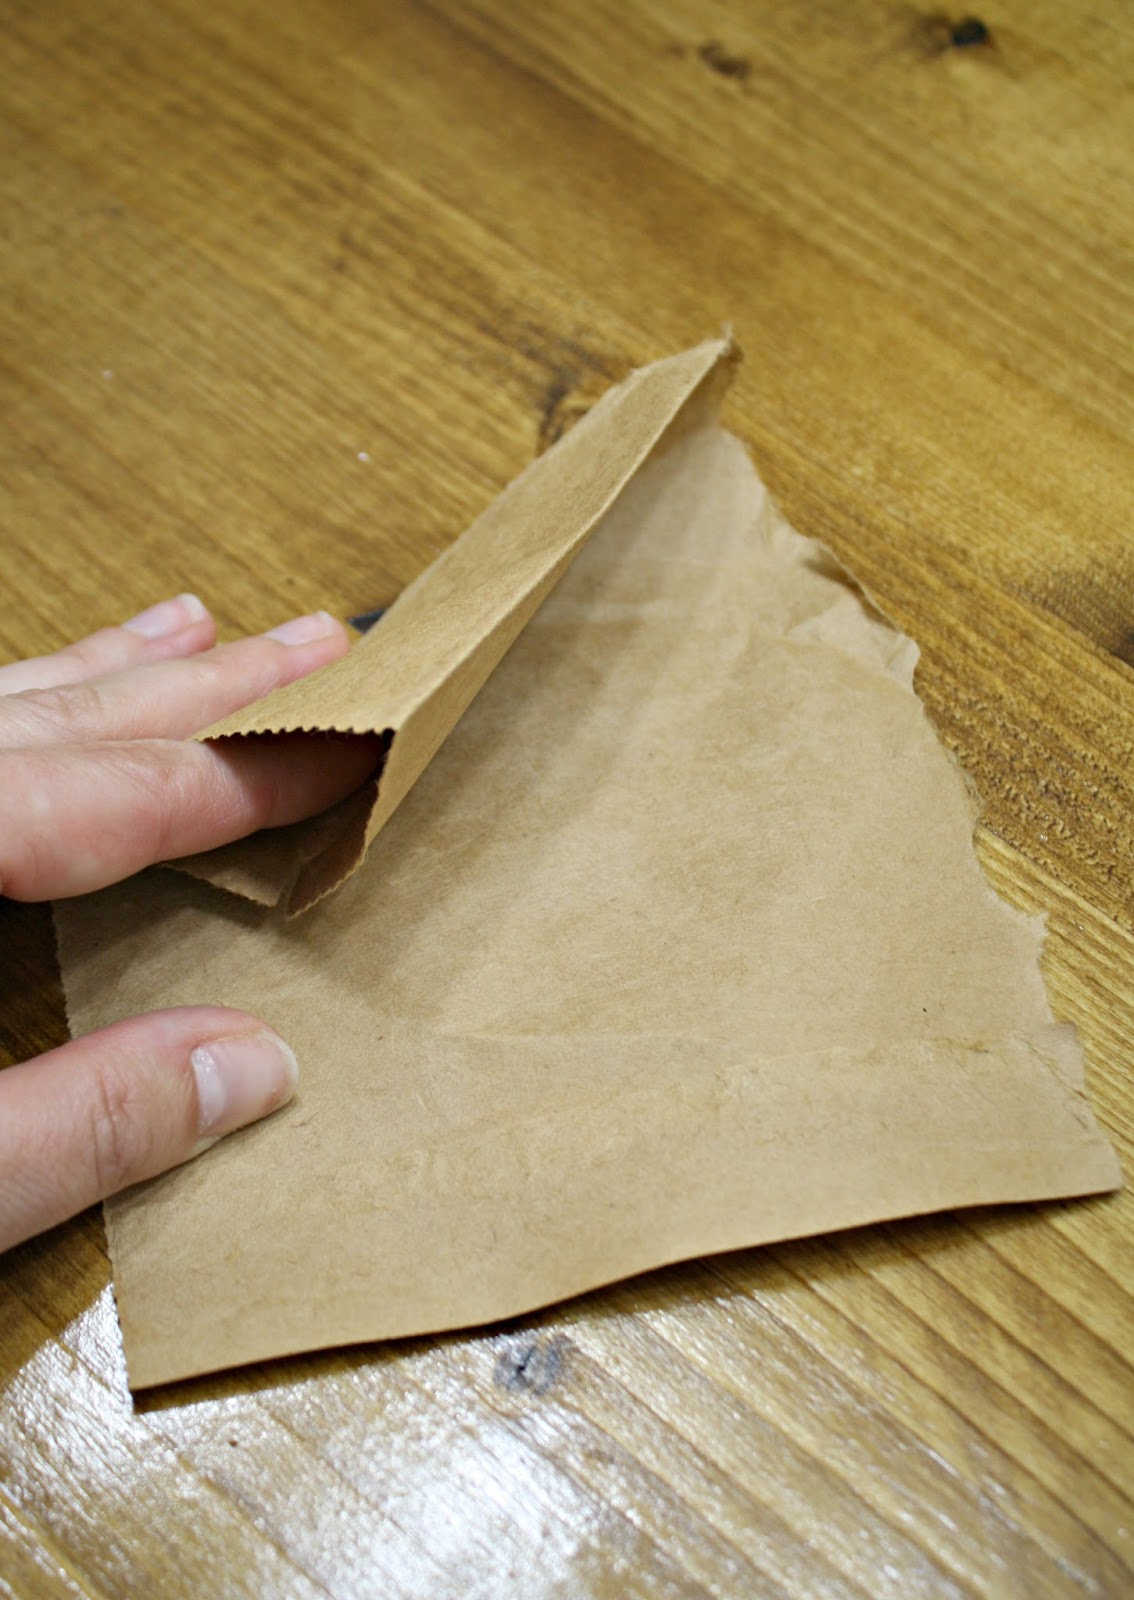
Yes, just paper bags! It knocks down an rough spots but doesn’t create a cloudy look that sandpaper can sometimes create. It’s especially great for a final sanding after you’re done. Love it! Here’s a look at the finished project! Well, minus the faucets and mirrors and other finishing touches:
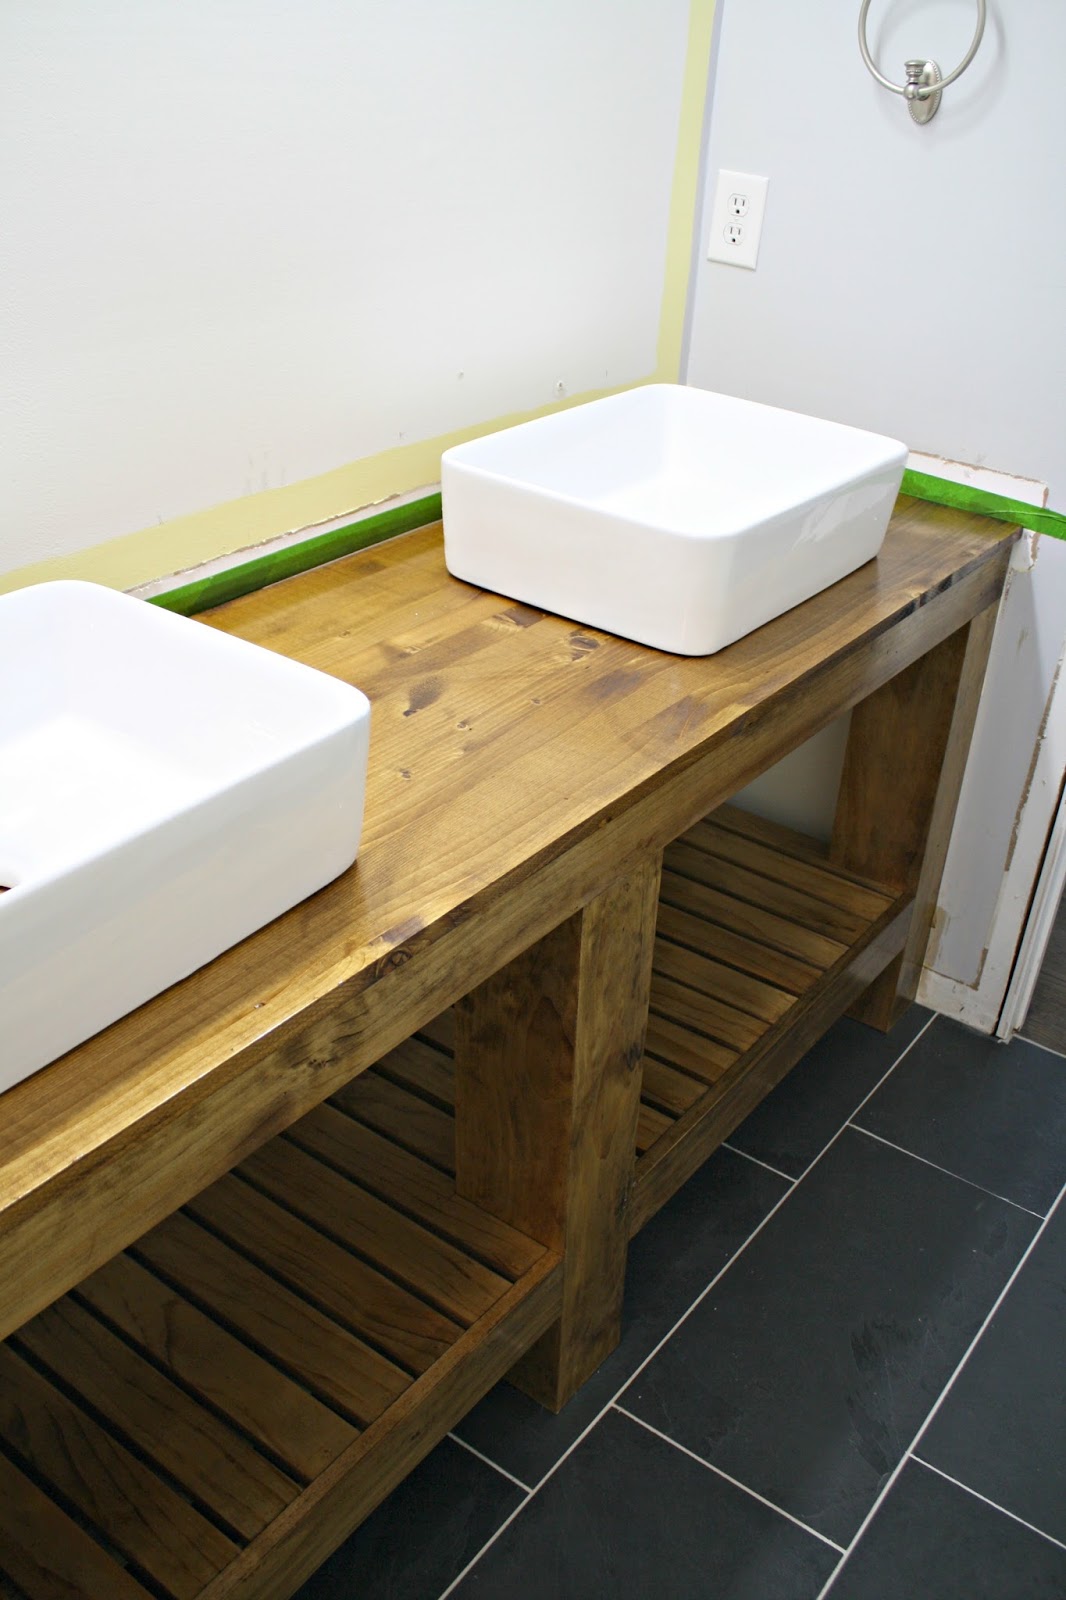
Crossing my fingers the faucets will go in today! So much progress lately. 😁😁 I finally feel like we’re in the home stretch, even though there’s still a ton left to do. I found sinks and matching drain stoppers to go with them and I LOVE how they look.Finding faucets in stock that are tall enough was a little more difficult. I moved the sinks up towards the front of the vanity a bit to make washing hands/face more comfortable:

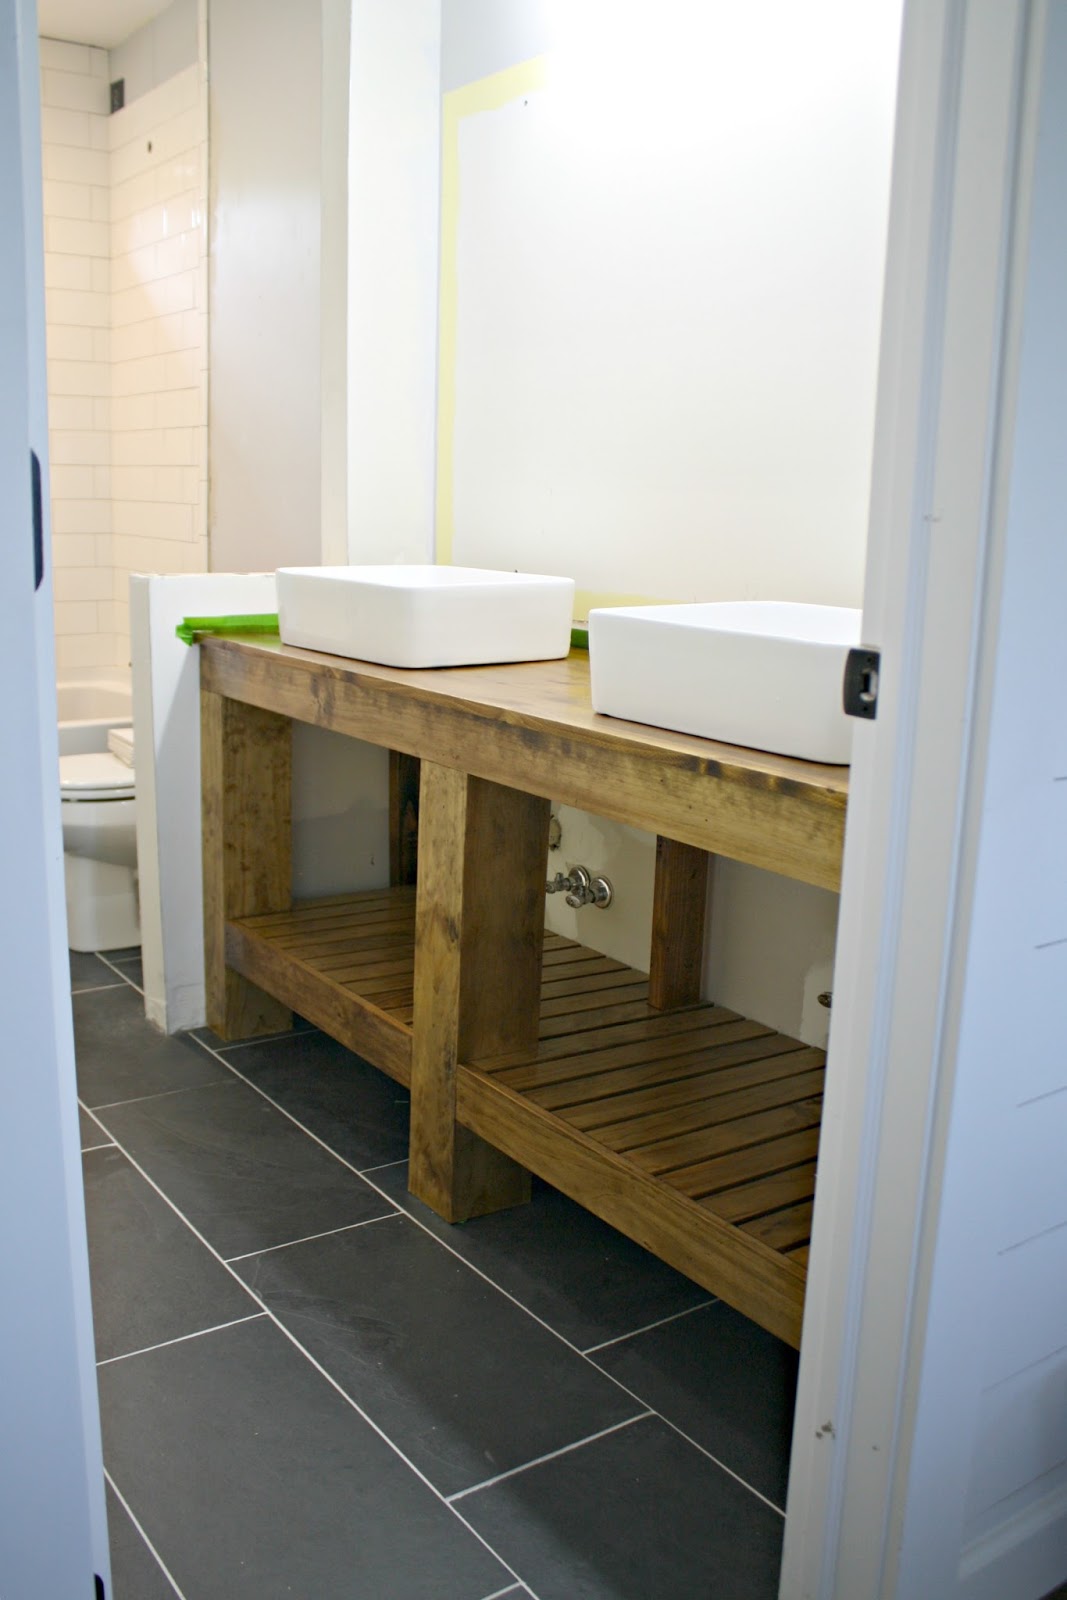
I only wrapped the front legs because you really won’t see the back ones when the baskets and stuff are sitting on the shelf:
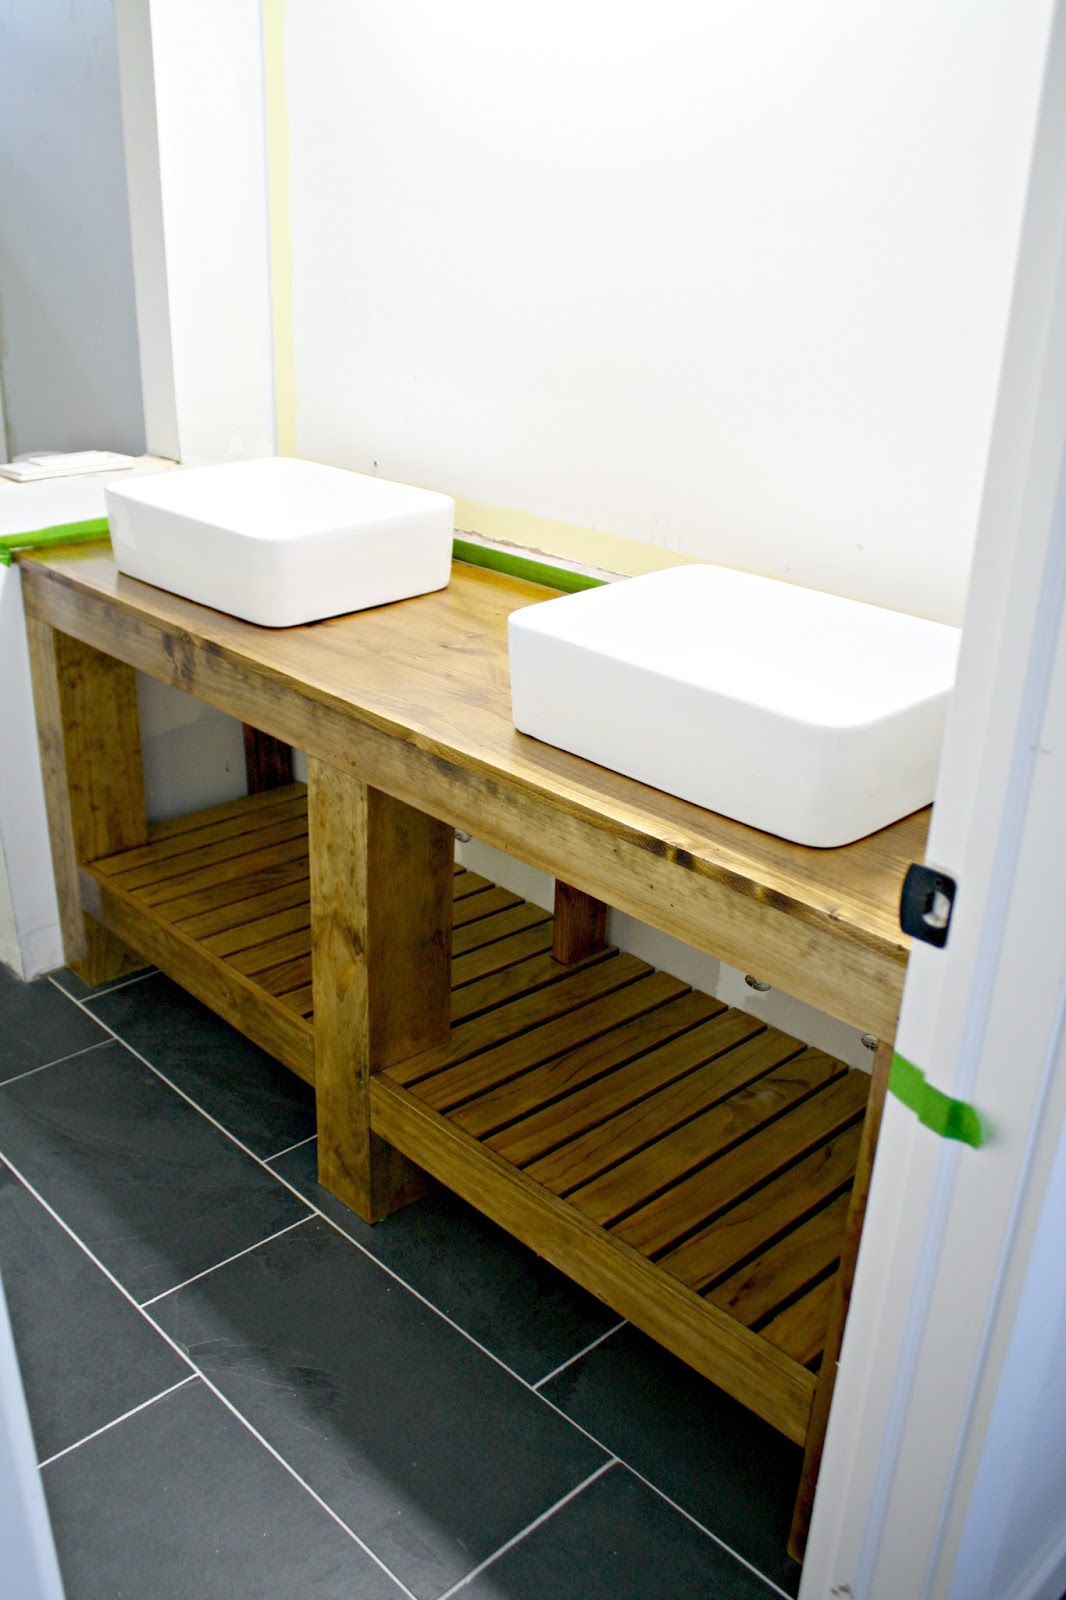
You can see here how the slats now nestle behind the front piece. I love this — it streamlines it a bit more, and as I mentioned, the ends of the slats would have been much darker. When I wrapped the legs I considered painting the vanity white for a hot second. I thought it would look good with white on the bottom and a stained top, and it would! But I’m so glad I went ahead with the stain. It really gives this room some warmth. I love stained wood in contrast with the dark tile and the white accents that will go throughout the room as well. Here’s a before and after of the vanity and a peek at the shower tile that was finished up this morning:

My bathroom renovation is coming together just as I envisioned and I couldn’t be happier!
Be sure to check out Minwax’s new “Made With Love. Finished With Minwax.” campaign currently going on. The theme is ‘Find. Finish. Love.,’ celebrating the thrill of finding real wood pieces sometimes in the least expected places – and the joy of making them into something we love.
Sarah’s blog, Thrifty Decor Chick, features more great DIY projects that will help you have lovely home without spending a ton of money. Follow her on Twitter, Facebook, or Pinterest for more.