


Sarah of Thrifty Decor Chick has done another amazing job with her new wood planked wall project! See how she uses planks to creatively transform her kitchenette.
I am really thrilled with this project and so excited to show you! I’ve planned it in my head for some time now and it came out even better than I had hoped. I’ve been working on a few projects completed with the help of Minwax products over the past couple of months (see my DIY state art here) and this one is one of my favorite DIYs ever.
I got the idea from the planked wall I did on our stair landing down to the basement.
I love our basement. 🙂 I’ve definitely gone slightly industrial design-wise down there by using some metal and darker woods. It’s been fun to have a space to do something different than I do in the rest of the house.
Our little kitchenette has had quite a few updates. I stenciled the wall years ago and then early this year during my no spend month I finished it up with some shelving.

I loved the stencil for years but I was growing tired of it. This new plan in my head took root and I just had to change it up!
I went to the hardware store and had a large sheet of maple veneered plywood cut down into strips (I measured the space and then decided on the size of each strip). For my project I needed four inch planks.
I went with the thinnest wood I could find — I love a thicker planked wall but this was going in above the countertop and I didn’t want it to hang over the backsplash part too much. You could very easily use the planks I used for the stair landing, I just wanted something a little less busy this time.
When I got them home I used some Minwax® Pre-Stain Wood Conditioner on the planks. I never used to use this but now that I’ve tried it a few times I’m hooked. It makes a big difference in how well your stain takes to the wood.
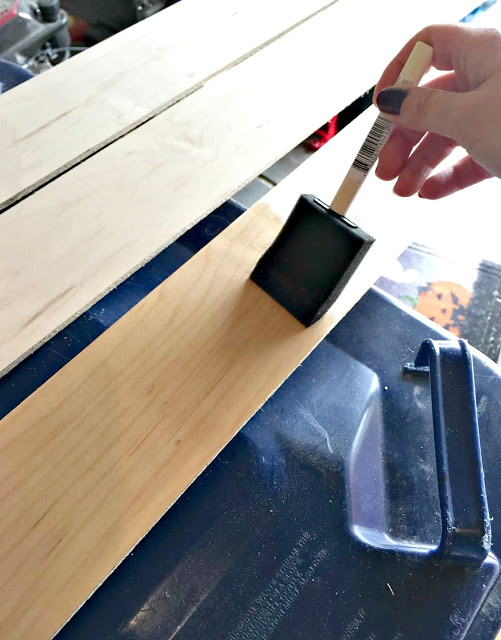
I used to avoid it mostly because I’m impatient, honestly. But it takes no time at all to wipe it on and you can stain within minutes. I highly recommend it — I will do a post sometime to show you the difference it makes.
By the way, I use the cheap foam brushes to apply the conditioner and my stain.
They are the easiest and cleanest way to apply stain in my opinion. I have used rags to do it but it’s crazy messy and this does just as good of a job.
Staining is SO easy to do and one of my favorite DIYs because the change is so easy and it’s instant. There are a couple of rules though. First of all, keep a “wet edge” when wiping it on. Don’t start a project unless you are able to finish it. If any parts of the stain dry (it takes some time), you will see where you left off. So keep it going and smoothed out.
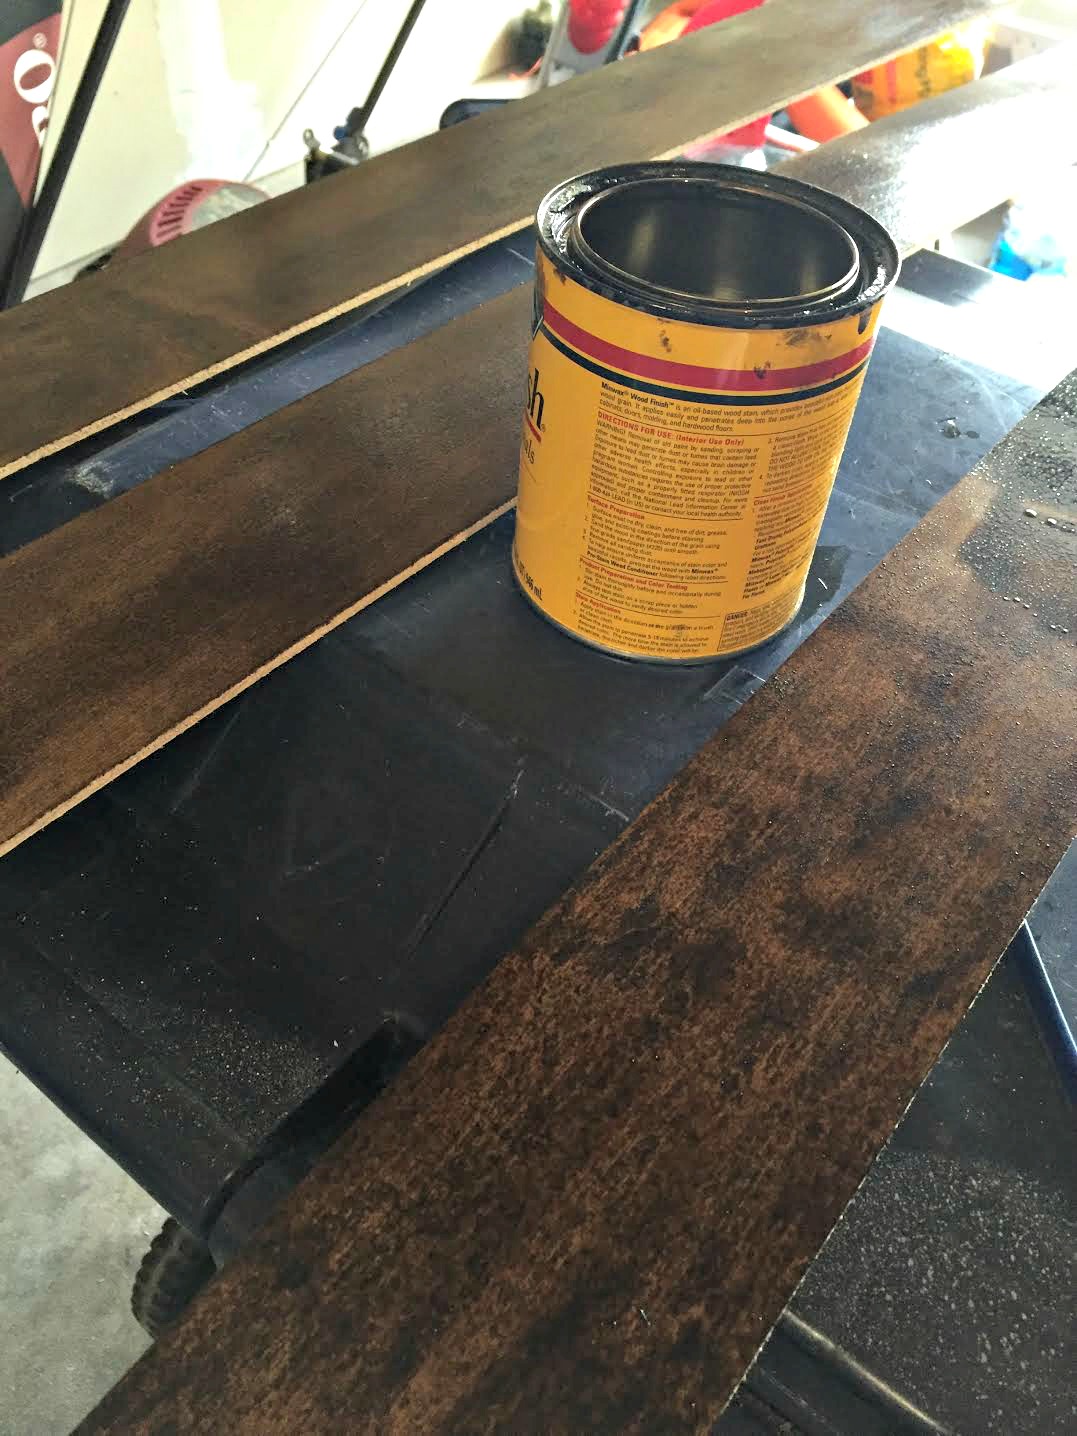
Also, let it sit for a while but not too long. The longer you let the stain sit the deeper the color will be. But if you wait too long to wipe it off it will get sticky. (I never wait more than five minutes — if I want it darker I can add more coats.) Use a lint-free rag to wipe your stain (those blue shop paper towels work great).
I took down the shelves on the wall (I had added a mirror to the middle since that last post too) and started installing my planks. I only had 12 planks cut from a four by eight piece of wood and my area was 52 inches by six feet – so I had to cut them in pieces so I’d have enough to cover the whole thing (I was fine length-wise but vertically I knew I’d come up short unless I cut them up).
I had a few receptacles to cut around – I marked my cuts and used a jigsaw.
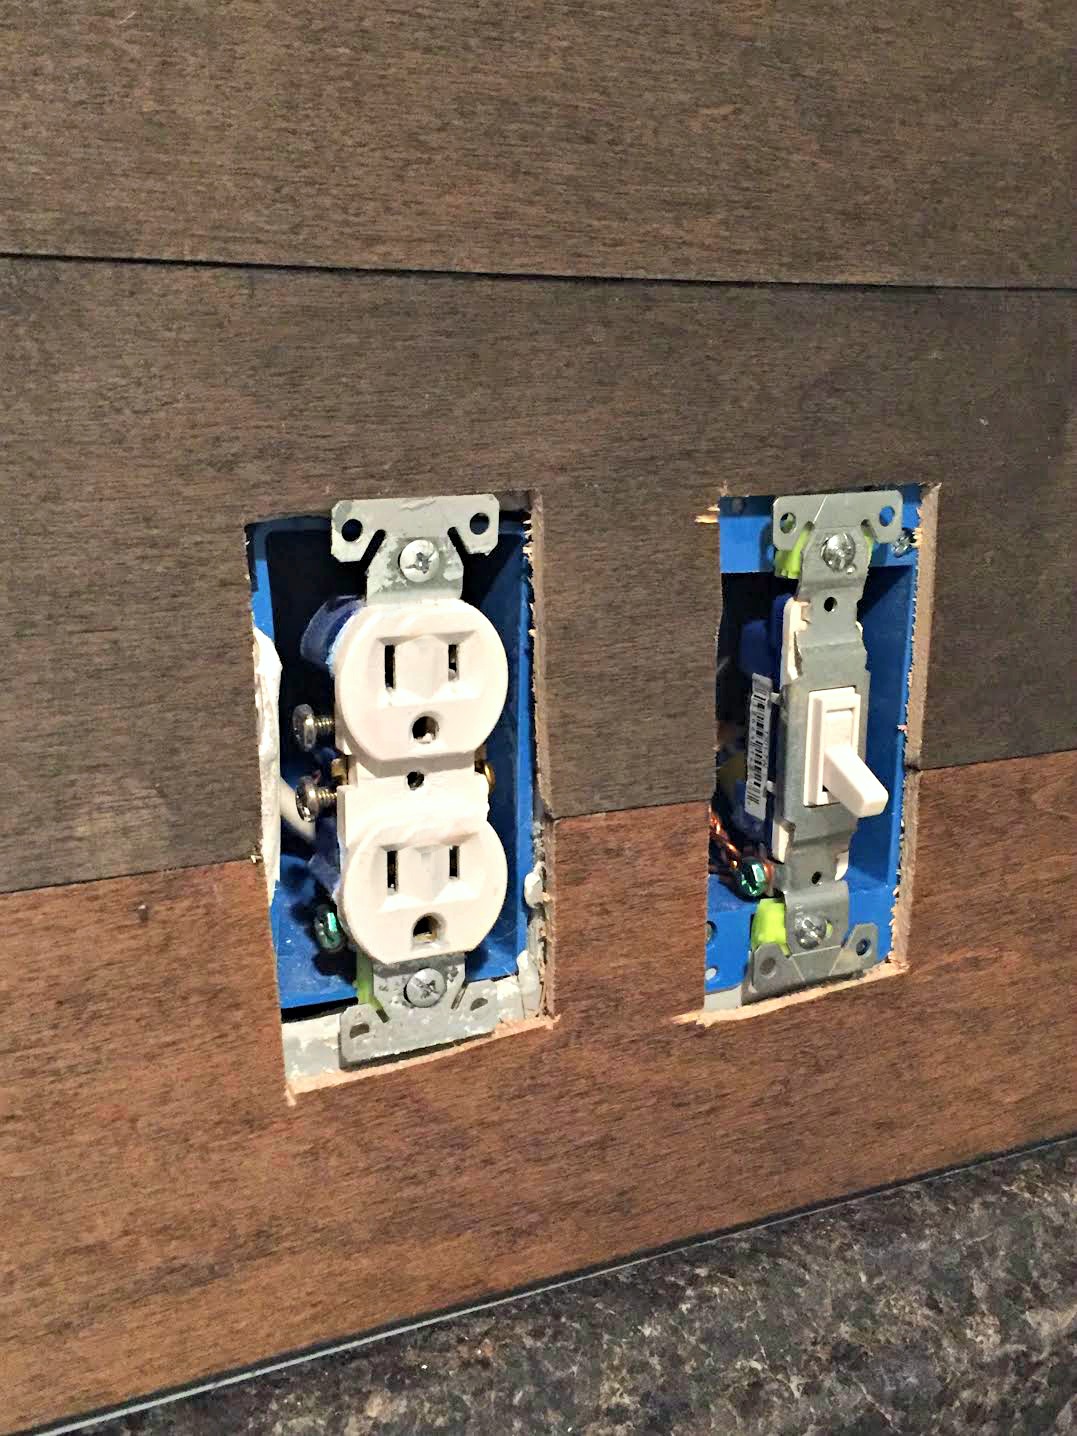
I still need to install a GFI outlet here – that’s happening this week (I have a few other minor touch ups to do on the baseboards as well before I can officially call this spot done). Before I put the new outlet covers on I used this method to pull the outlets out a bit more to be even with the new wall.
Remember when you are using a jigsaw to turn your wood over and cut on the “bad” side, not the stained side. The jigsaw will sometimes tear up the wood a bit but only on top.
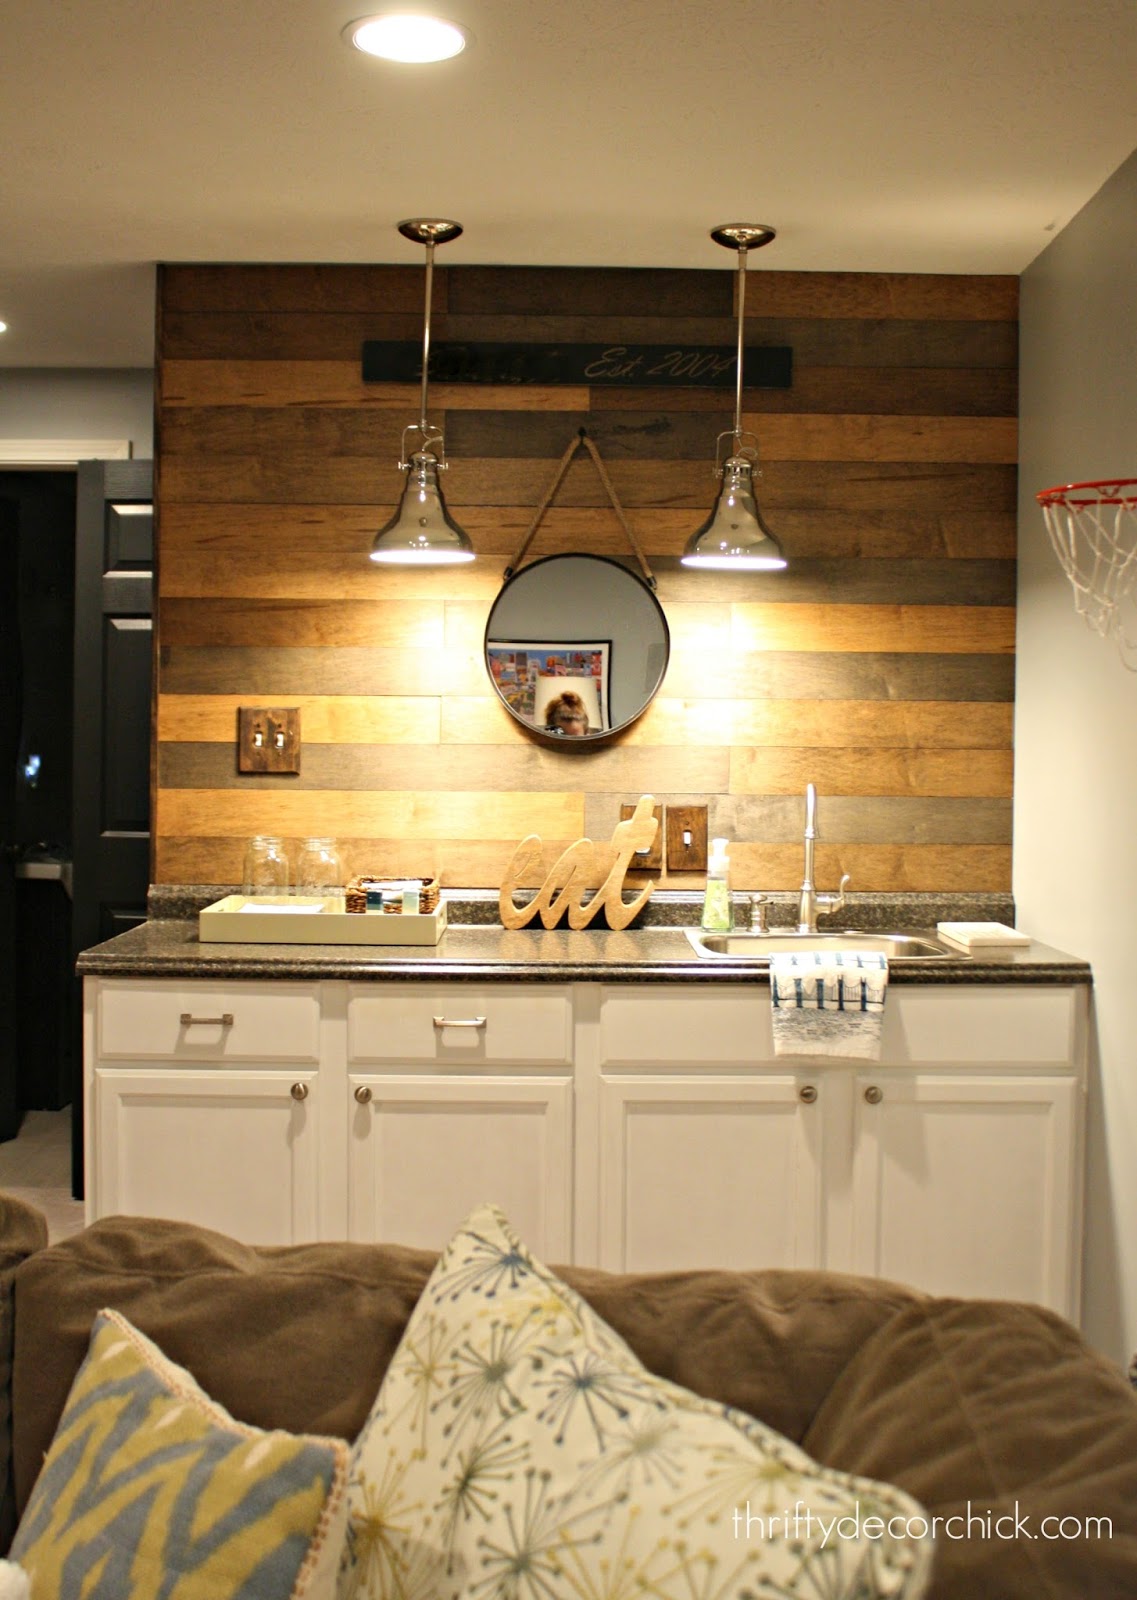
I didn’t really follow a pattern with the planks but I did try to vary it as much as possible. I didn’t want to stress to much about it — it’s supposed to be imperfect. I absolutely LOVE how it turned out!
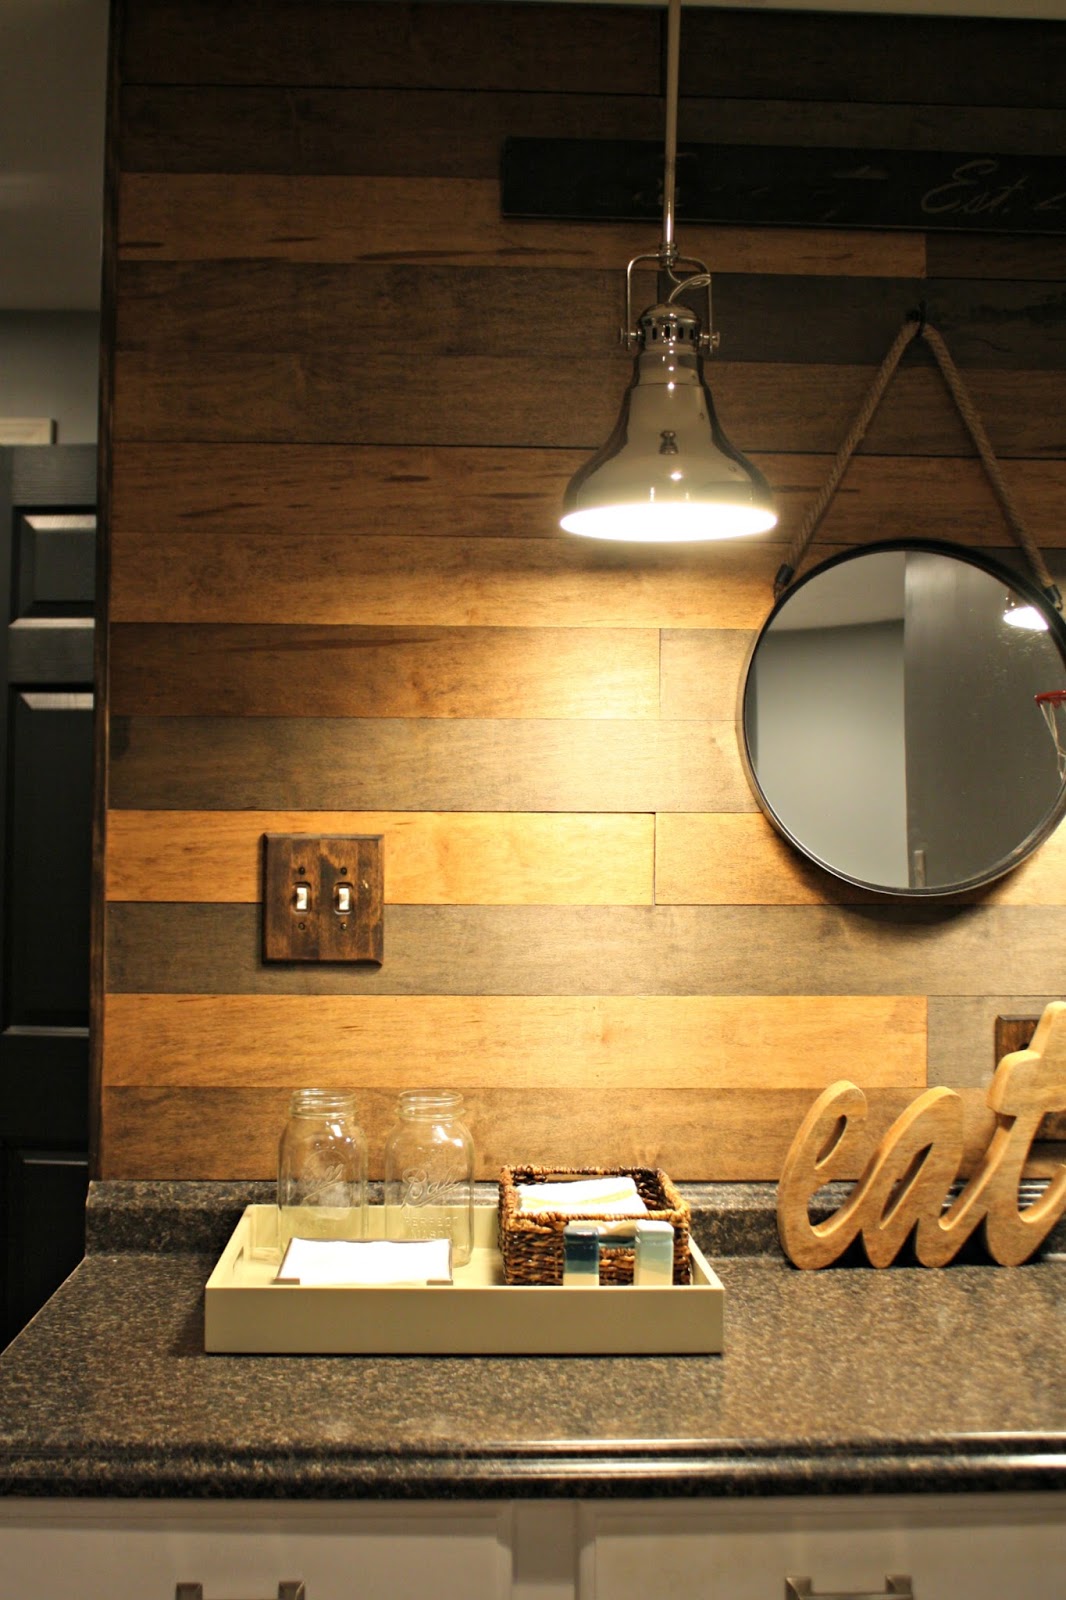
It is SO so warm and cool looking, I adore it! I used a nail gun to put the boards on the wall. Never use glue unless you are absolutely sure you are never taking it down.
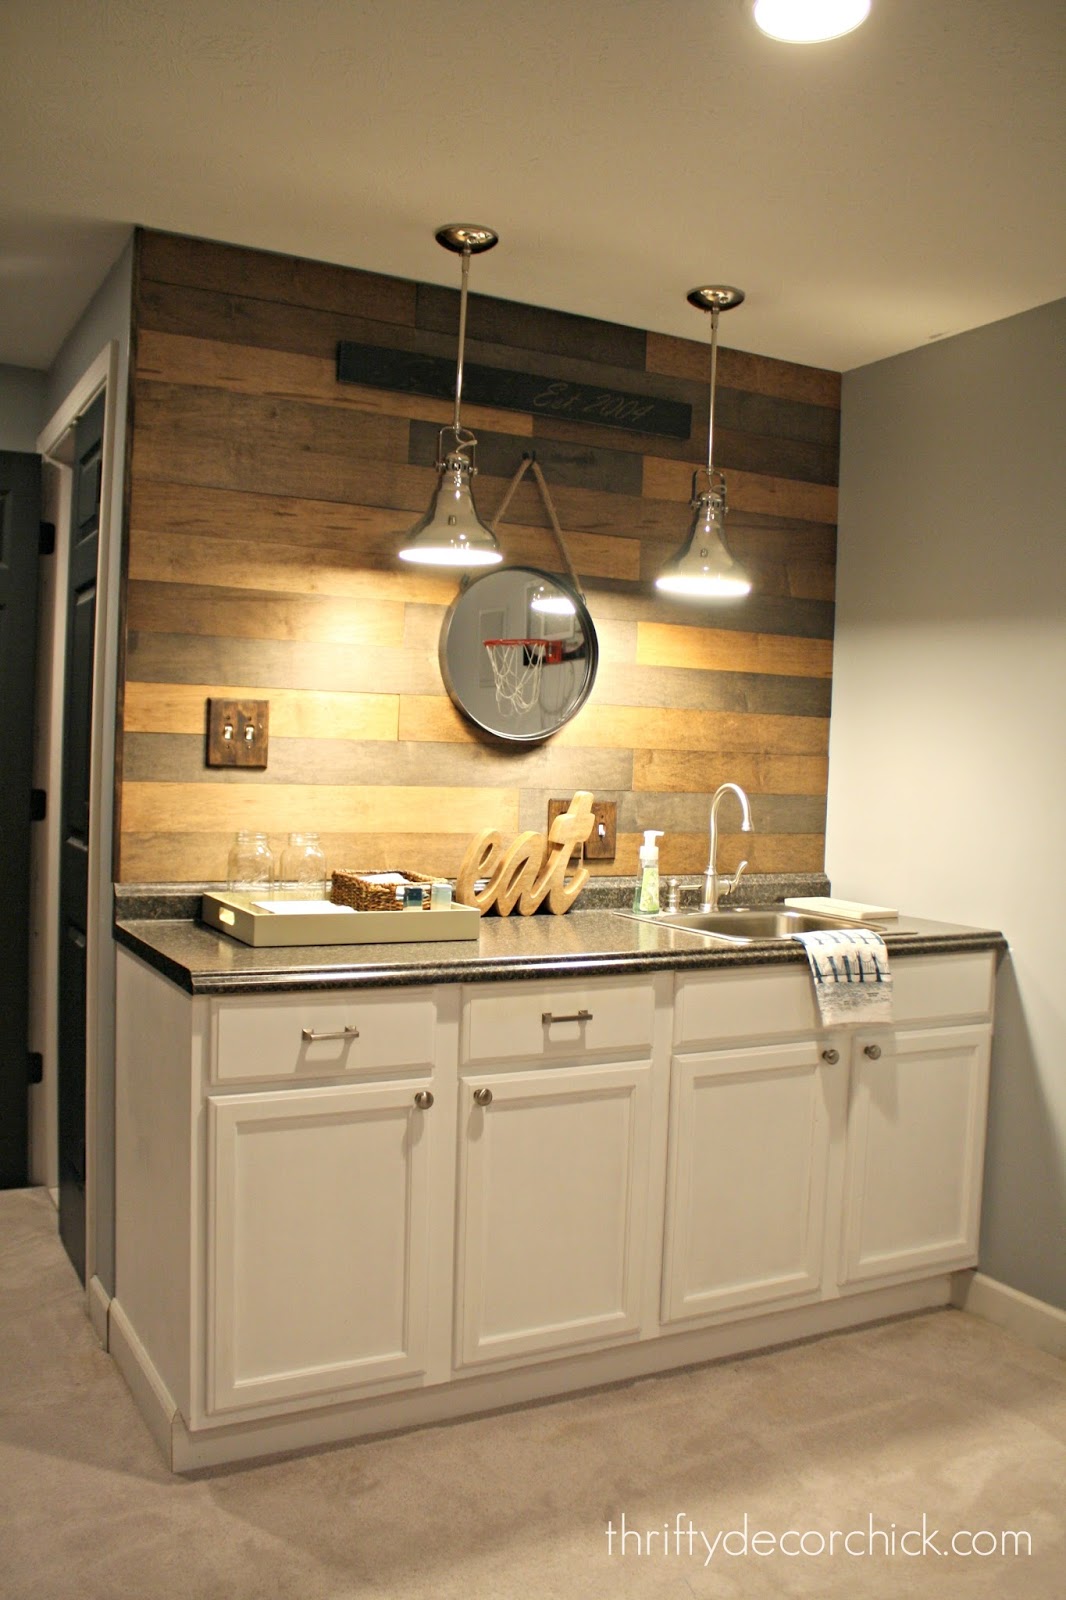
I used three stain colors of Minwax® Wood Finish™ on the wall — Dark Walnut (a favorite of mine), Ebony and Provincial (I used this staining guide to decide on them before I went to the store.) I think Provincial is my new favorite stain color — it is so lovely. So warm but a little lighter than I typically use. Really beautiful! (It’s the lightest color on the wall).
I did full planks on some of the rows, some were half and half, some were two feet and four feet and some were three pieces of two footers.
It came out even better than I imagined it would.
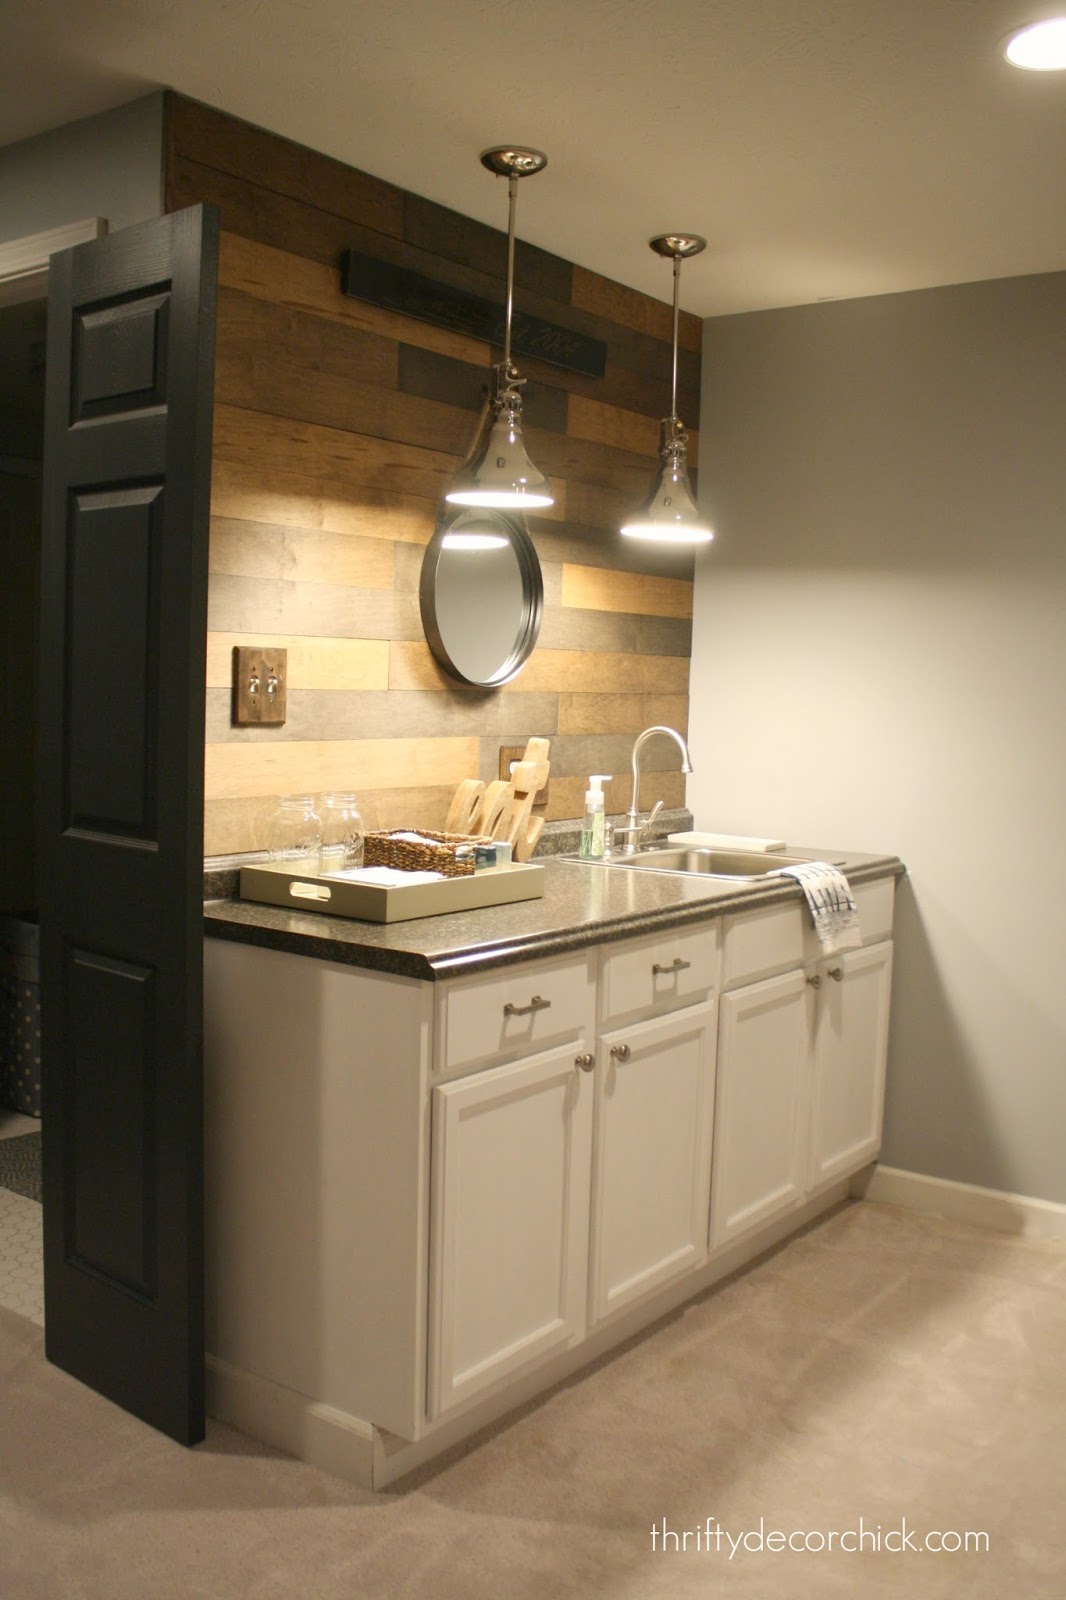
I was planning to put the IKEA shelves back up but as I went along I realized I didn’t want them there. We have plenty of storage space below so they weren’t really needed anyway. Most of the stuff I had on the shelves I put in a tray on top anyway.
I wish I would have spaced out those lights just a tad more years ago – but I left the placement up to our electrician. I still LOVE the lights (I found them at Lowe’s).
I have to caulk and paint the baseboards in this area and then this little corner is officially done! Only took me three years! I especially love the warm woods with the lighter cabinets. I’m a contrast lover.
Here are the items I used on this project:
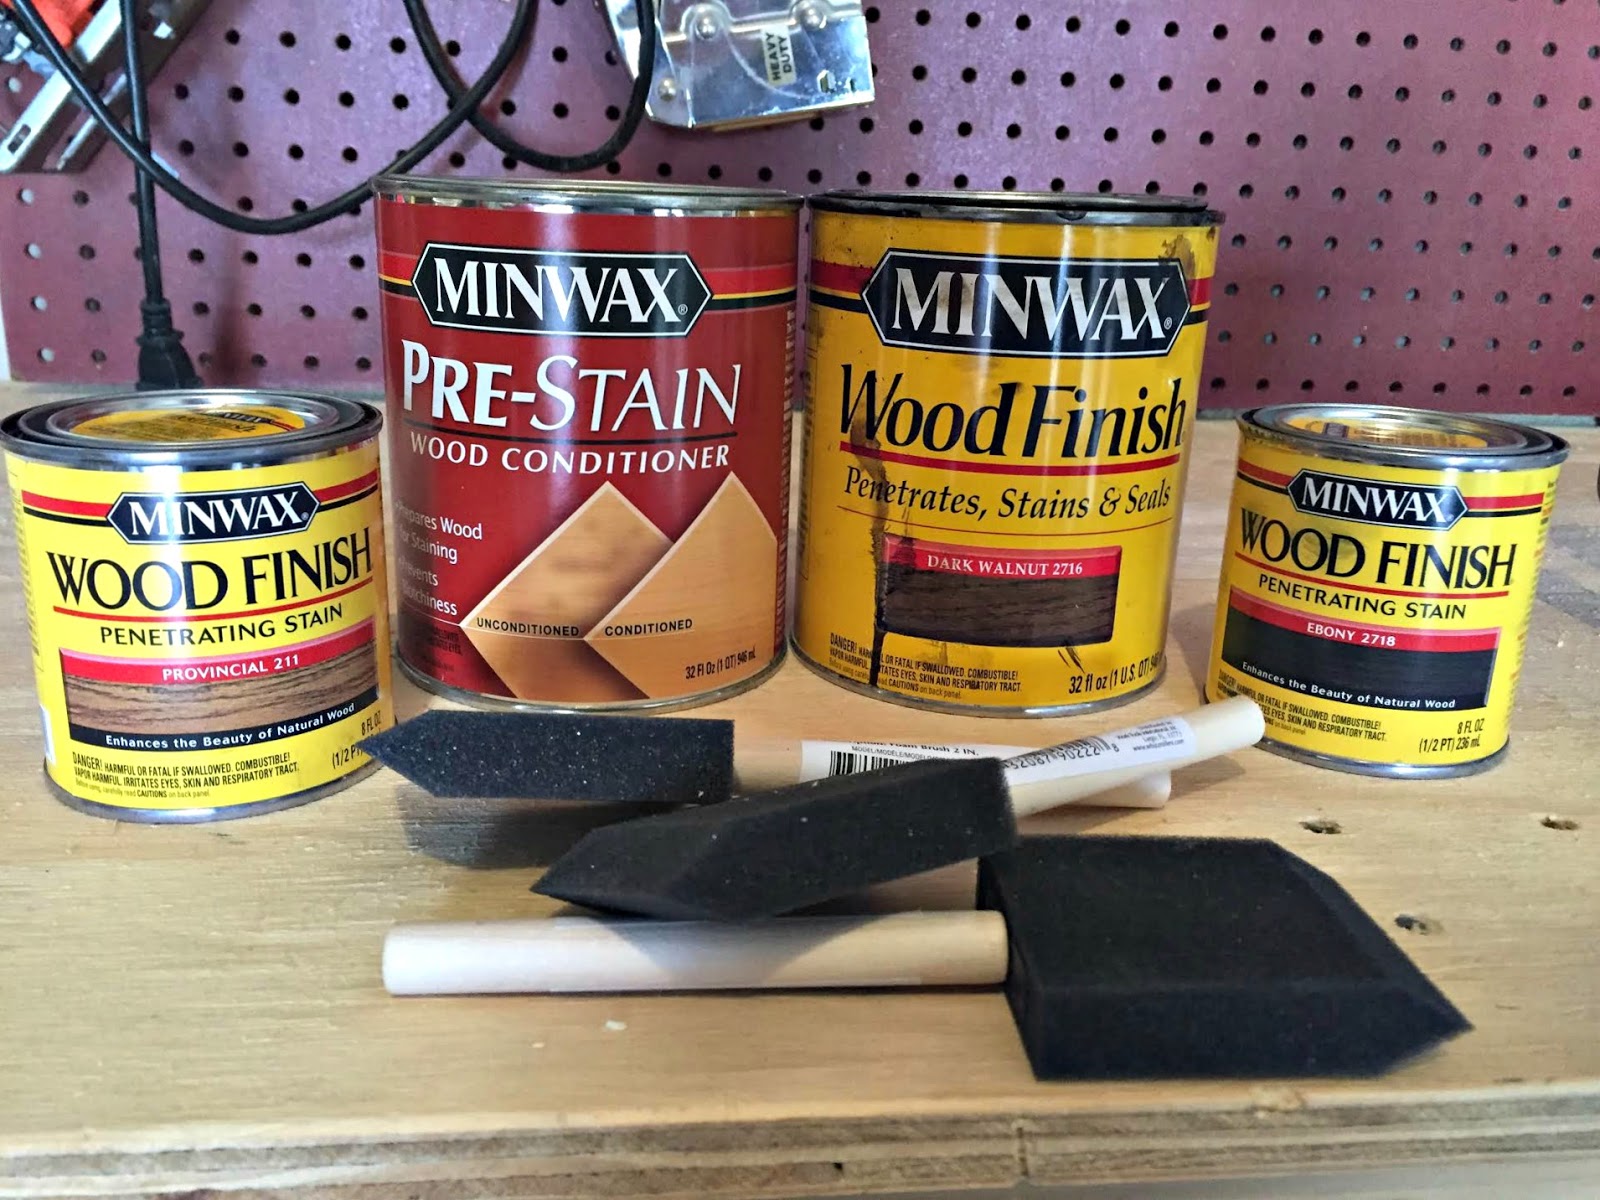
Those little cans are more than enough for a project of this size. A little bit of stain goes a very long way. I still have most of the cans left.
This project cost me less than $35 — the large piece of wood that I had cut down was $24 and the stains were $5 each (I had the other stuff). Not bad for such a big impact! LOVE!
Do you have a favorite stain color you’ve used in your house? Our floors are Jacobean by Minwax and I love that color. Dark walnut is also a favorite, but as I said, I fell in love with Provincial too.
Sarah’s blog, Thrifty Decor Chick, features more great DIY projects that will help you have a lovely home without spending a ton of money. Follow her on Twitter, Facebook, Instagram or Pinterest for more.