


This week’s guest blog comes from Mark of MyFixitUpLife. See how Mark was able to make his wife, Theresa’s, table pallet idea come to life.
The carpenter in me always has to do a gut-check when my designer-wife says, I have pallet ideas. Oh no, I say. Then three things happen…
I love her, I trust her, and as a guy pretty much wandering around lost on the path less traveled, I swallow hard and try to find a way to make her vision come alive.
With the table done—we did this as part of the Minwax® “Made With Love. Finished With Minwax®.“ program we’re lucky to be part of—now I am amped to show you how this thing happened.
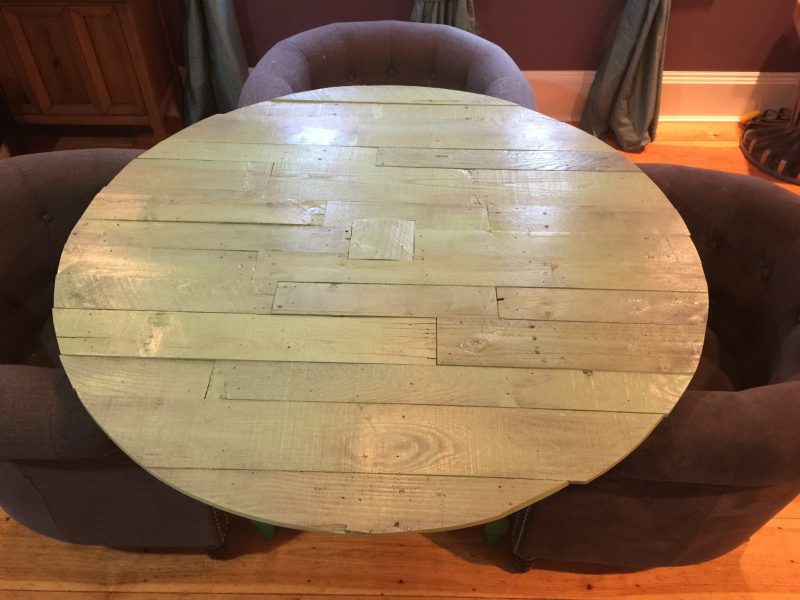
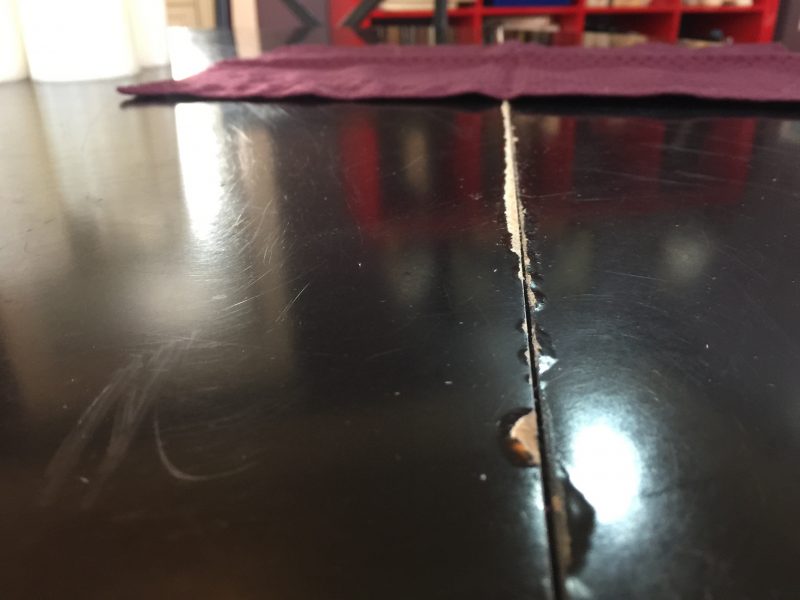
It started with a table that was pretty much a mess. Theresa liked the shape, but the finish was jumping off it, it was hard to keep clean, the leaves didn’t work right. You know, a mess.
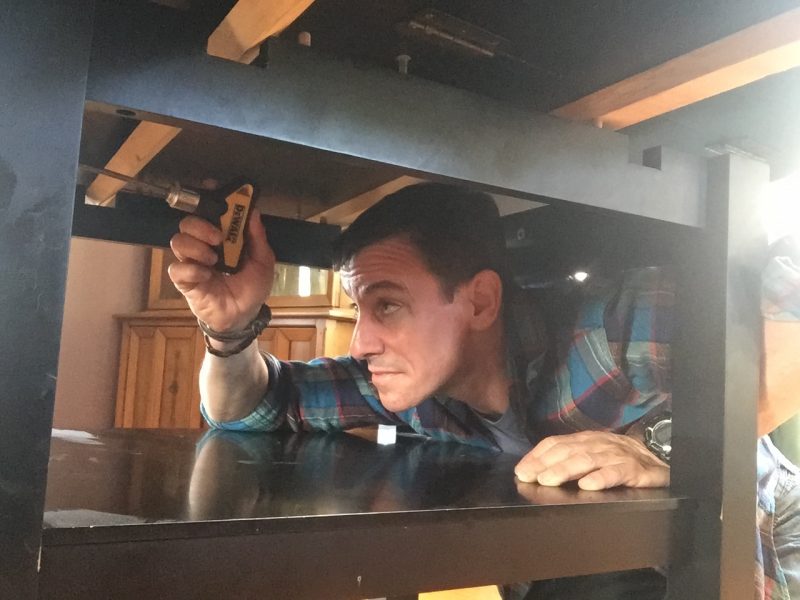
Doing the reverse gymnastics of taking the table top off the base is minimal fun. I found that I had to be really careful to not strip the screws.
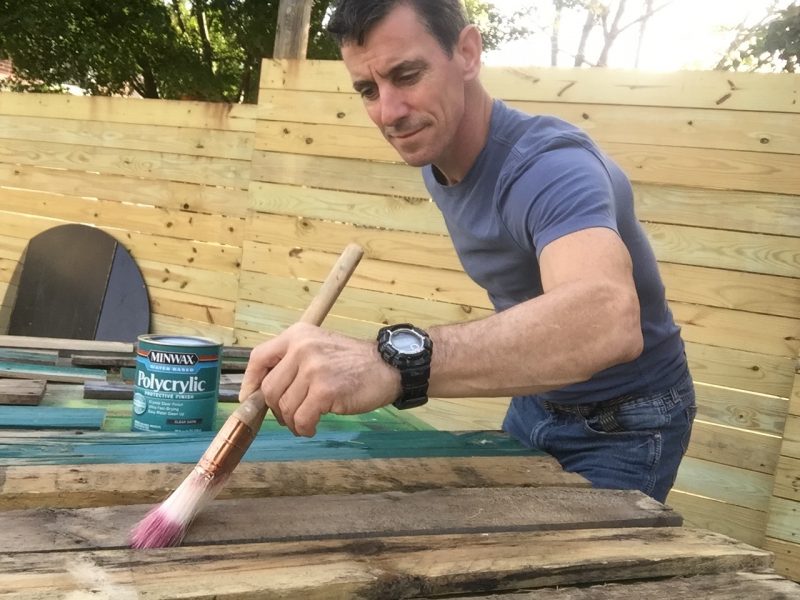
Pallets look good in photos, but in real life, they’re like a quarter you find on the street. You don’t know where they’ve been. So before assembling the table top, we applied a coat of Minwax® Polycrylic® Protective Finish to seal the boards.
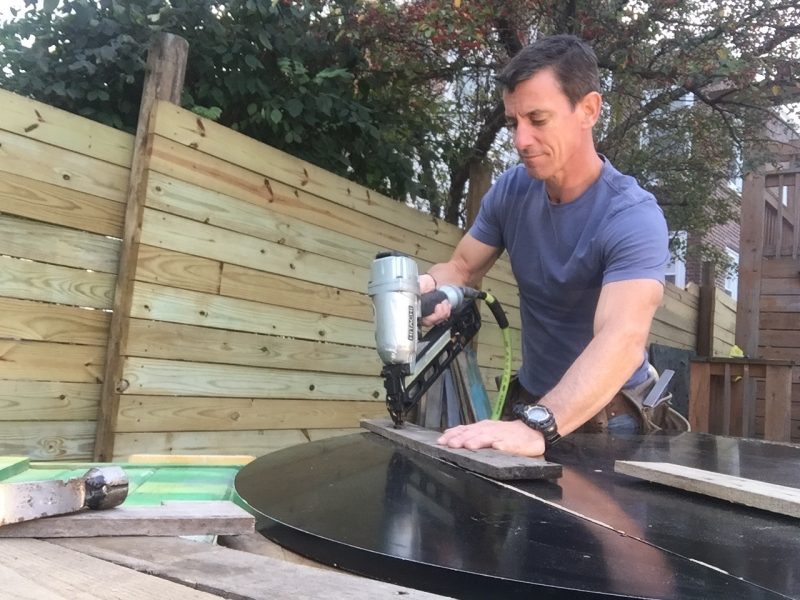
We still wanted to be able to fold down the table leaves, so I set the first board tight to the hinged seam. A pneumatic finish nailer with 1-inch nails was awesome for this job. You could also use a pneumatic stapler—a tool I love enough to write a poem about—but the nails looked better.
Sometimes you need to remove a bent nail or a nail that is sitting too high (in carpenter lingo, that’s called ‘proud’). My go-to tool for this is often my diagonal cutting (dikes) pliers. Once you pull nails with these you’ll never go back to how you used to do it.
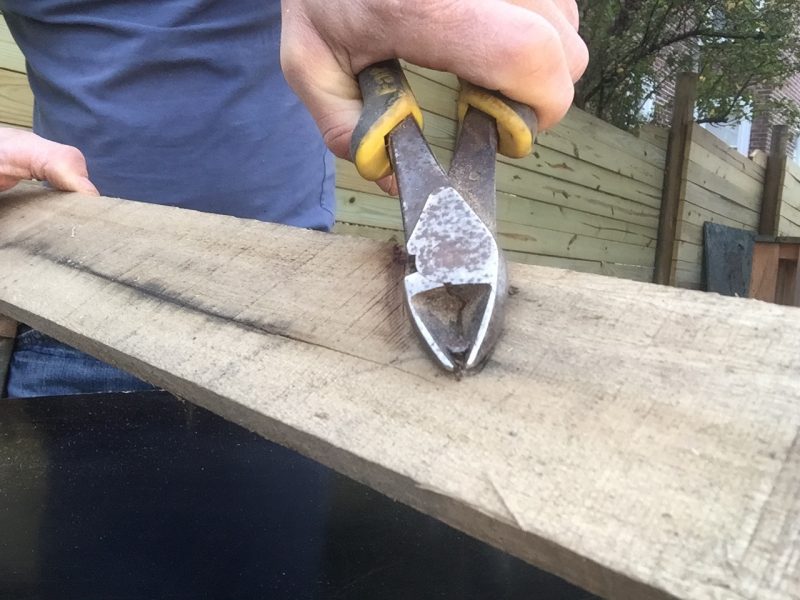
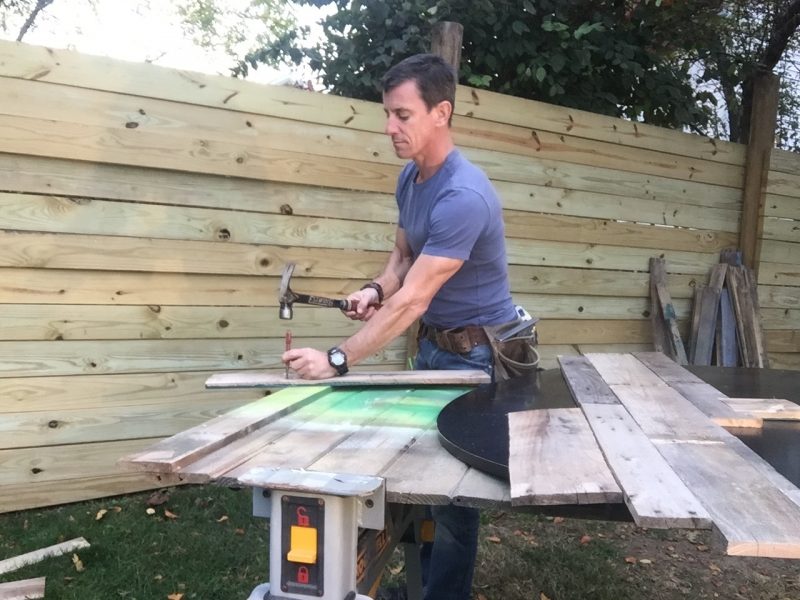
We left most of the nails in the pallet wood. However, some were a problem so we took them out. In addition to the pliers, another option for dealing with nasty nails is to drive them—or at least get them started—out from the back side with a hammer and nail set.
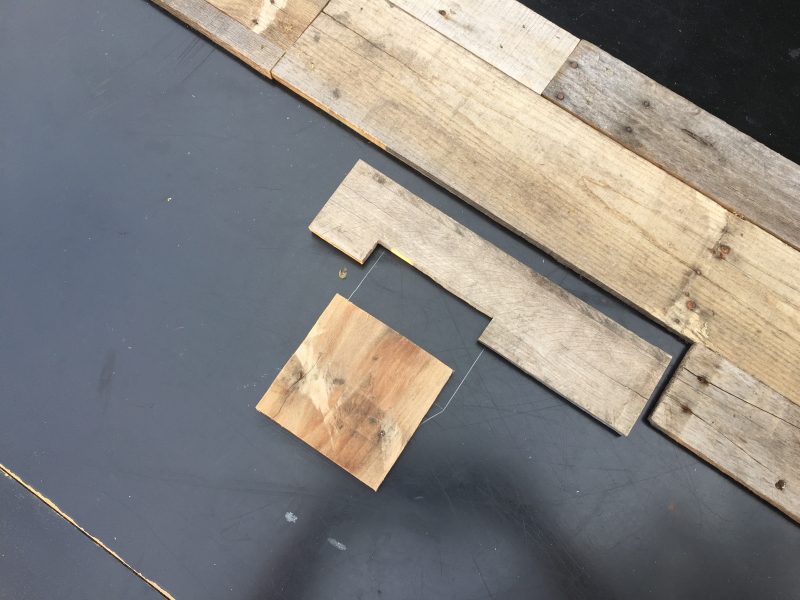
I sometimes complain that my wife makes things too complicated. I can be accused of the same thing. I got inspired to add—and then notch around—a center square to shake up the texture. I’m glad I did it.
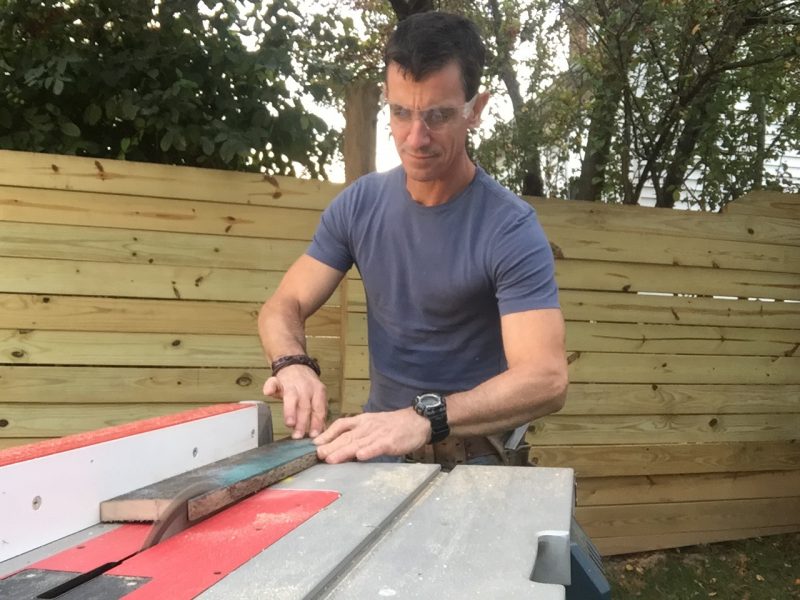
Sometimes pallet ideas becoming pallet reality requires a little hacking. Since we really wanted to hide the old table top beneath this new texture and color, I chose to straighten some of the really warped pallet wood boards on the table saw.
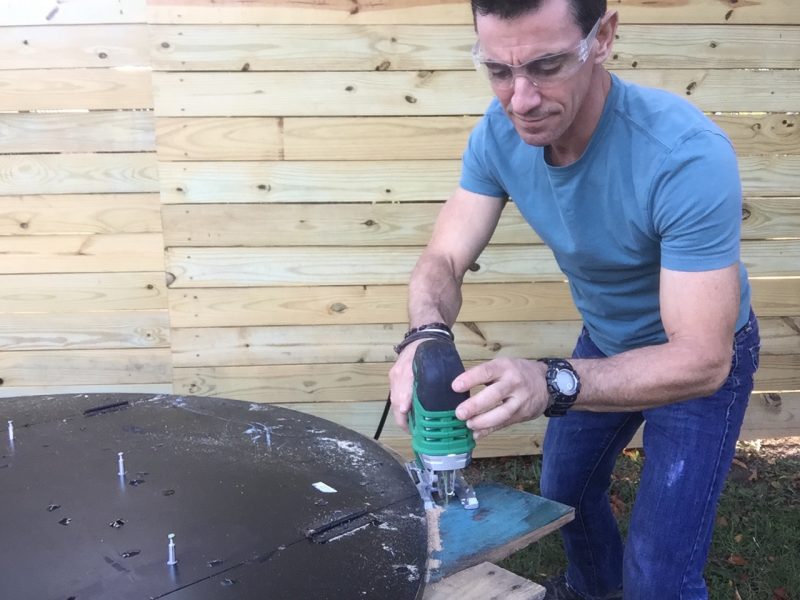
By flipping the table top upside down, I was able to use it as a guide for my jigsaw. It’s a little tricky to get perfect. Slow and steady wins the race. Don’t force the saw. Take your time and let the saw do the work. And use a sharp blade.
I wire-brushed the table top before applying color. It was the absolute perfect solution (this one is a Hyde Tools wire brush, that also has a scraper on it) for opening the grain, dislodging dirt and cleaning up little pieces of glue left over from the nail gun nails. Make sure to clean the dust and debris off after wire brushing. I used a whisk broom for this. Easy.
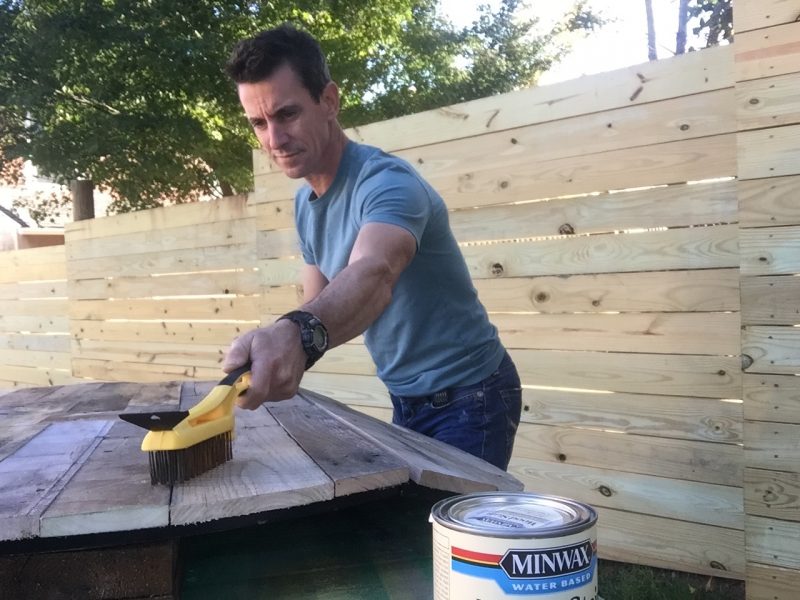
I wire-brushed the table top before applying color. It was the absolute perfect solution (this one is a Hyde Tools wire brush, that also has a scraper on it) for opening the grain, dislodging dirt and cleaning up little pieces of glue left over from the nail gun nails. Make sure to clean the dust and debris off after wire brushing. I used a whisk broom for this. Easy.
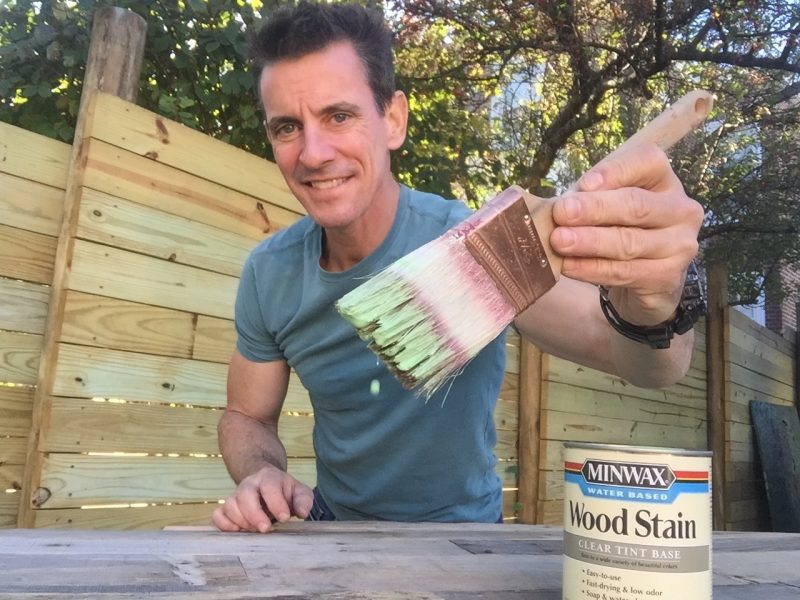
That’s a real smile! Theresa jammed Minwax® Water Based Wood Stain in Antique Jade on this and it is clear to me why she is the designer and I am the carpenter.
The stain went on smooth, dried quickly and the brush was easy to clean with soap and water.
Pallet Ideas Tip: For rough-textured stock like pallet wood, I like to work the brush back and forth to help the stain cover evenly.
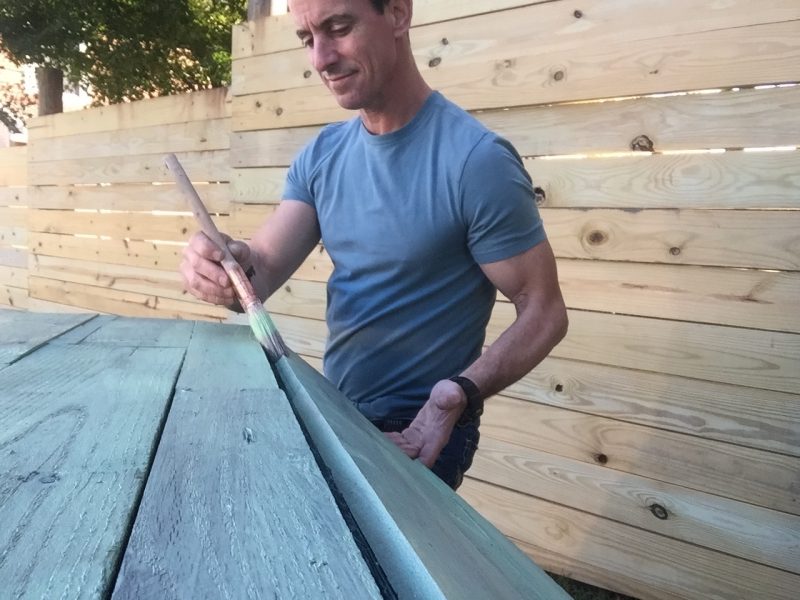
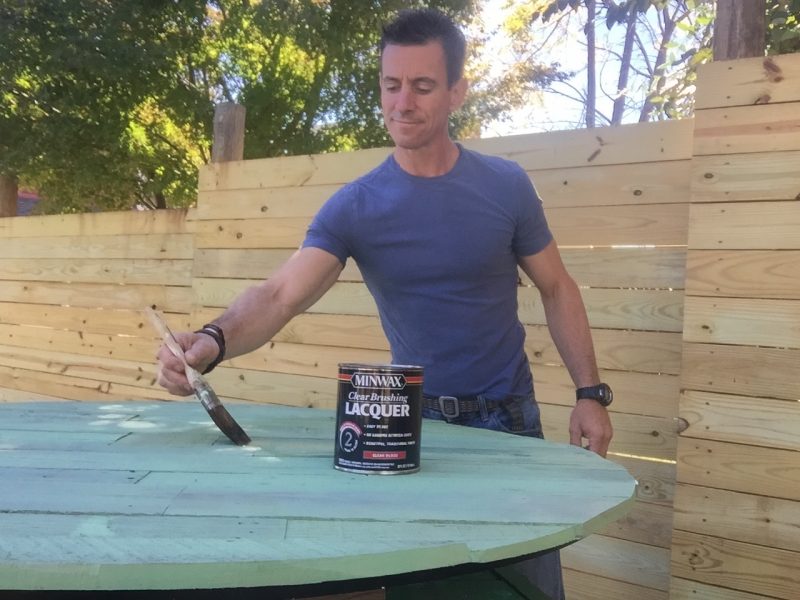
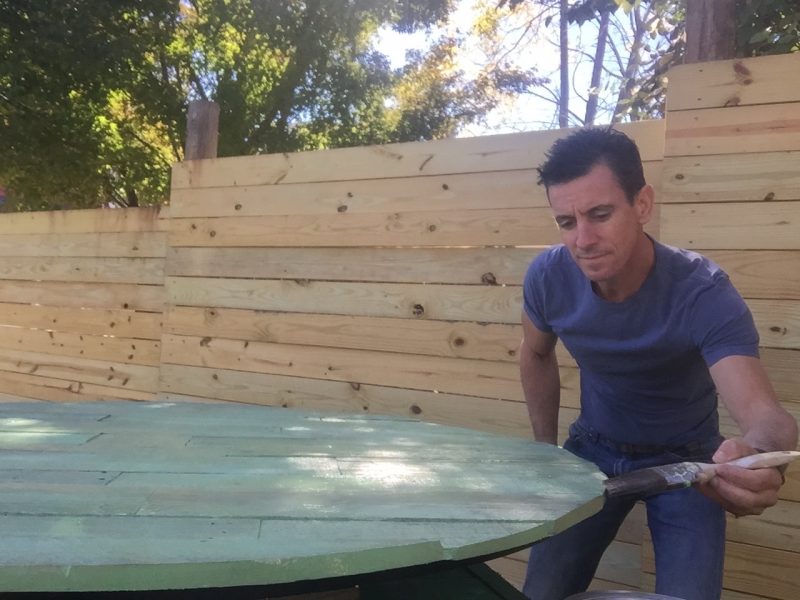
Let’s talk about Minwax® Clear Brushing Lacquer, OK. It is one-quart of clear coating awesome. It set up in about 30-minutes, so I could zing two coats on in a day and the clear gloss finish…yeah, love affair.
We couldn’t add new wood to the table base and the factory finish was impenetrable. And it, too, was a mess like the table top so—again proving why she’s the designer and I’m Nicky Nail Gun—Theresa chose Krylon Chalky Finish New Leaf spray paint. It’s a perfect match for the table top and easy to apply to a multi-faceted assembly like this base.

And that’s really about it for this pallet ideas project. A few things I’d recommend thinking about: Once you add the pallet wood to the table top, it’s heavy, so help moving it might be necessary. Also, with the lacquer, make sure to brush it nicely into the edges to get good coverage. And, get some lacquer thinner or acetone to clean your brush.
MyFixitUpLife shares design inspiration, DIY tips, and behind-the-scenes interviews MyFixitUpLife’s husband-and-wife duo, Mark & Theresa, design, renovate, and share how-to tips to make your projects easier and more fun.