

April is Minwax National Woodworking Month®! Download the Minwax National Woodworking Month® mail-in rebate form and you could save up to $17 on select Minwax® products.
Guest Blogger Jen of City Farmhouse is back to show you how you can have high-end home decor without the high costs that come along with it. Follow along with her tutorial to learn how you can create your own chic, mid-century planter for a fraction of the price.
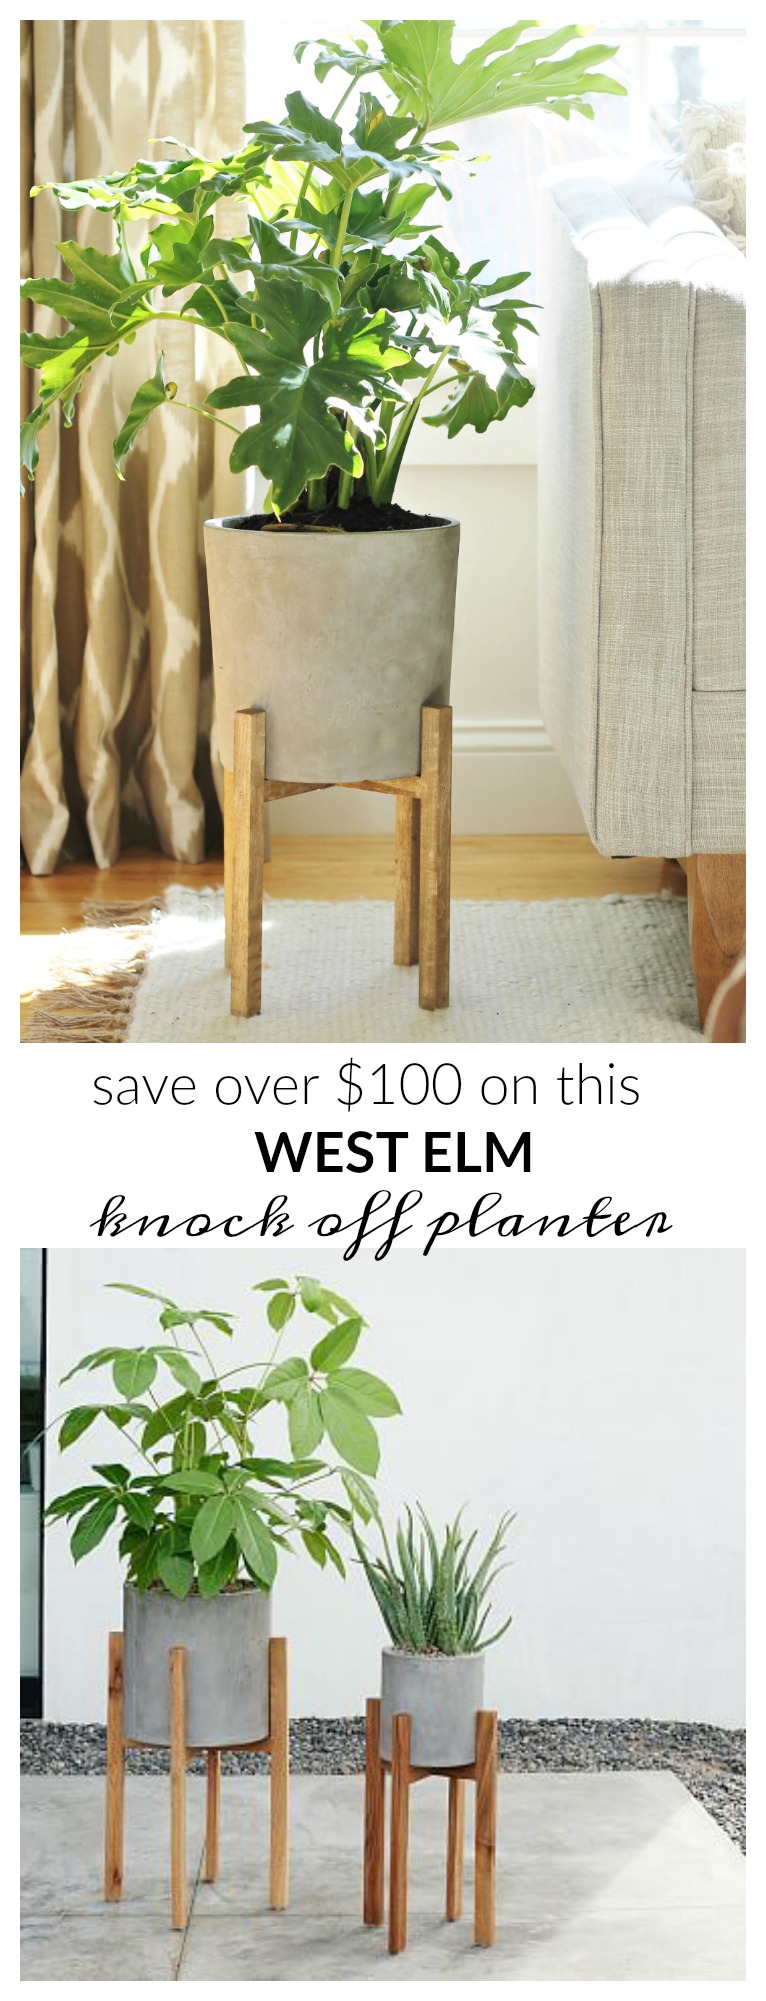
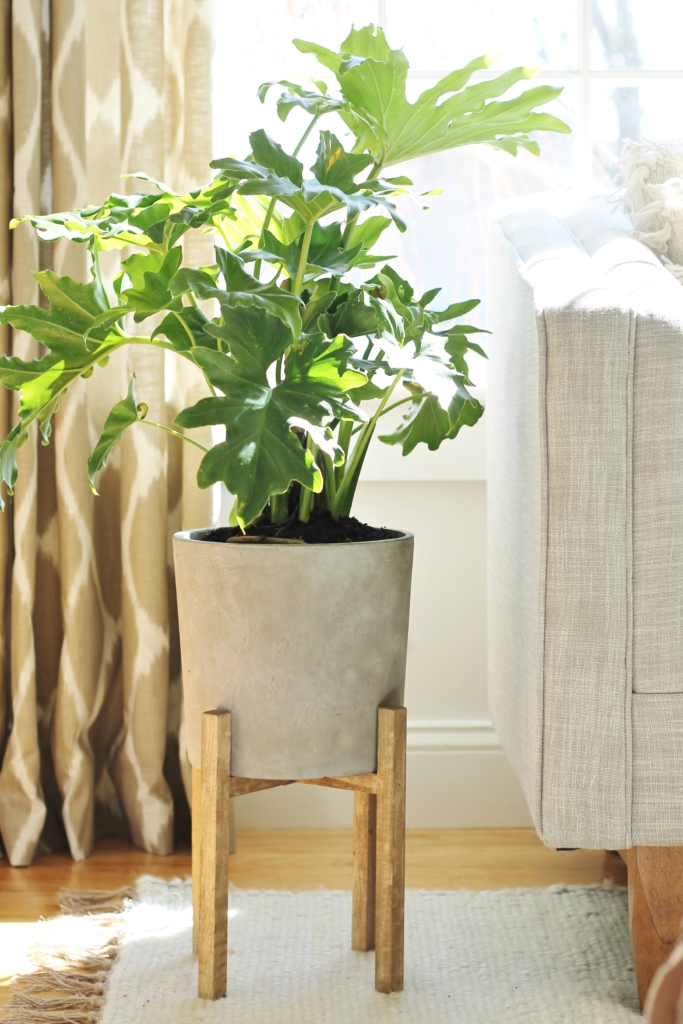
Hi there friends! If you are one to spot trends then you have probably noticed the wood leg planter around town. I found them for the first time last year at Target and fell in love. I waited for them to go on clearance, then snatched them up. They have a clean, mid-century modern look that is super stylish & chic but can be a bit pricey. I found the ones I used for this project a few weeks ago at West Elm and knew right away that they were a great look. The mix of wood and cement were a perfect pairing of textures. Once I saw the price I knew a DIY was in order.
Growing up my dad would always joke with me that I had caviar taste on a McDonald’s budget and I am not going to lie, I did. But the most wonderful thing was that I had a mom who encouraged me to be resourceful.Anytime I wanted something expensive, which god knows we couldn’t afford it, she would help me get the look for less. So often it was easier than I thought and this project is no exception.
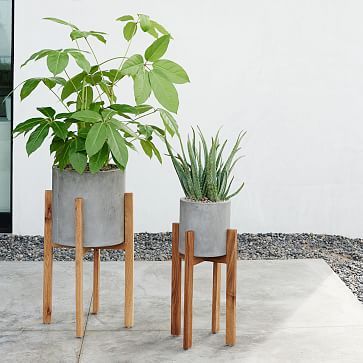
I am thrilled to be partnering on Minwax on this project as a part of their Blogger Brigade in 2017. The retail on this Wood Leg Cement Planter is $149 and I was able to make it for just over $20. This project is so simple, anyone, at any DIY level can do this.
Here is what you will need to tackle your own West Elm knock off planter….
cement planter
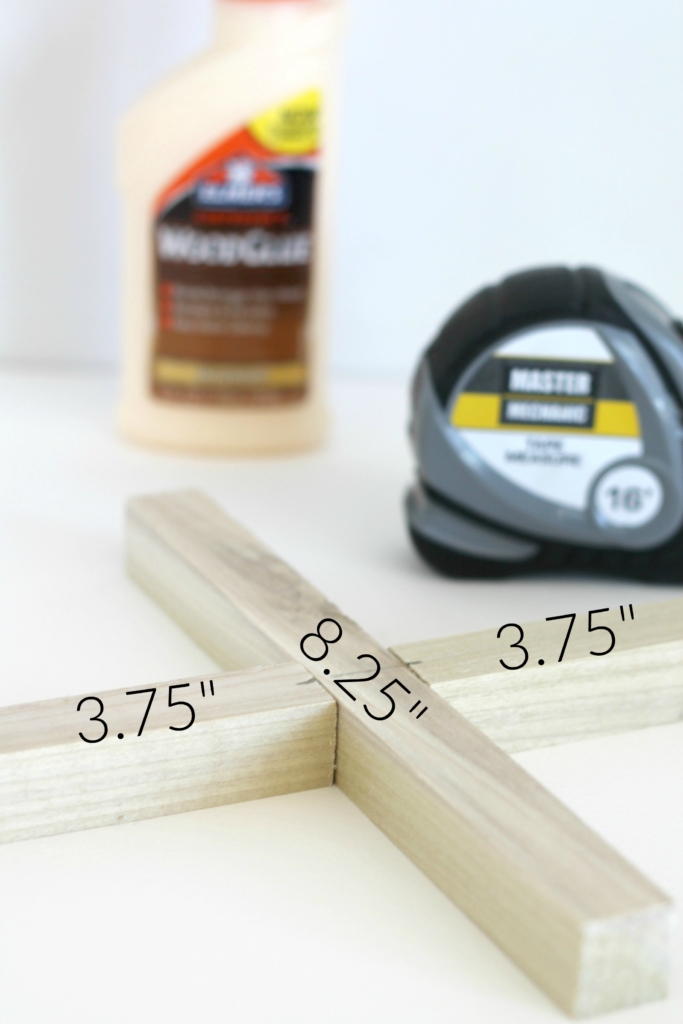
2-36″ lengths of square 3/4″ poplar or pine
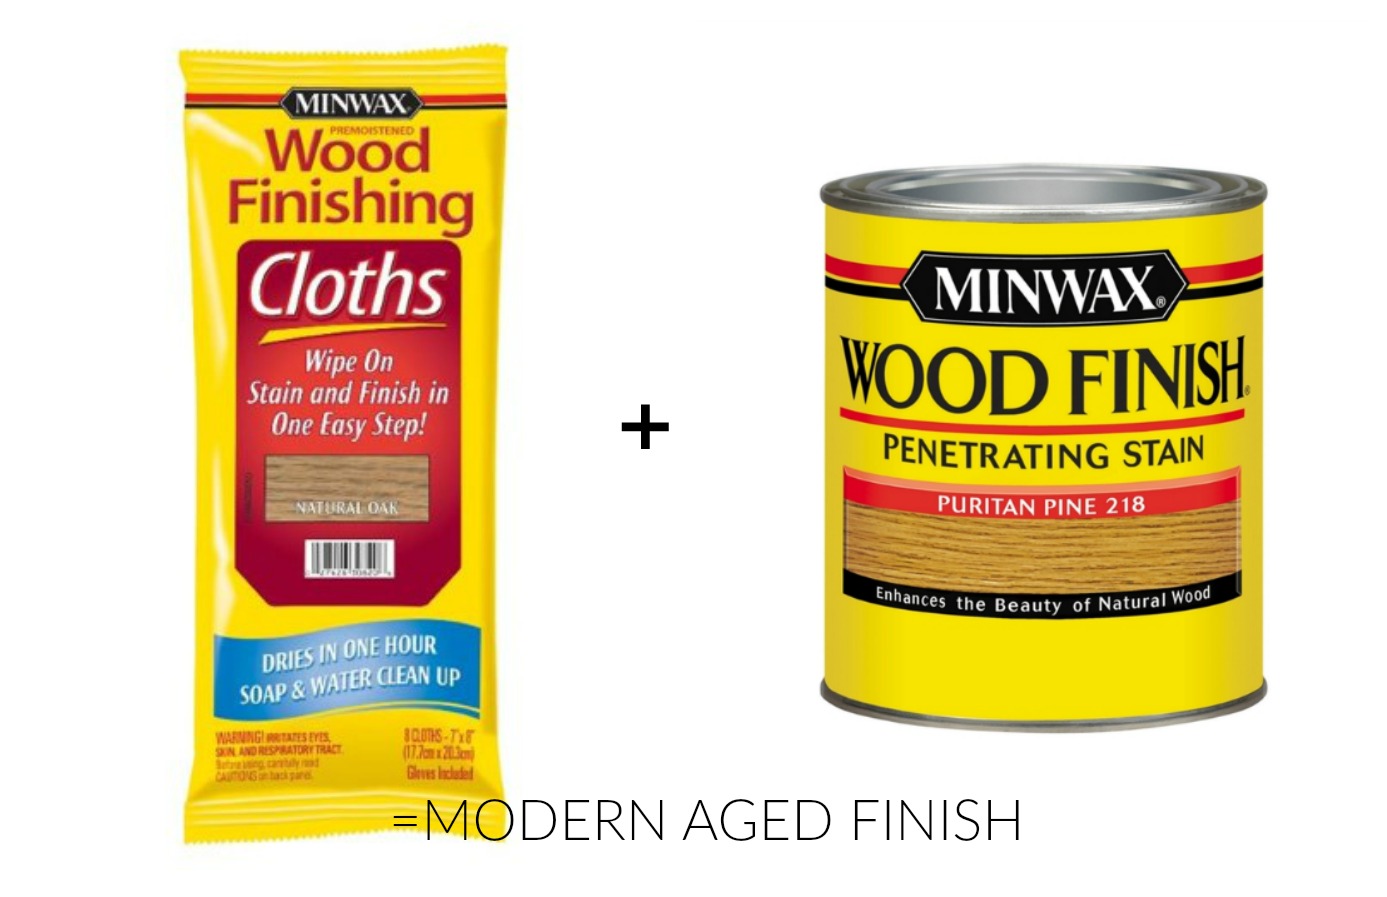
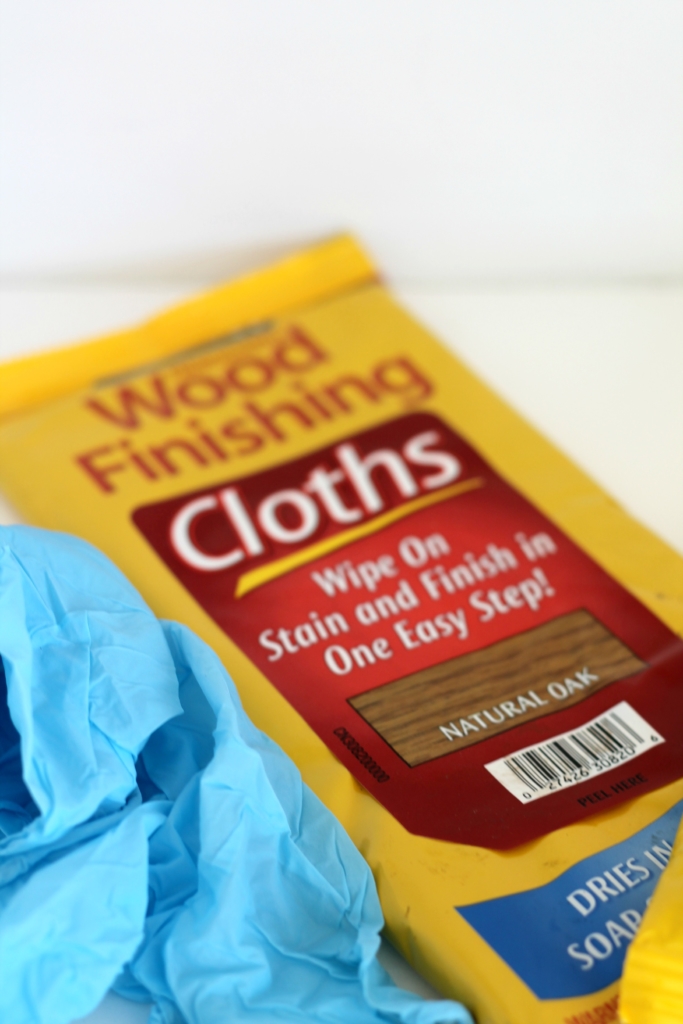
Minwax® Wood Finishing Cloths in Natural Oak & Minwax® Wood Finish™ in Puritan Pine.
- Wood Glue
- 1.5″ finishing nails
- 4 clamps
- drill with small bit
- sander or sandpaper
- cotton cloth
- latex gloves
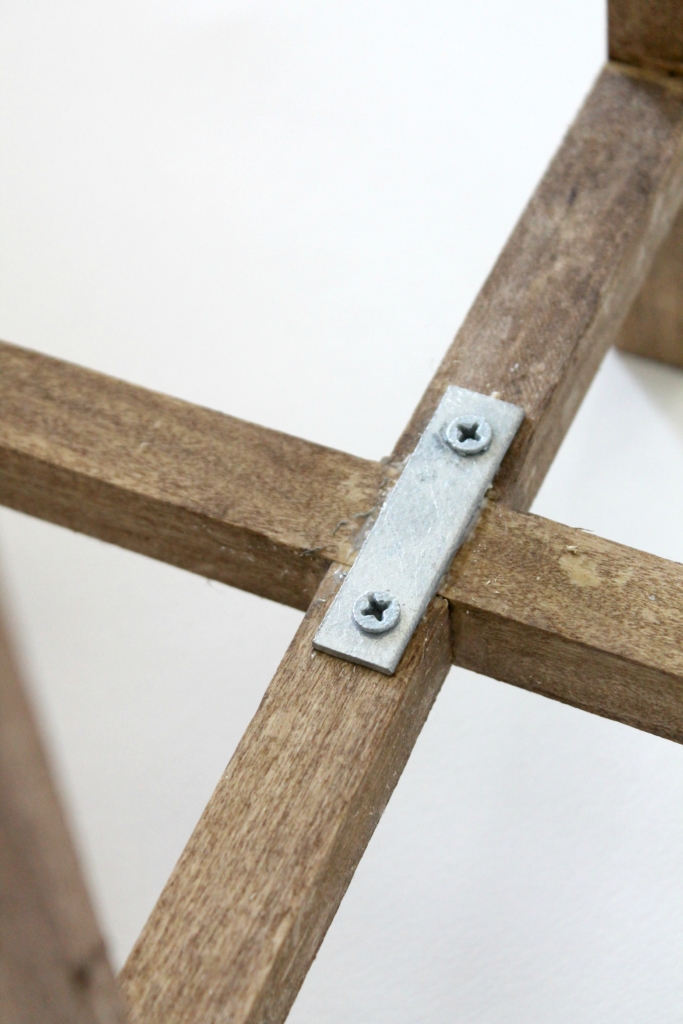
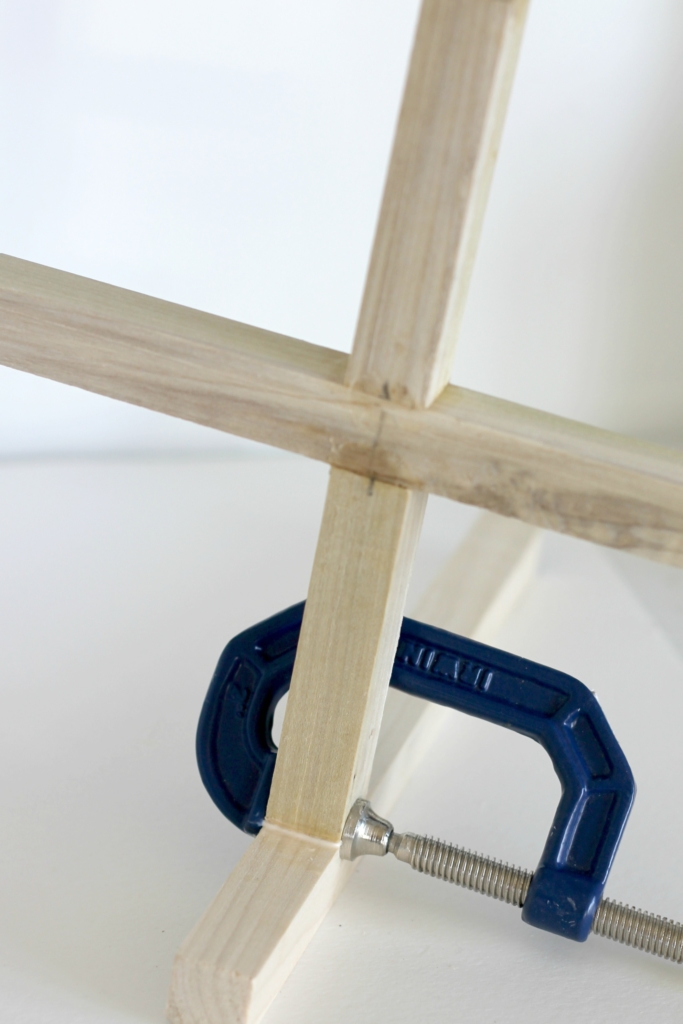
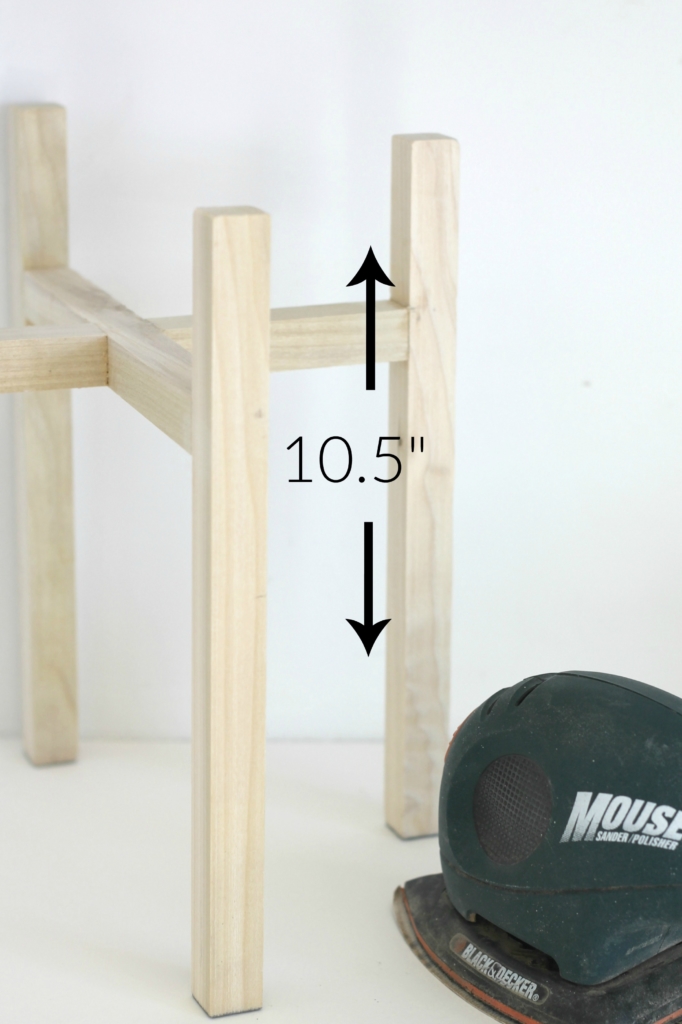
Now you are ready to the make your “x” base after the stain is dry. You are going to attach your pre-stained pieces with wood glue and a clamp. Once the glue has dried you can flip it over and attach the fastener with screws and wood glue. See below images to get a visual.

Once your “x” brackets are fully dried you can attach the legs using glue and clamps. Once they are fully dry you can nail in a finishing nail, be sure to pre-drill first.
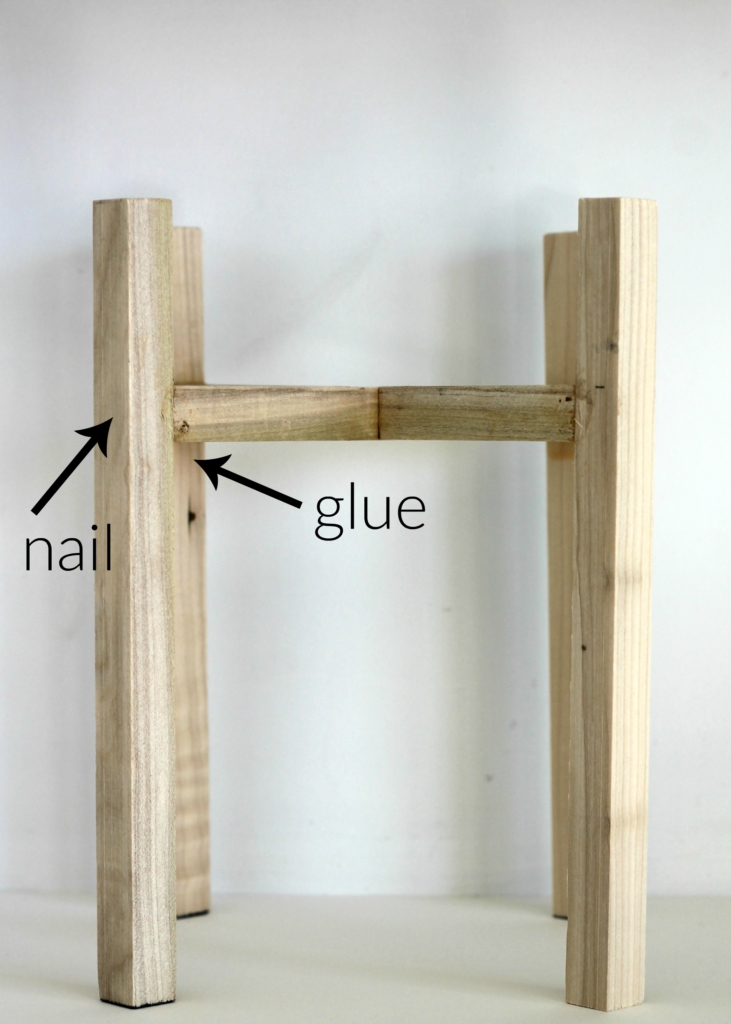
You can sand away any residual glue with sandpaper or a hand sander.
Tada….

Thank you for stopping by! Have a happy day!
Jen shares DIY projects and thrifty decorating solutions. Her design philosophy is that bringing style to your home doesn’t have to break the bank. Learn more about Jen and visit City Farmhouse. You Can also follow her on Facebook, Twitter, Instagram, and Pinterest.