

April is Minwax National Woodworking Month®! Download the Minwax National Woodworking Month® mail-in rebate form and you could save up to $17 on select Minwax® products.
Guest Blogger Theresa of MyFixItUpLife is back with a great project allowing you to show off your green thumb inside your home. Follow her step-by-step instructions to learn how to create this gorgeous indoor wall garden to put your succulents on display.
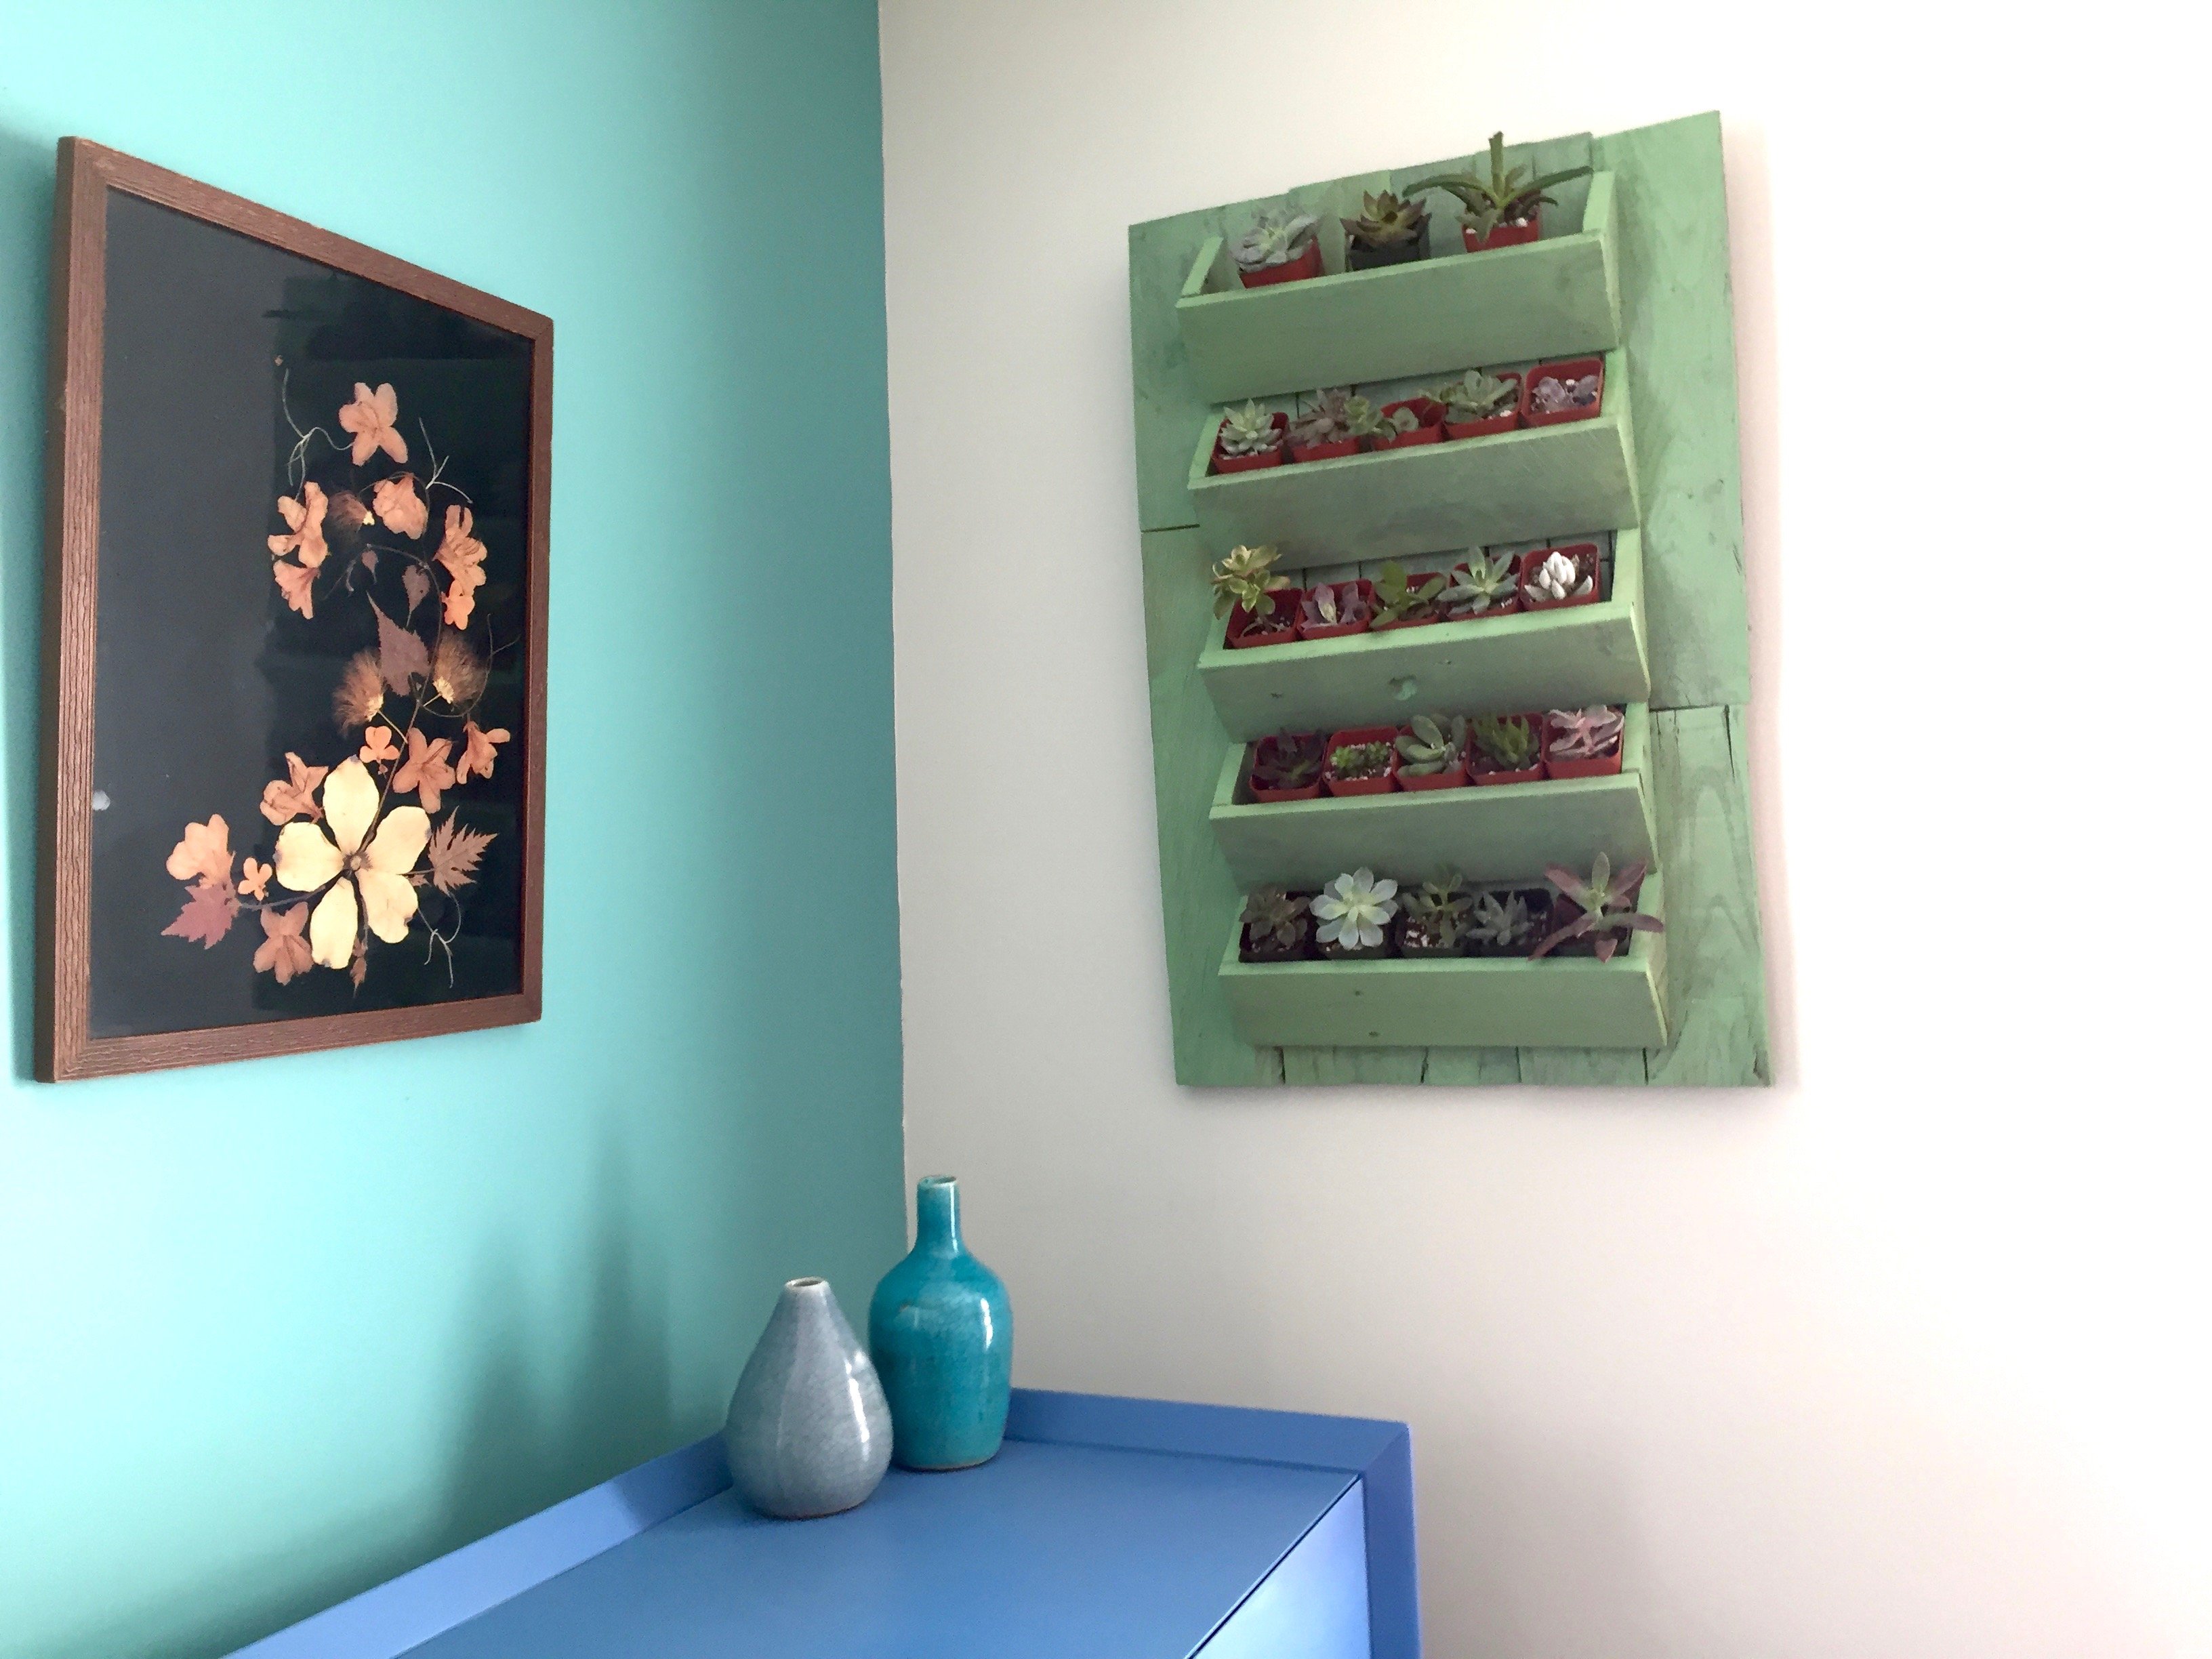
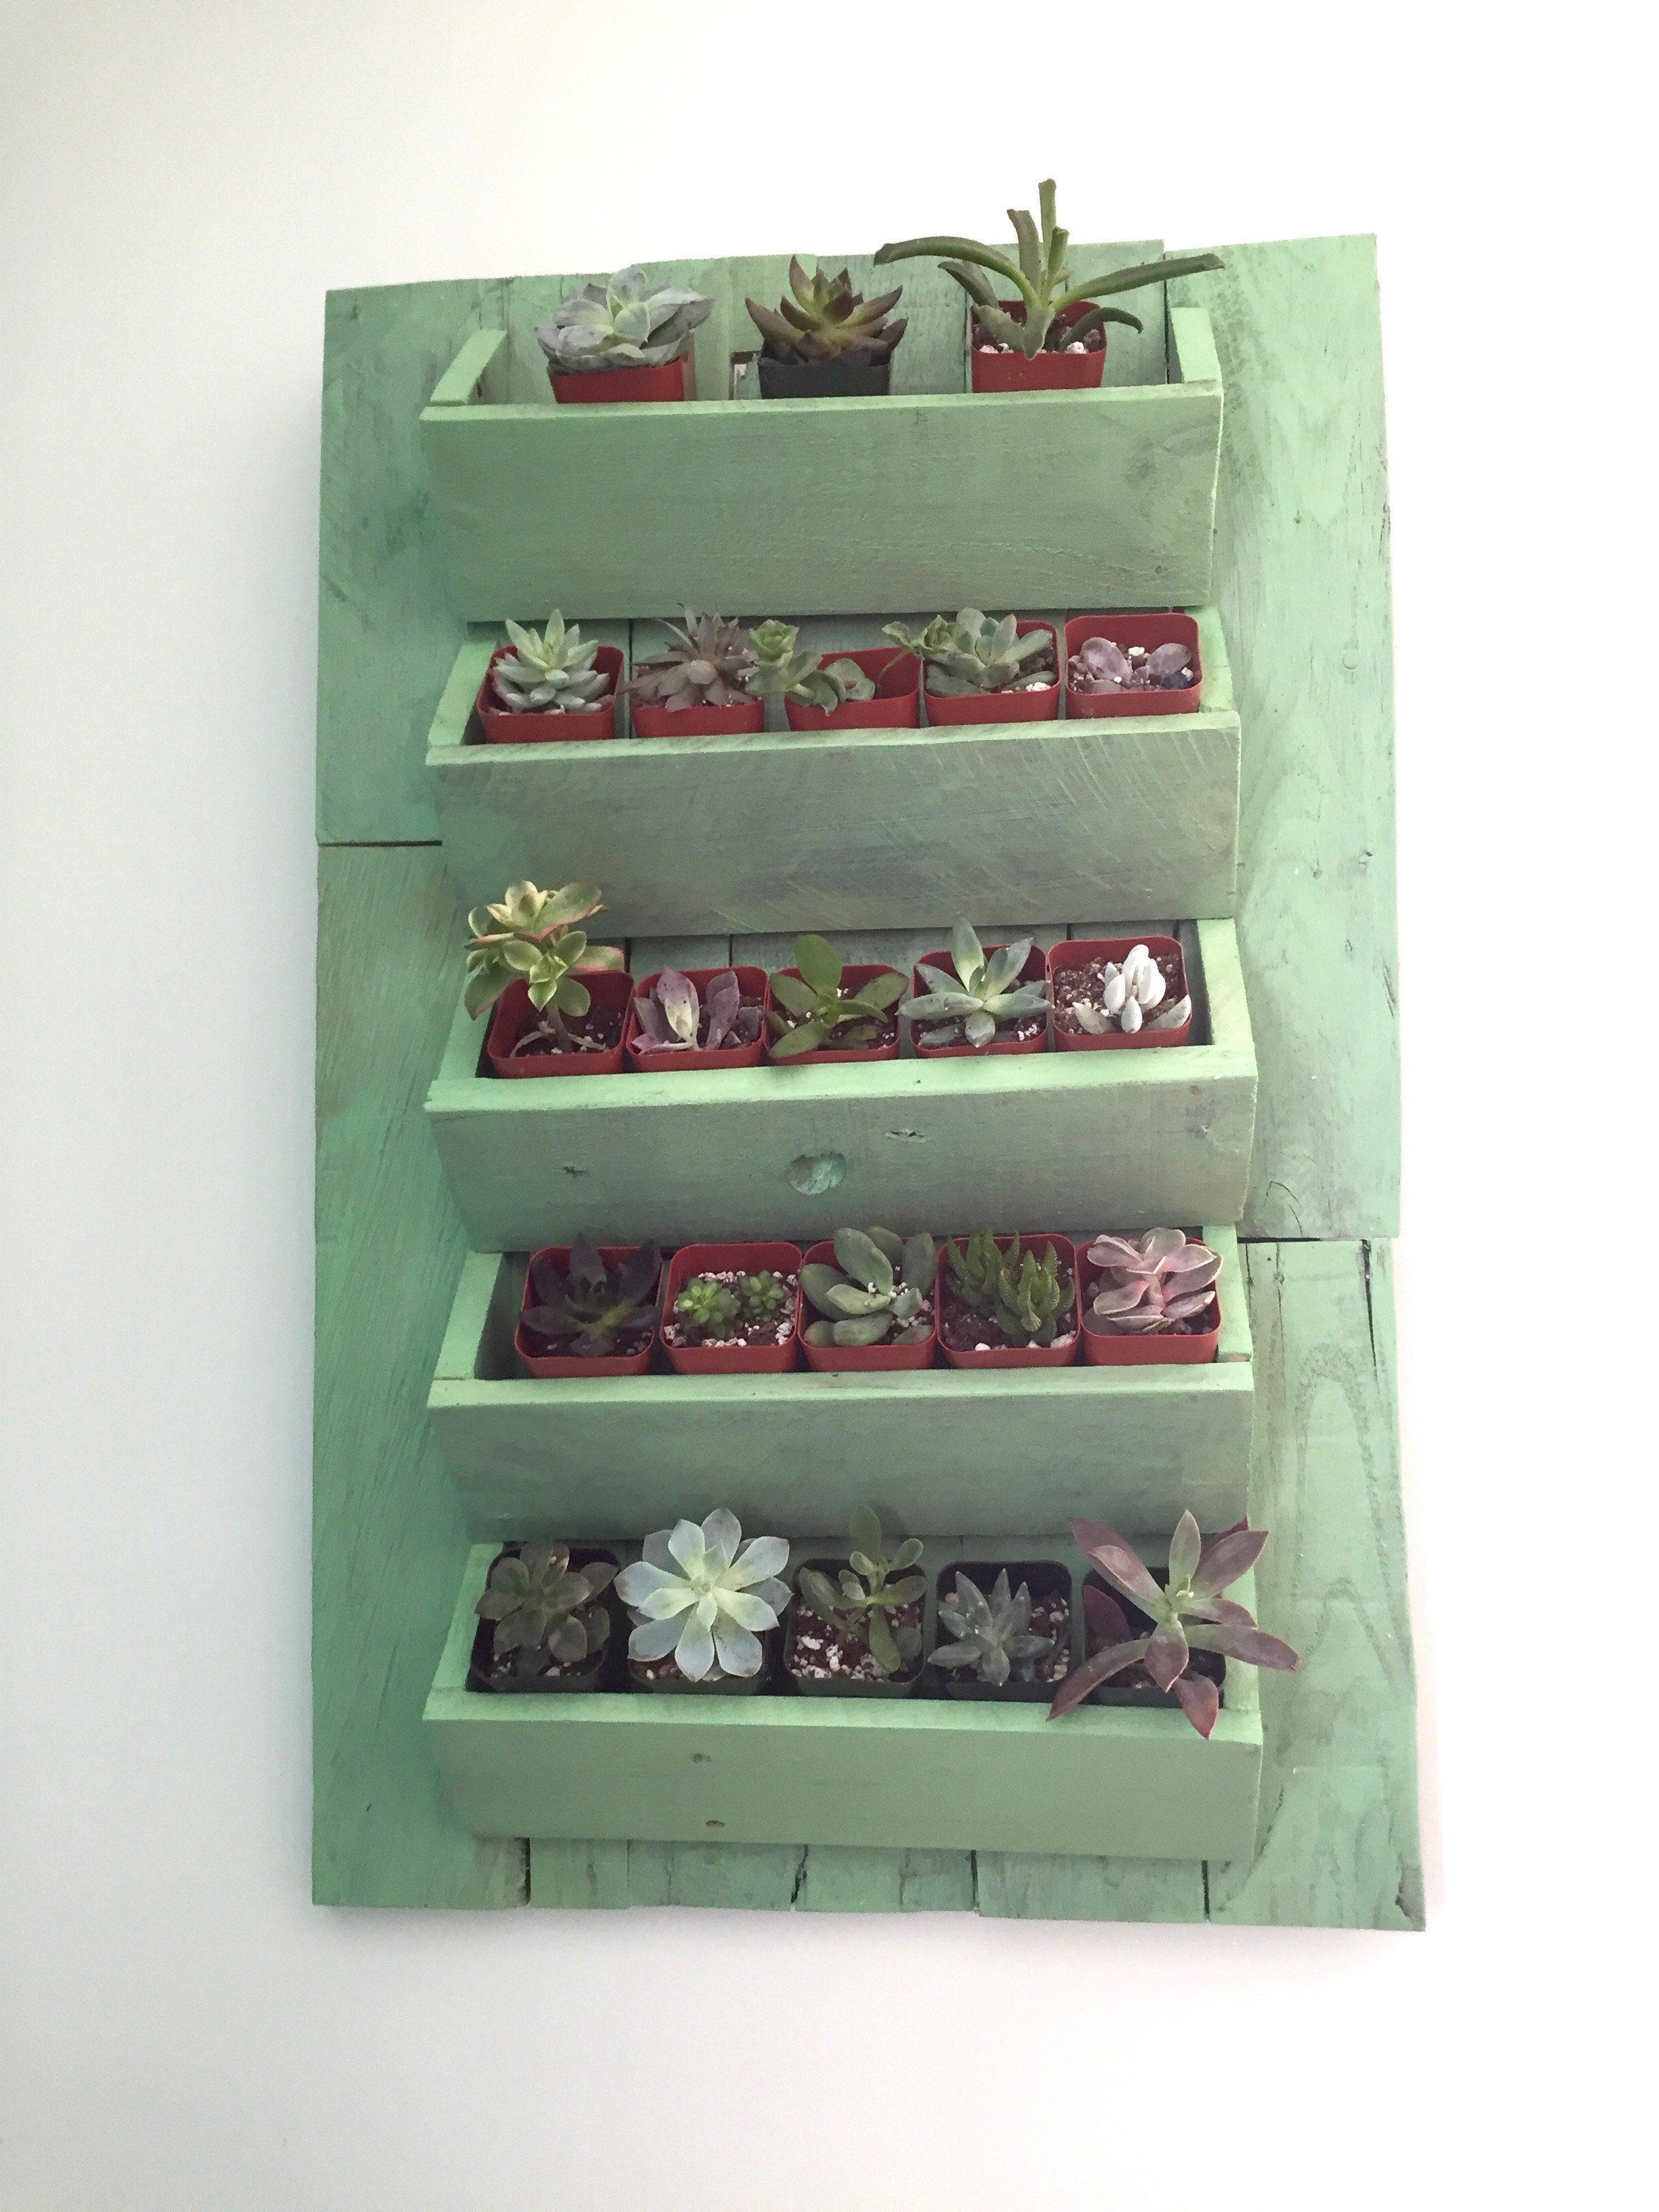
Enjoying pretty little plants can be a year-round pleasure with a custom-stained pallet indoor wall garden.
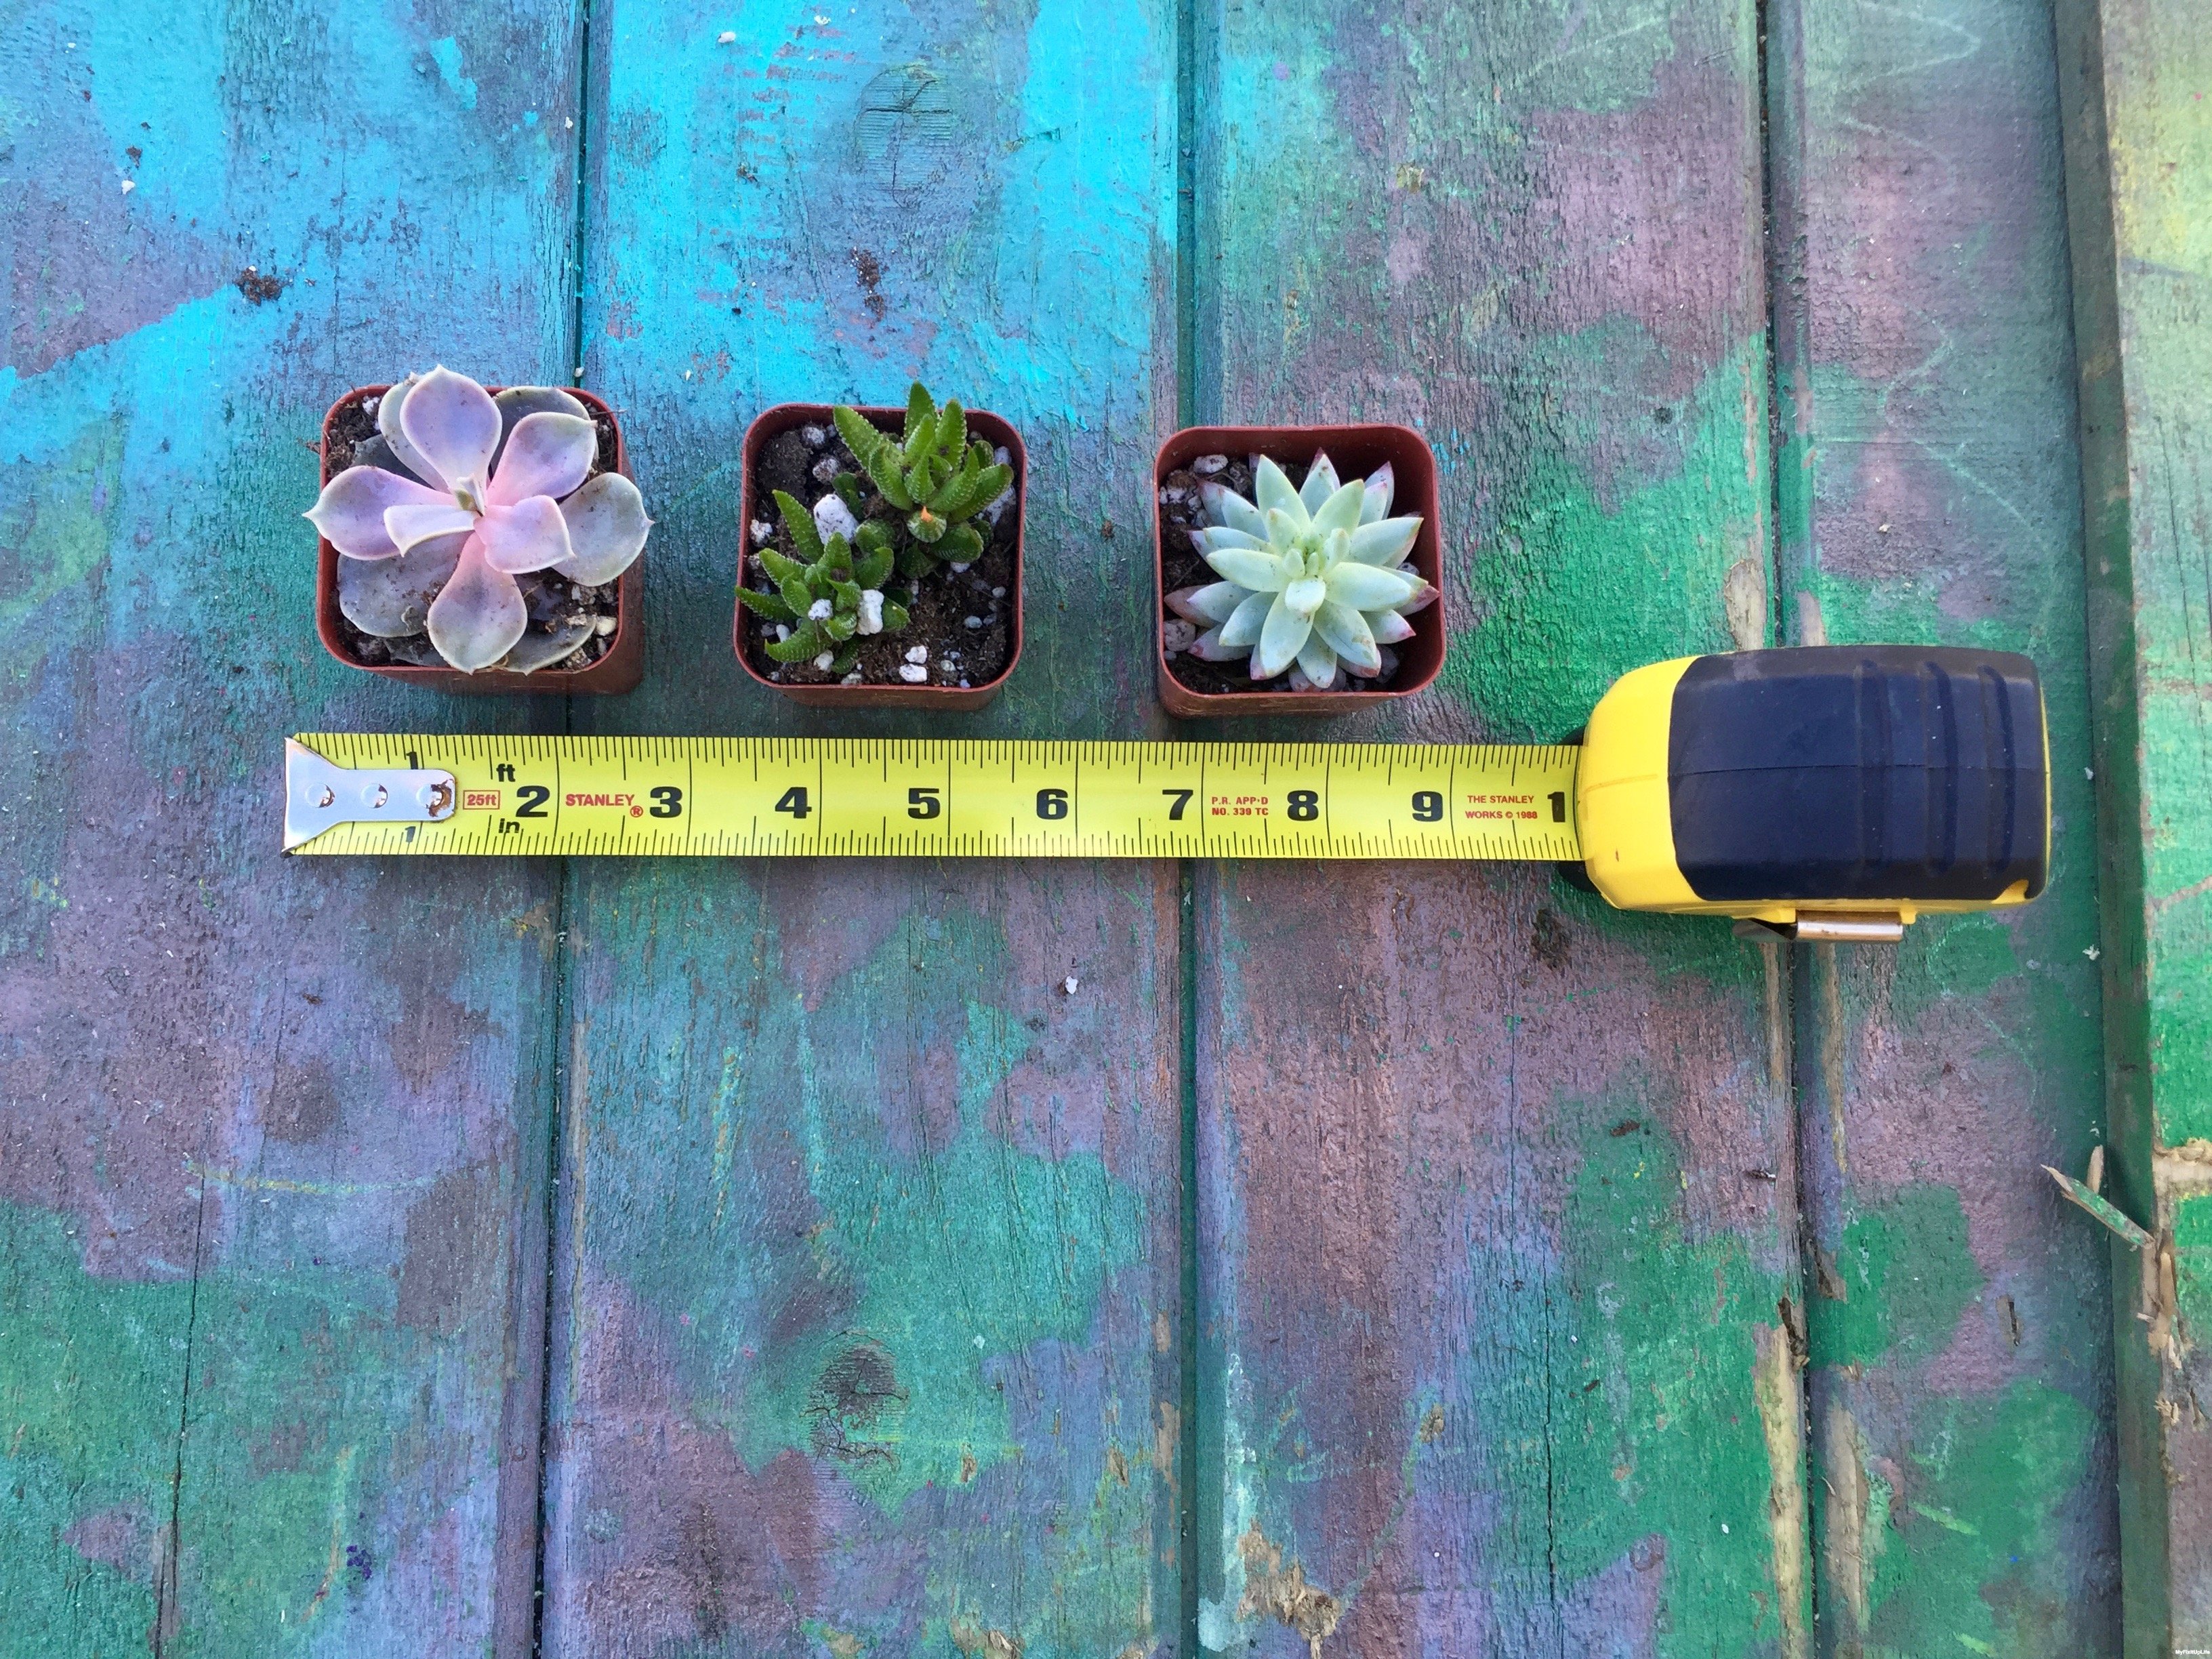 The size of the succulents dictated the size of this indoor wall garden.
I’ve been a little obsessed with making projects from pallets and finding new ways to display succulents around my home. Those little bulbous plants are so perfect for a busy family lifestyle, as they don’t require much maintenance beyond watering. And they only like to be re-watered when their soil is dry.
As I was thinking about new excuses to incorporate succulents into my formal-farmhouse home decor, I landed on the idea of creating living wall art as an indoor wall garden. Vertical gardens can be any size and shape, which makes creating them so much fun. And a wall garden can be customized to the style of your home, just by changing the material, shape, and the stain color.
For this project, I immediately envisioned using a charming color that I’ve chosen before for our dining table makeover. I smile about the Antique Jade from the Minwax® Water Based Wood Stain collection every time I sit down to eat. After months of use, the joy still hasn’t faded into the background, and I suspect it never will.
Supplies for the indoor wall garden.
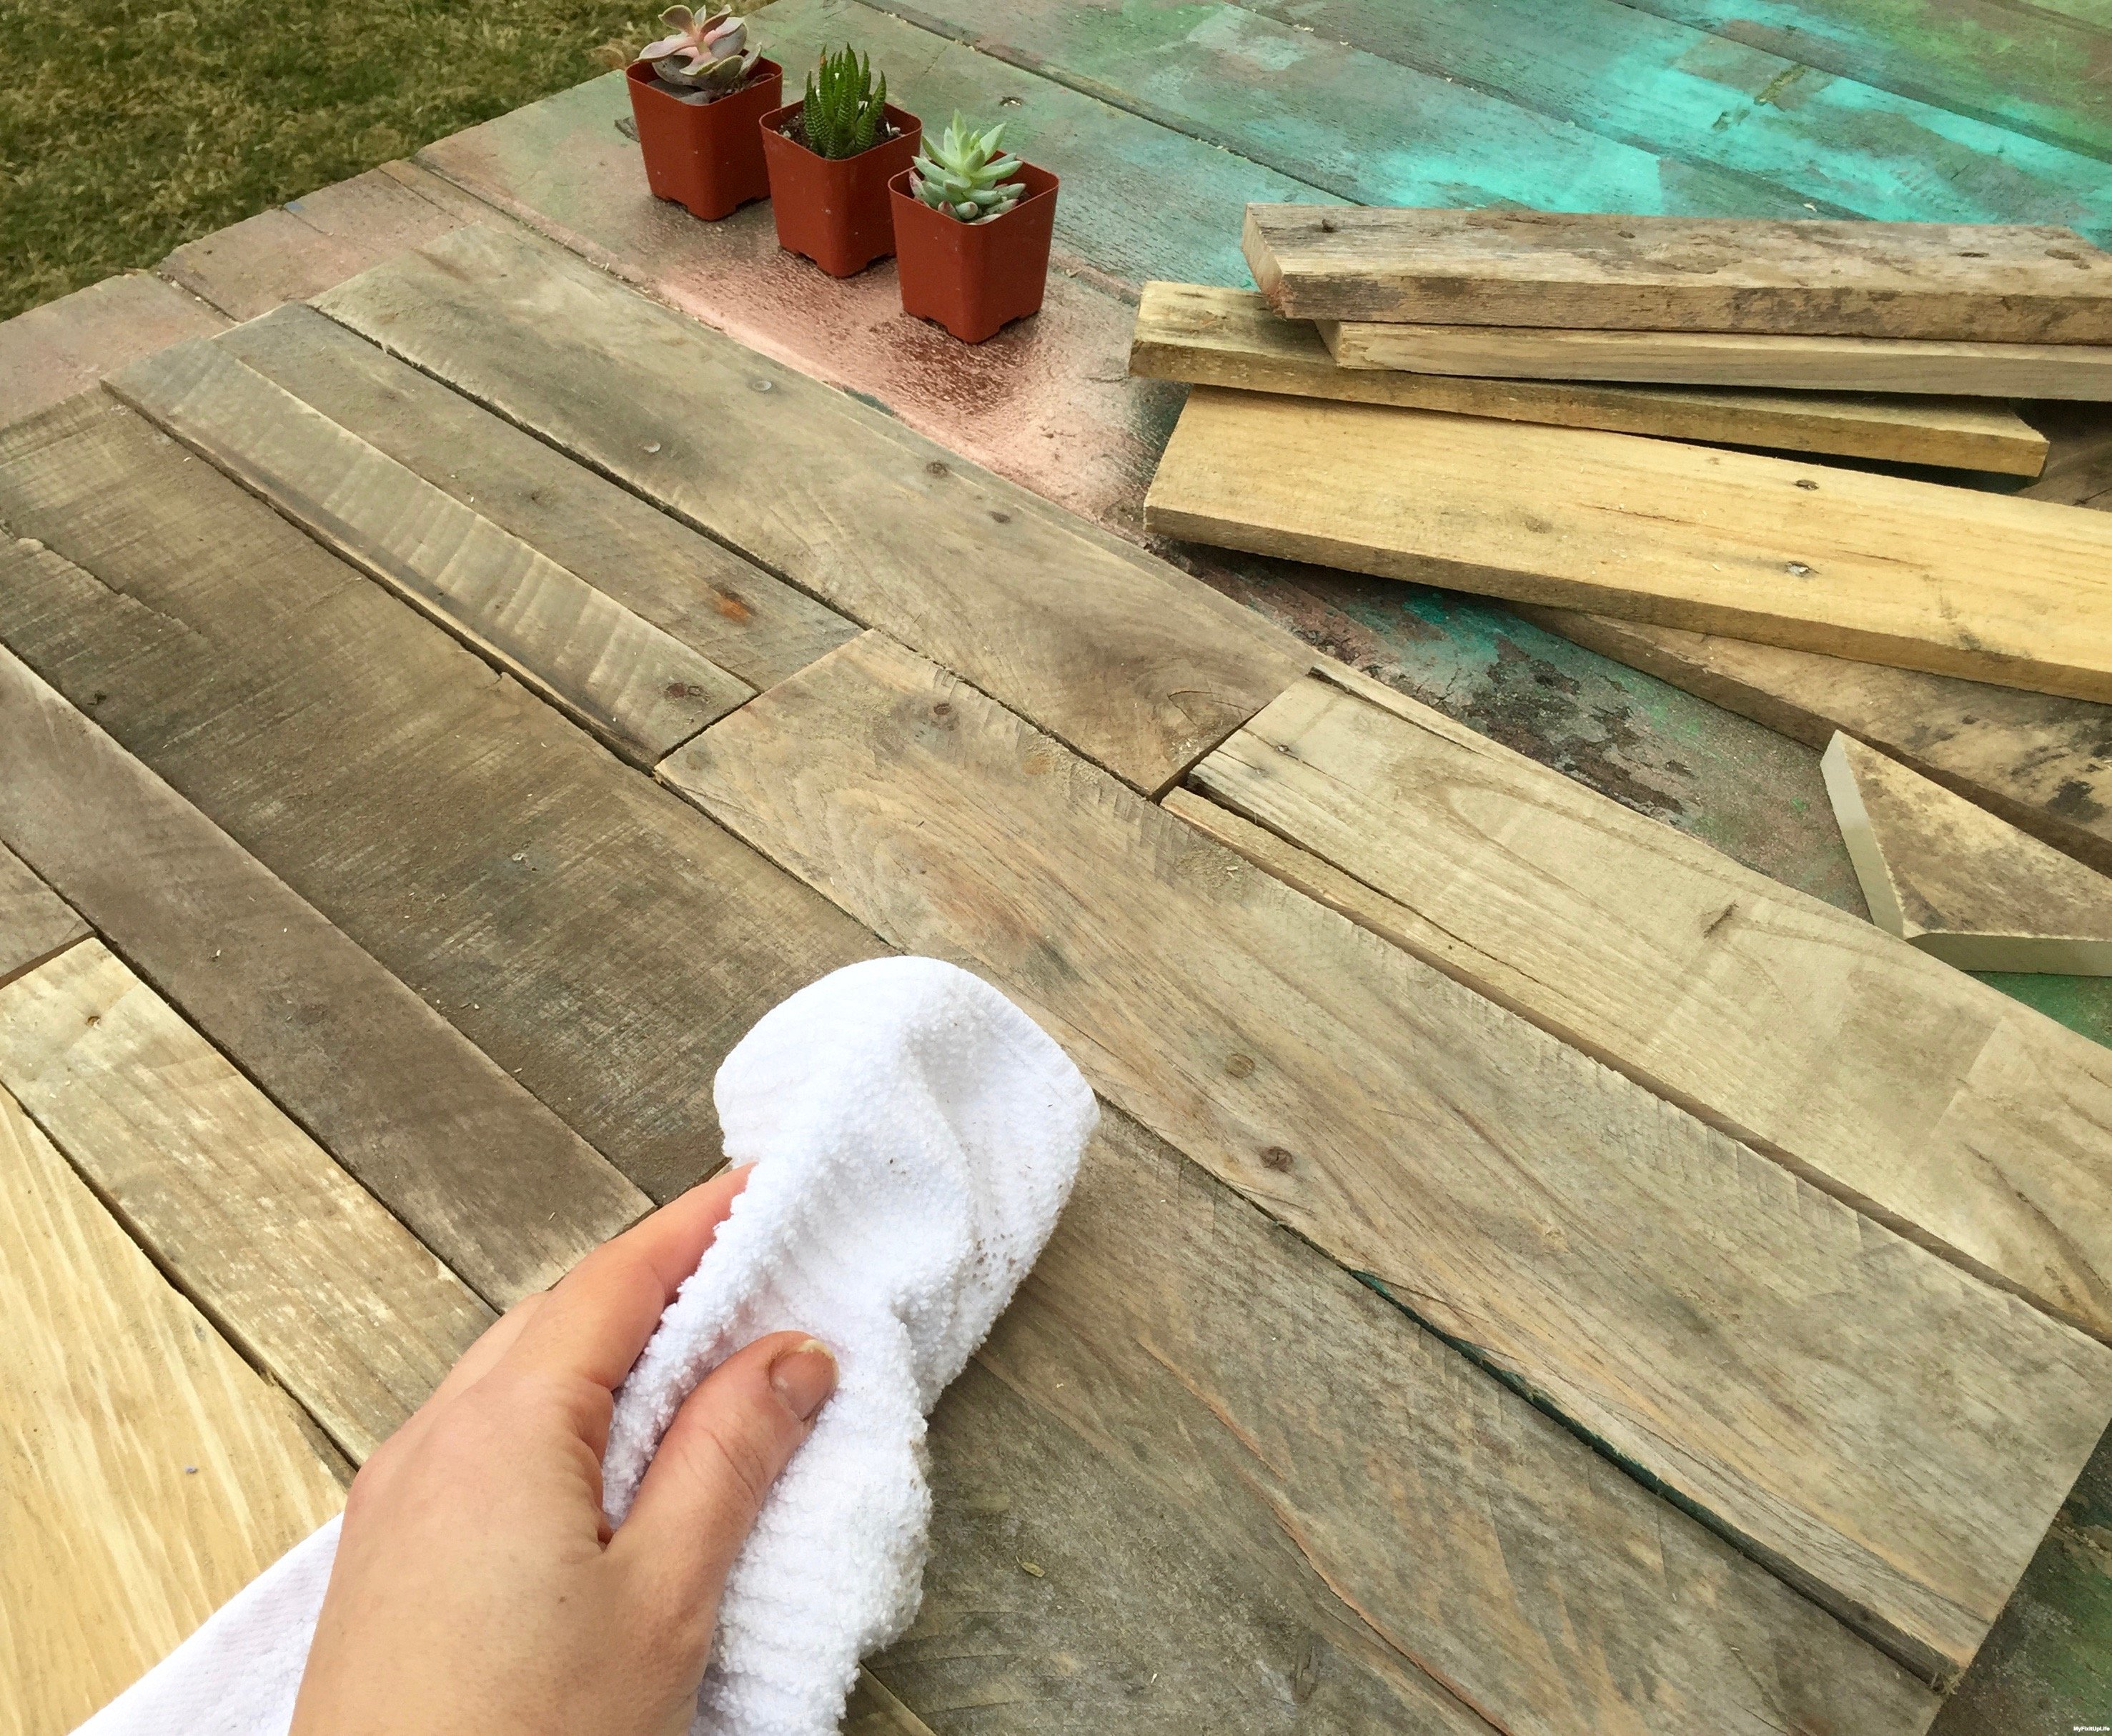
Succulents. Before I started on this DIY project, I ordered a collection of succulents from Amazon in 2-inch pots. The two inches became the measurement that dictated the rest of the project.
Pallet wood. We have been building a variety of projects with pallets over the past few months, so I was lucky to have a collection of cut-offs in our wood pile. Finding a pallet can be easy or tough, depending on where you live. Typically your local Habitat for Humanity ReStore has pallets.
Stain. I chose Minwax® Water Based Wood Stain in Antique Jade, and used a synthetic brush to apply the stain.
Tools. For this project I used a cordless miter saw (an oscillating tool with clamps also would work), tape measure, impact driver, pencil, square, oscillating tool for sanding (sandpaper works fine, too), and all-purpose glue.
How-to for the indoor wall garden.
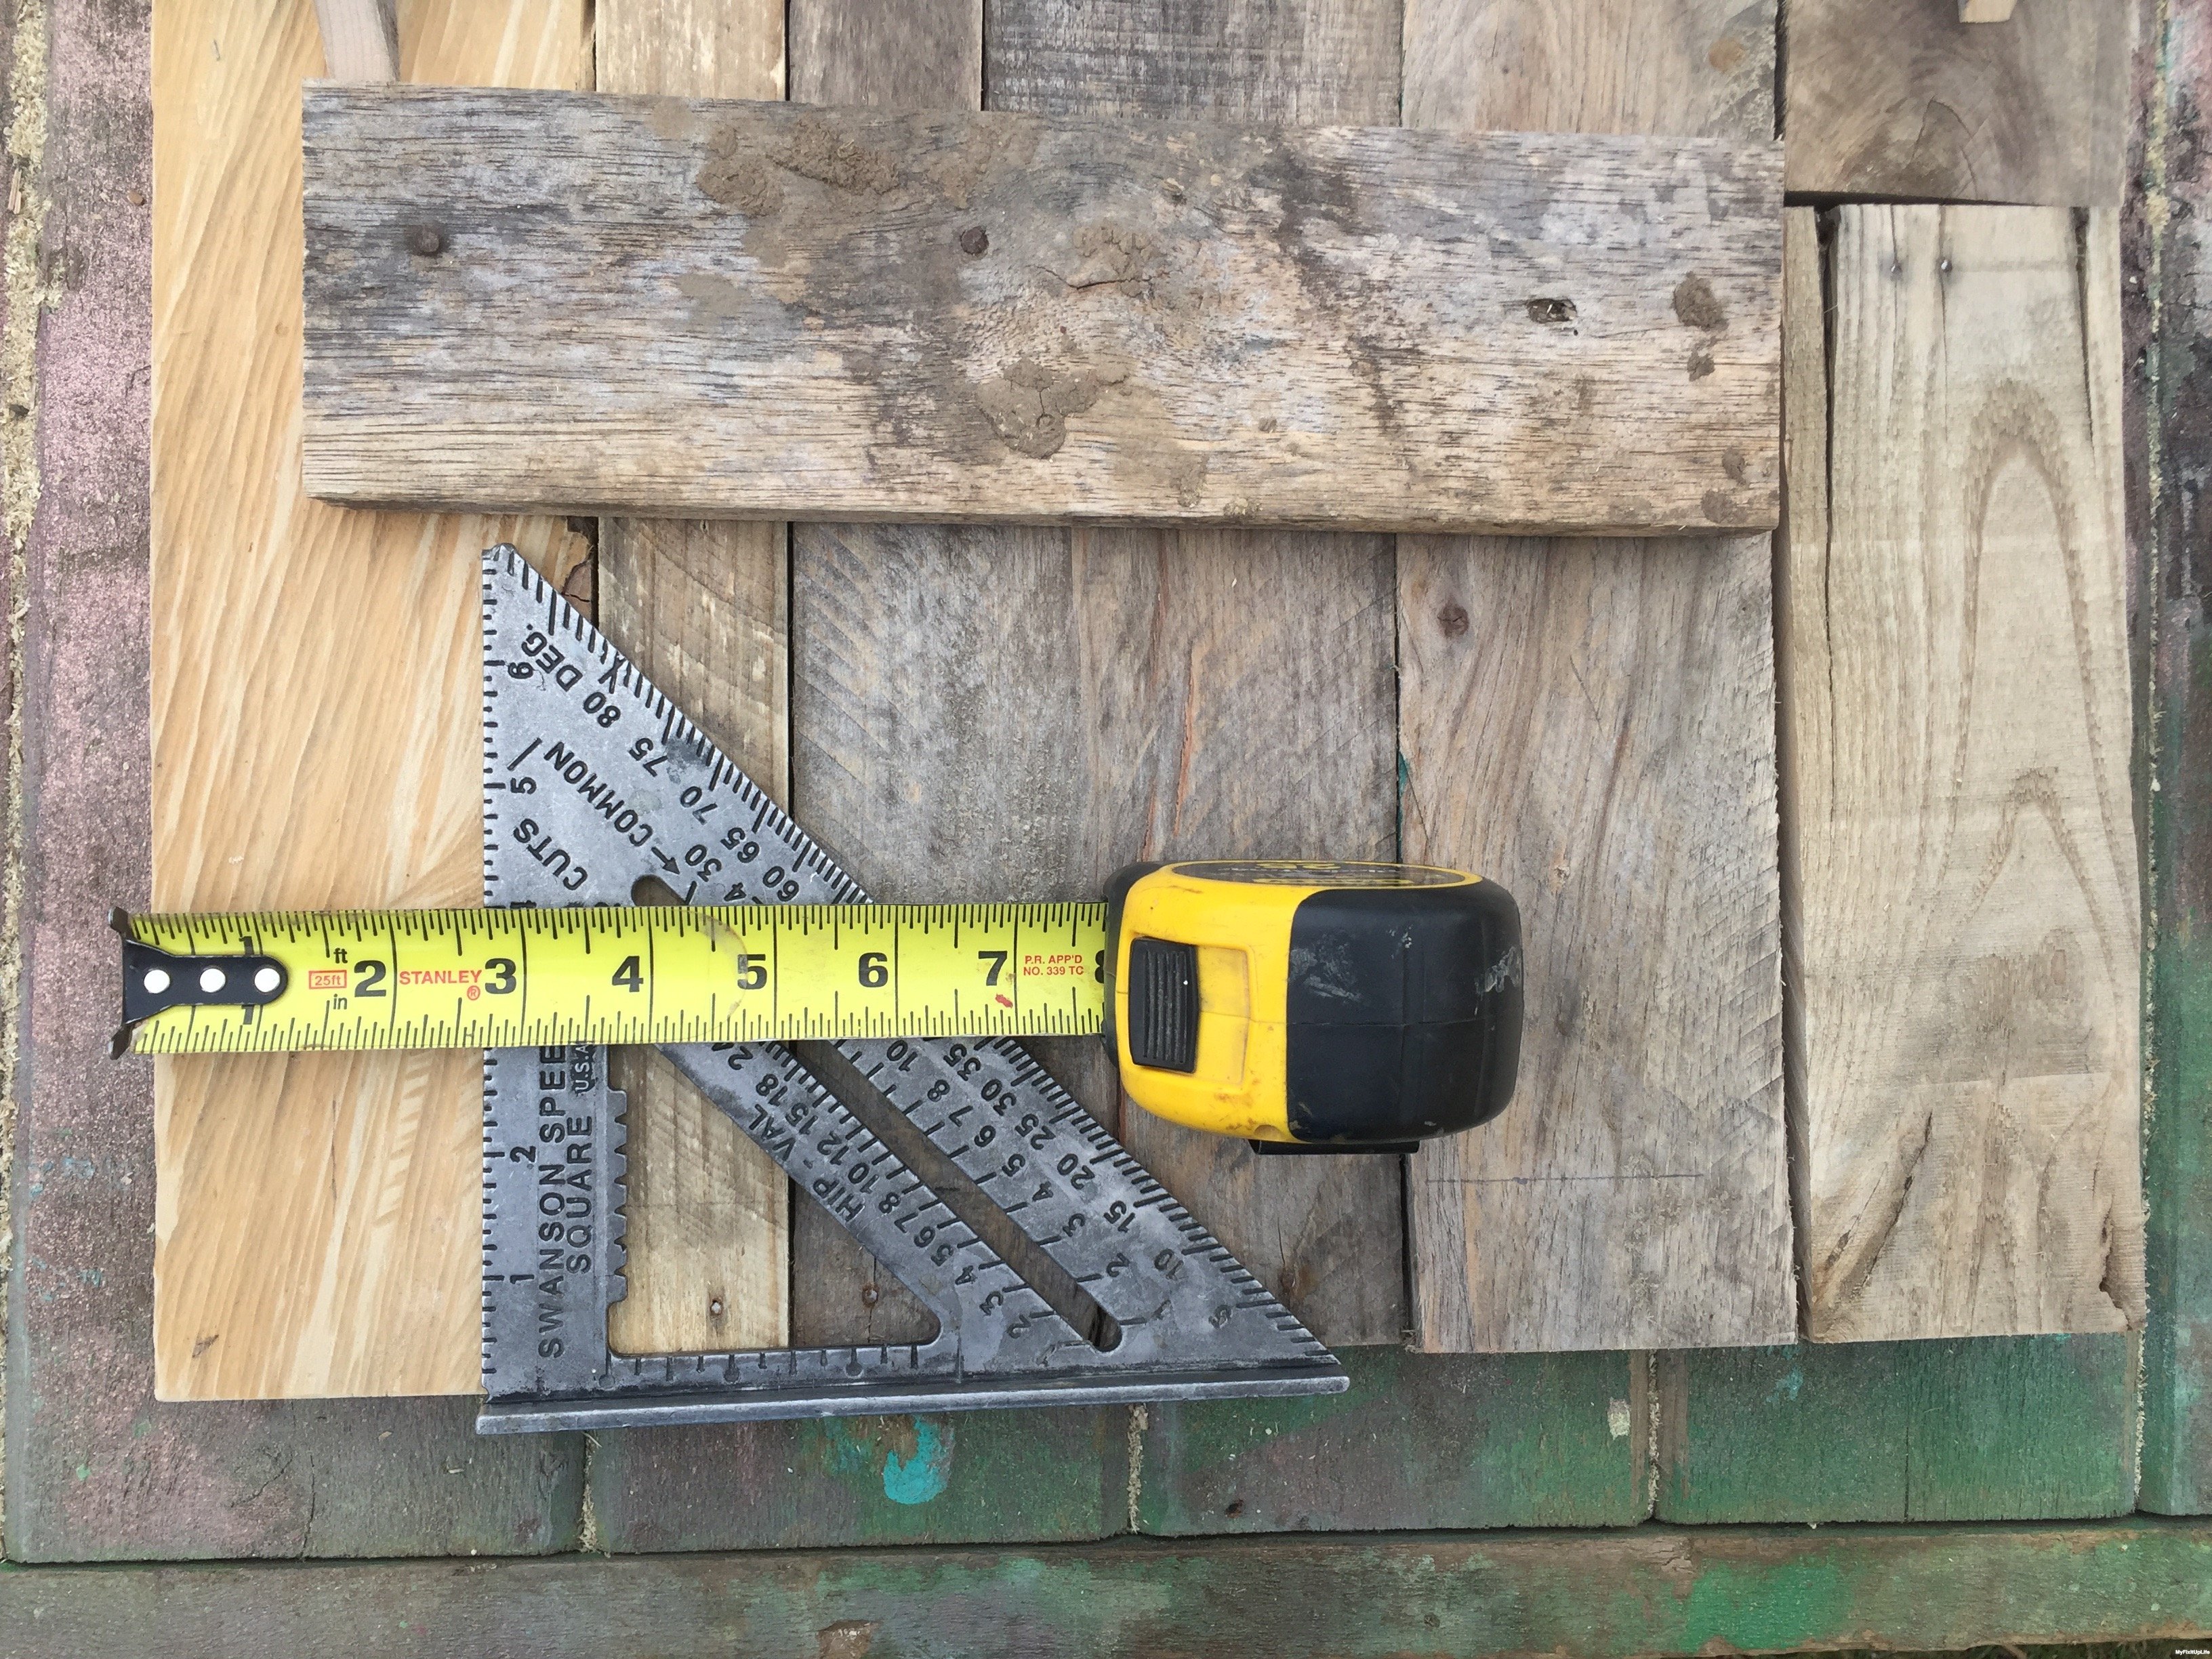
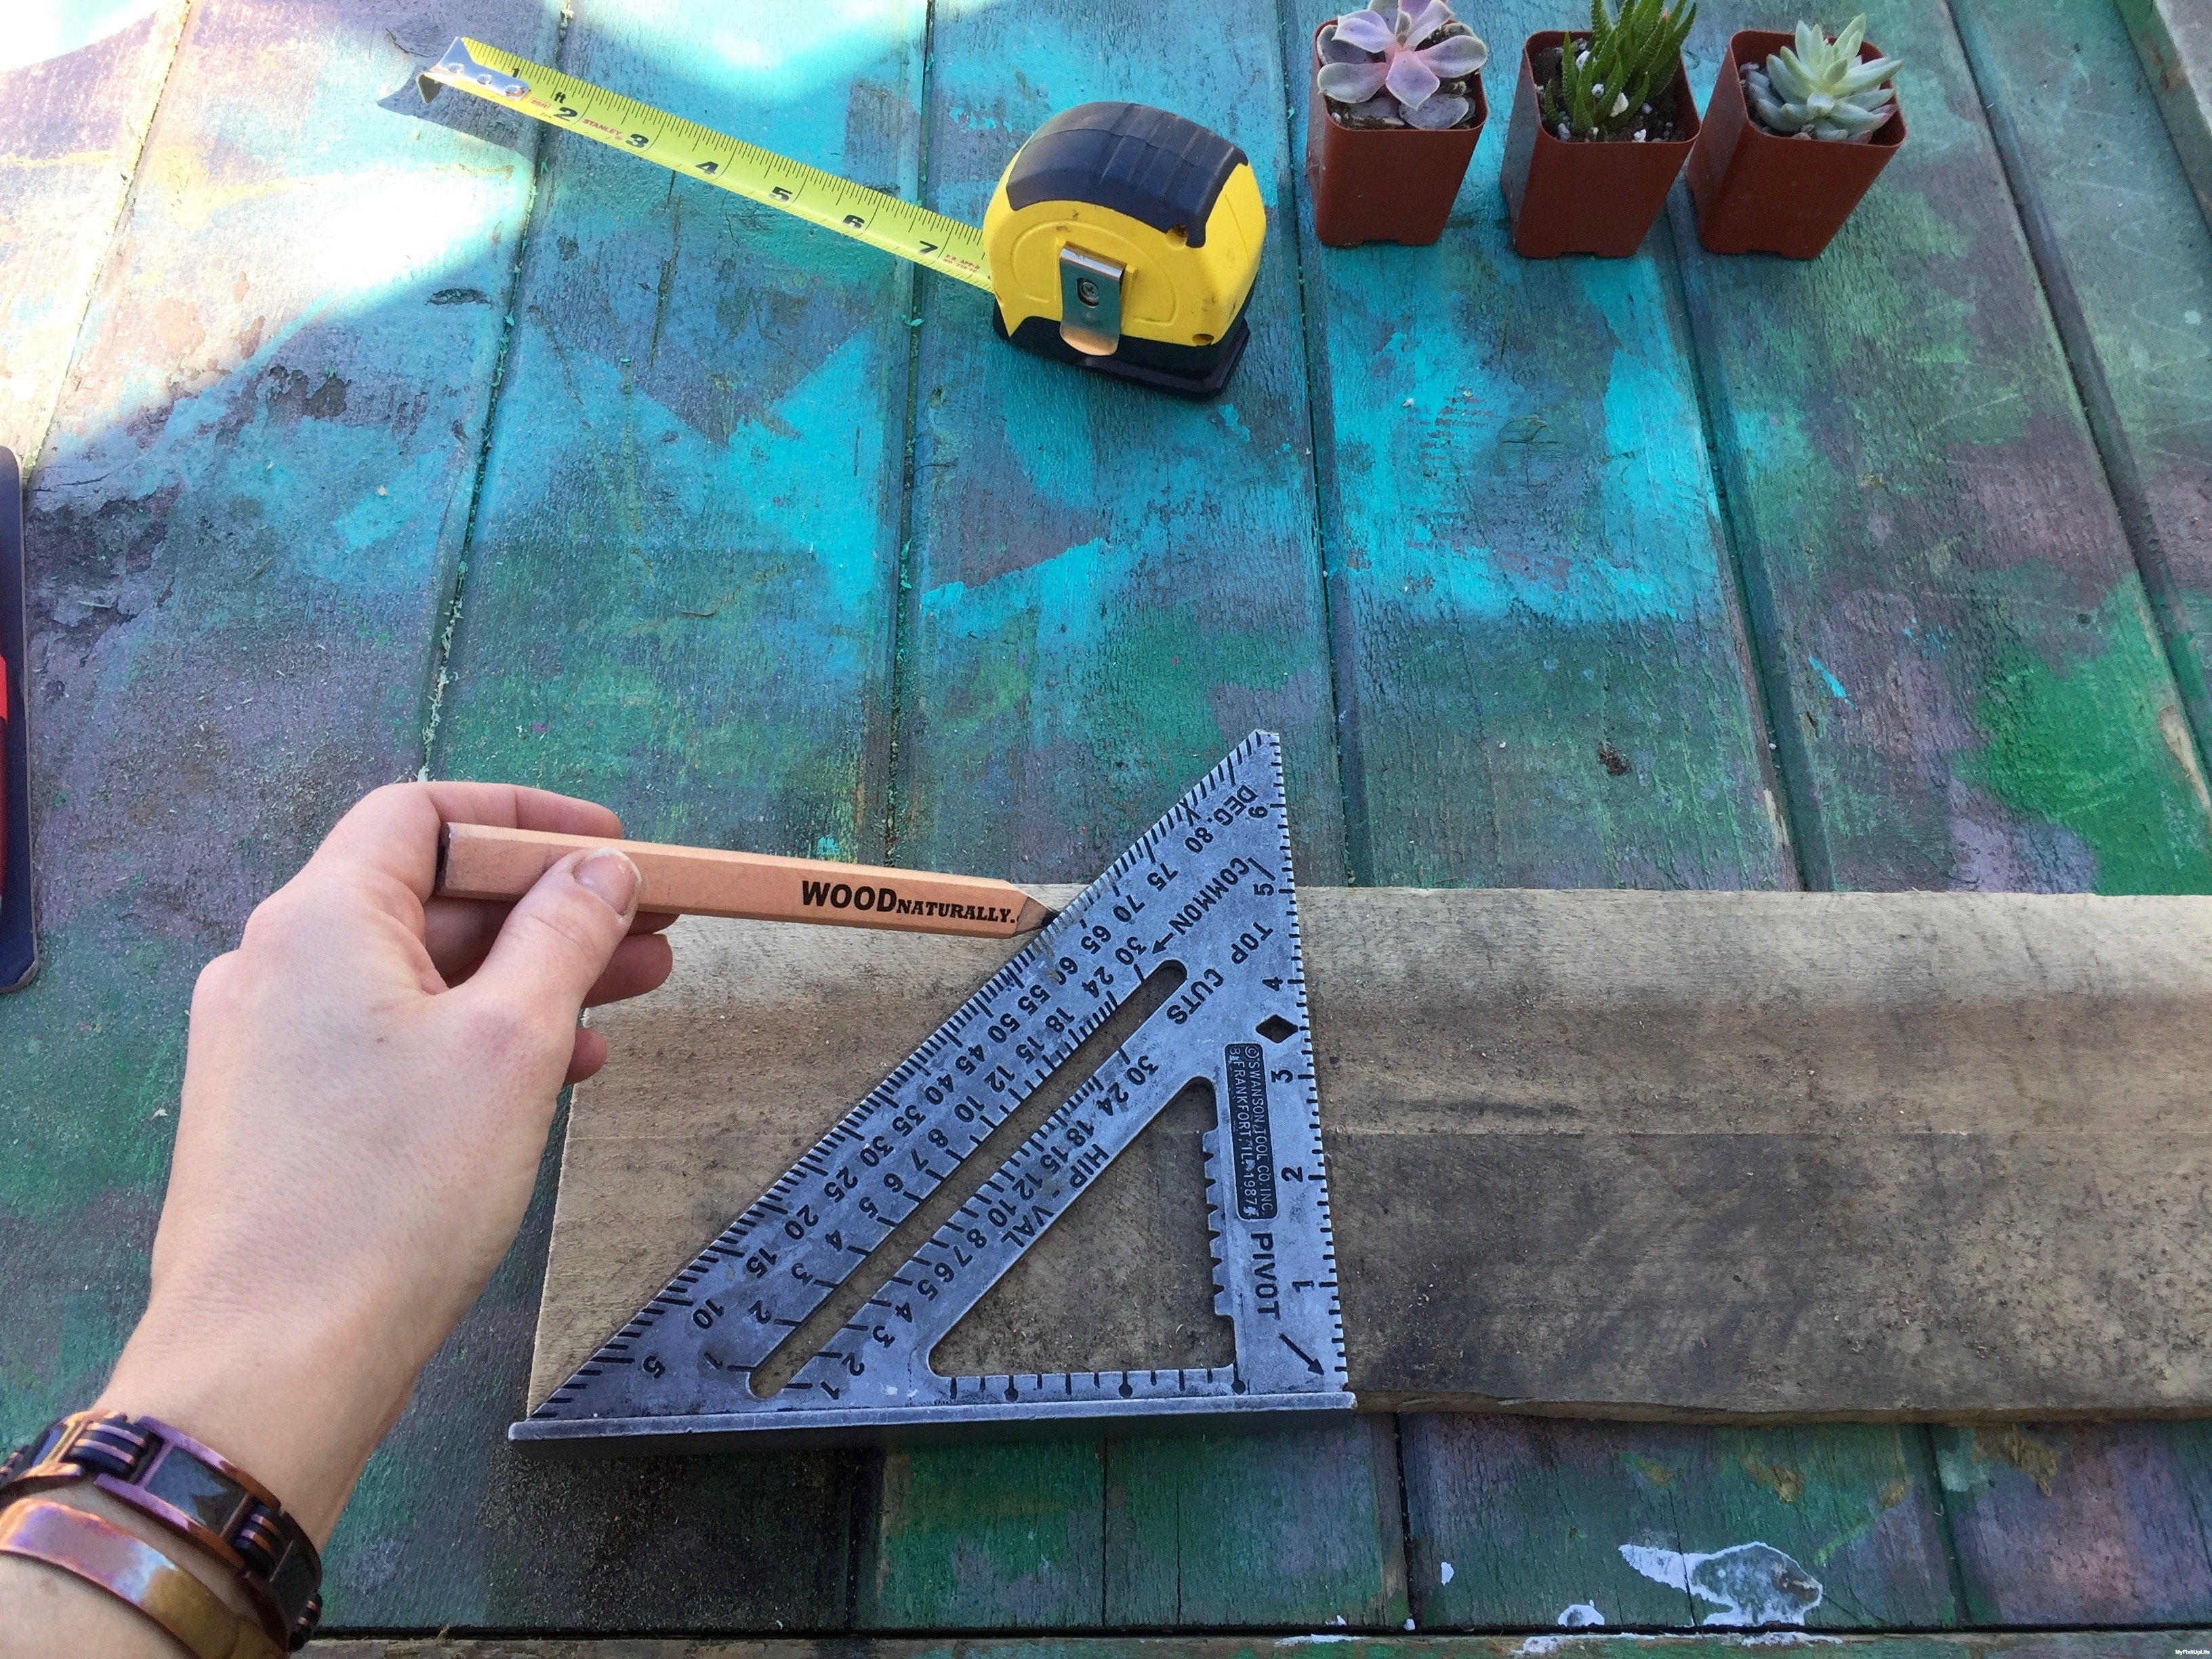 The first step to this project is measuring the pieces.
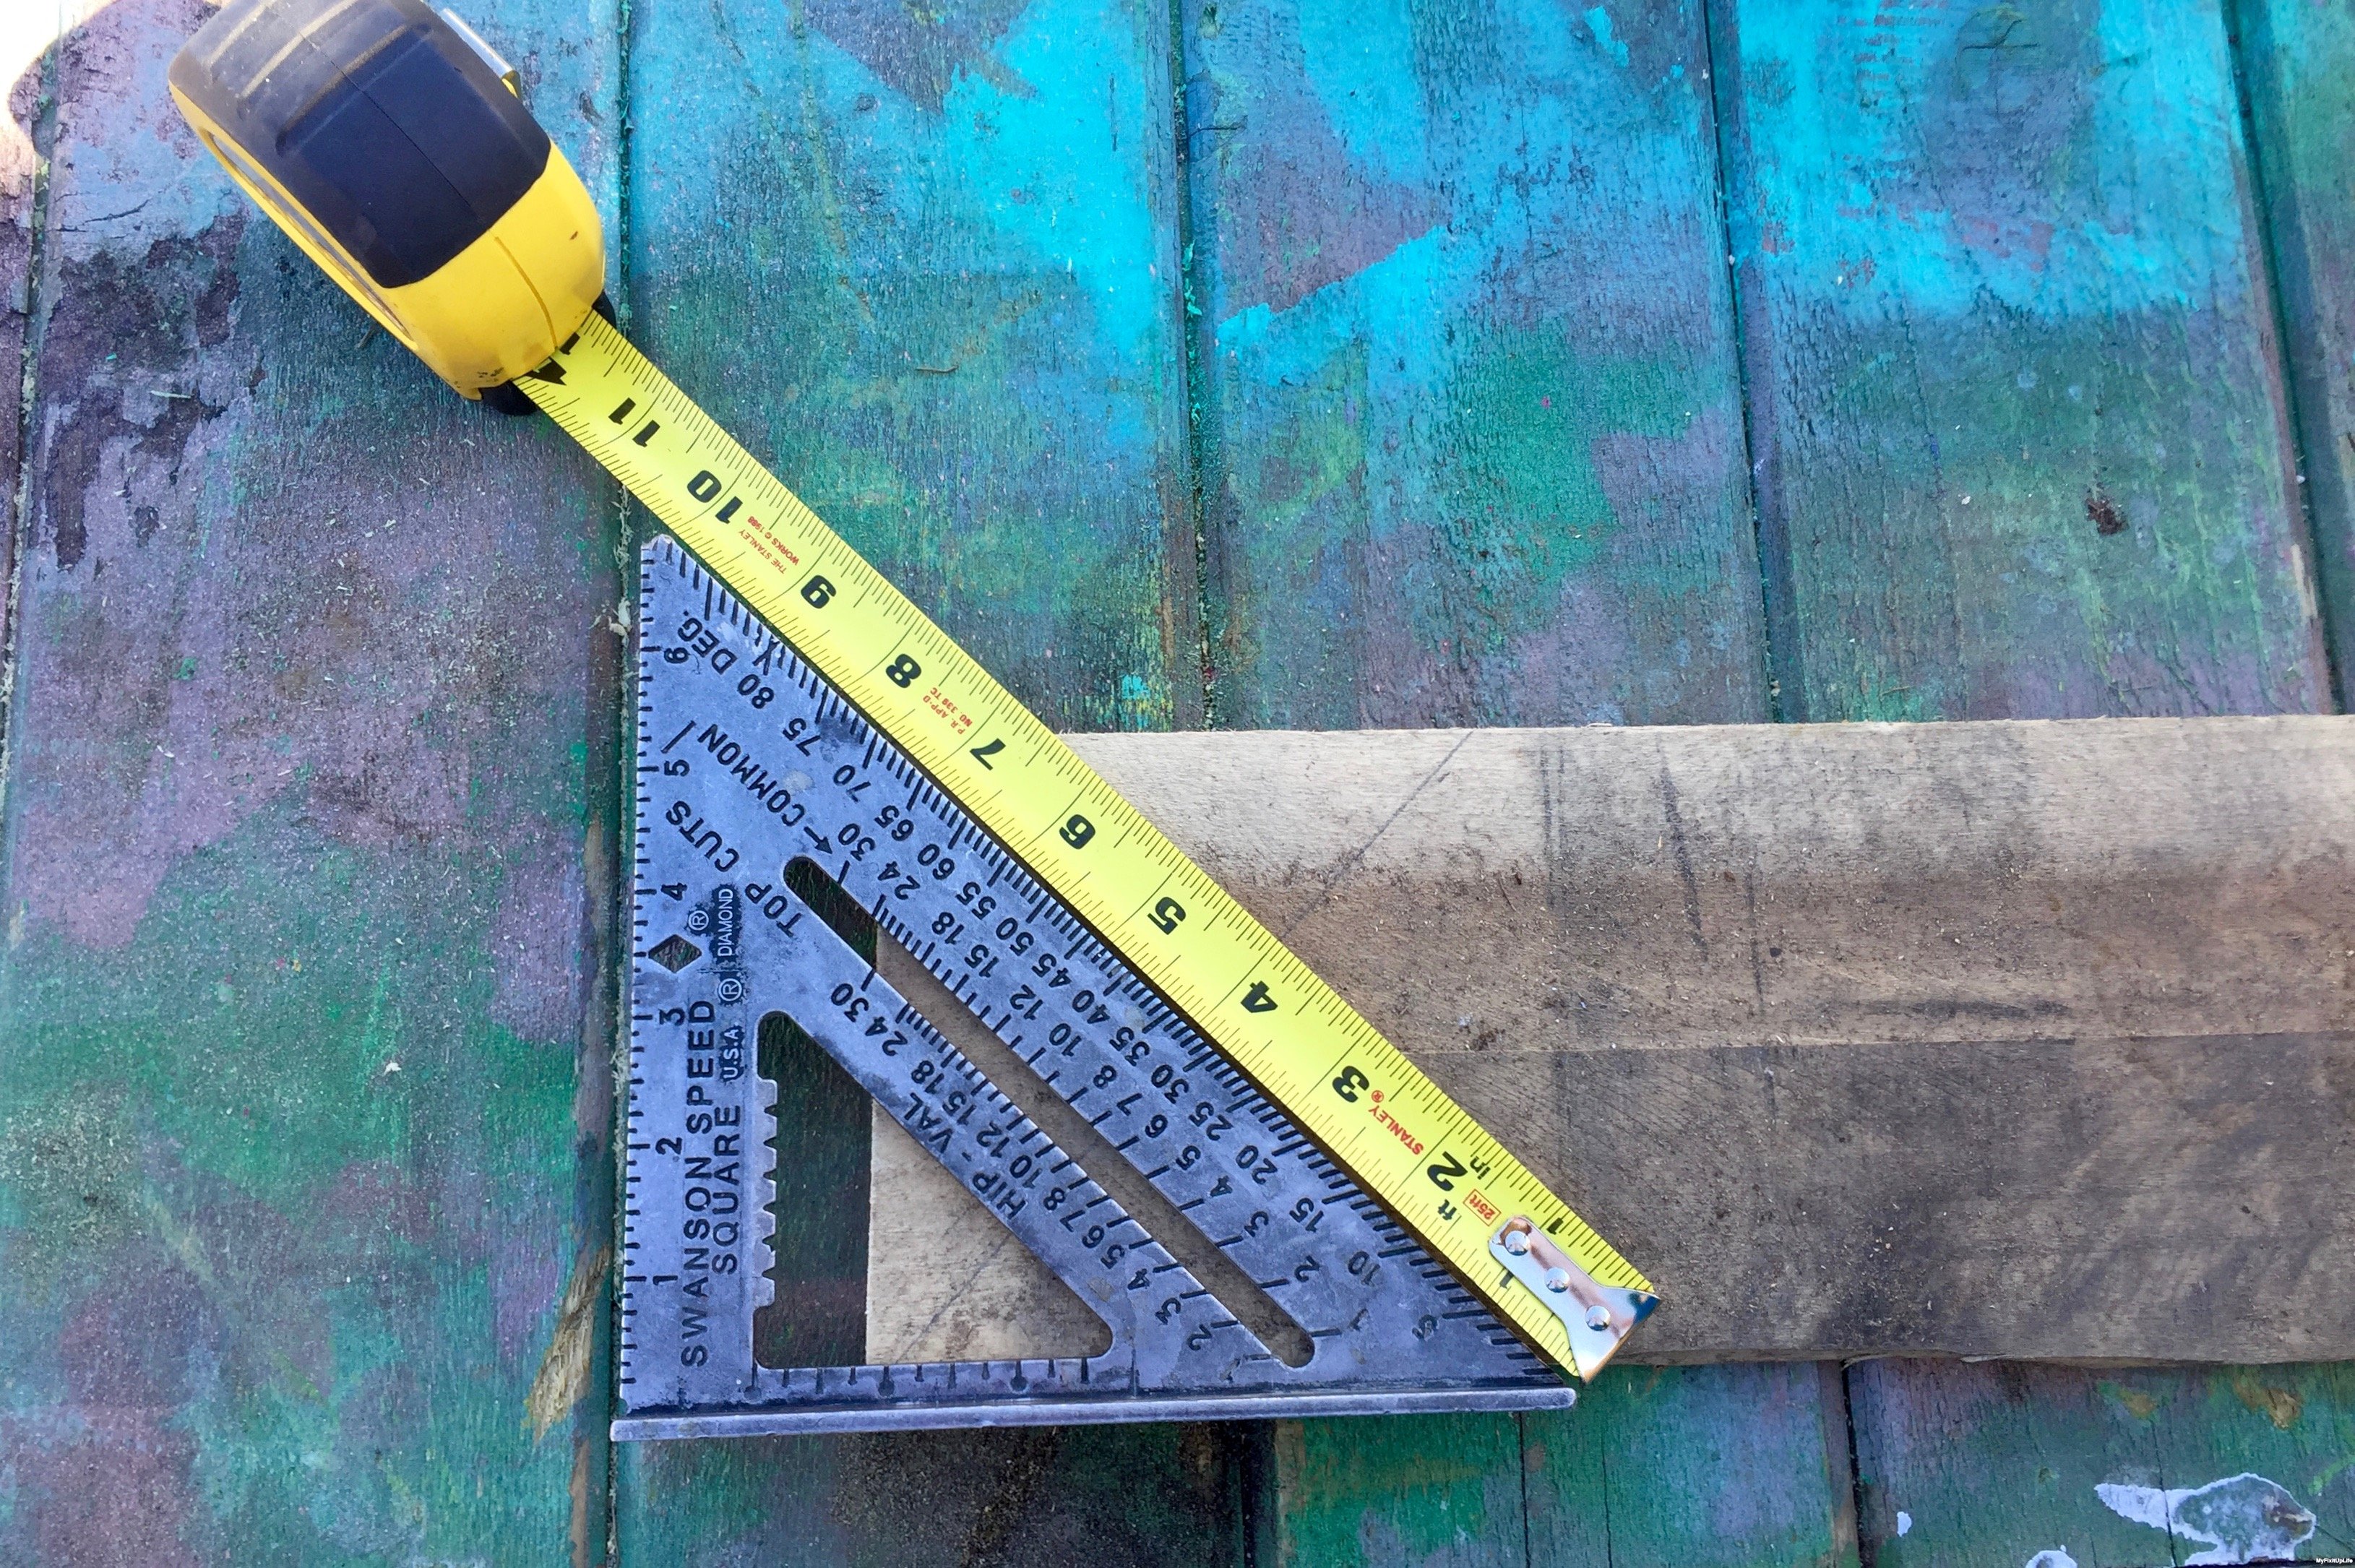 After marking each triangle, I checked the hypotenuse of the triangle.
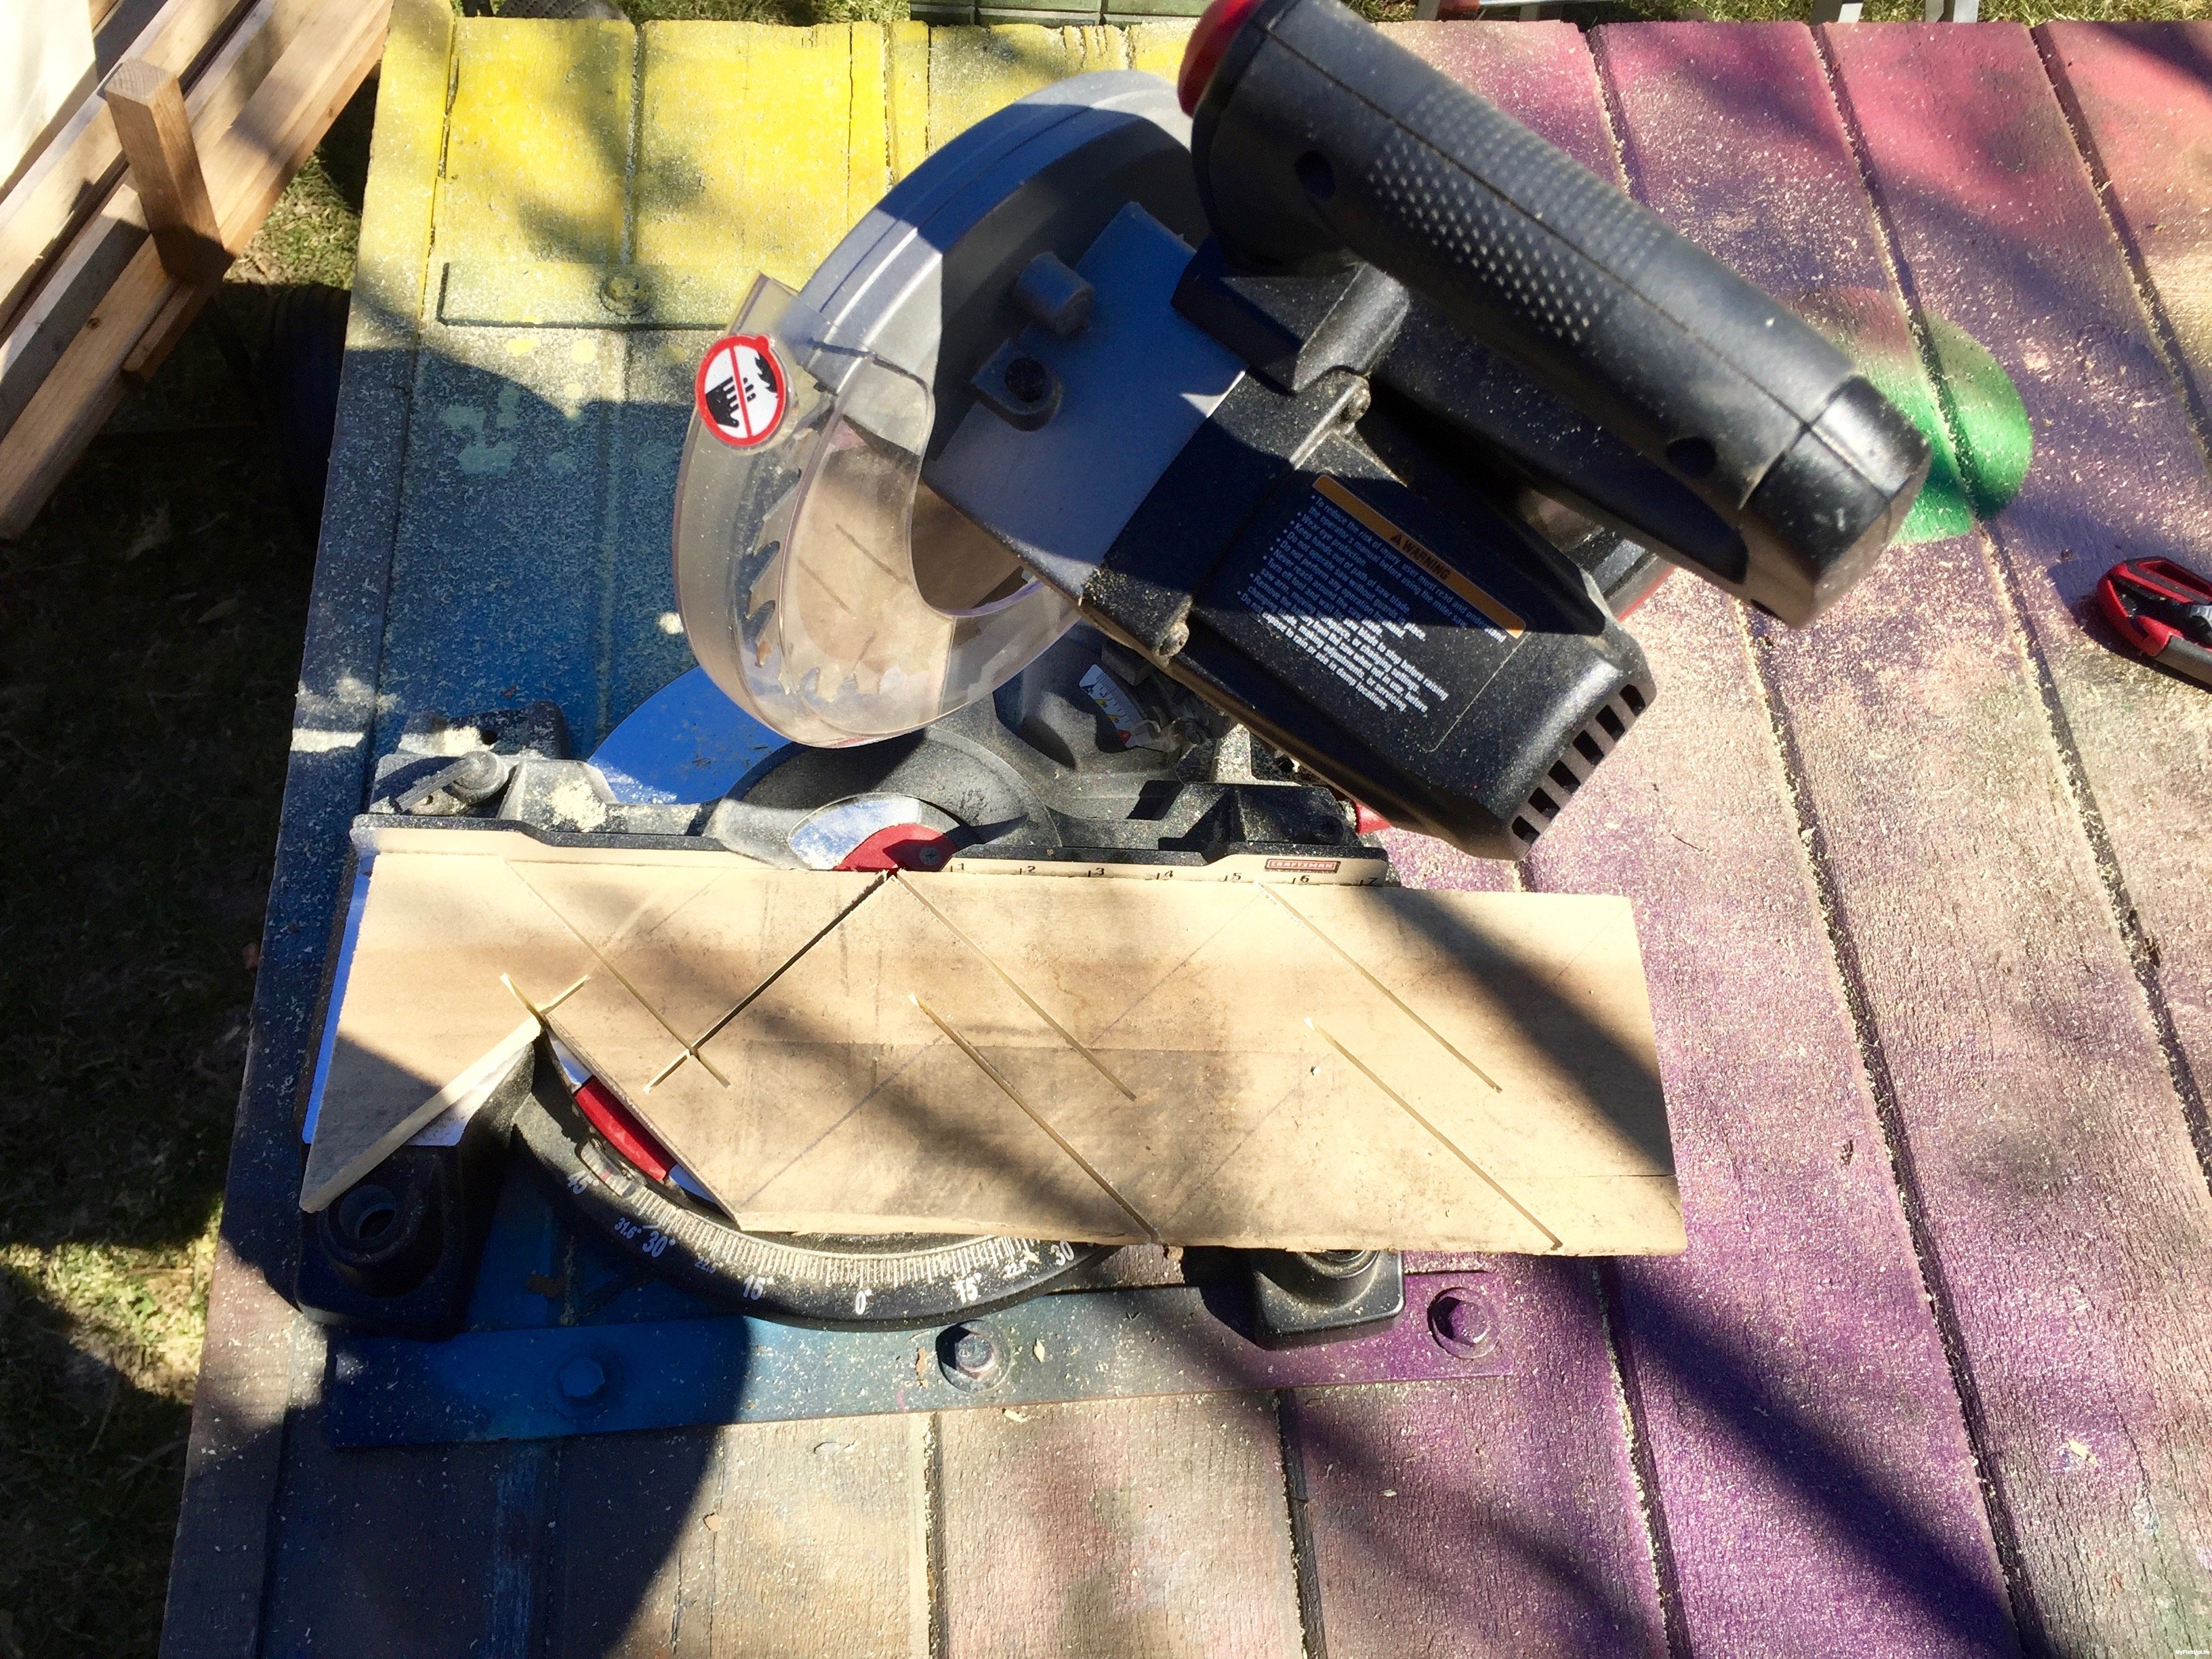 Cutting each triangle is fairly easy on a miter saw, but it isn’t the only saw that can cut the pieces.
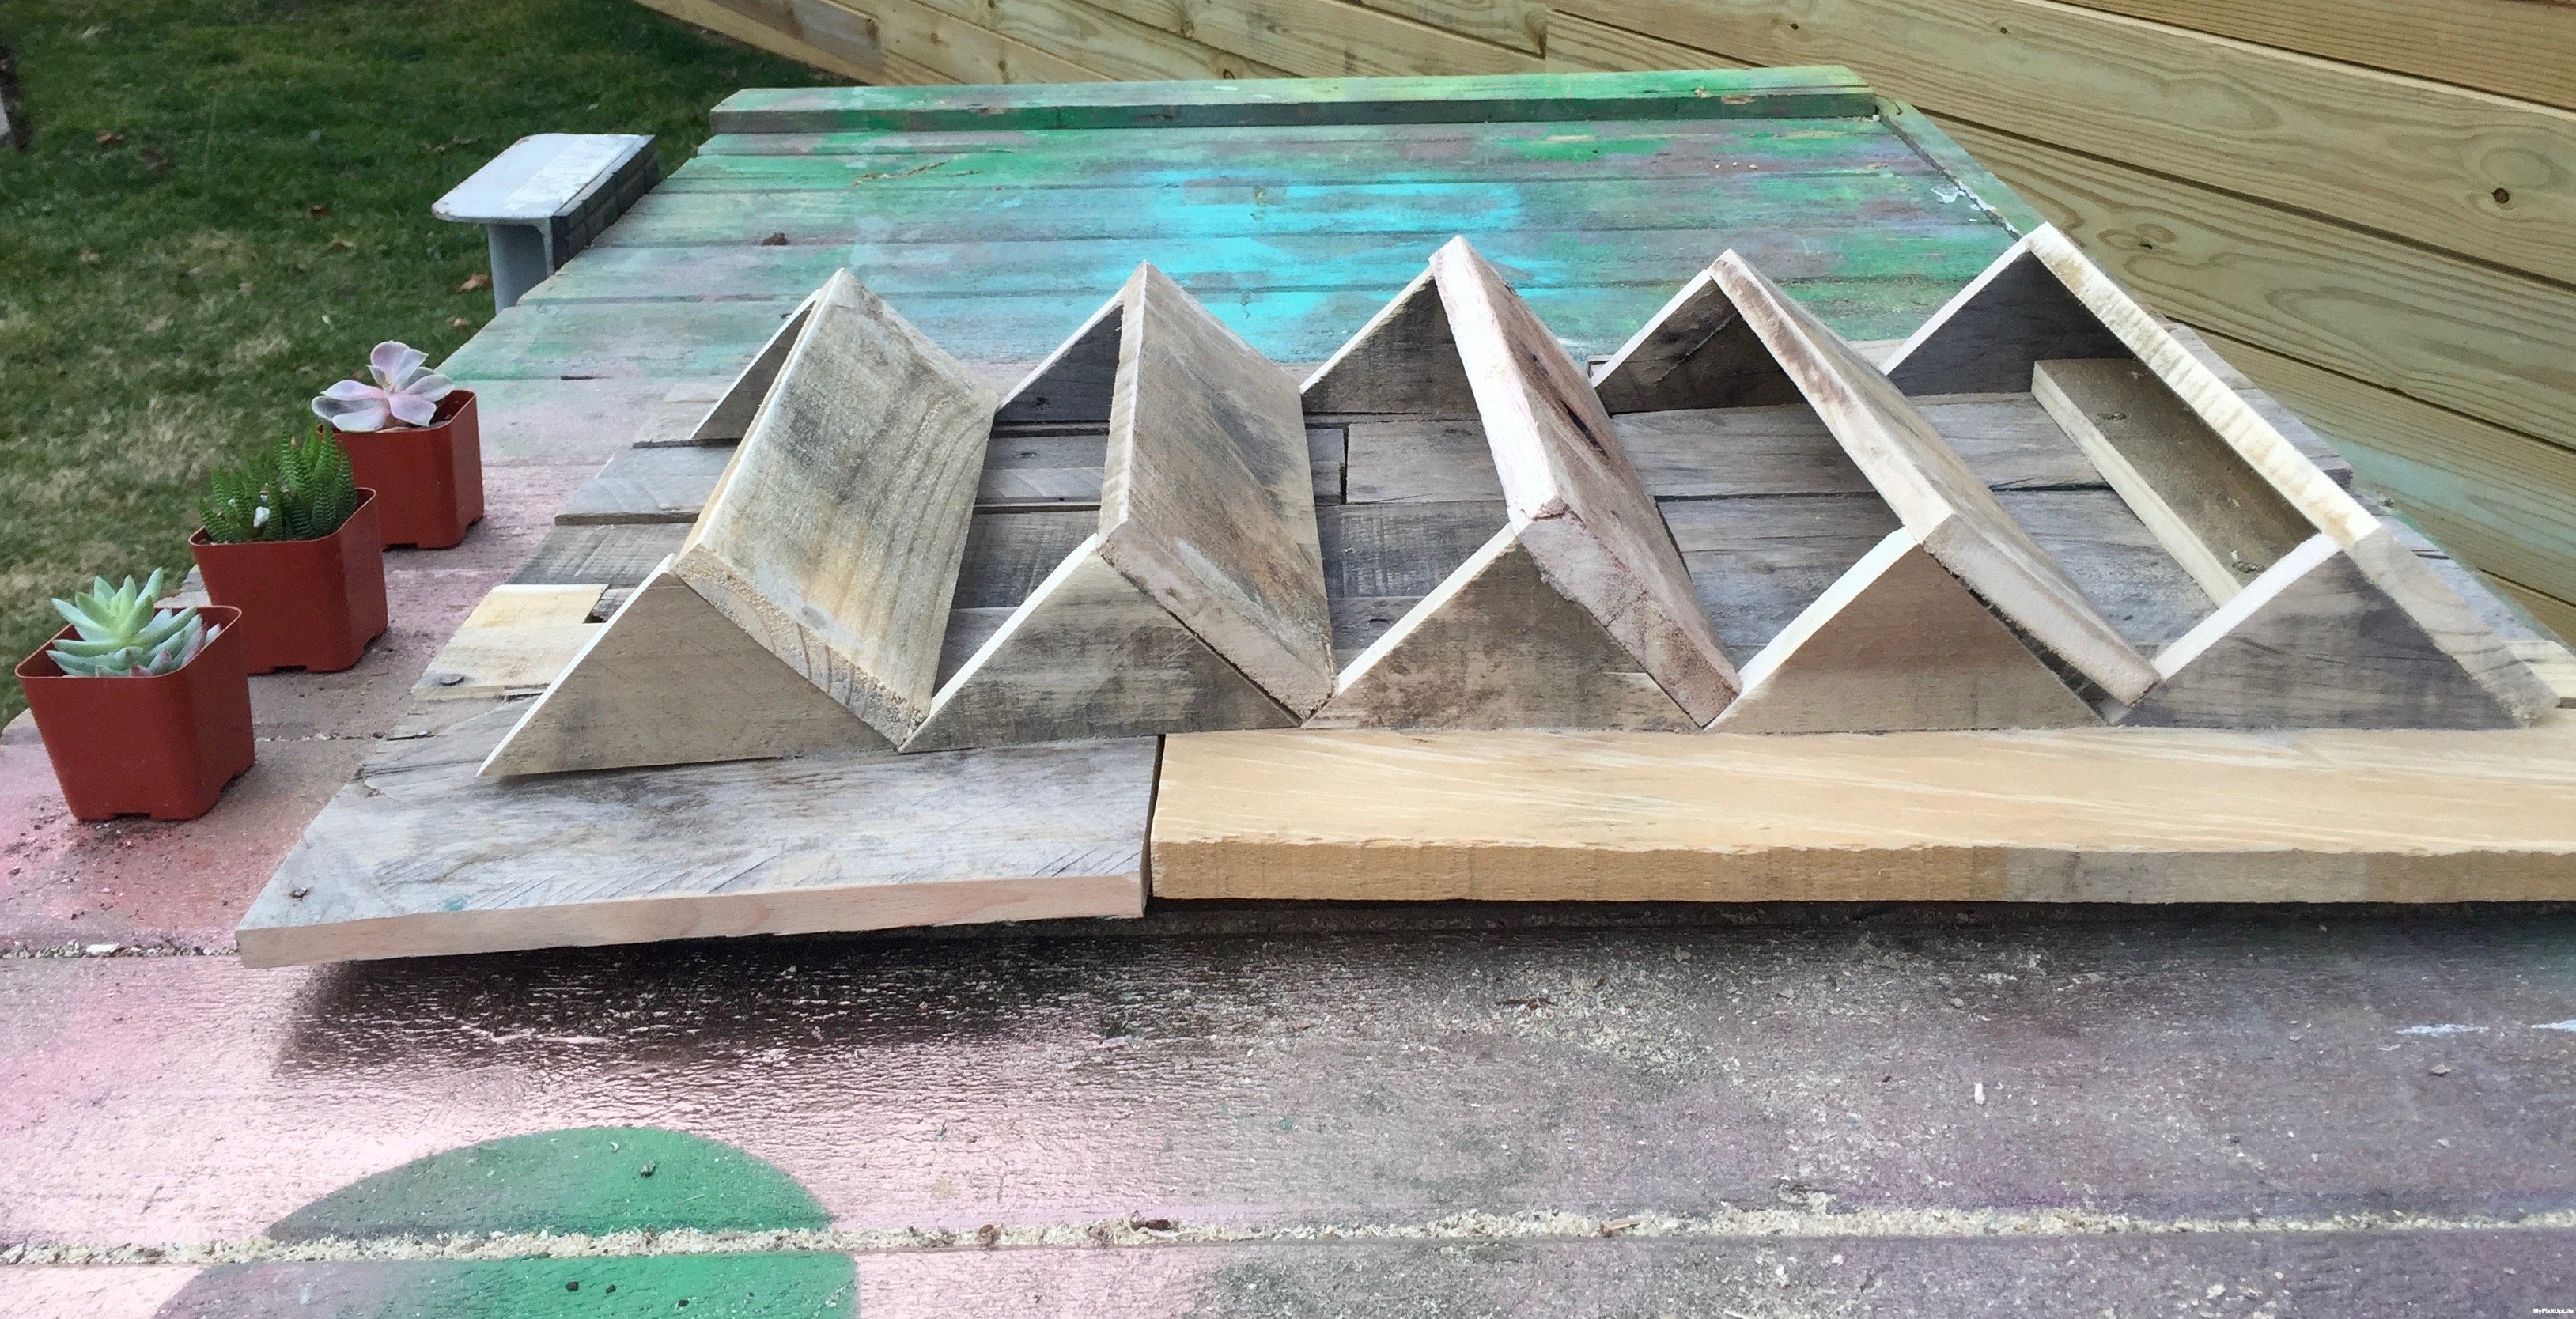
 After cutting each piece, I lined them up to check that I cut everything I needed.
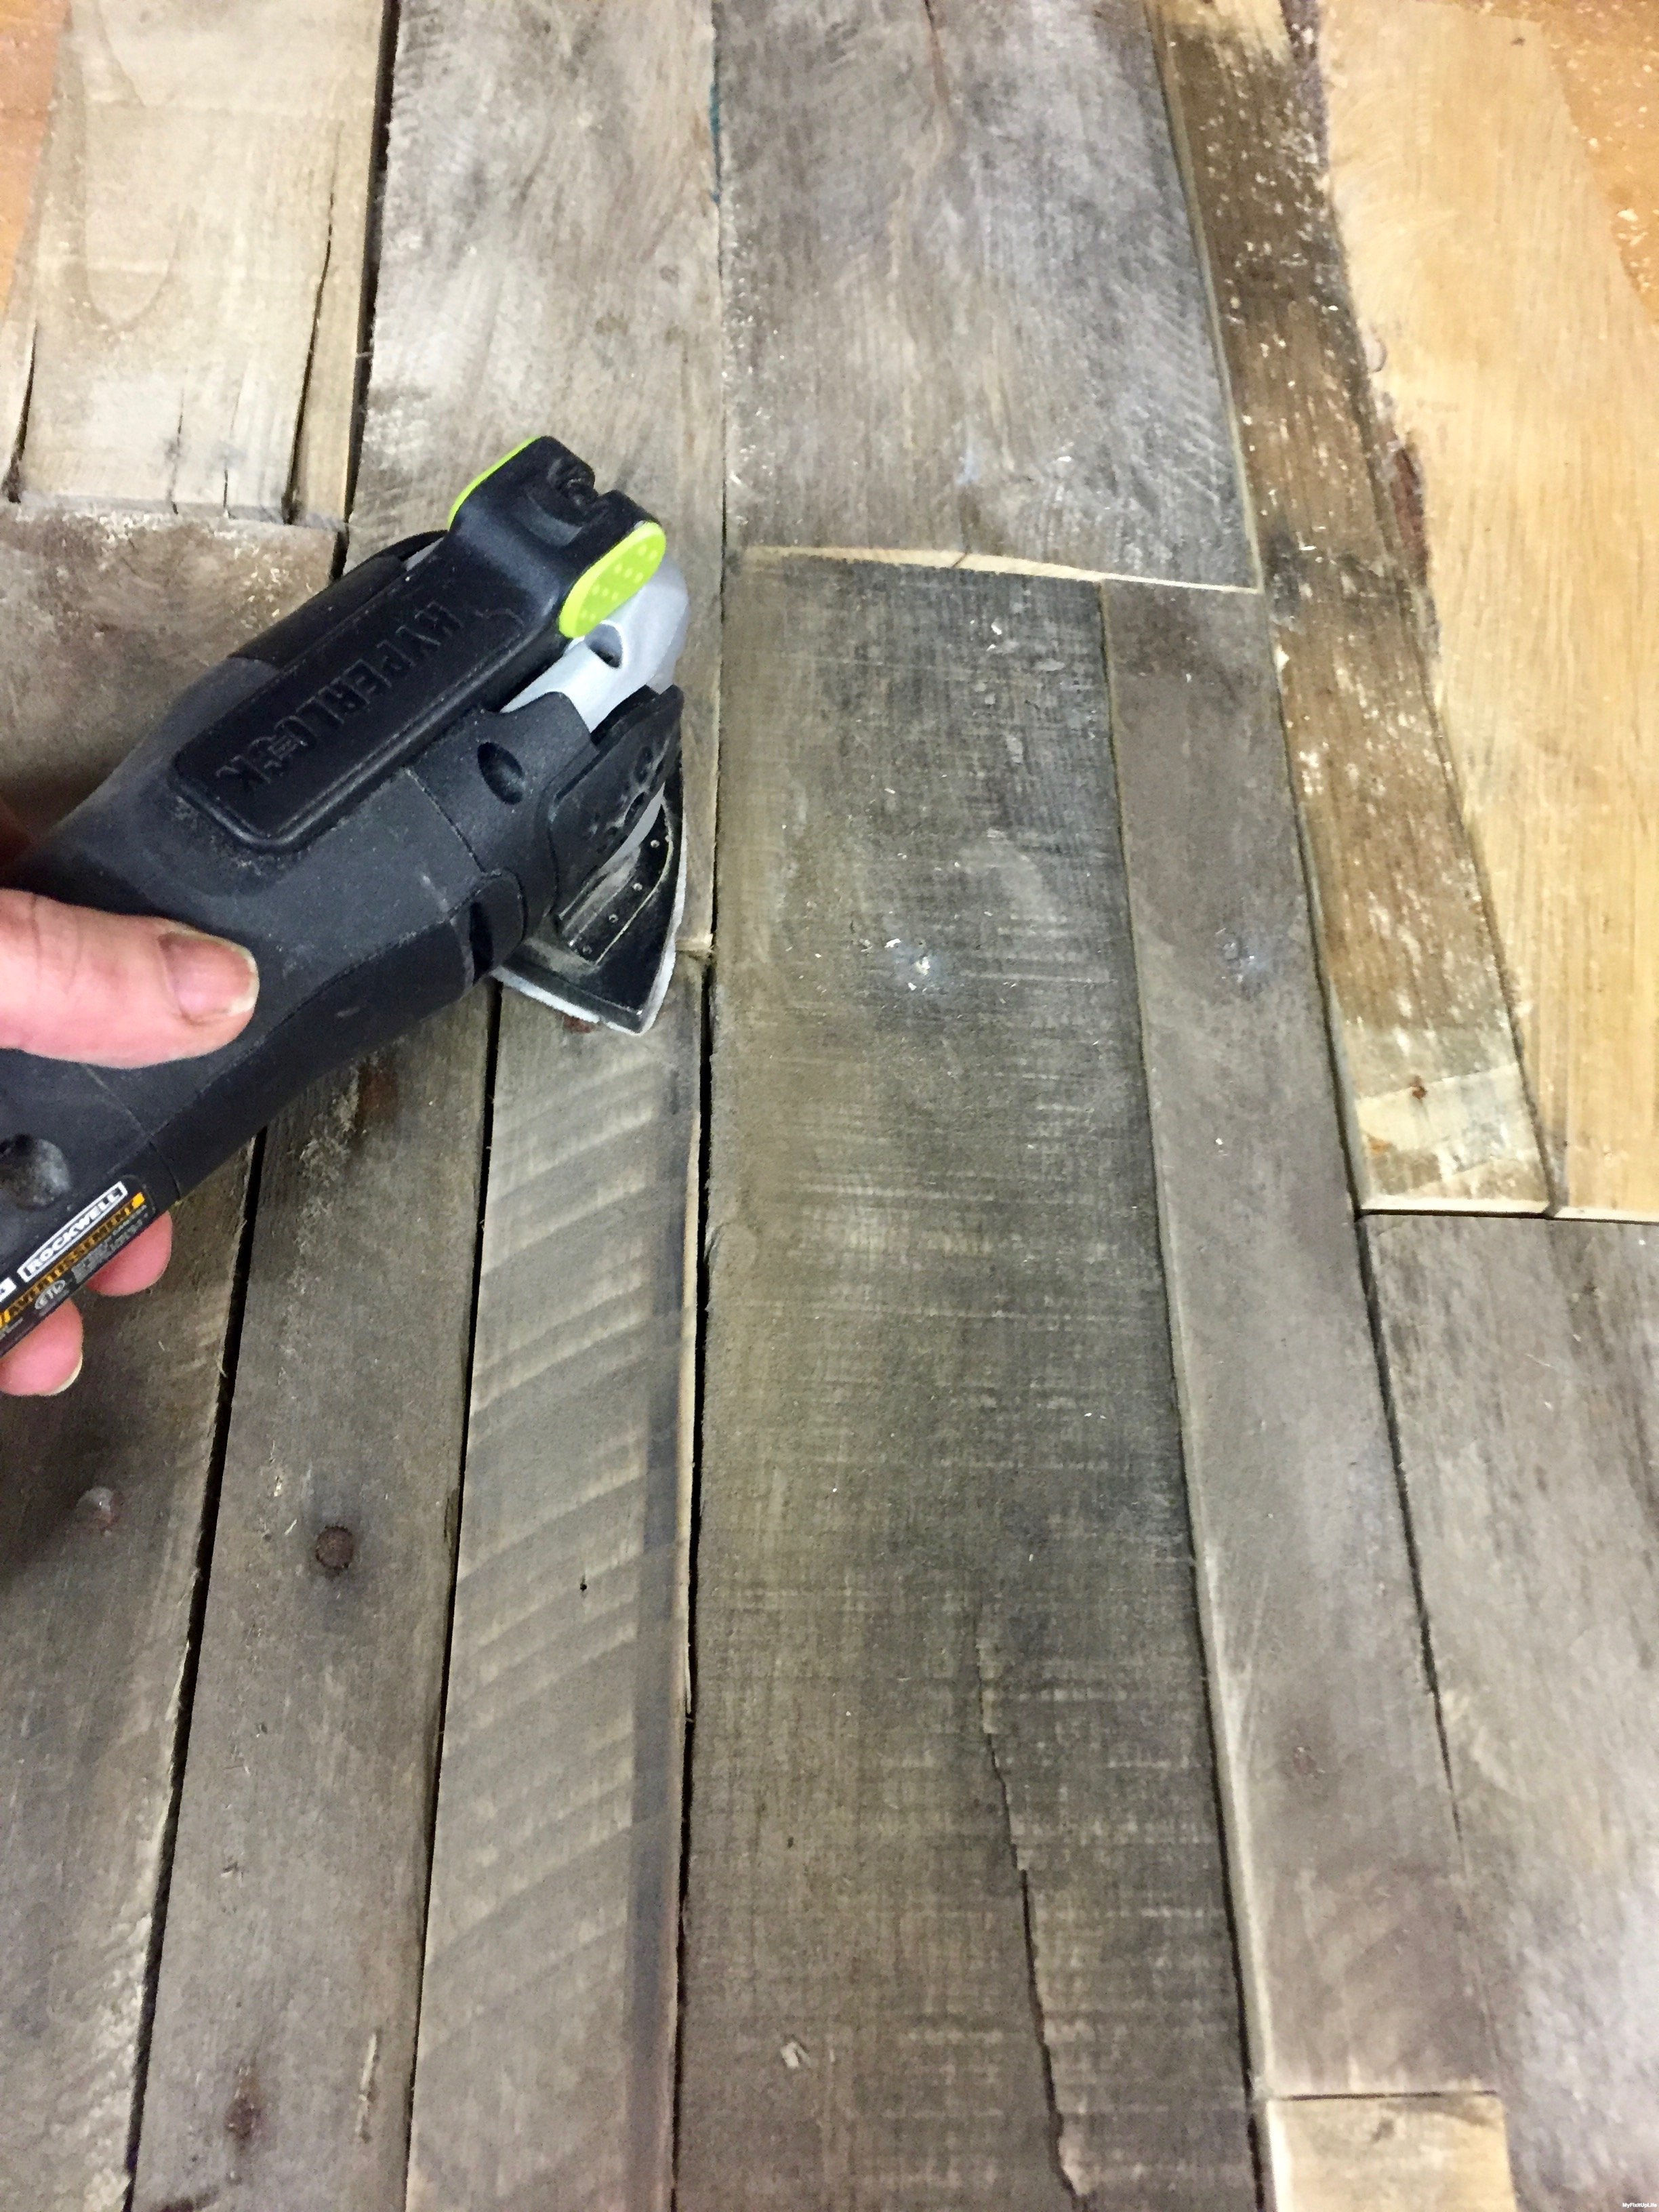
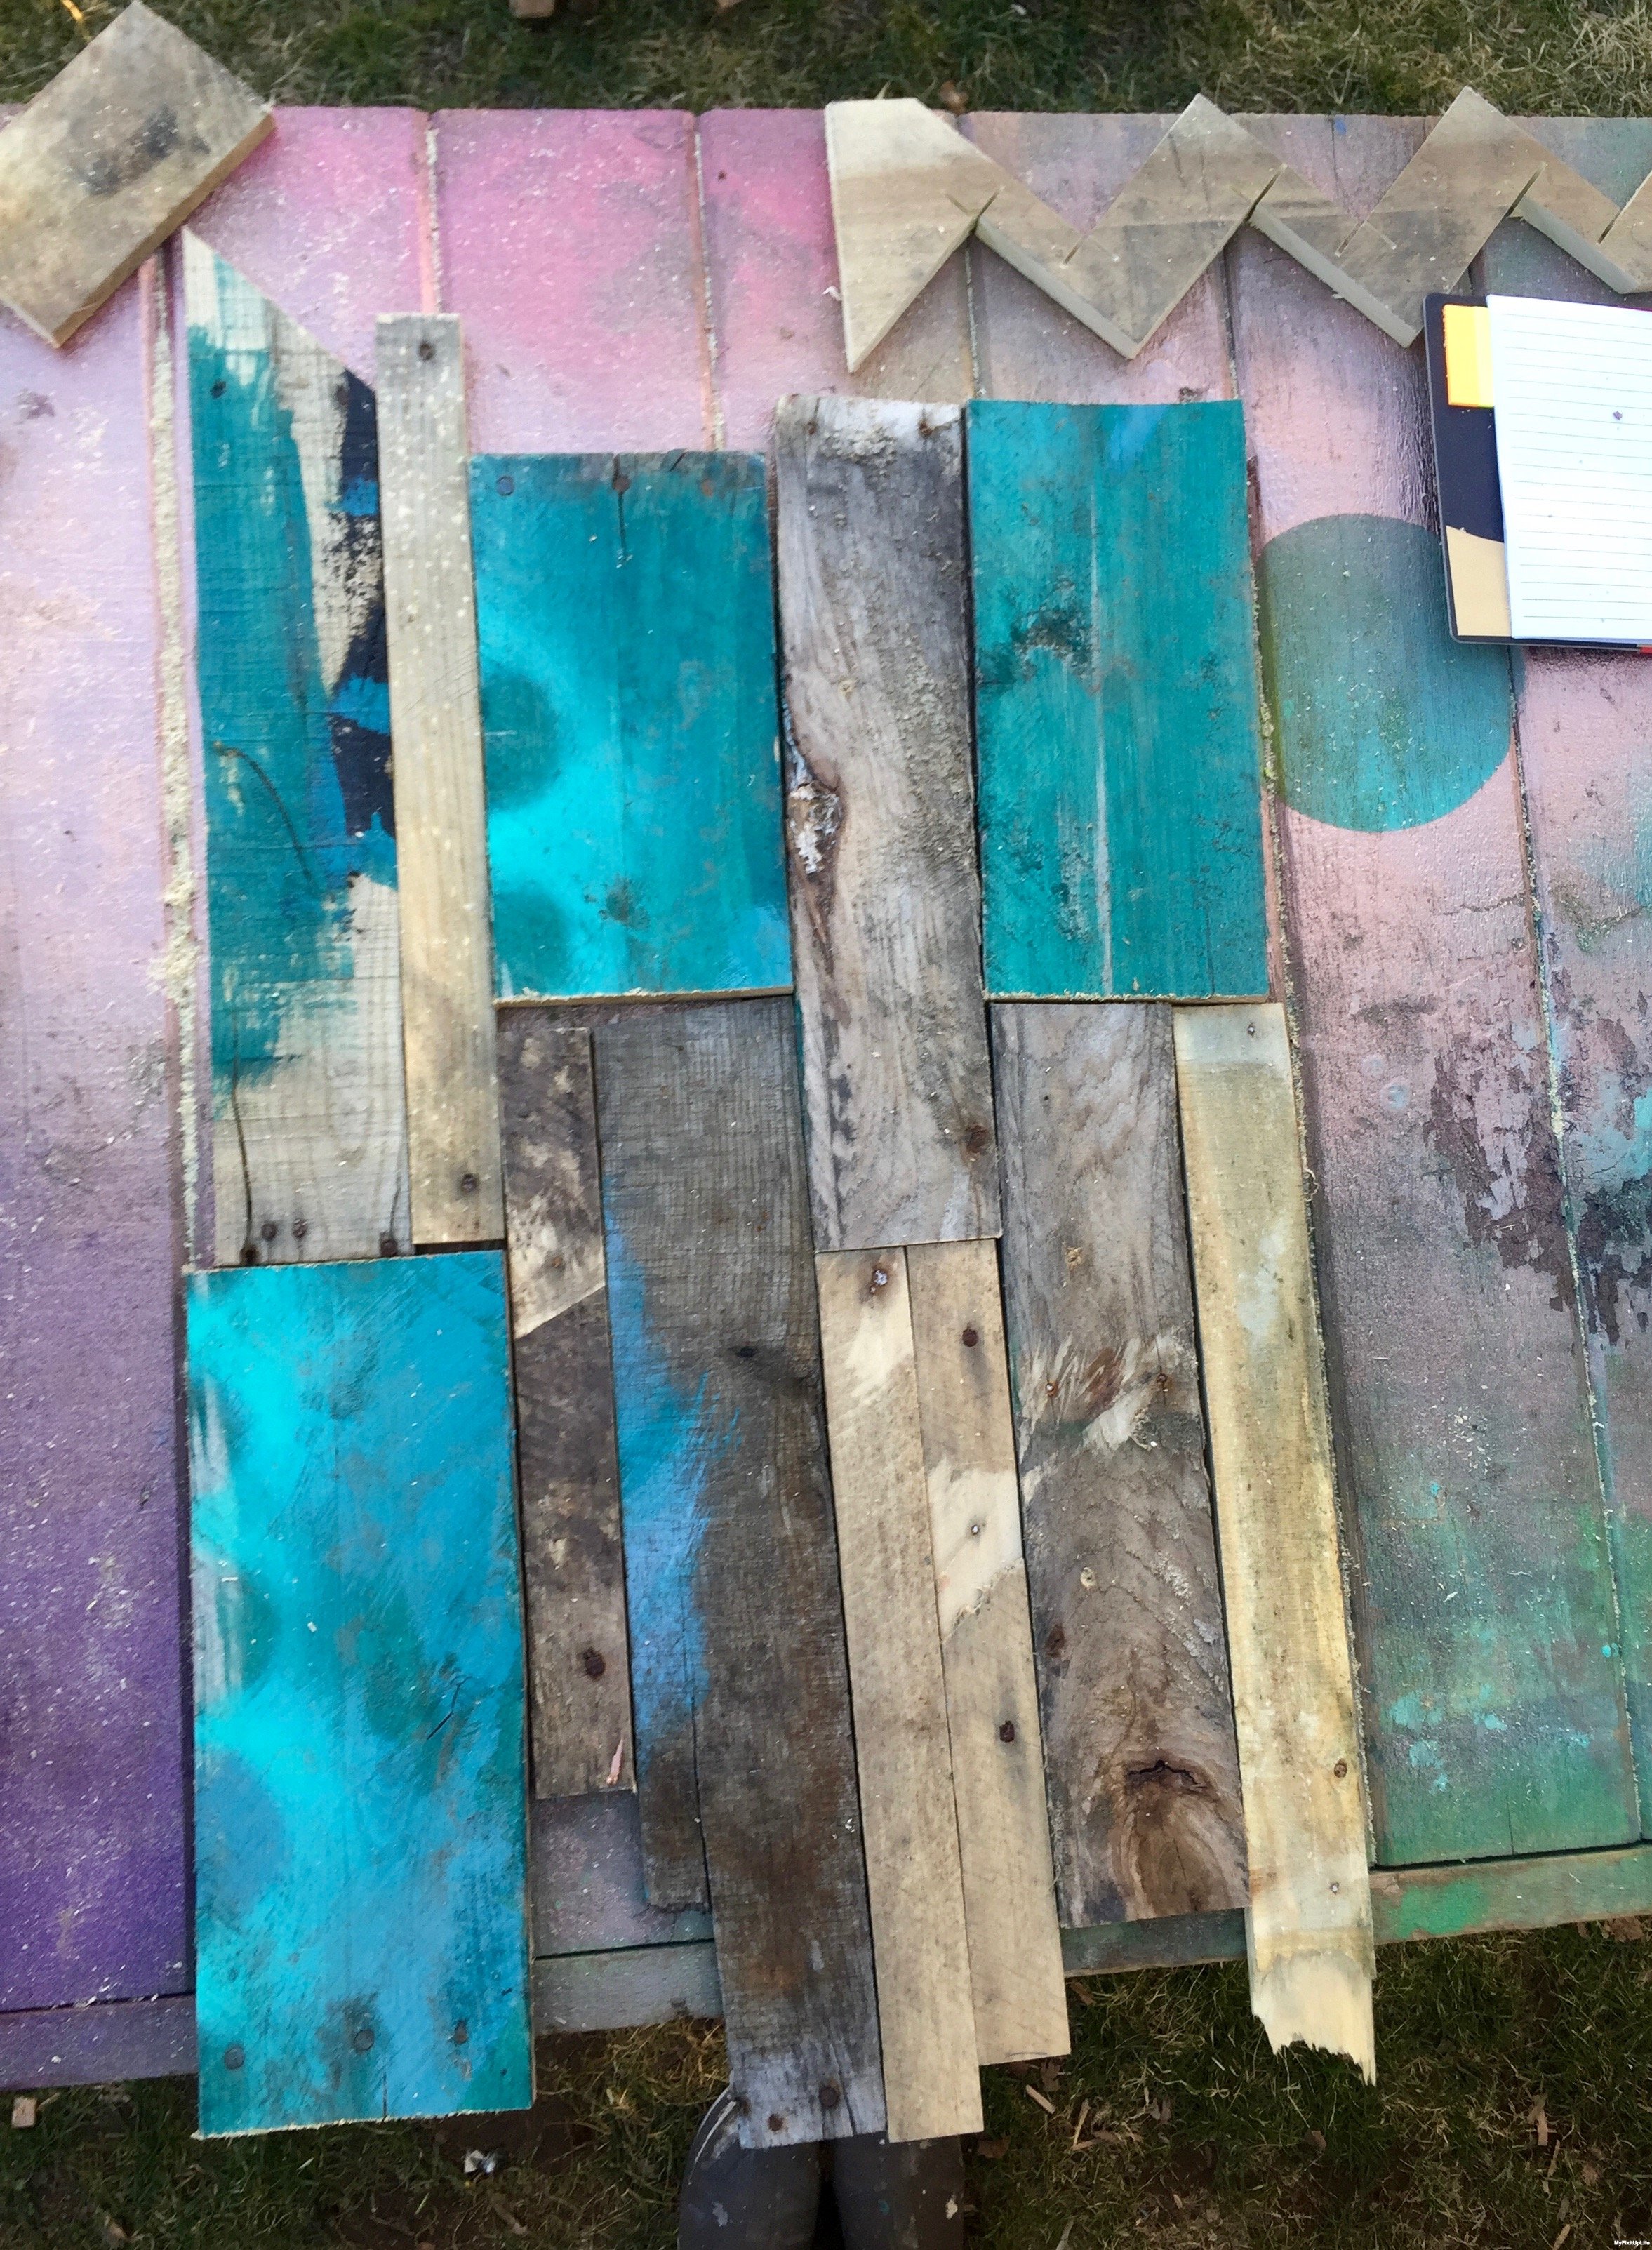 The next part is creating the backer for the wall garden. We have a collection of small pieces of pallet wood, so it was a patchwork project fitting them all together.It would be much easier with long boards.


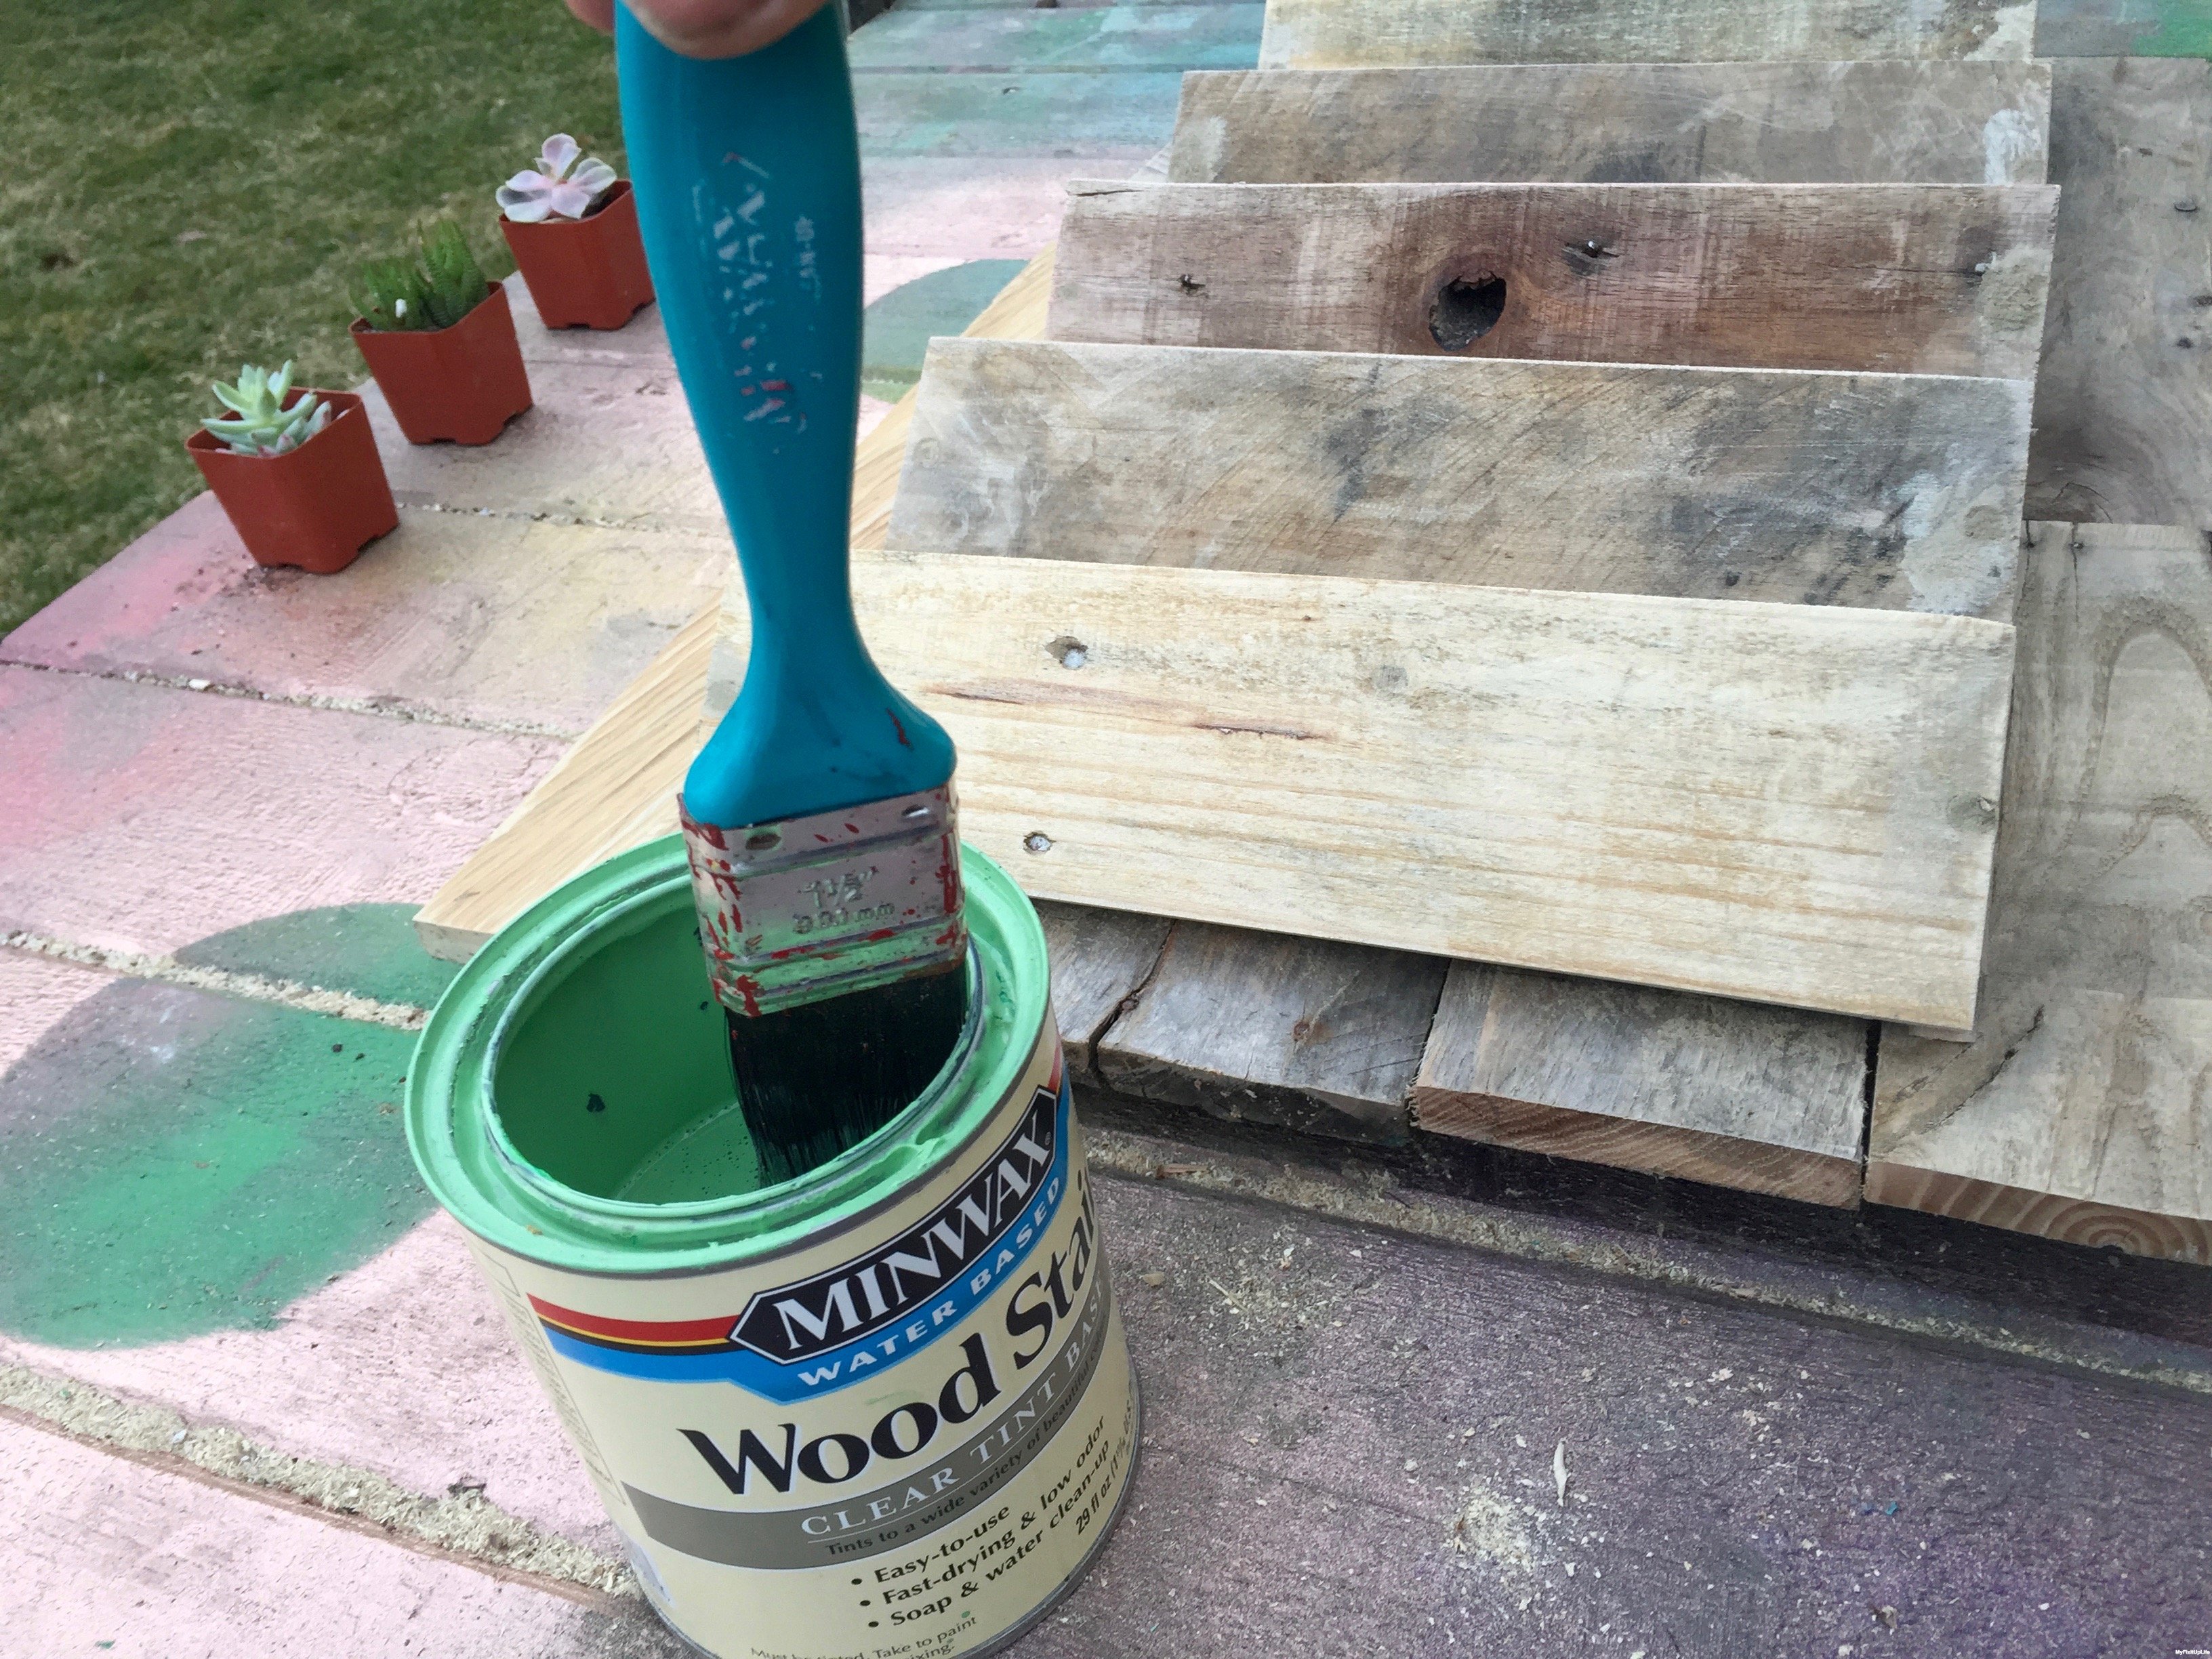
 The first step in staining involves some Minwax® Water Based Pre-Stain Wood Conditioner, which helps promote a uniform acceptance of stain. When working with pallet wood, I definitely recommend using a pre-stain. After the pre-stain is dry, which is about 15 minutes, lightly sand the finish before applying the stain.
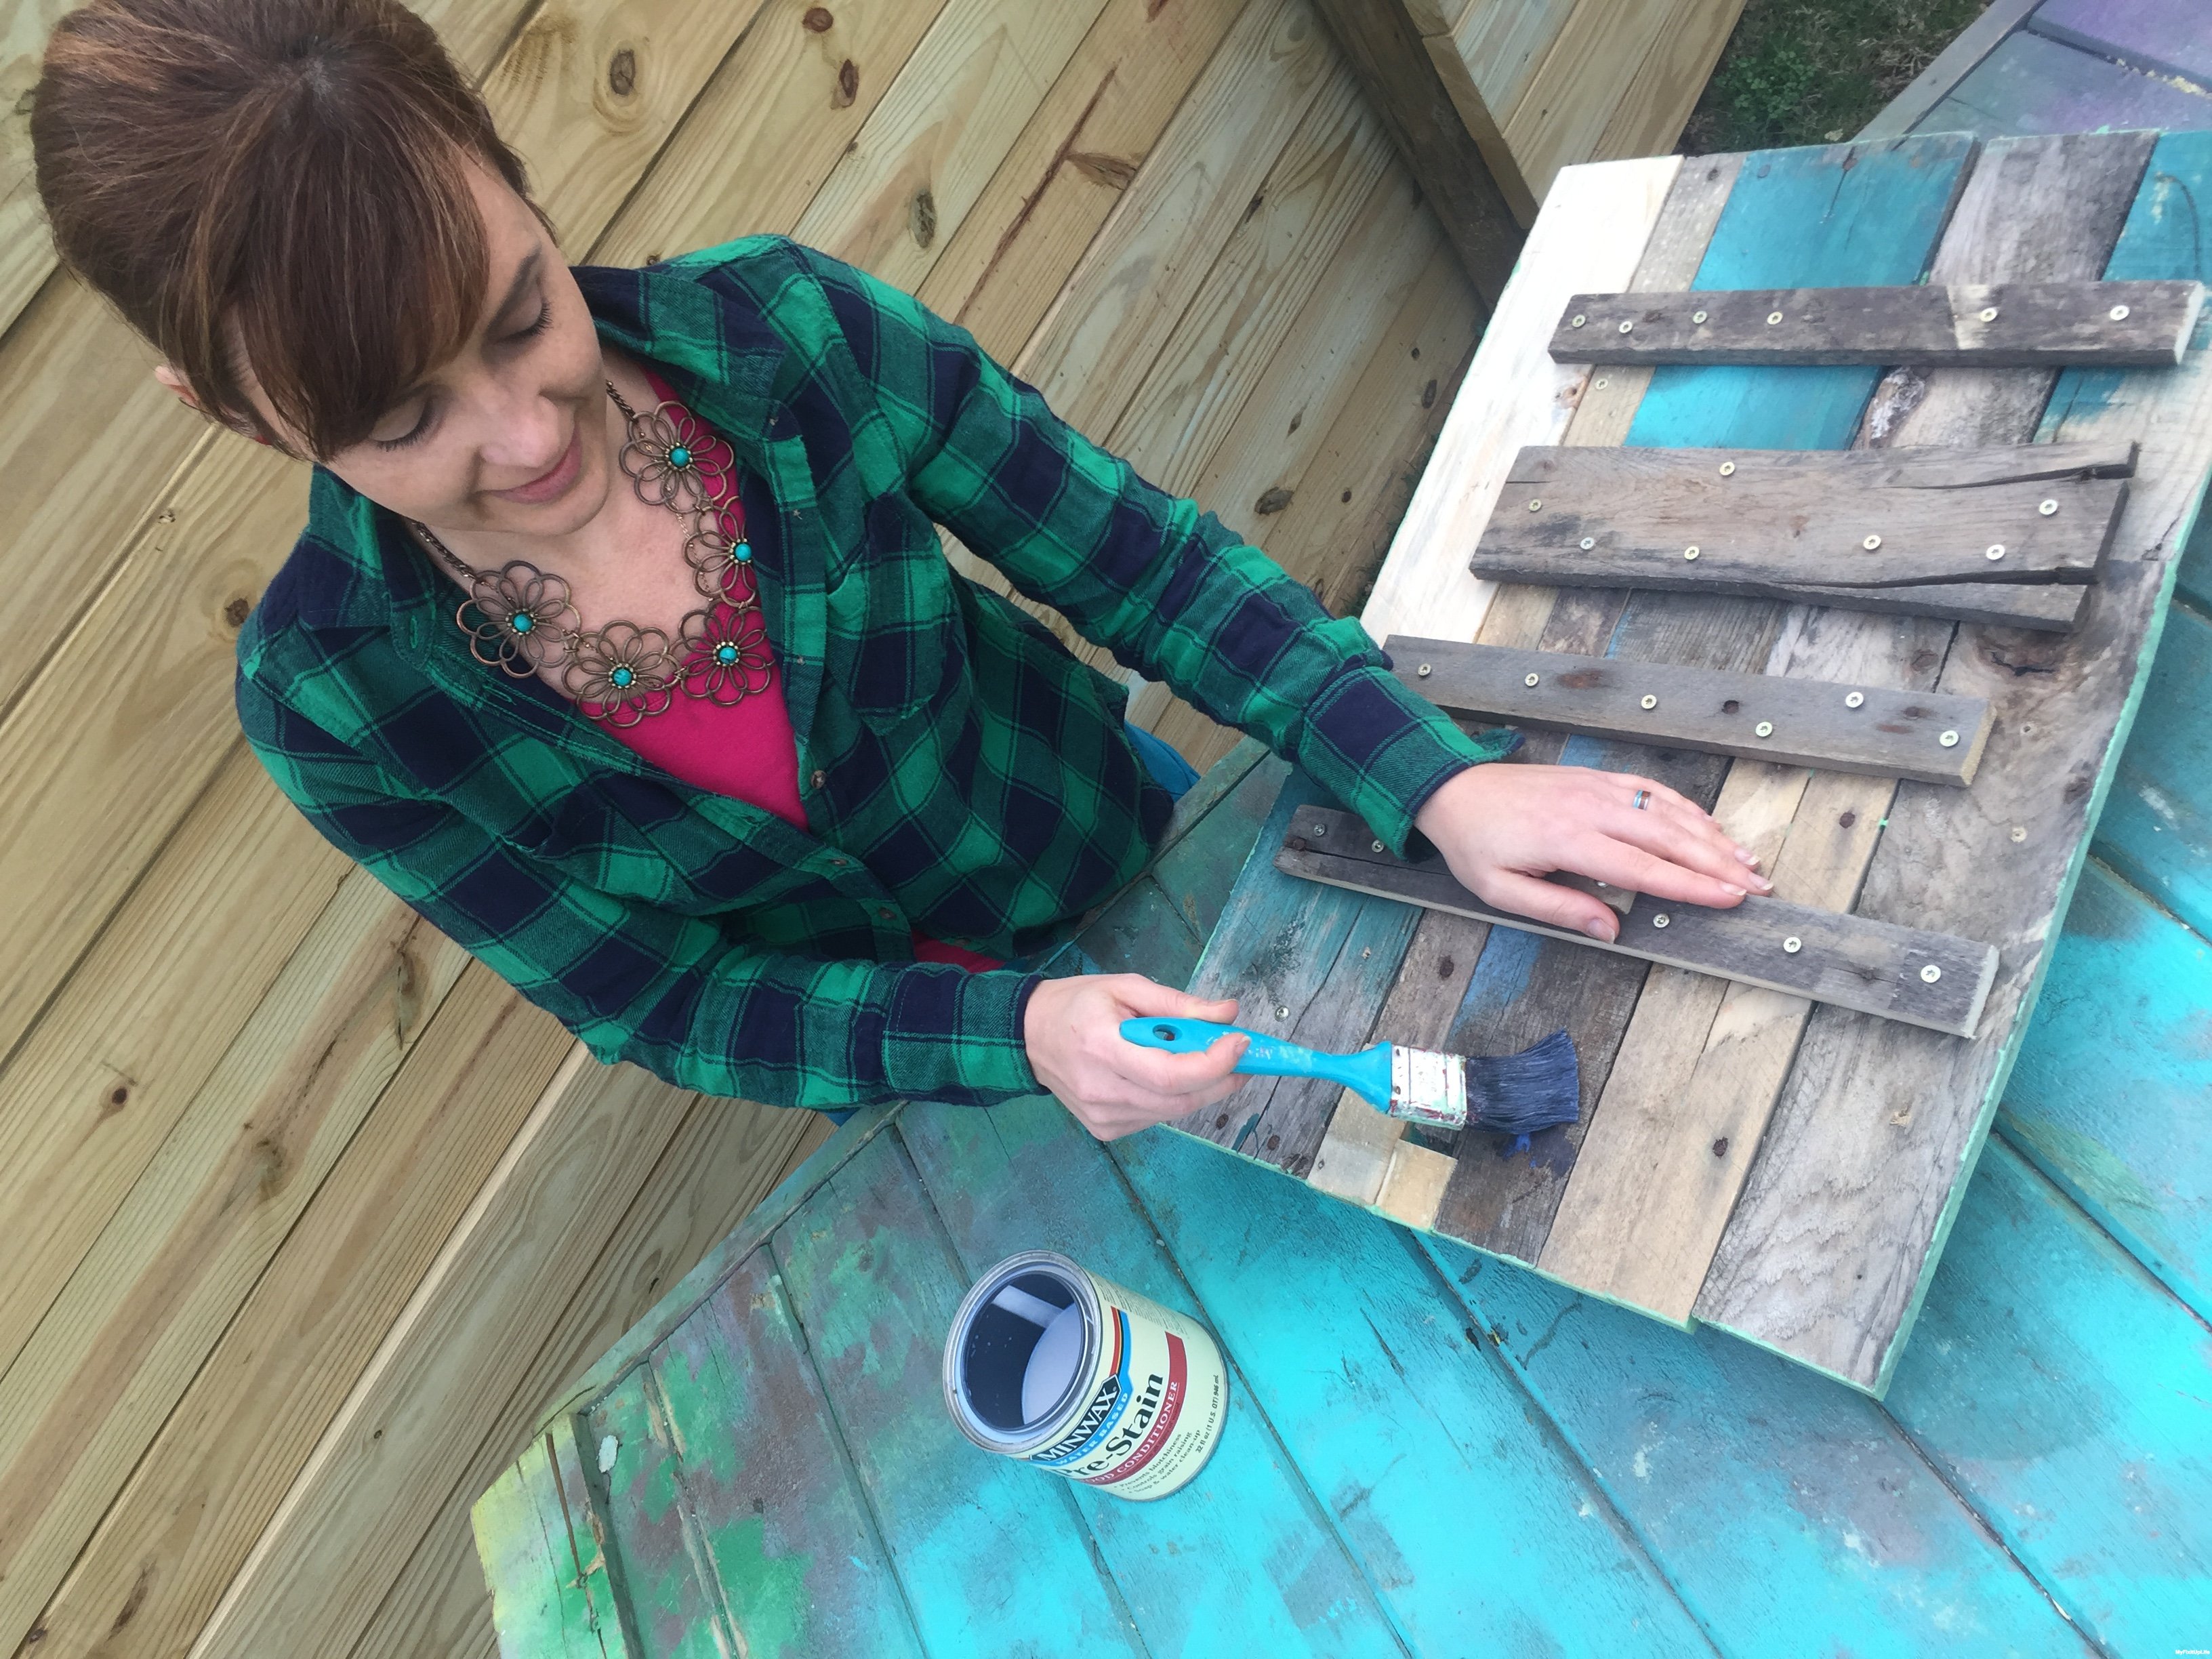
 There’s something magical about opening a can of color. I chose Minwax® Based Wood Stain in Antique Jade. I always make sure to carefully dip the brush so not to get too much on the brush for the first few passes.
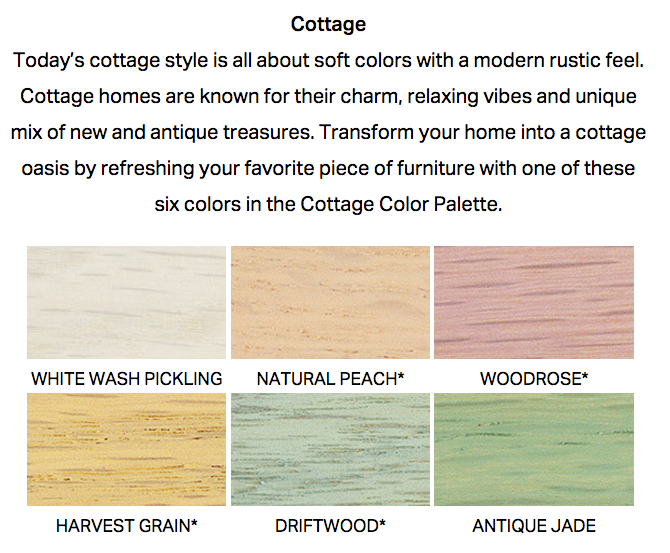 The Cottage collection from Minwax® has a really sweet color palette of charming colors, perfect for a farmhouse style home.
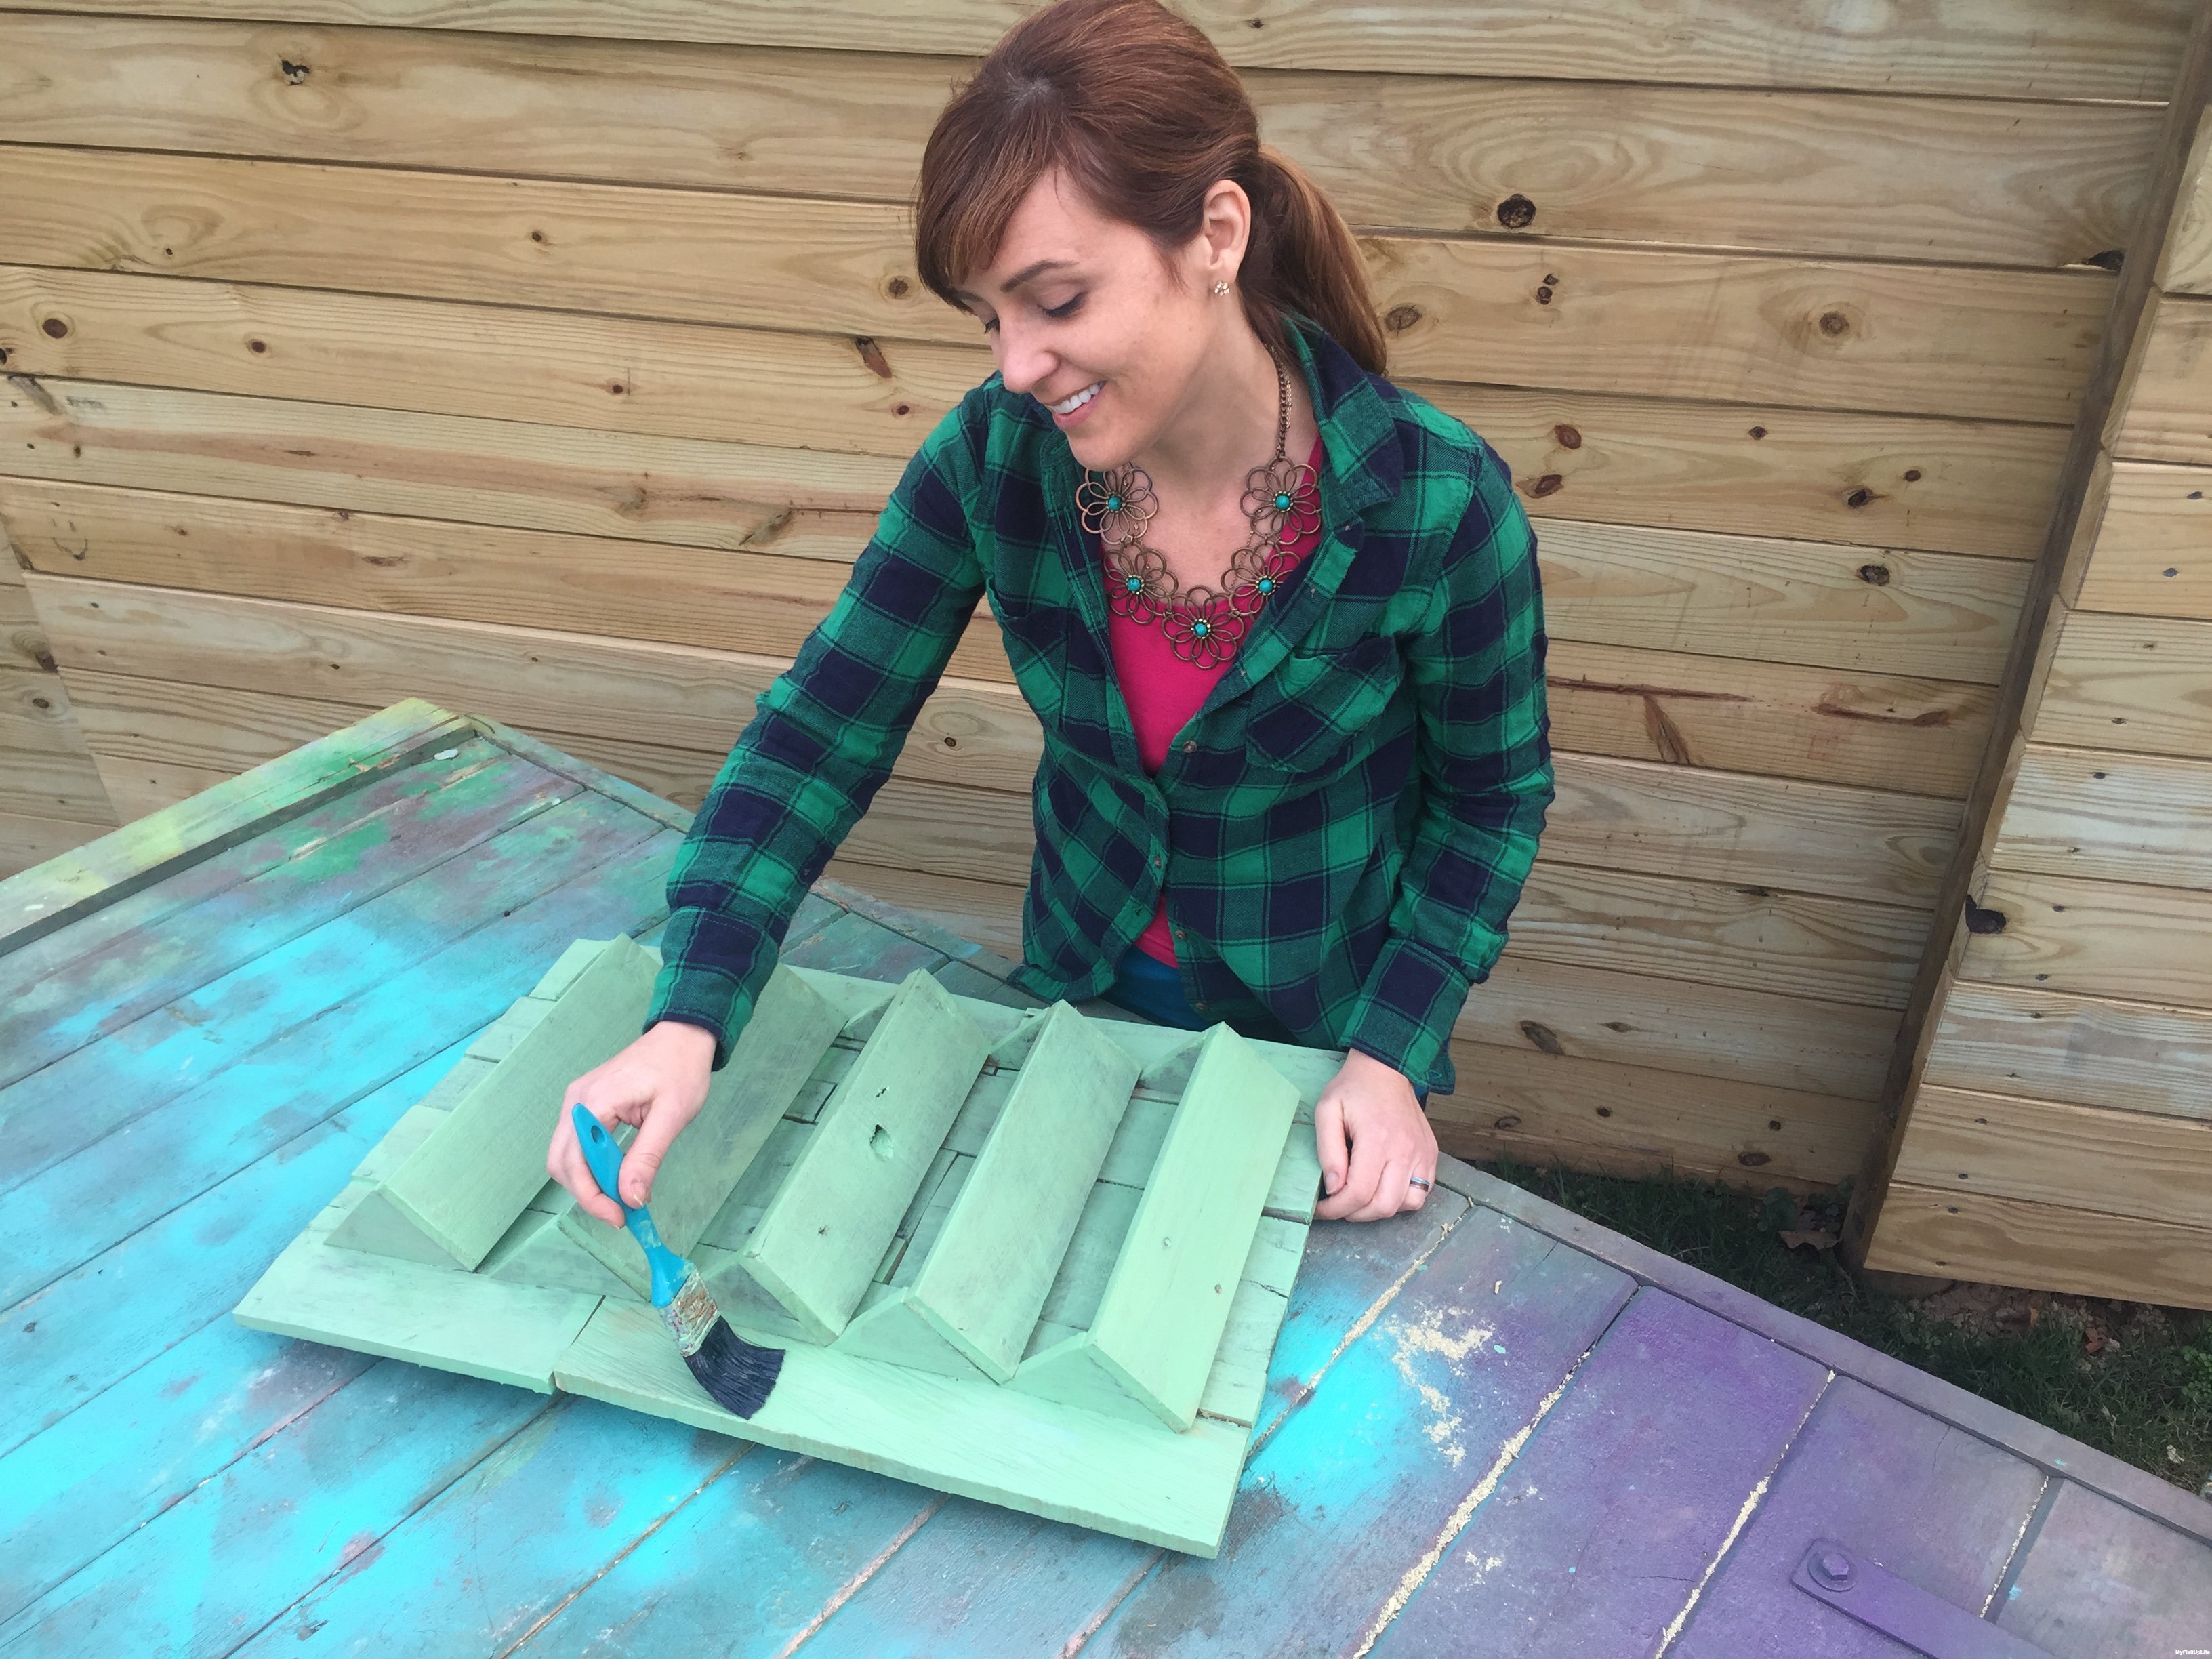
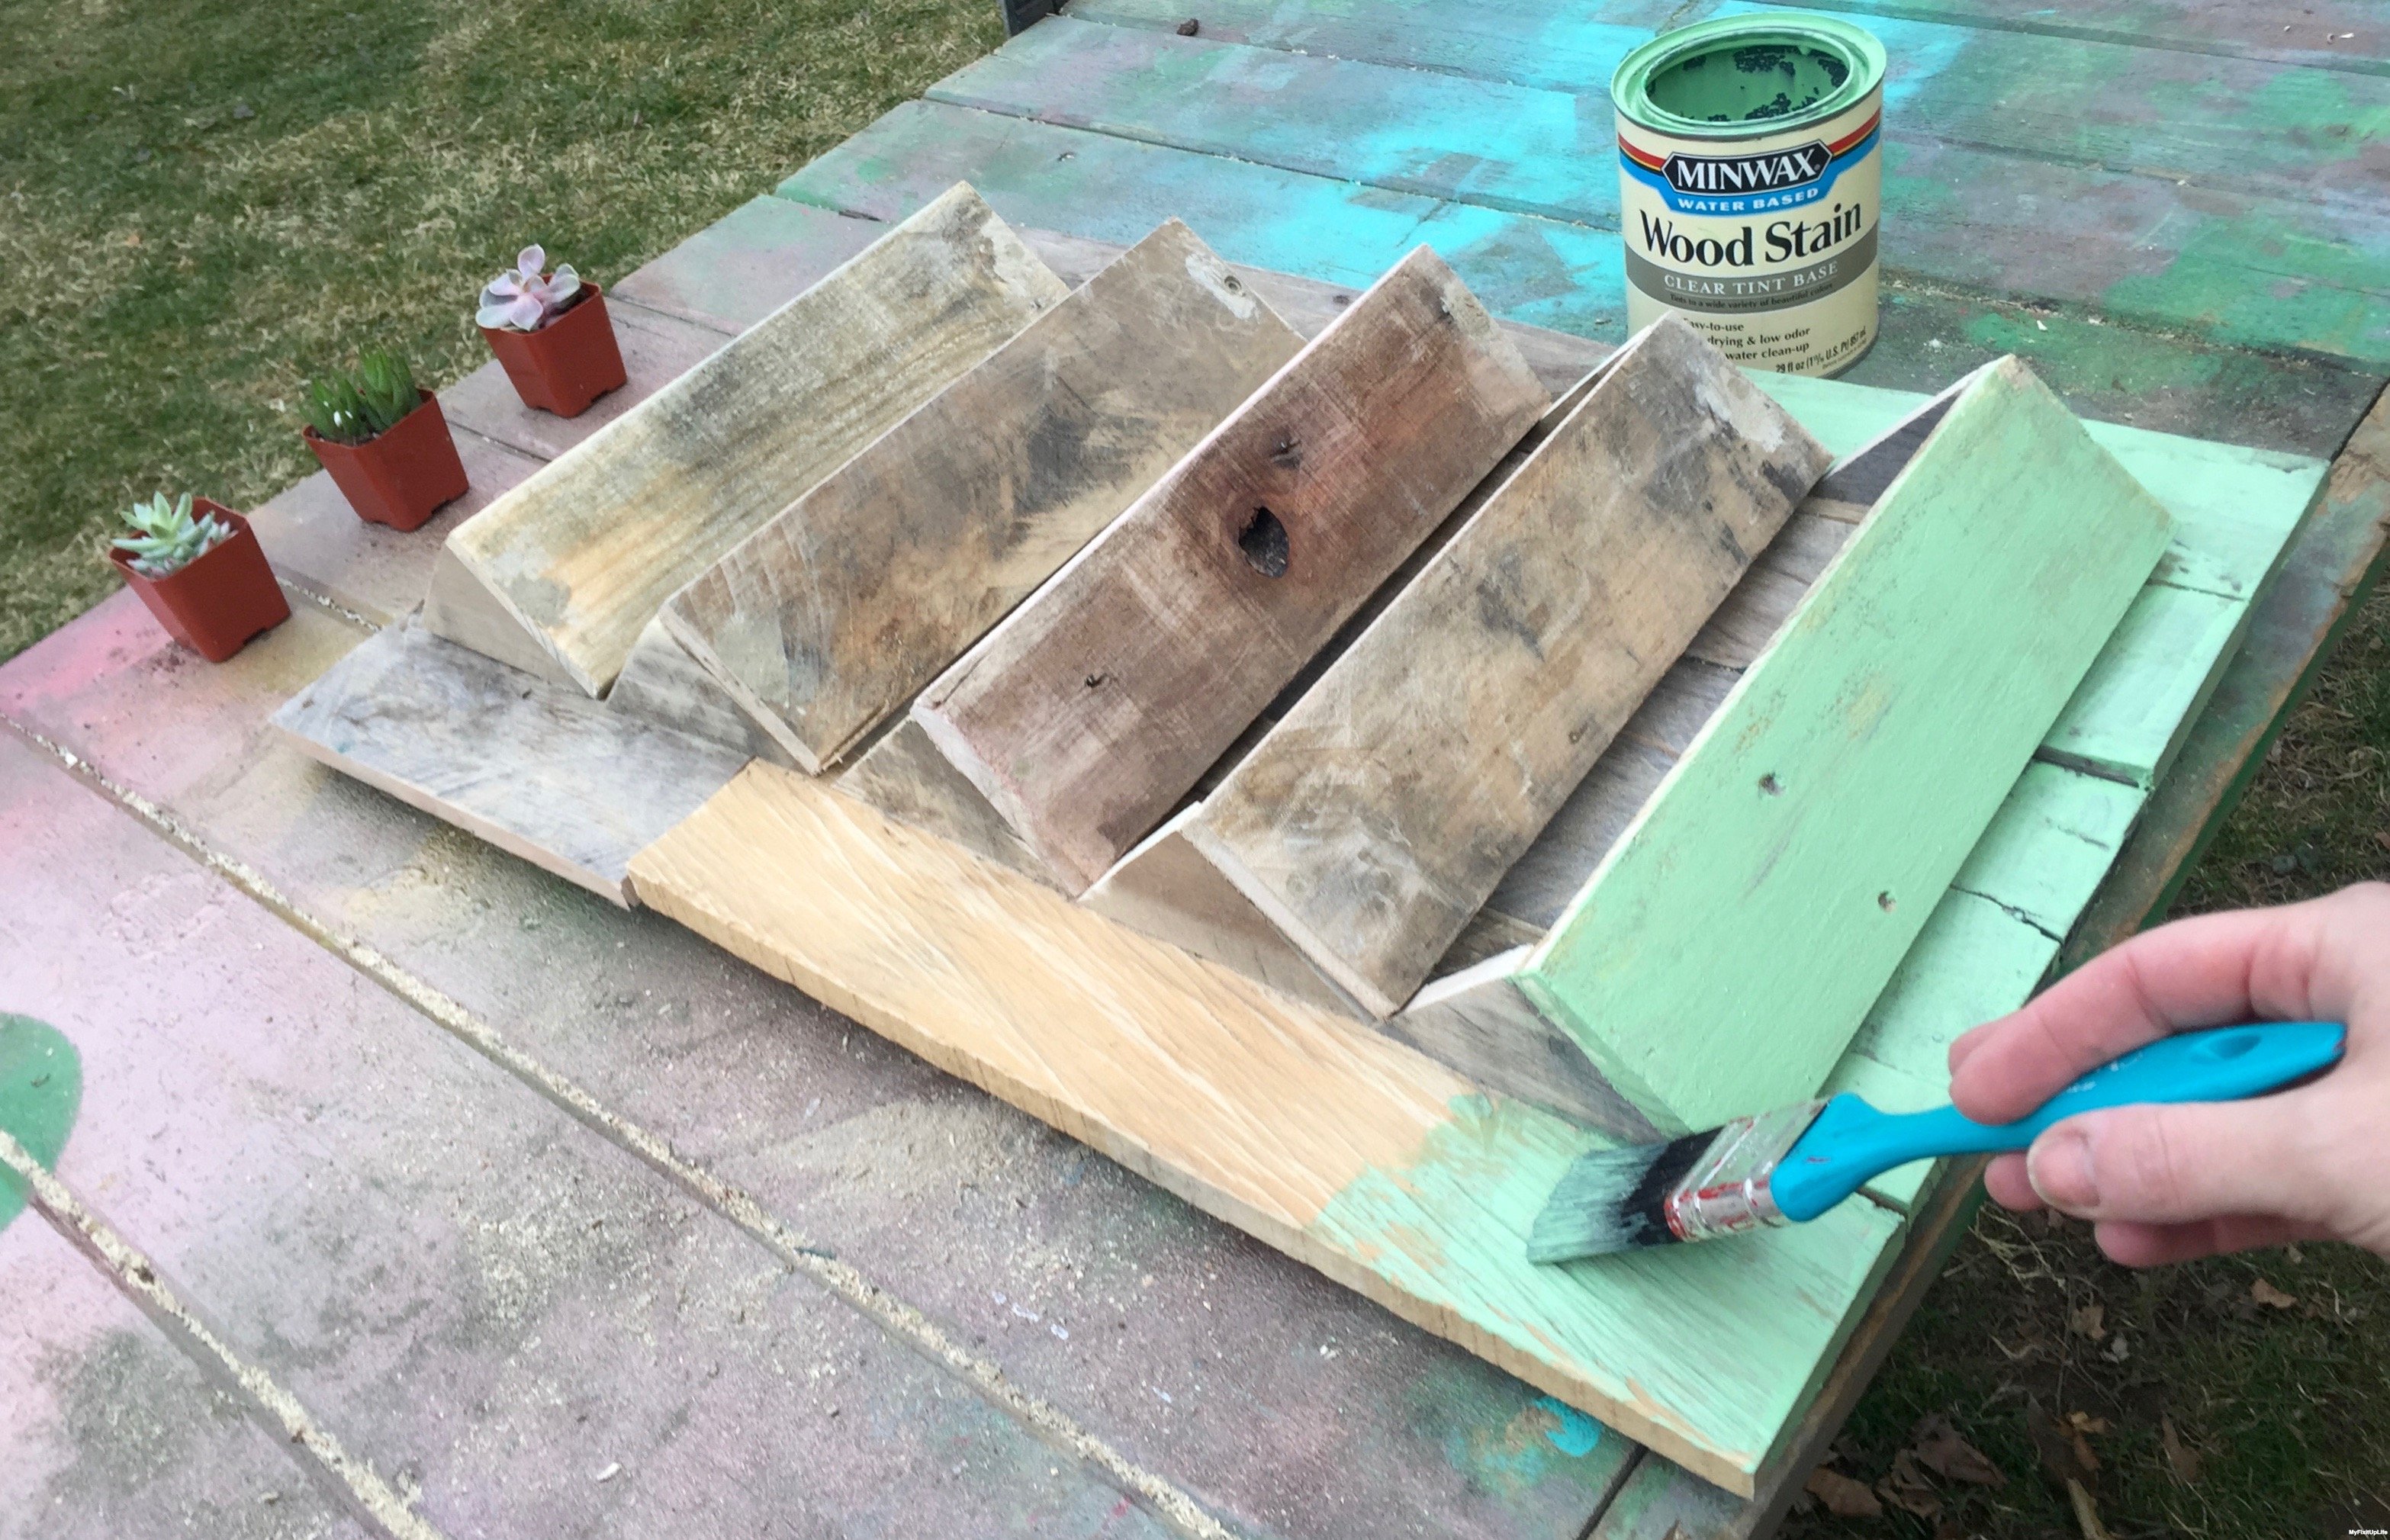 When staining wood, I like to go slow. Rushing a stain project can compromise a really good finish, and this stain will make the project last a very long time.
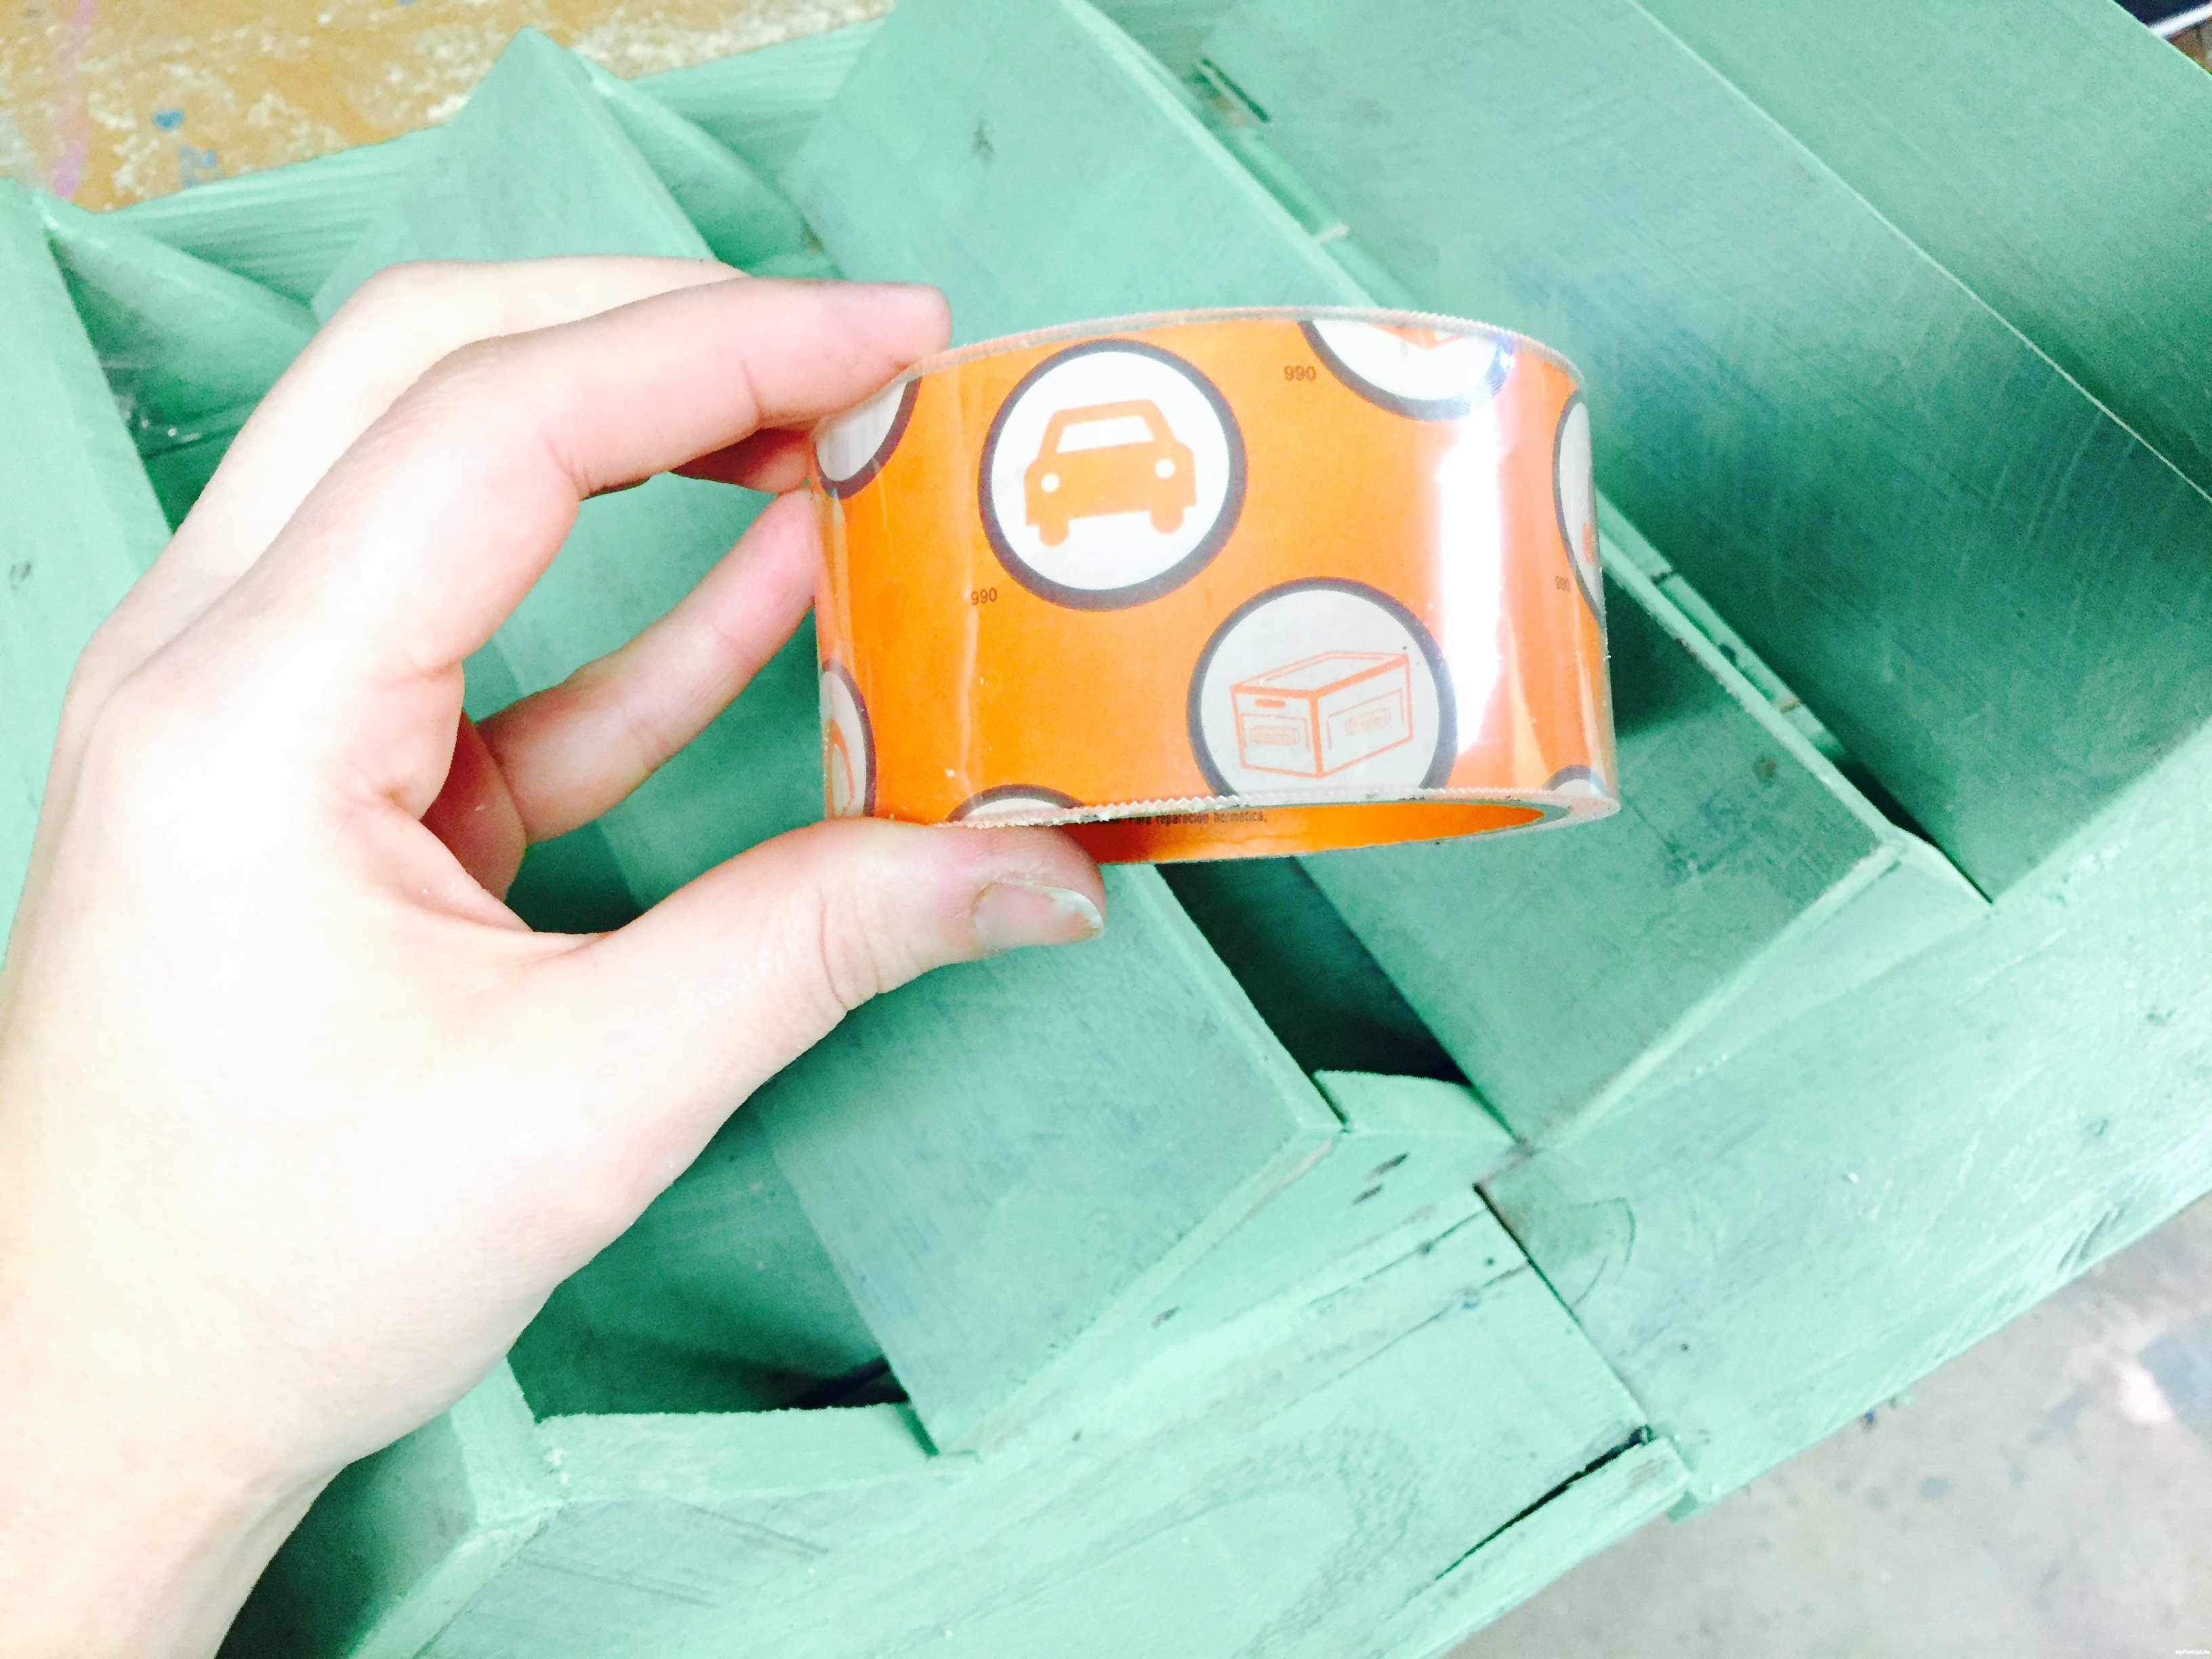 I lined the bottom of each planter box with clear tape, so to add a bit of extra protection against water in the planter boxes.
 The next step is sealing the stain with a protective finish. I recommend using Minwax® Polycrylic™ Protective Finish. It is ideal for sealing light-colored stains.
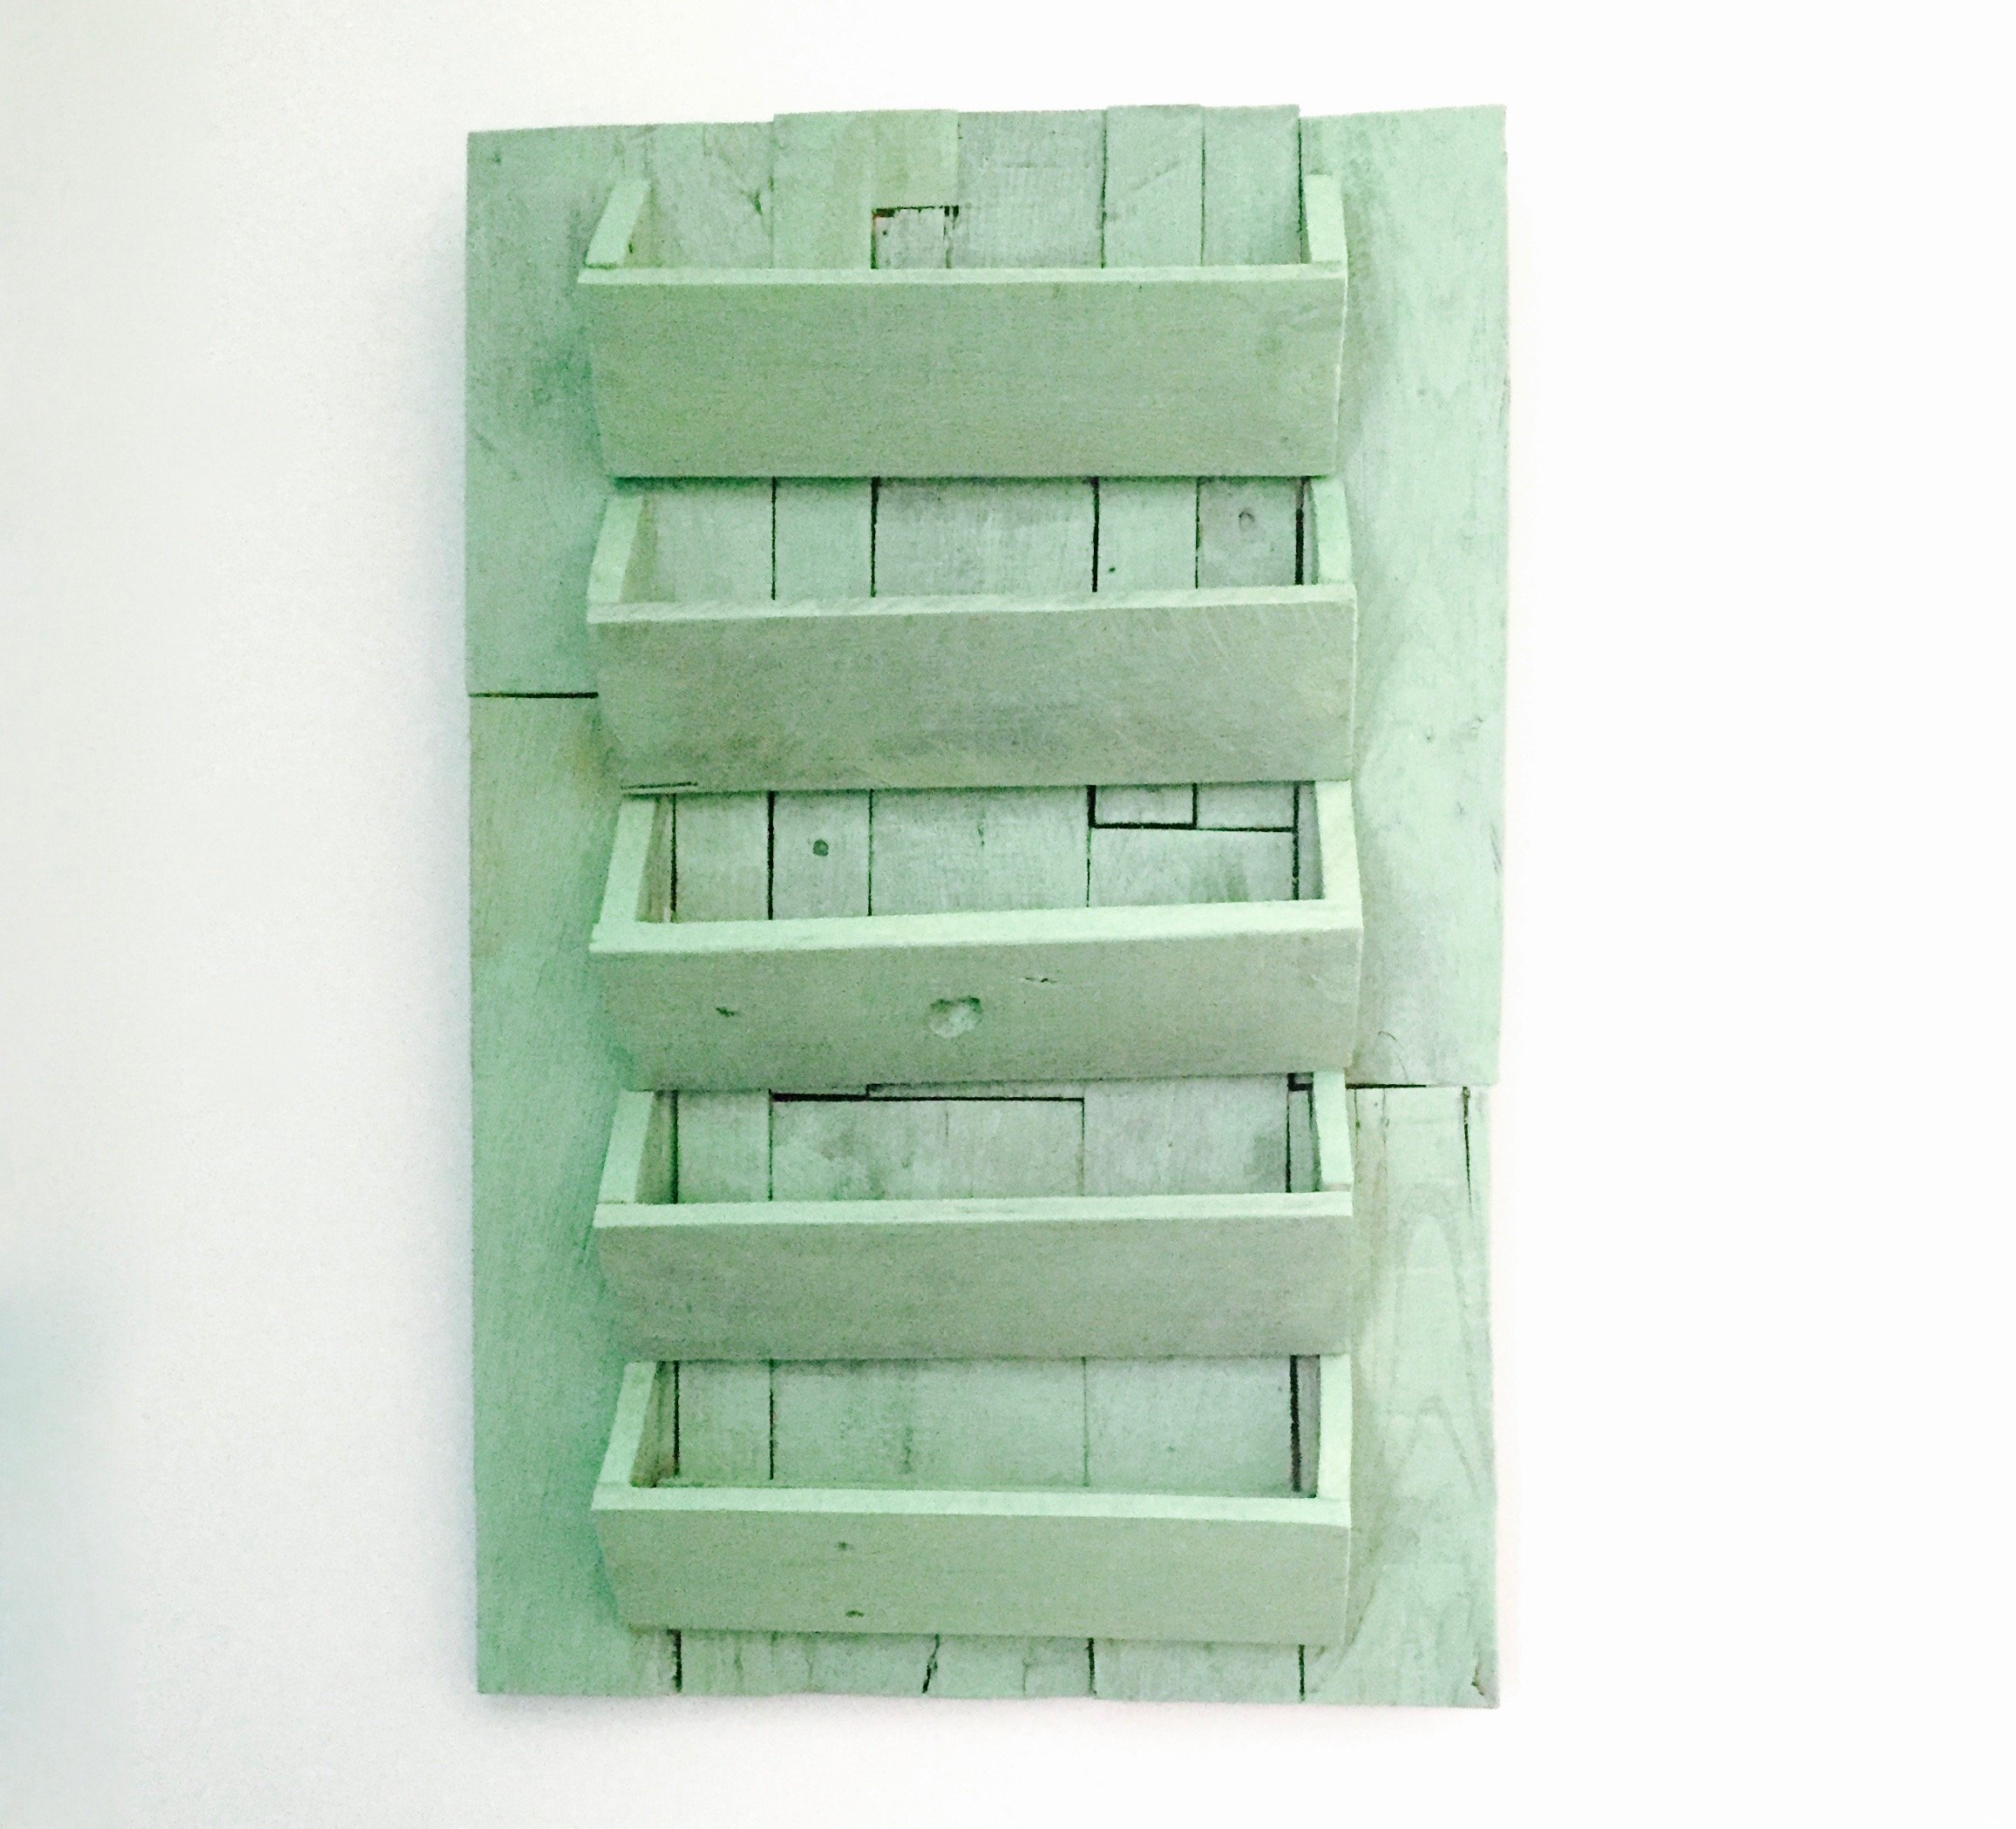 My little wall garden makes me very happy. The stain elevates the look from feeling like a rustic pallet into a sweet little wall art that warms up the room.
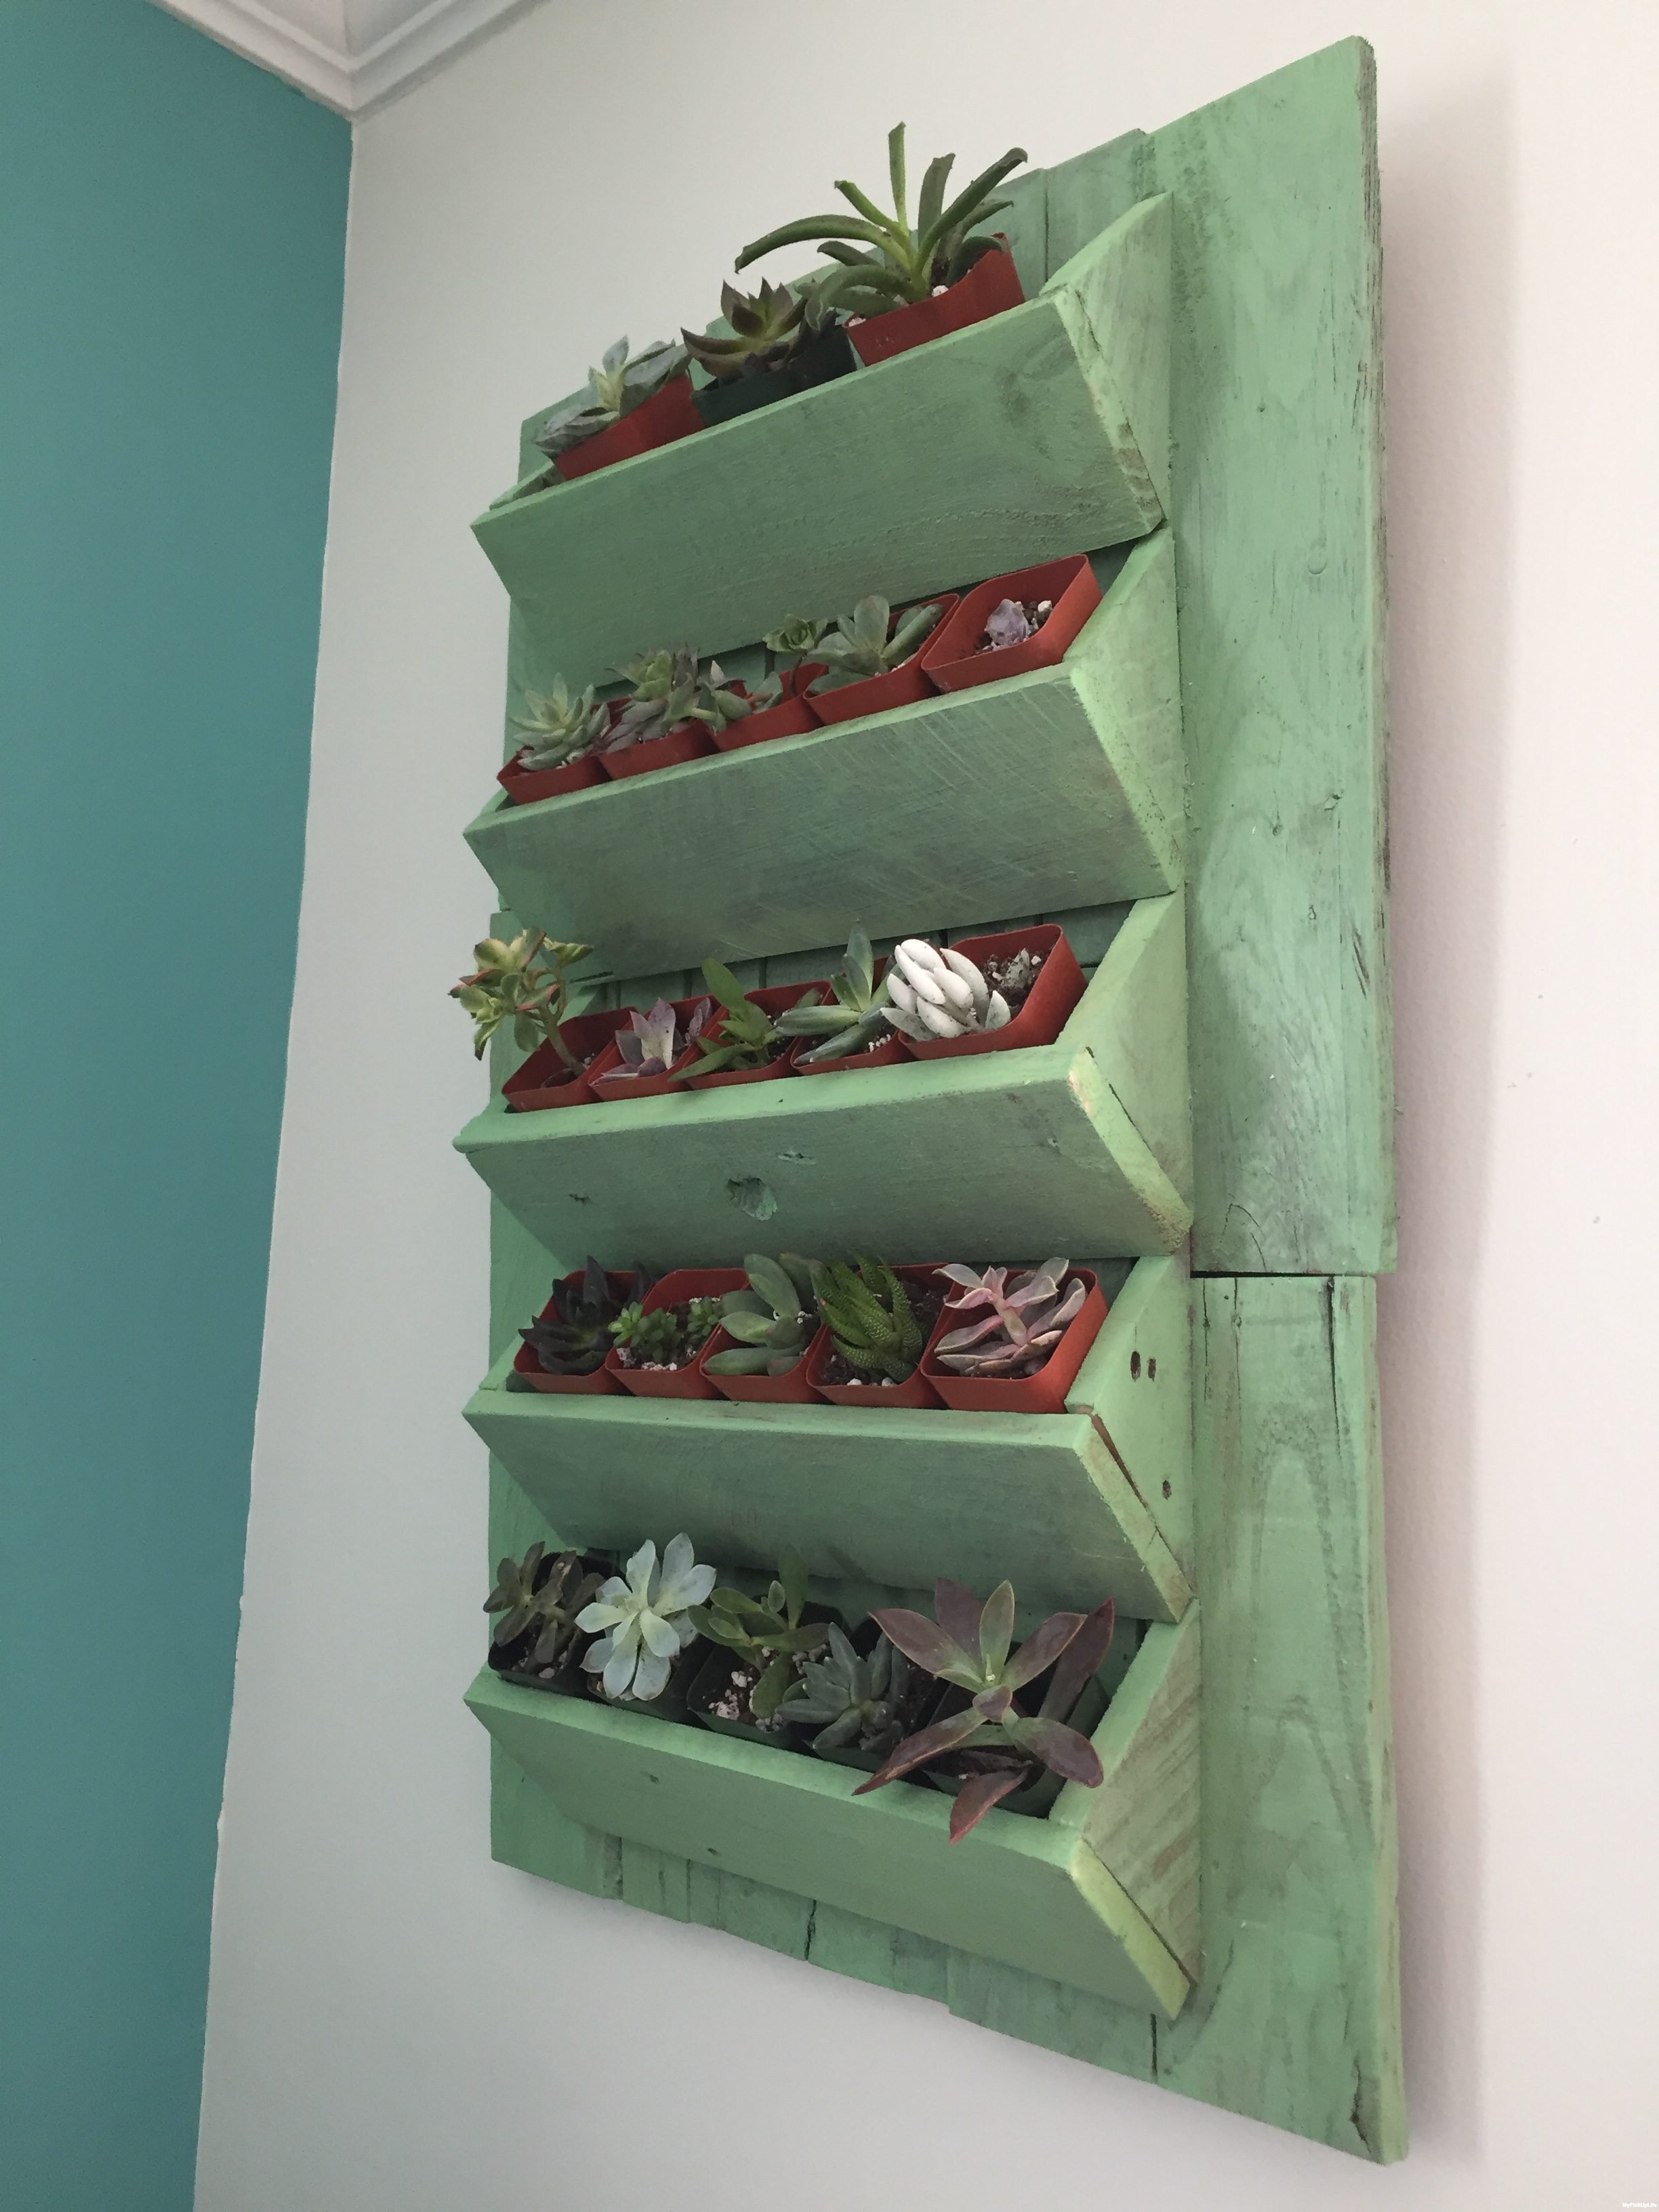 Filled with little succulents, the wall art is a little pop of bliss in my home. Enjoying succulents in a new way, I’m happy to have spent the afternoon creating this project for my family to enjoy year-round.
MyFixitUpLife shares design inspiration, DIY tips, and behind-the-scenes interviews MyFixitUpLife’s husband-and-wife duo, Mark & Theresa, design, renovate, and share how-to tips to make your projects easier and more fun.