

Guest blogger Stacy Risenmay of Not JUST A Housewife uses Minwax® to create a simple frame.
I have a picture frame addiction. When Shane and I first were married, I would save my money and then pick out a new picture frame. As poor newly weds, a frame was a total splurge. Sometimes when I find a cute print or my kids draw me a picture, it will be an odd size and won’t fit into the standard size frame. That is when it is handy to know how to make your own frames!
There are many different ways to make a frame but I tried to think of a way to show you that used minimal tools for those of you who may not have a joiner or a router. I have partnered with Minwax® to bring you this simple DIY tutorial 🙂
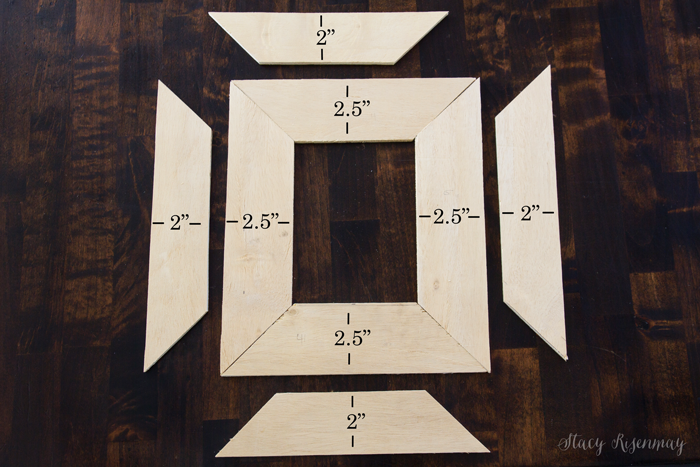
I had a long skinny piece of 1/8″ plywood that got stuck in the back corner of my garage because I wasn’t sure what I would be able to do with a piece that size. When I was thinking of this frame, I knew it would be a good choice for this project. I cut two sets. One set was wider by about half an inch. I used my miter saw to cut the ends at 45 degree angles. You could also use a miter box.
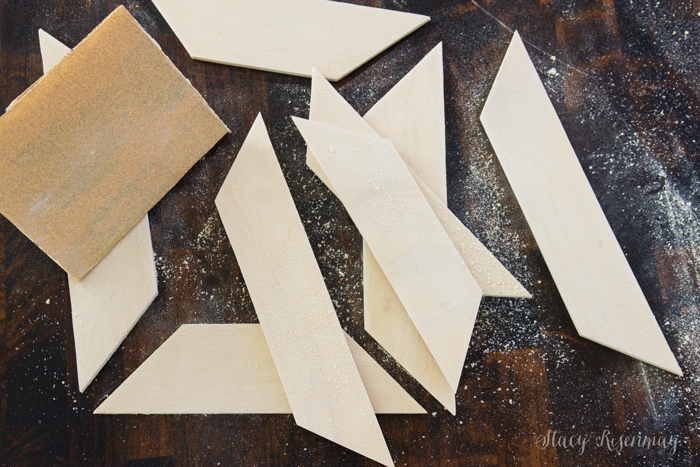
I sanded all the pieces with a fine grit sandpaper. Be careful not to round the edges.
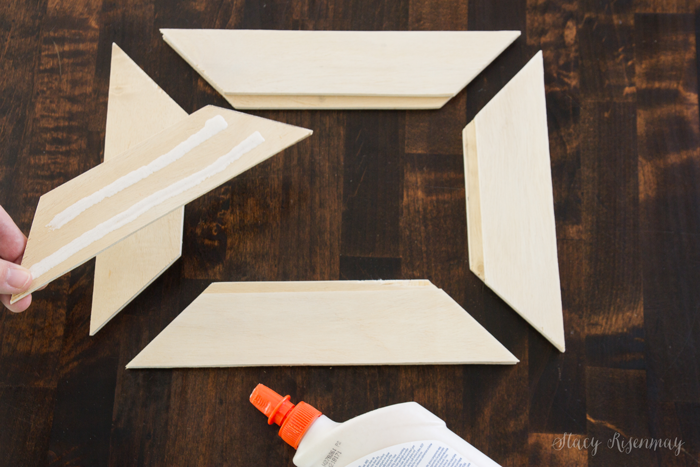
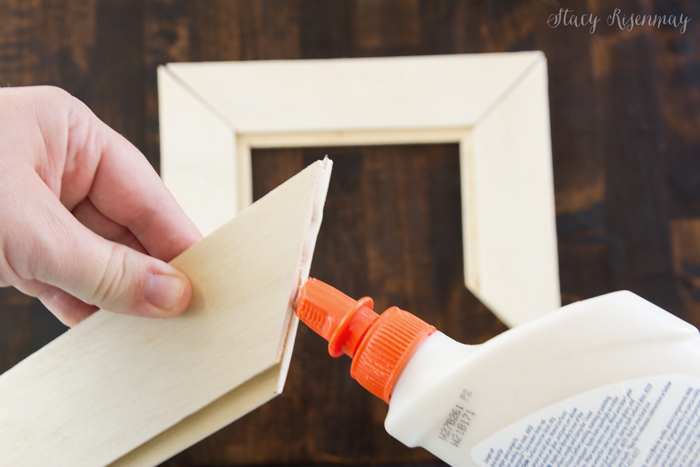
You will glue the skinny set to the wider set which creates a grove (that normally a router would make) for the glass to sit in.
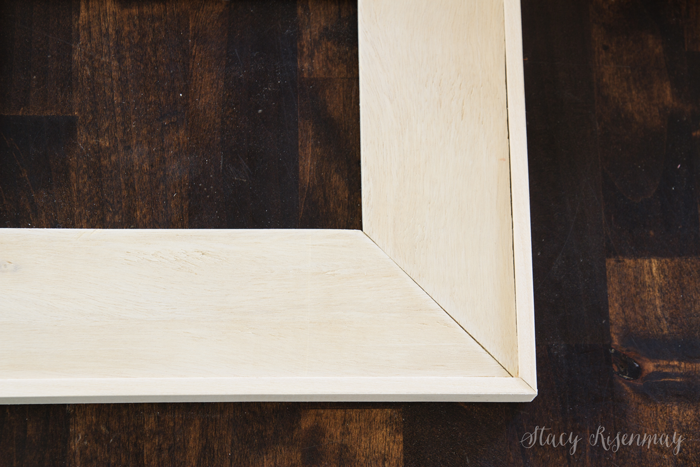
After the glue dries, you can now glue the frame together at the corners.
You can use corner clamps to hold them together or if you don’t have them, use heavy books pressed up against the edges to keep it together while it dries.
After it has dried, add some thin trim to the edges for added detail and to hide the edges of the two pieces of plywood.

Clamp or use the book method again to hold it together while it dries. If you need to putty any gaps, use a sandable, stainable putty.
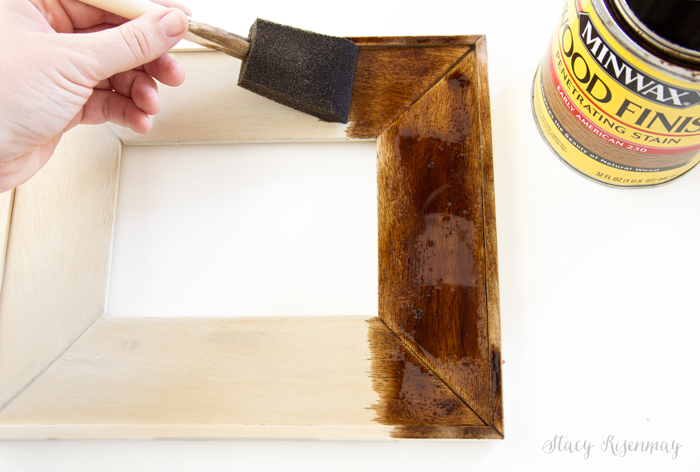
Choose a stain (or paint) you would like to use on your frame. I went with Minwax® Wood Finish™ in Early American this time. Apply it liberally and allow it to sit for about 10 minutes.
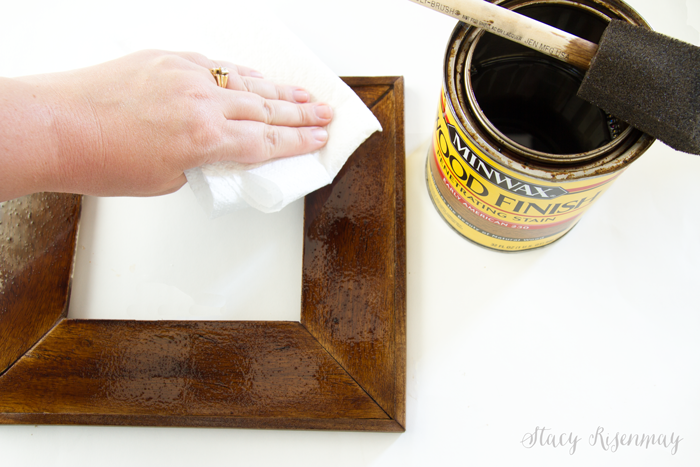
After the 10 minutes are up, remove the excess stain with a paper towel.
Once it has dried completely, add a sealer. I chose Minwax® Fast-Drying Polyurethane. I applied it with a brush but for a small project like this, it might have been easier to use the spray polyurethane.

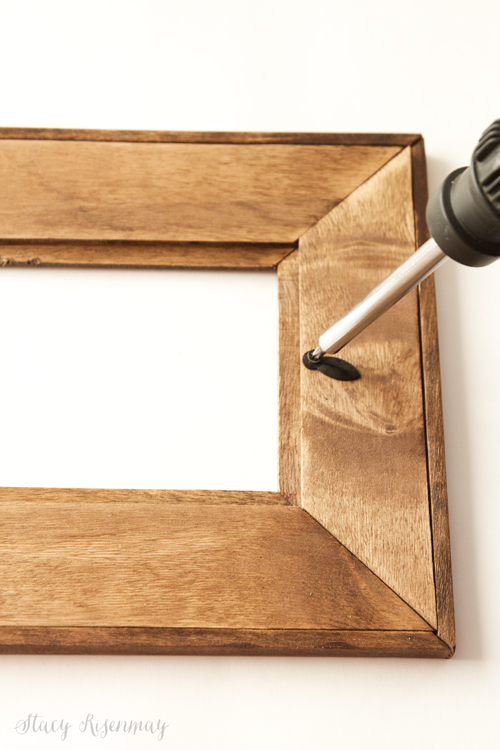
To hold the glass and photo in place, you need to add these little guys. I never knew the real name until I did a search on Amazon for them. They are called turn buttons. They are handy to have for when your other frames lose their little metal bendy tabs. Or am I the only one who accidentally breaks those off?
See how the glass has a place to rest? Now you can customize not only the size of photo your frame holds but you can make your frame thicker than the 1/8″ plywood I used. The piece you add to the back (that is 1/2″ less in width) does need to be 1/8″ thick though. For example, you could use a 1×4 board to make the frame. A 1×4 board is 3.5″ wide so the 1/8″ plywood for the back would need to be cut to 3″wide.

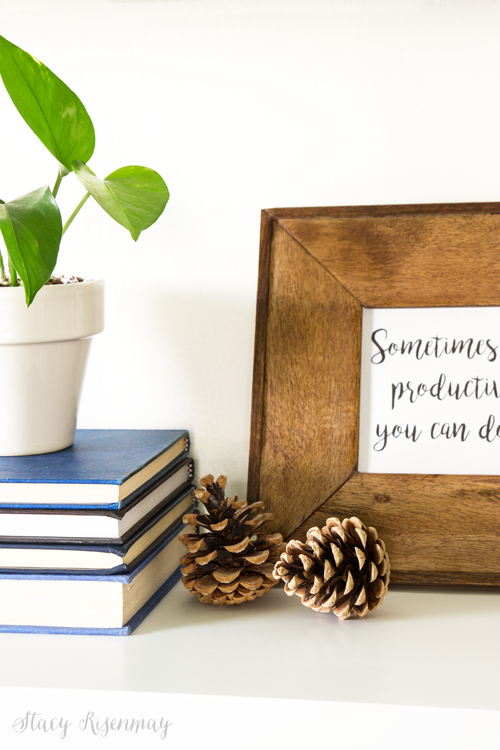
Then your frame is ready to display your favorite print!
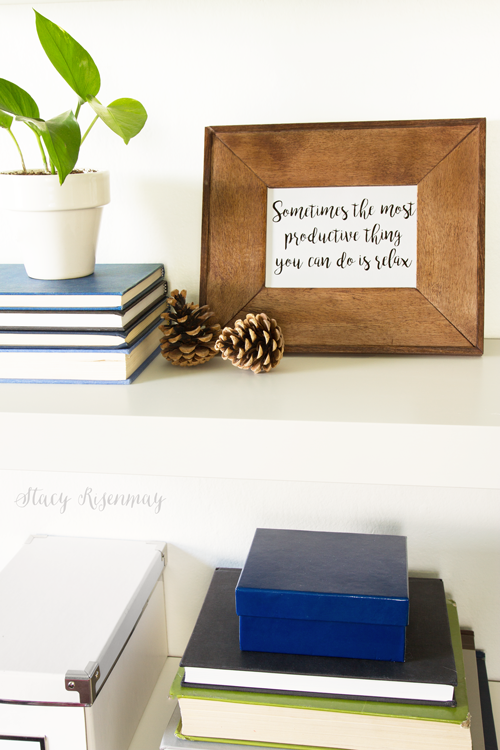
I saw this quote by Mark Black last week and it really resonated with me. I have a very hard time relaxing. I feel like if I am relaxing then I am not being productive and being productive is really important to my personality type. But if I don’t force myself to relax, I get burned out. I thought having this in my office would be a great reminder. Relaxing is important 🙂
Make sure and check out the Made For Love campaign that Minwax® has going on right now. Remember that sweet video from my last post? I just love it!
Stacy Risenmay is a DIY enthusiast. In her blog, Not Just a Housewife, she shares her adventures of fixing up her 1938 cottage. She believes that whether it’s big or small, everyone should love their space. Learn more about Stacy and visit: http://www.notjustahousewife.net/about. You can also follow Stacy on Facebook, Twitter, and Instagram.