


Guest blogger Stacy Risenmay of Not JUST A Housewife is back with a tutorial of another creative project. See how she created a vintage wooden planter box for her dining room shelves using Minwax® Wood Finish™, Minwax® Water Based Wood Stain, and Minwax® Express Color™ Wiping Stain & Finish.
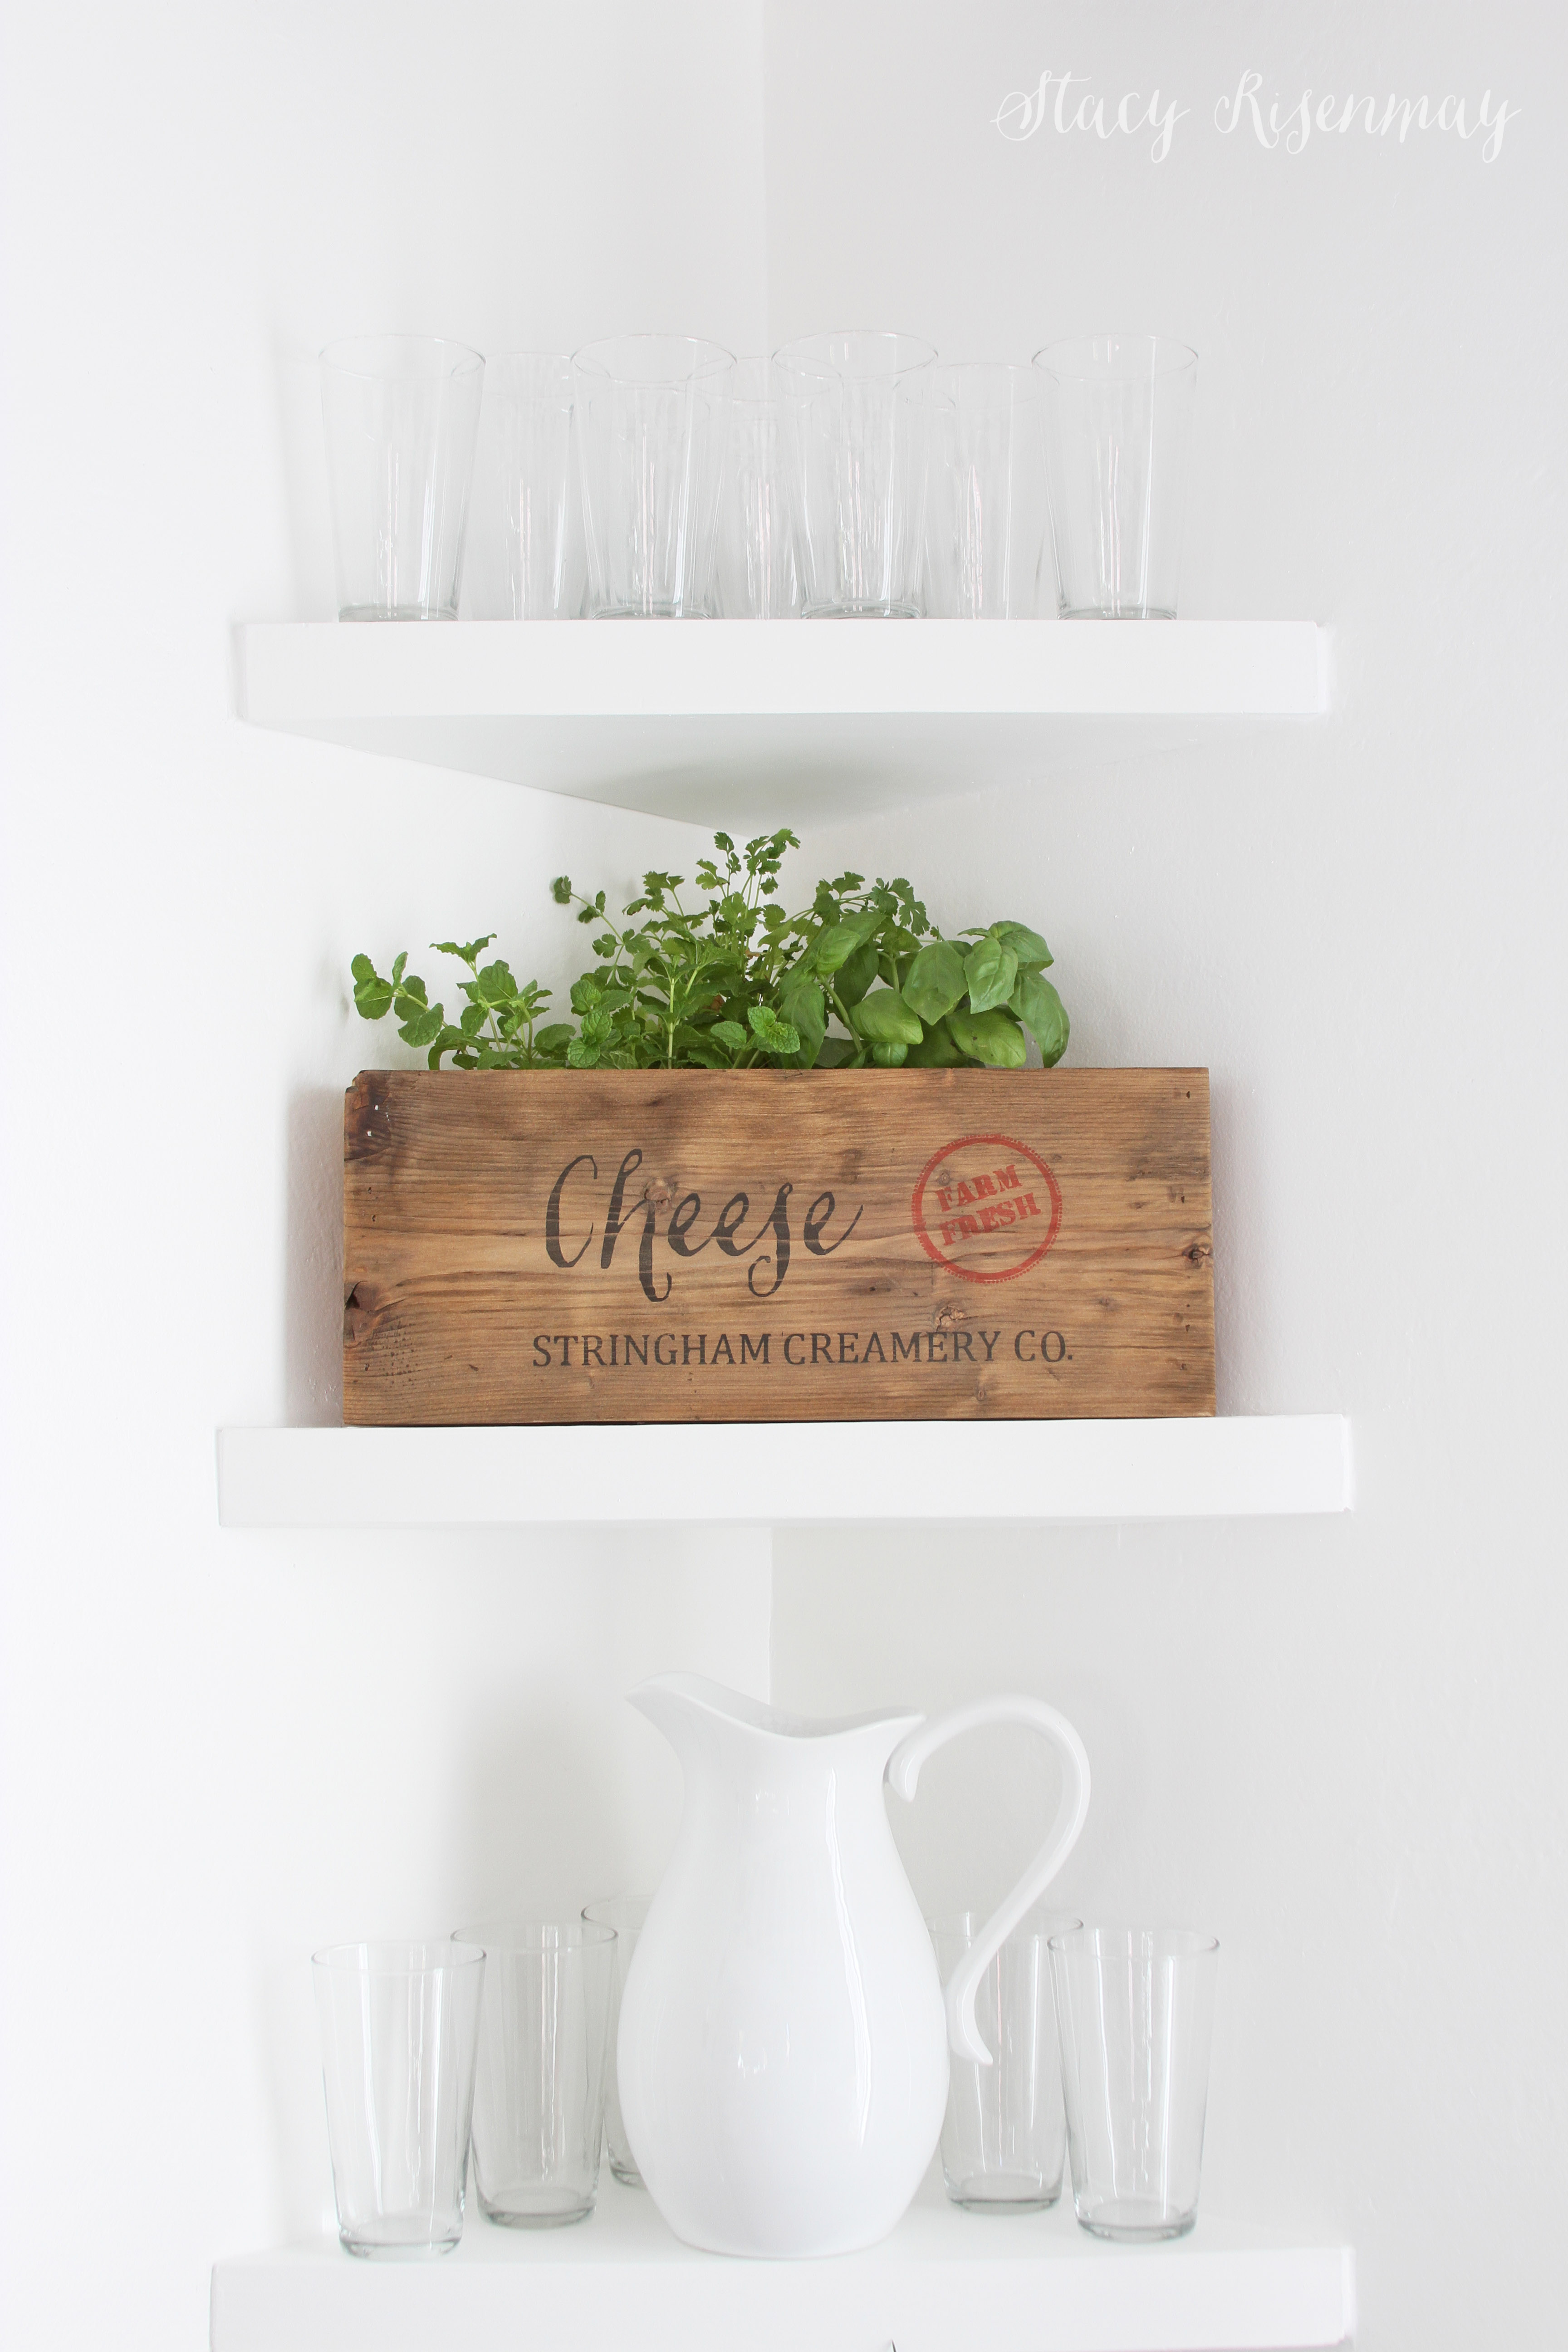
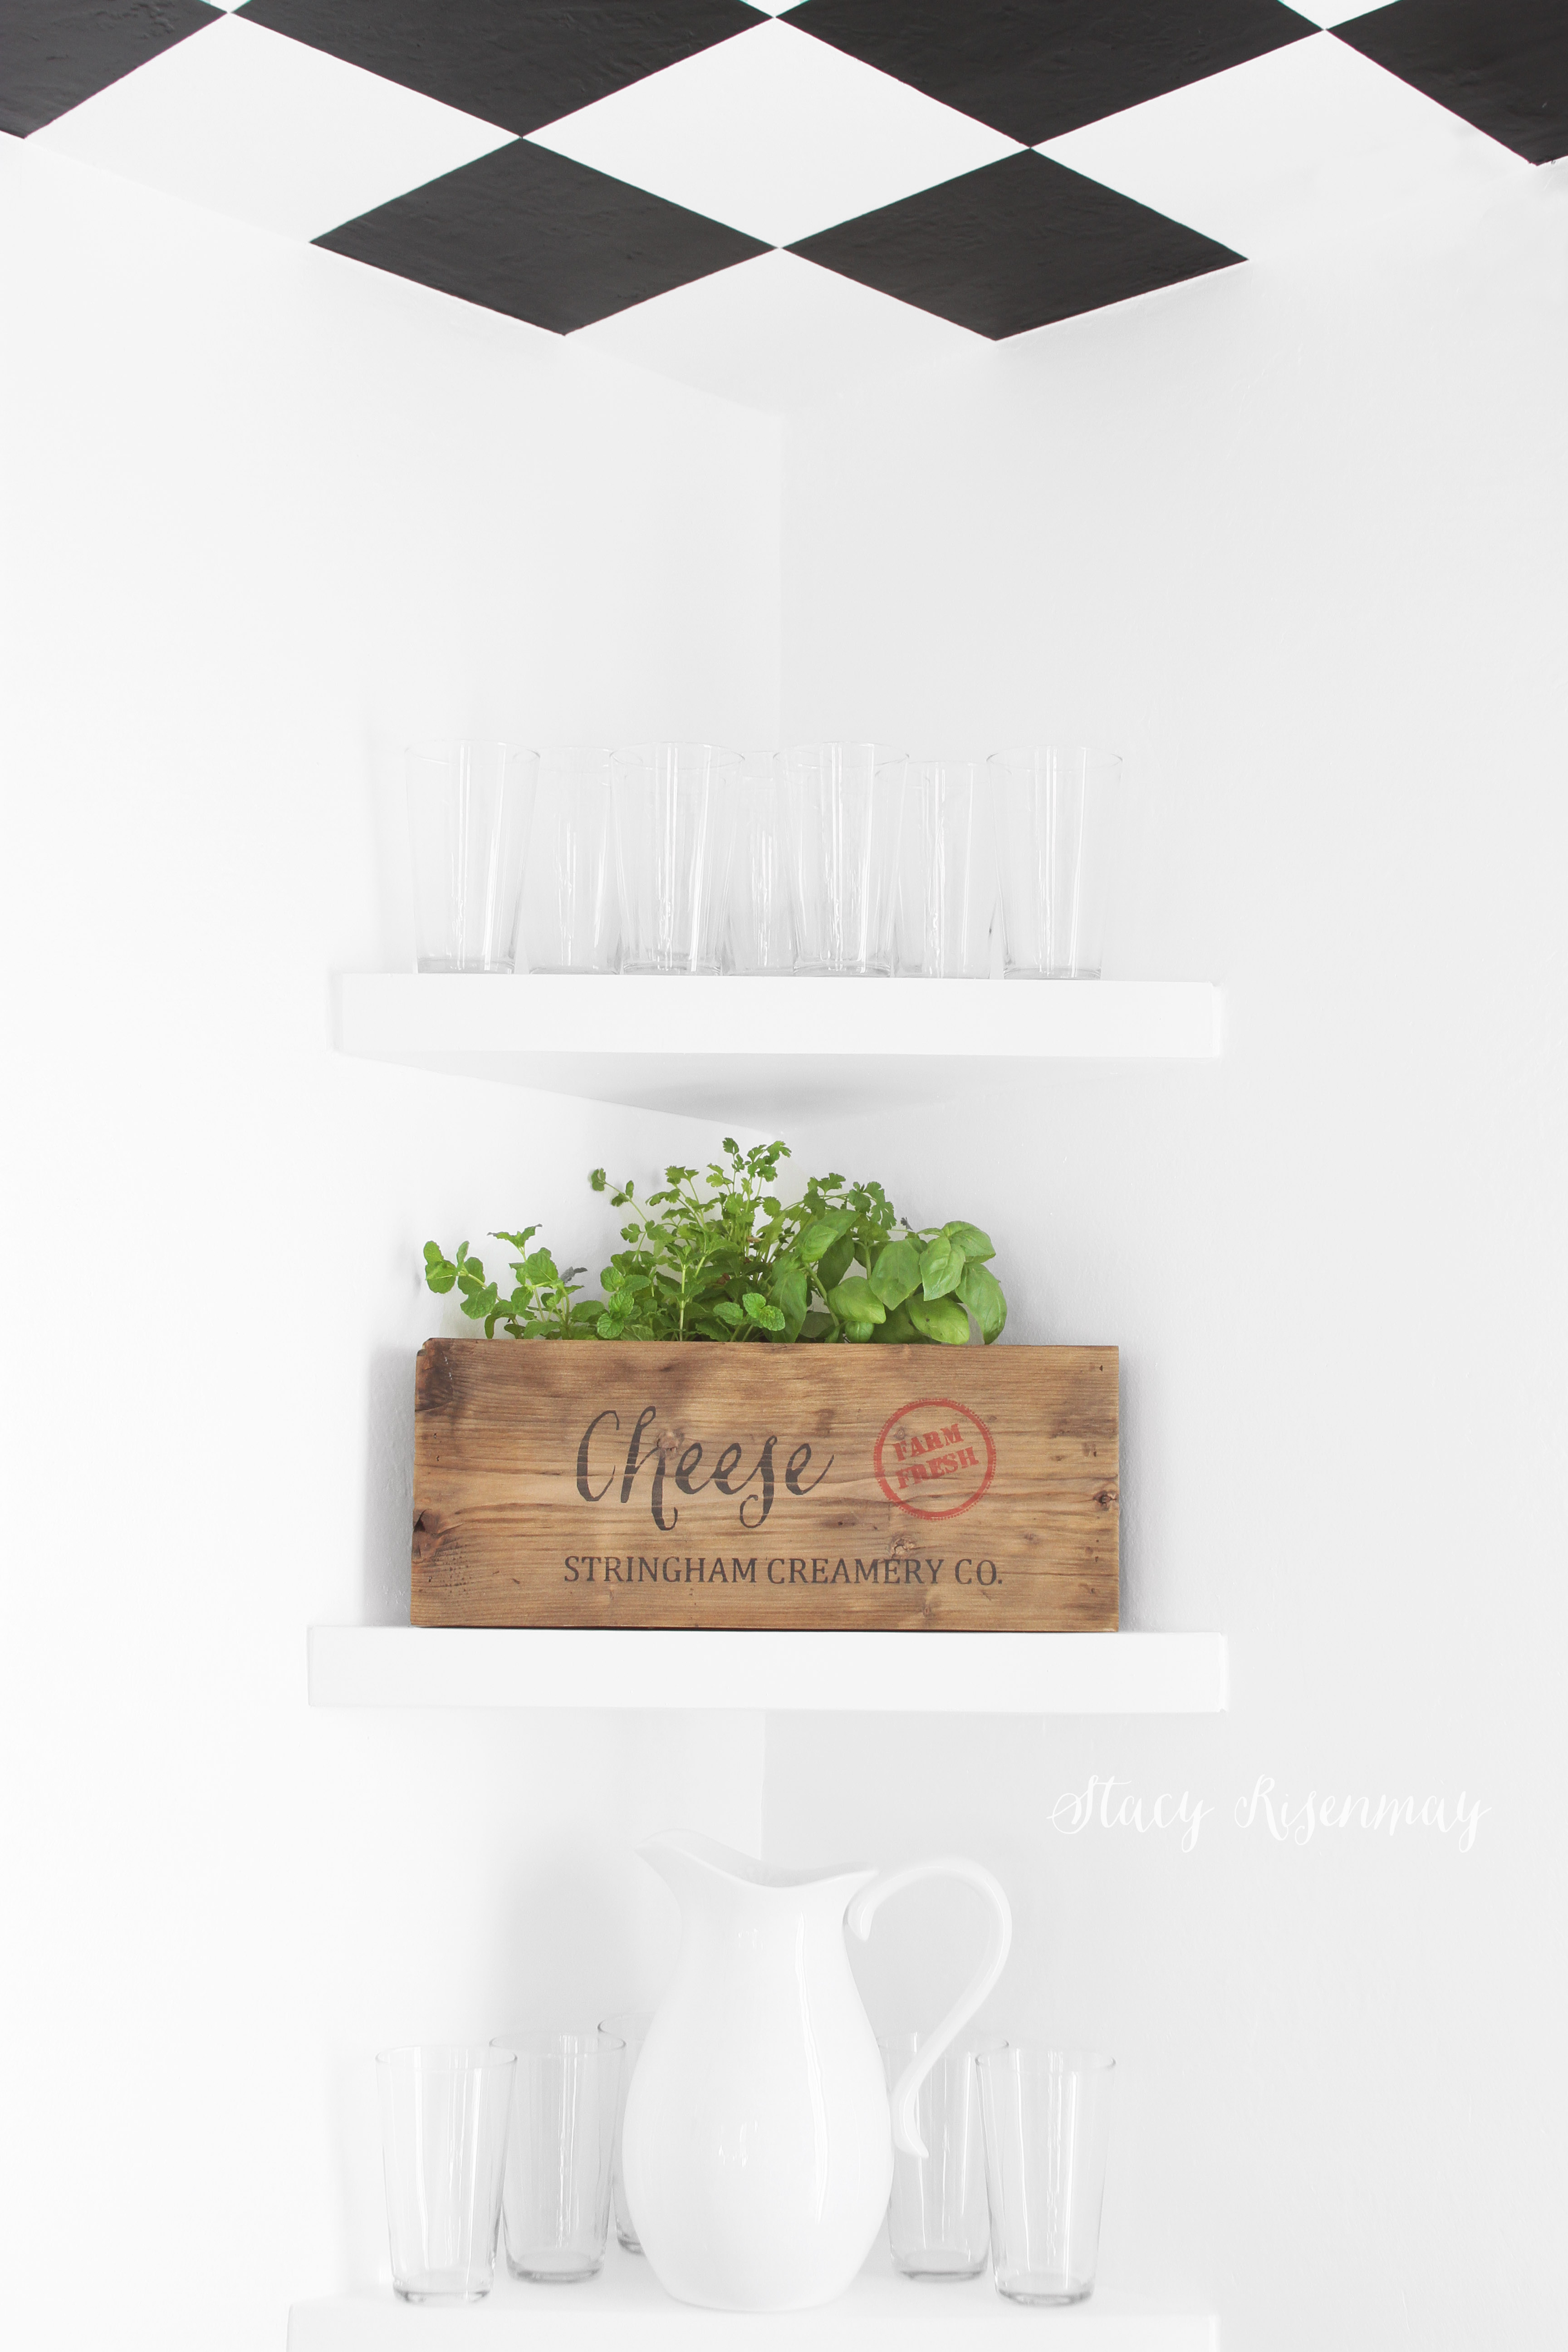
After playing around with different ways of styling these corner shelves in my dining room and kitchen area I have finally found a way that I LOVE! Triangle shaped shelves can be tricky to style I have found. I really wanted a vintage wooden crate somewhere in my kitchen so I decided to make a triangle shaped one. It turned out better than I had hoped and was easier than I thought.
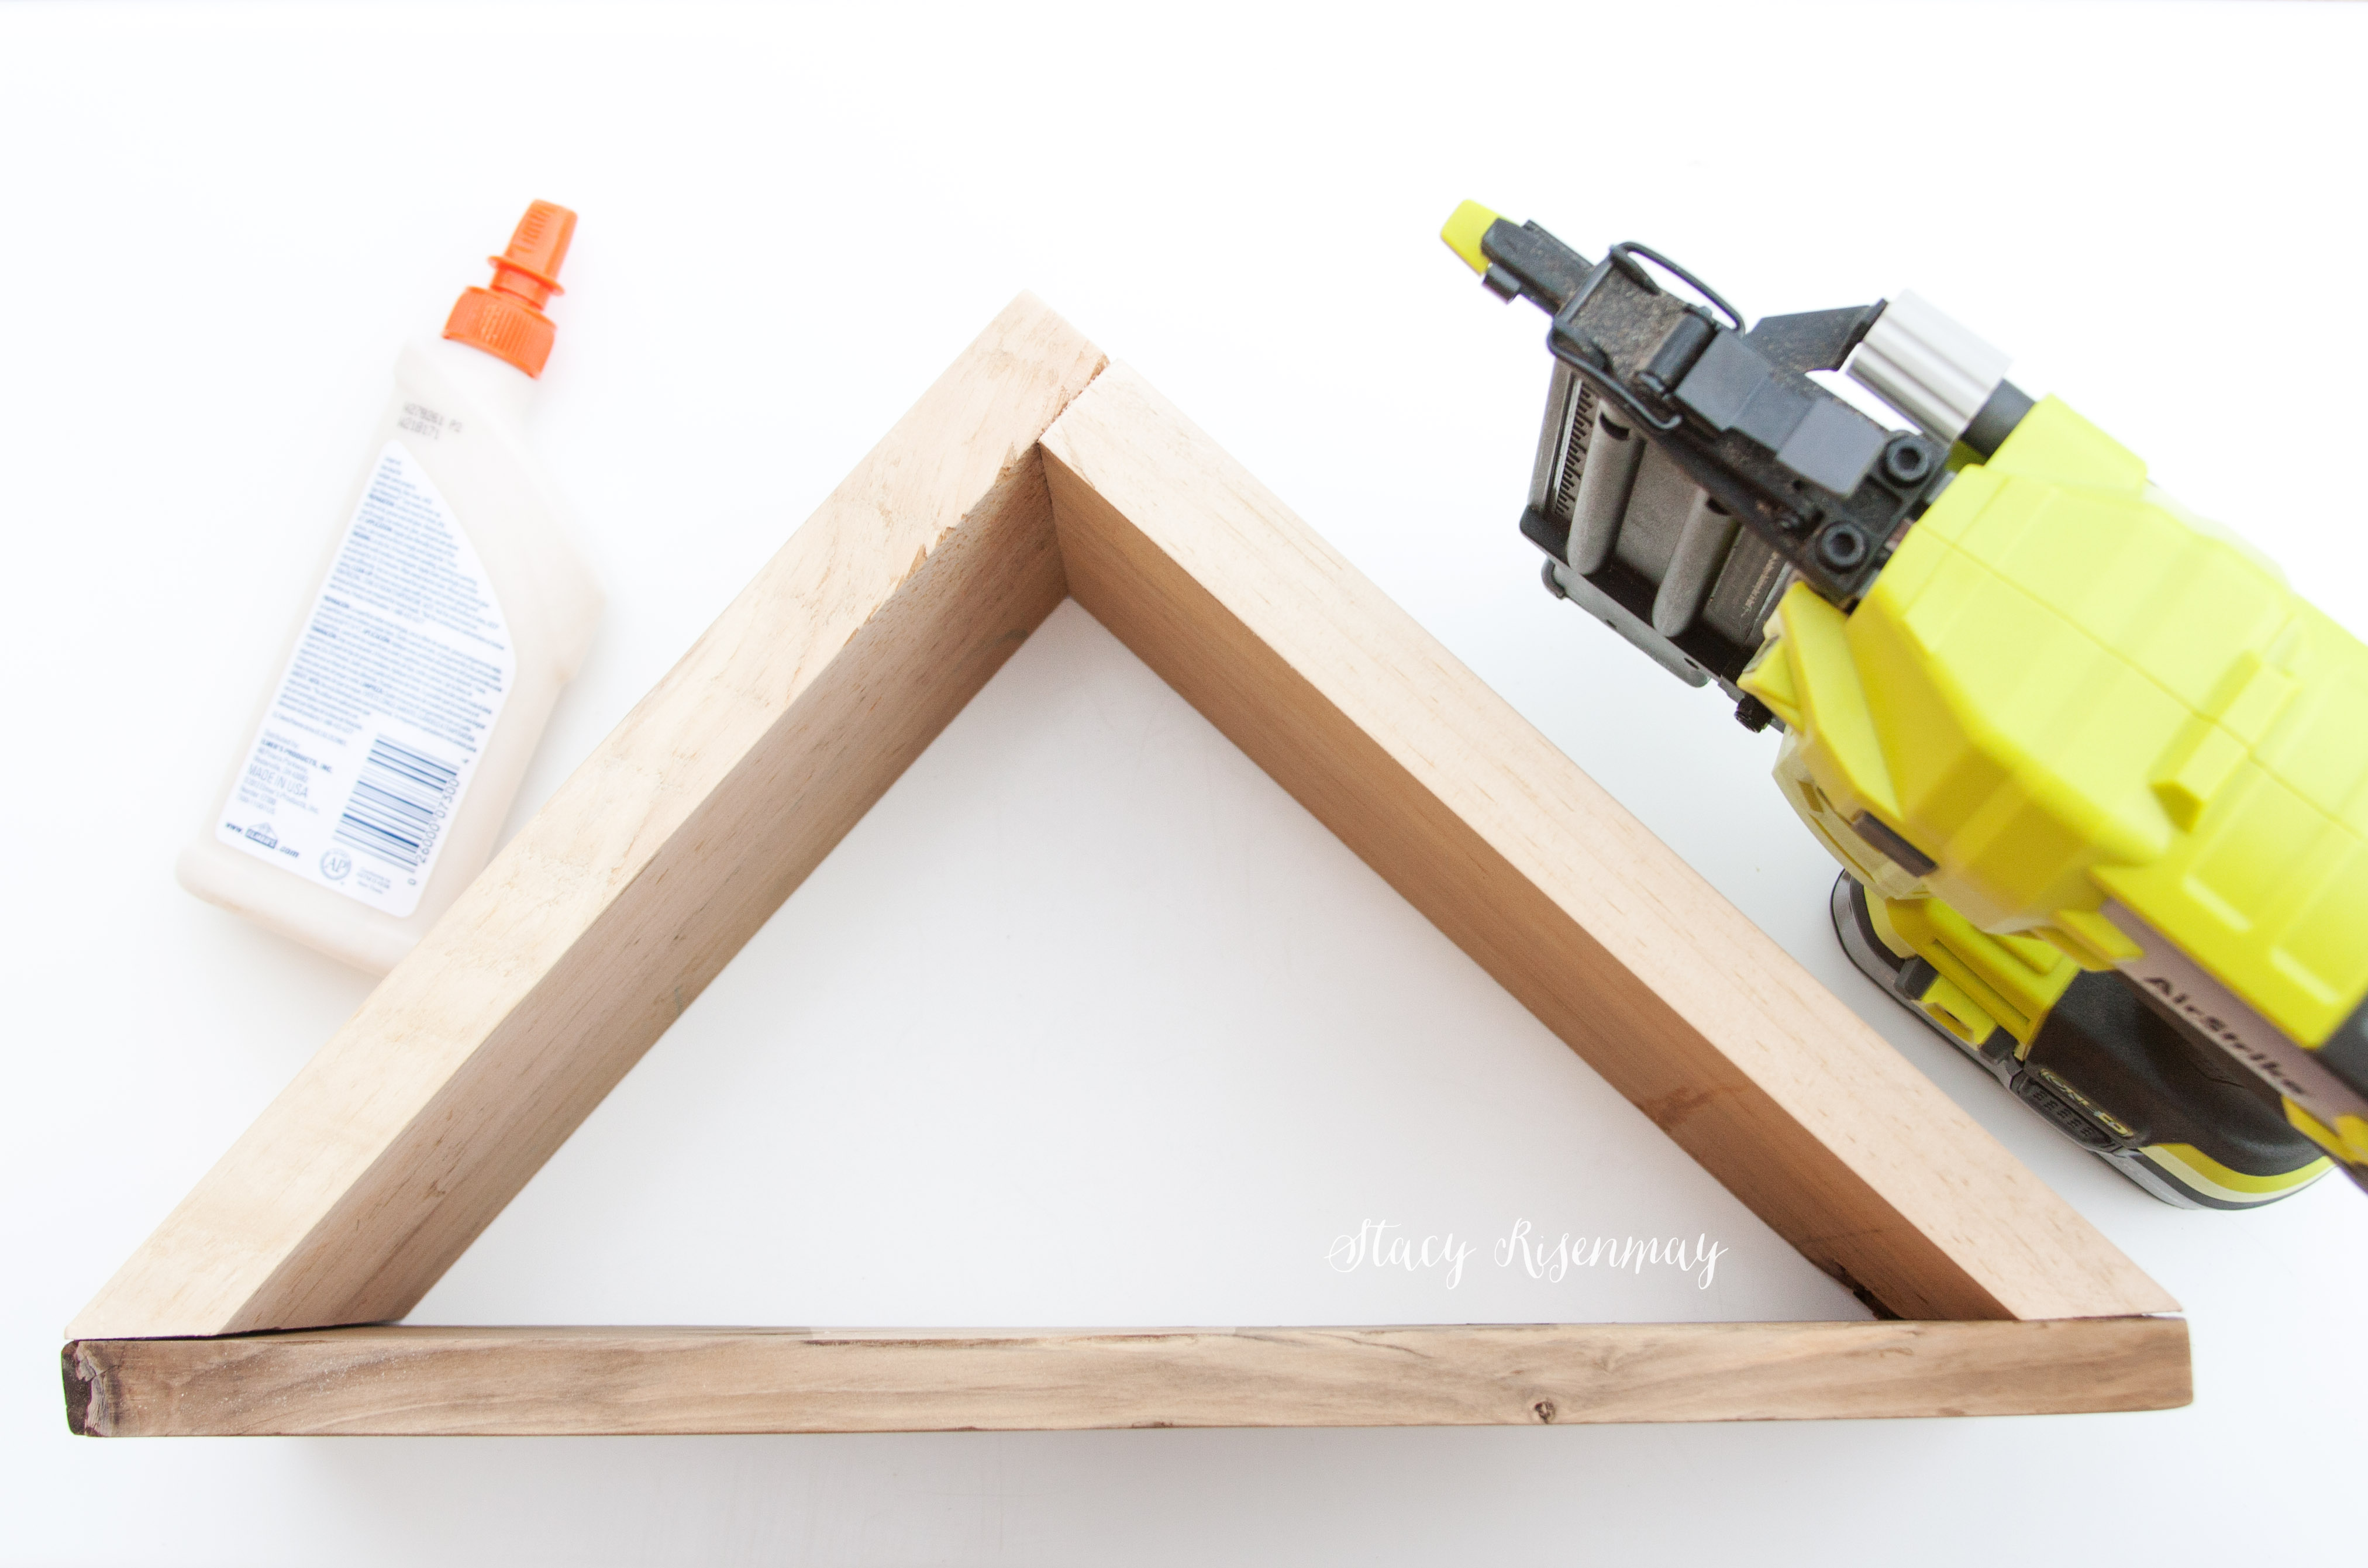
Since the crate was going to be up on a shelf and you wouldn’t see the joints, I decided to go the easy route and only cut two ends at a 45 degree angle. If this were a piece of furniture or something you would see the corners on, I would have figured out the angles and done mitered cuts on all corners.
To make a bottom, simply set the triangle on a piece of wood and trace the inside with a jigsaw and nail and glue it into place.
After gluing and nailing it together, I sanded it smooth. I wiped off the dust and then stained it using Minwax® Wood Finish™ in Golden Oak. I wanted it to be a lighter but warm color.
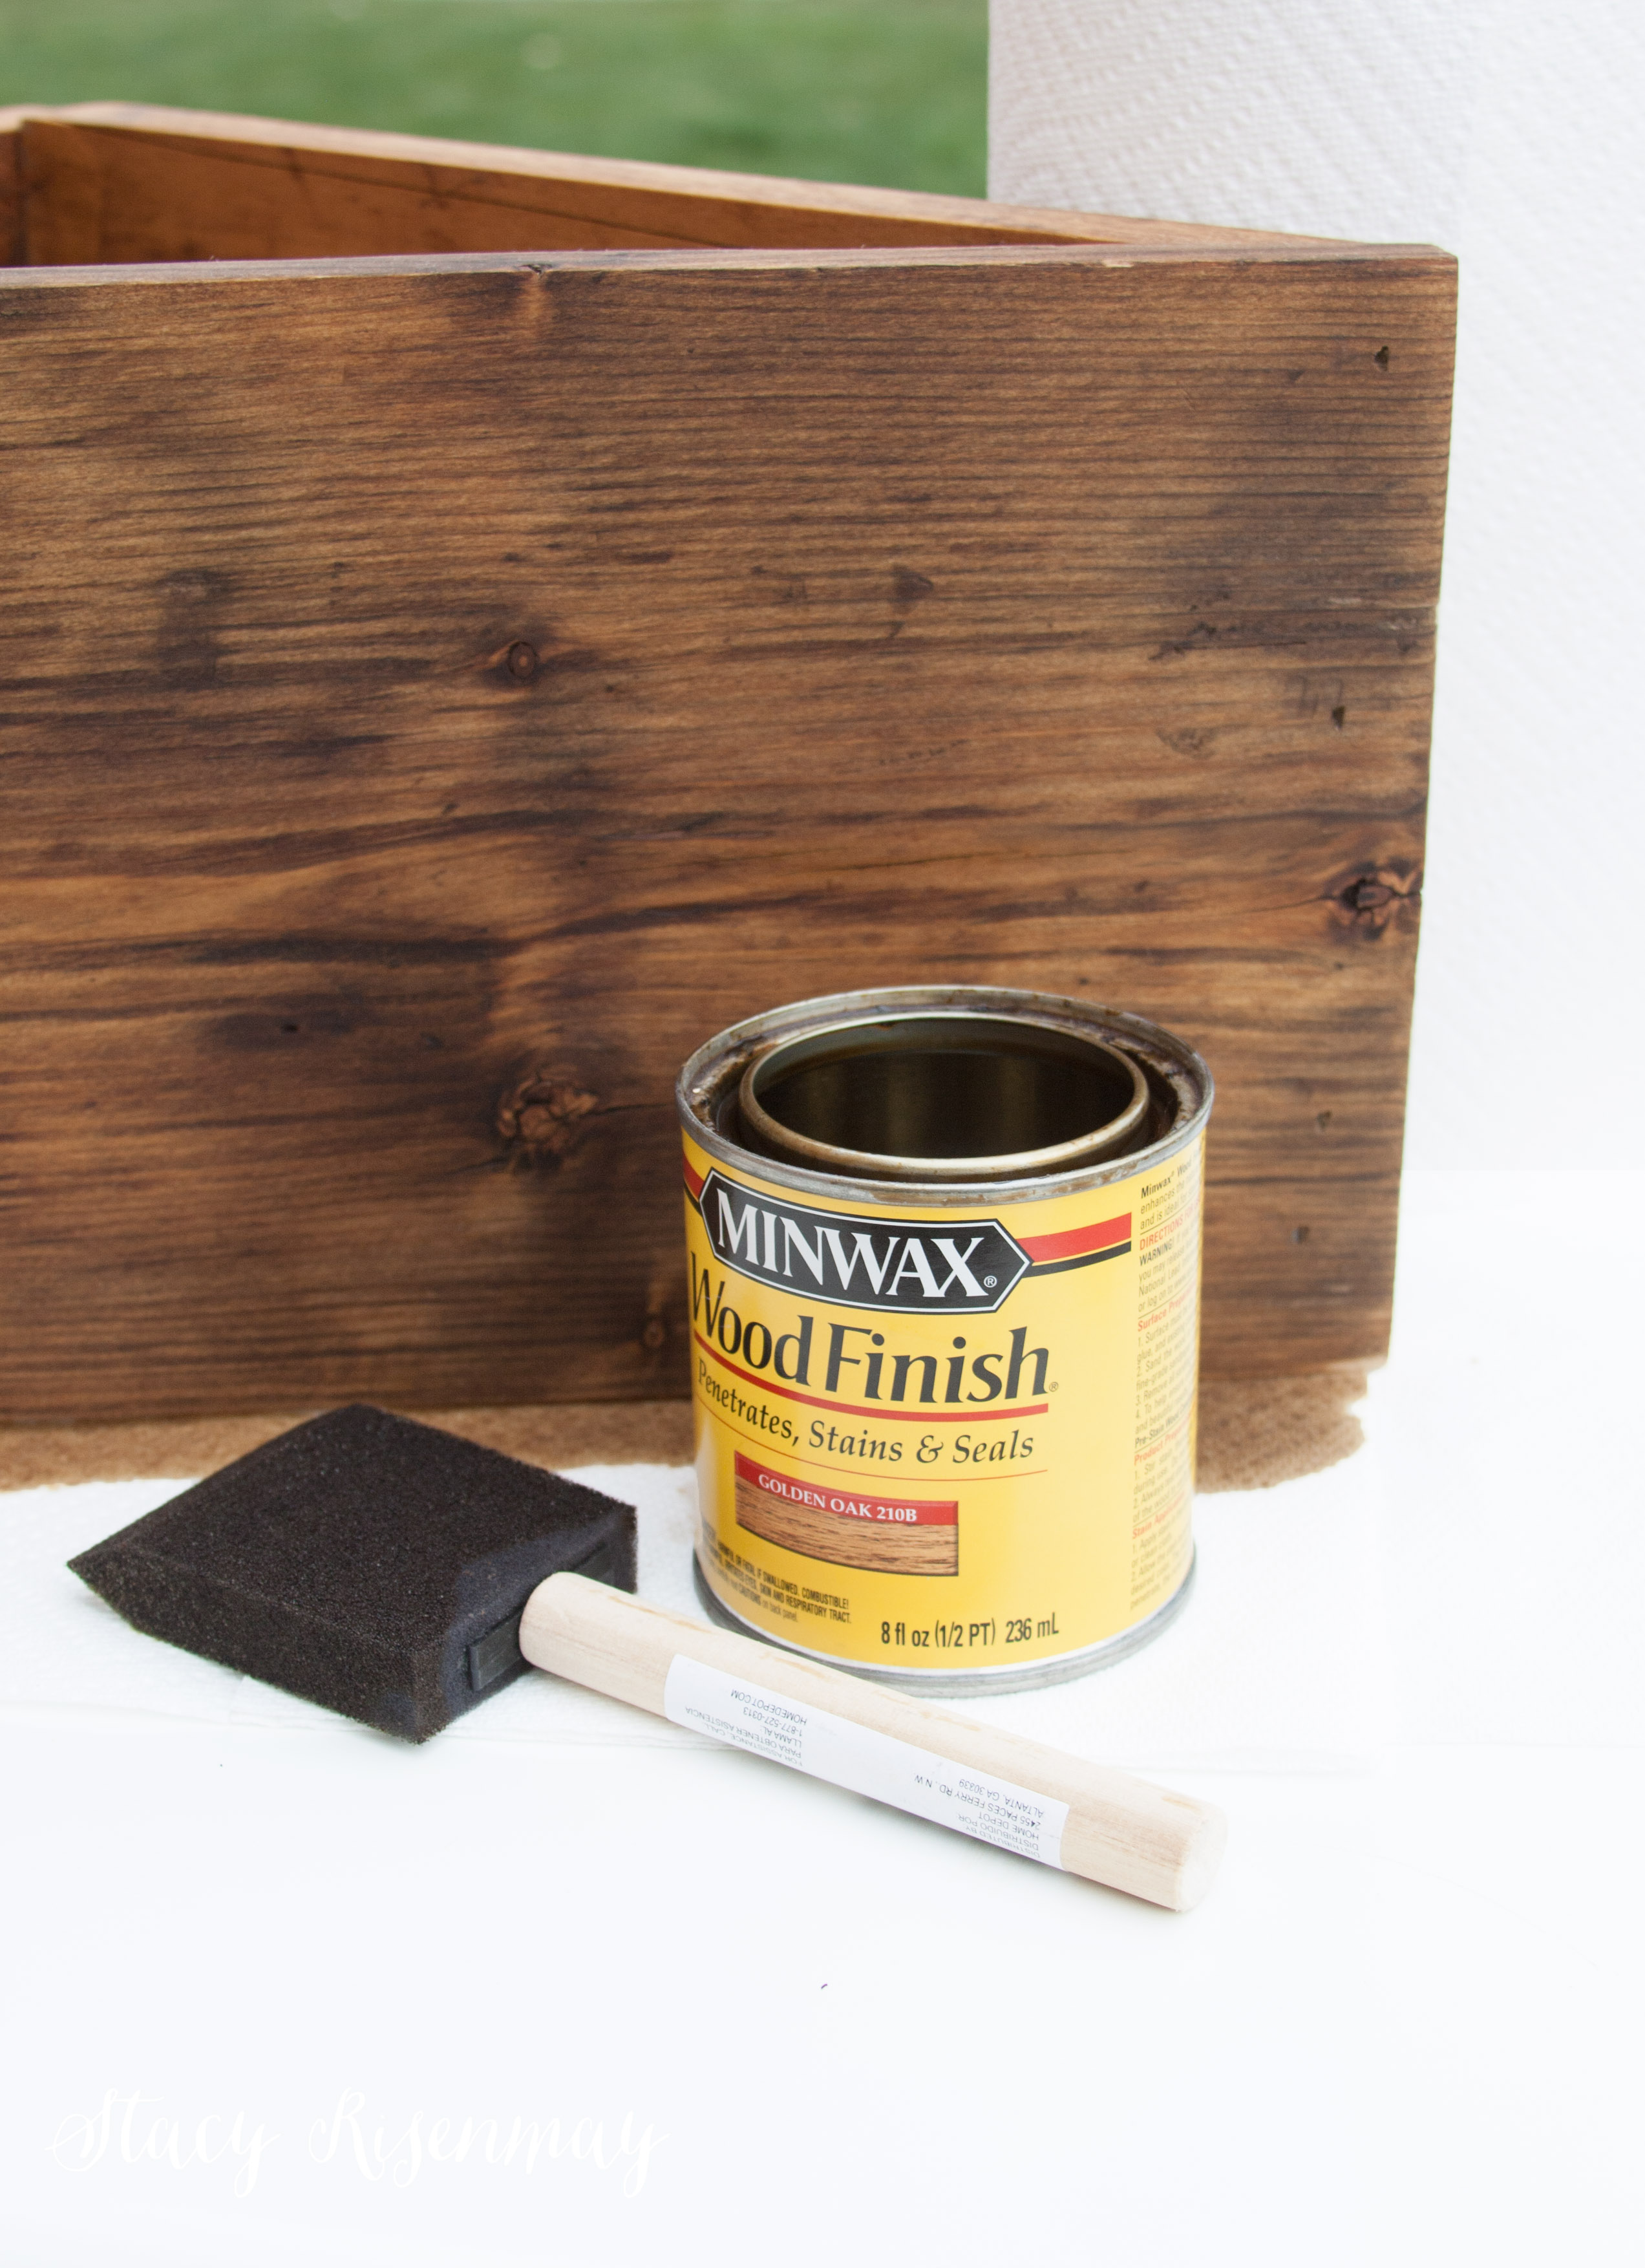
It looked great just stained and I could have left it as is, but I really wanted that vintage-y feel of an old crate.
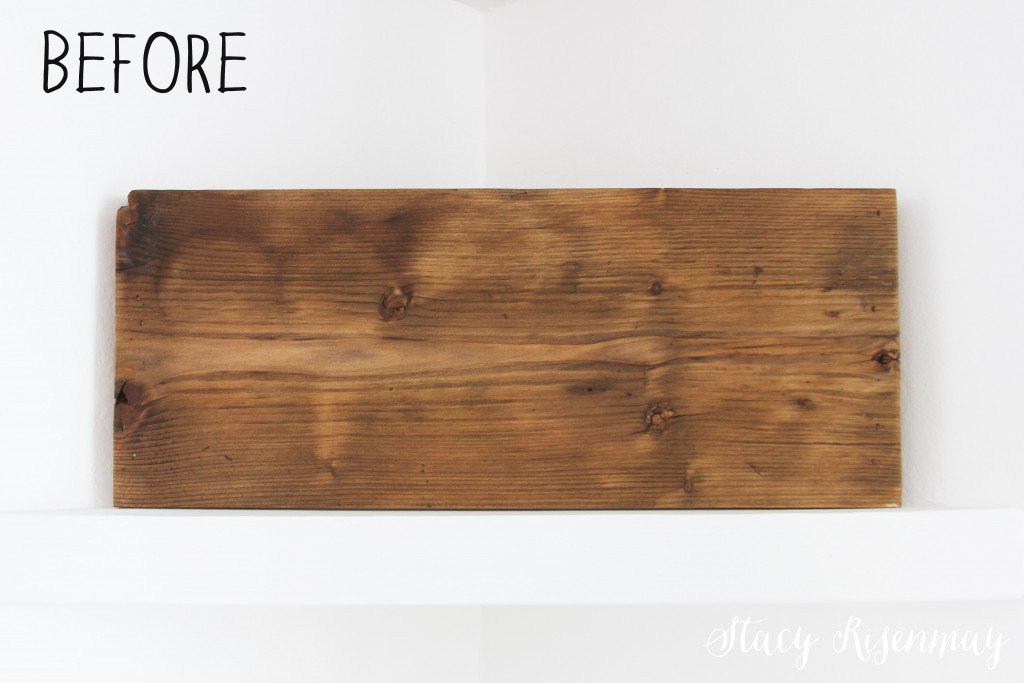
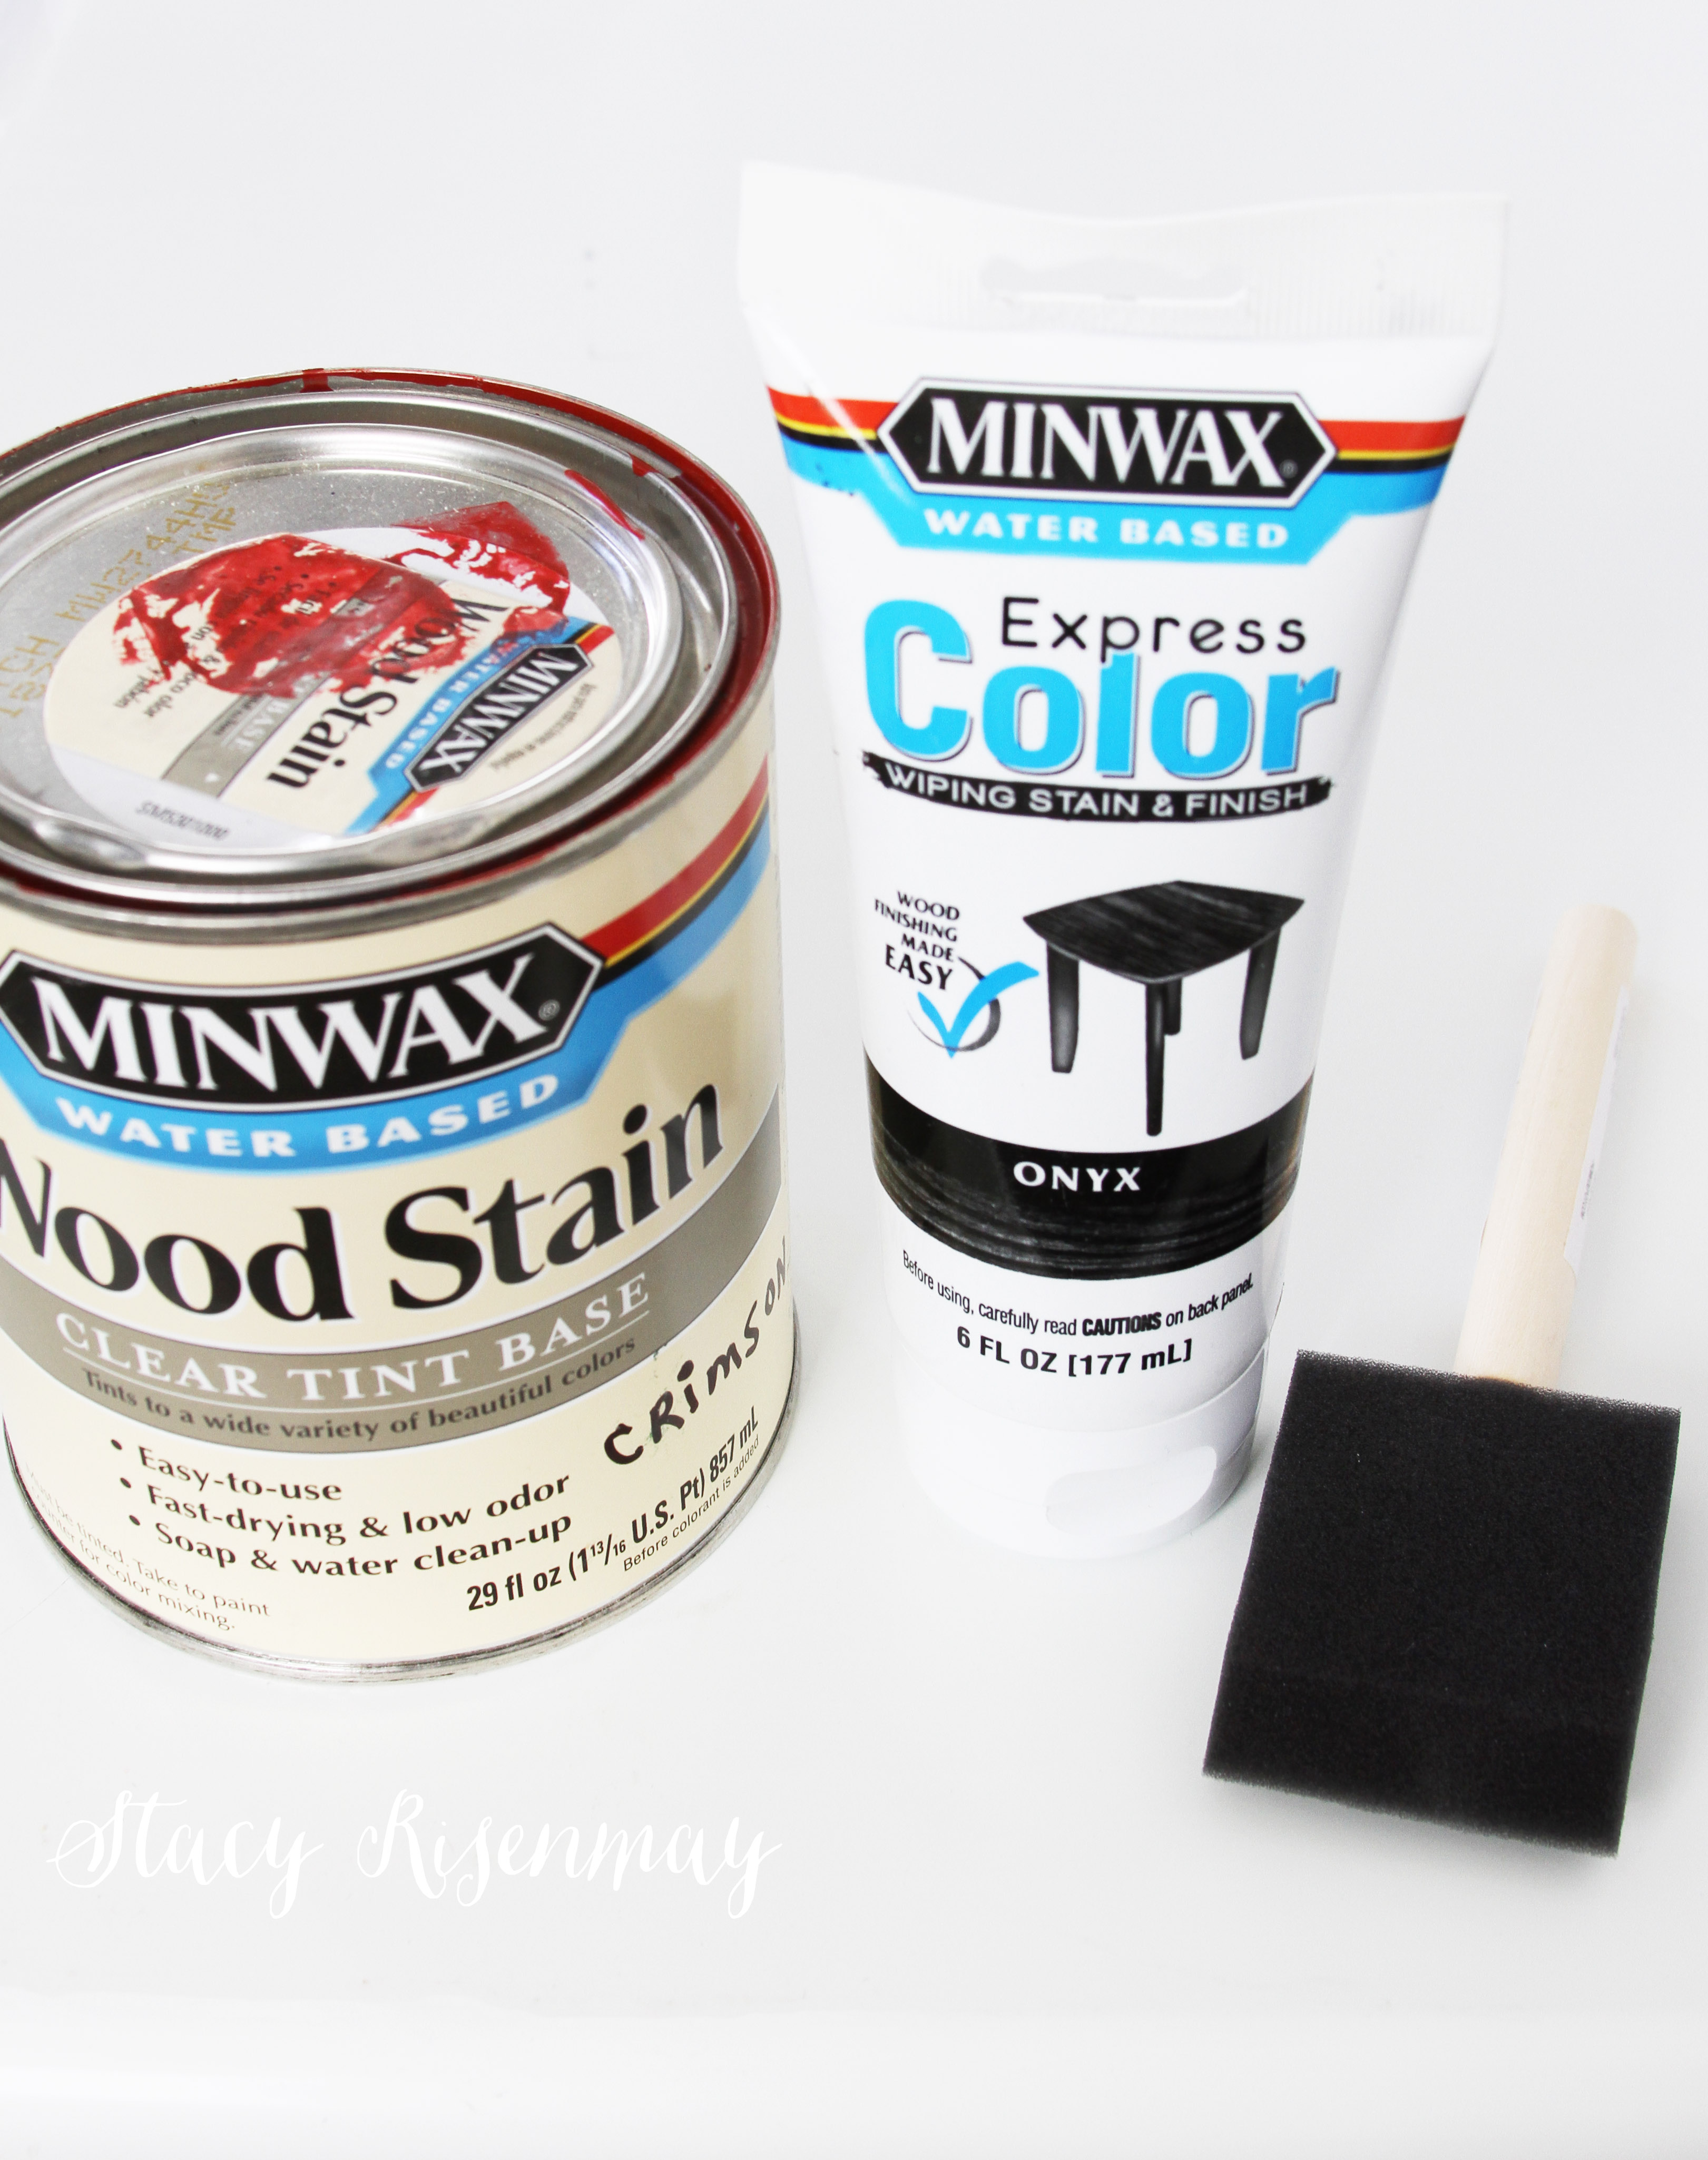
When looking at examples of old crates online, the main colors of the stamped lettering seemed to be blue, black, and red. I went with red and black and I luckily had those colors of stain on hand. I had the Minwax® Water Based Wood Stain in Crimson and the Minwax® Express Color™ Wiping Stain & Finish in Onyx.
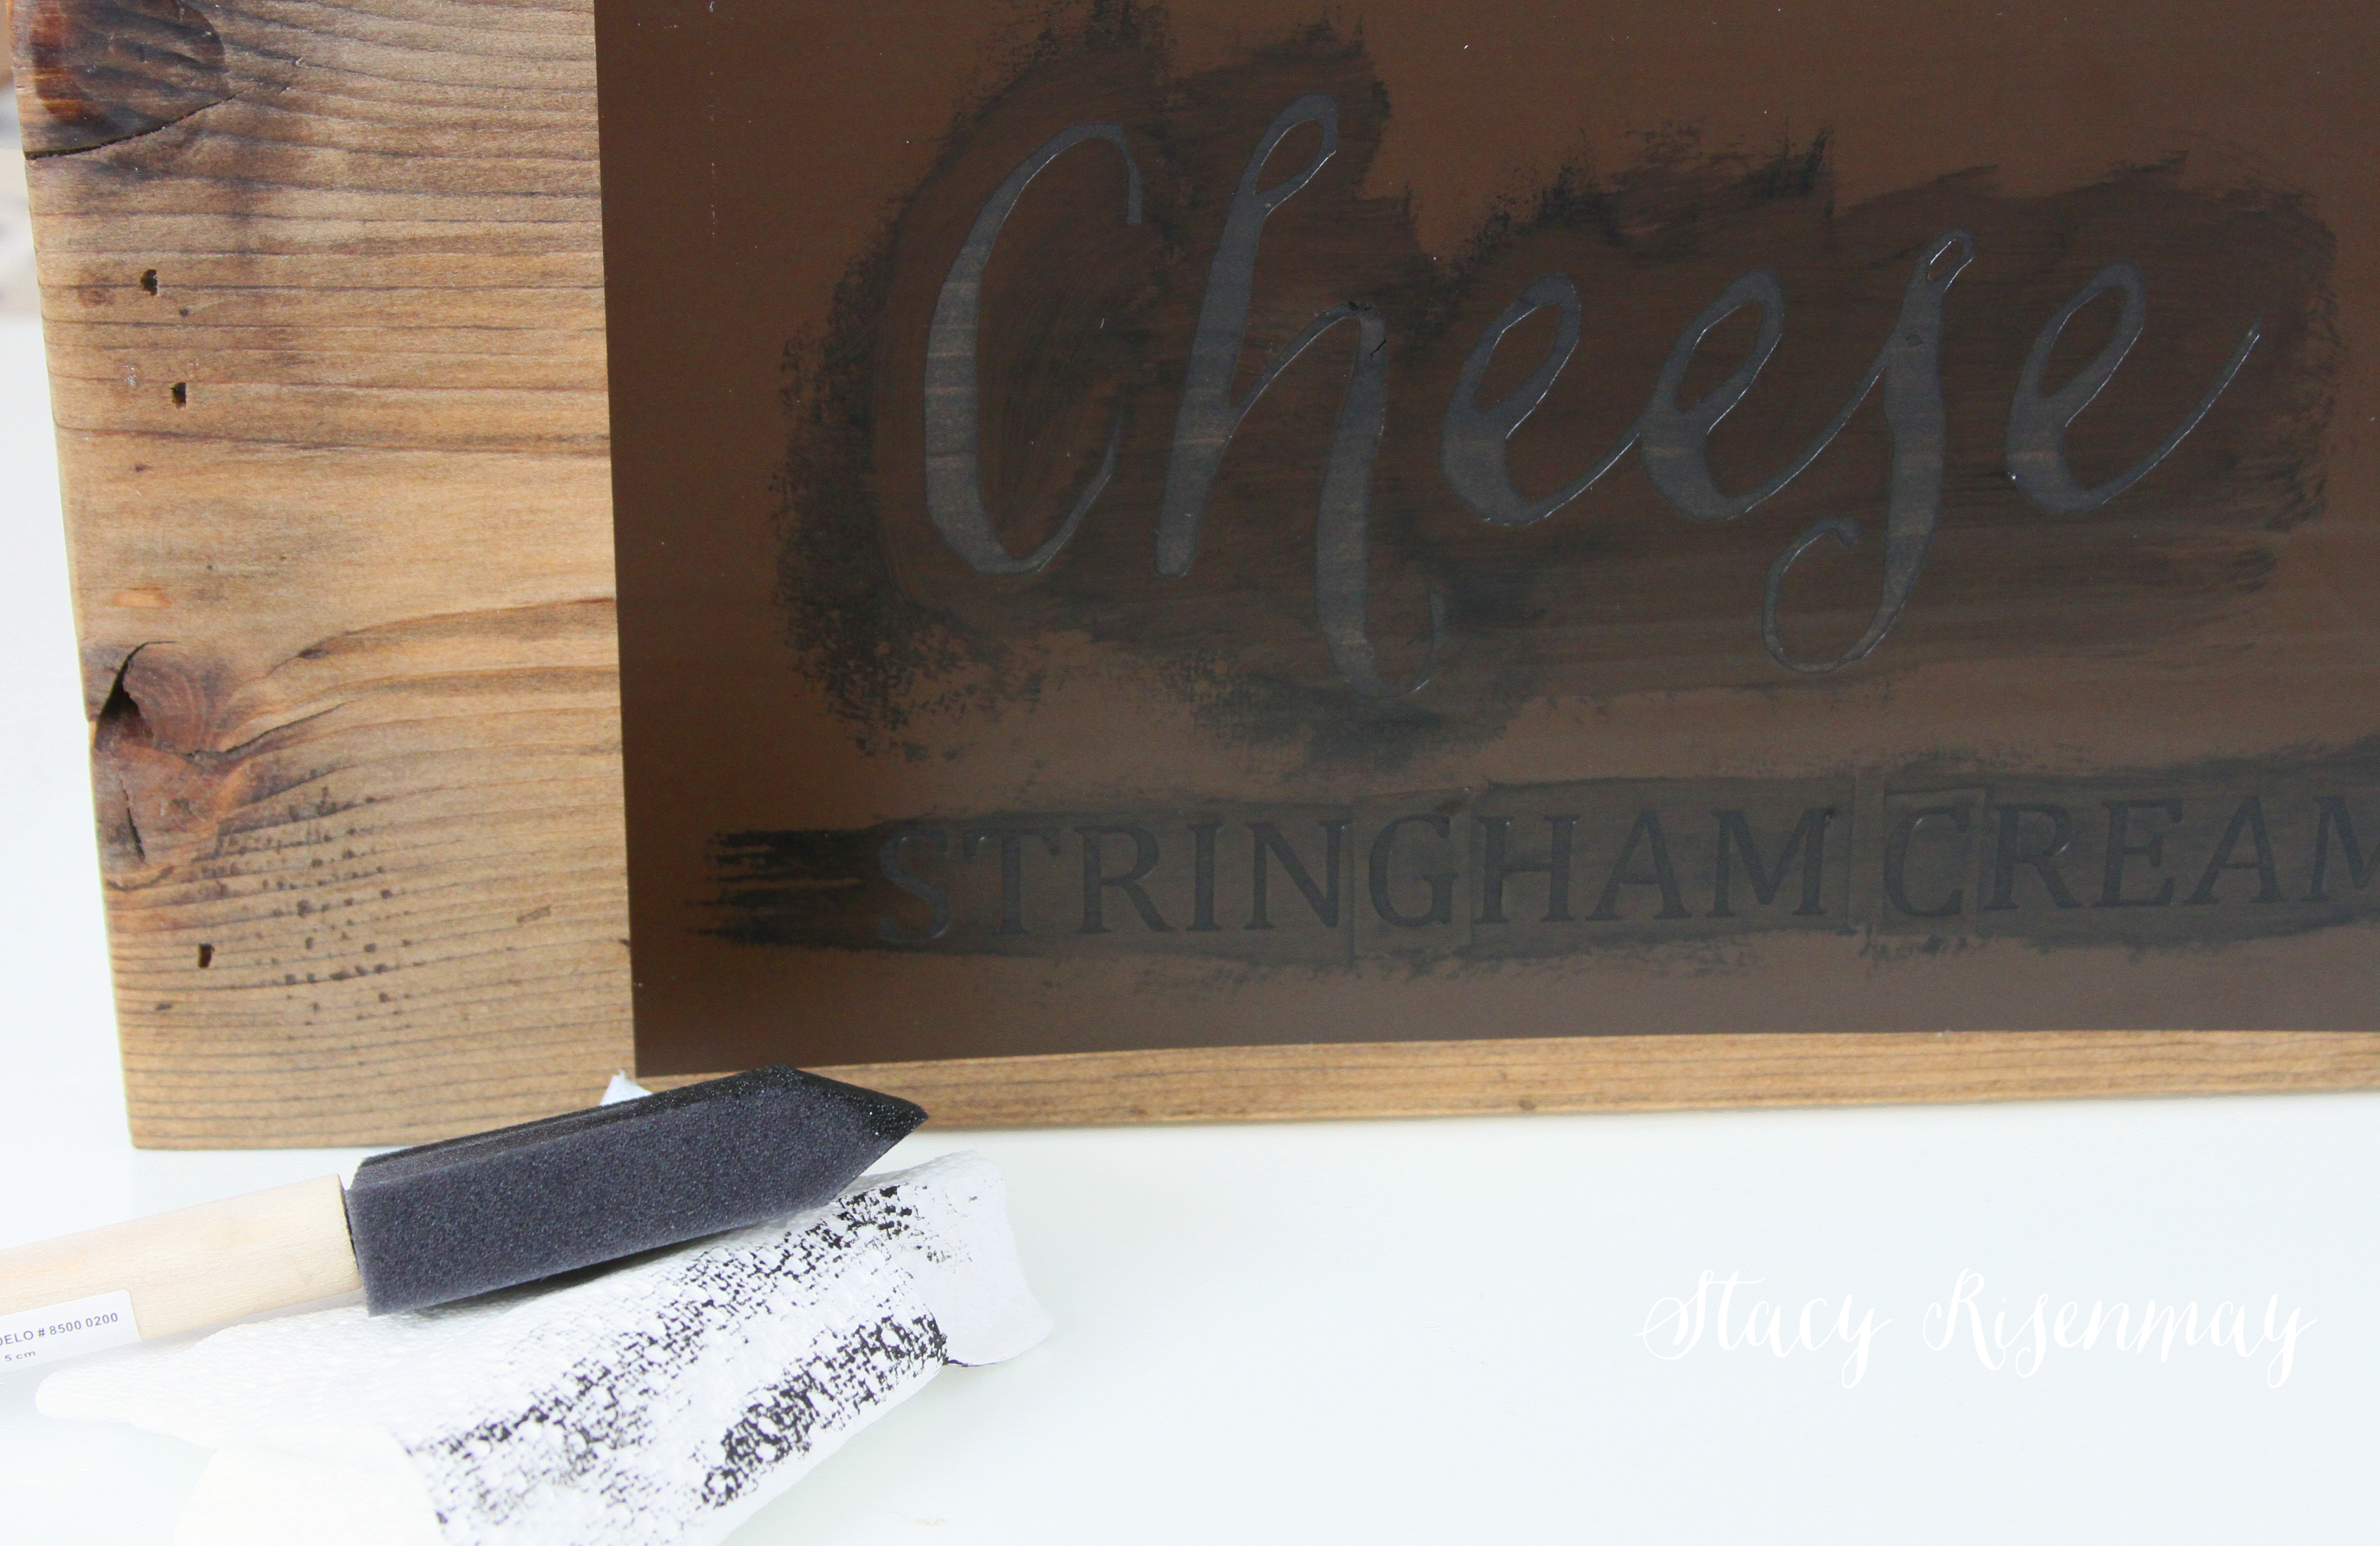
I cut a stencil out of vinyl using my silhouette cutting machine.

Using a foam brush I gently dabbed the stain on and then used a paper towel to remove the excess.
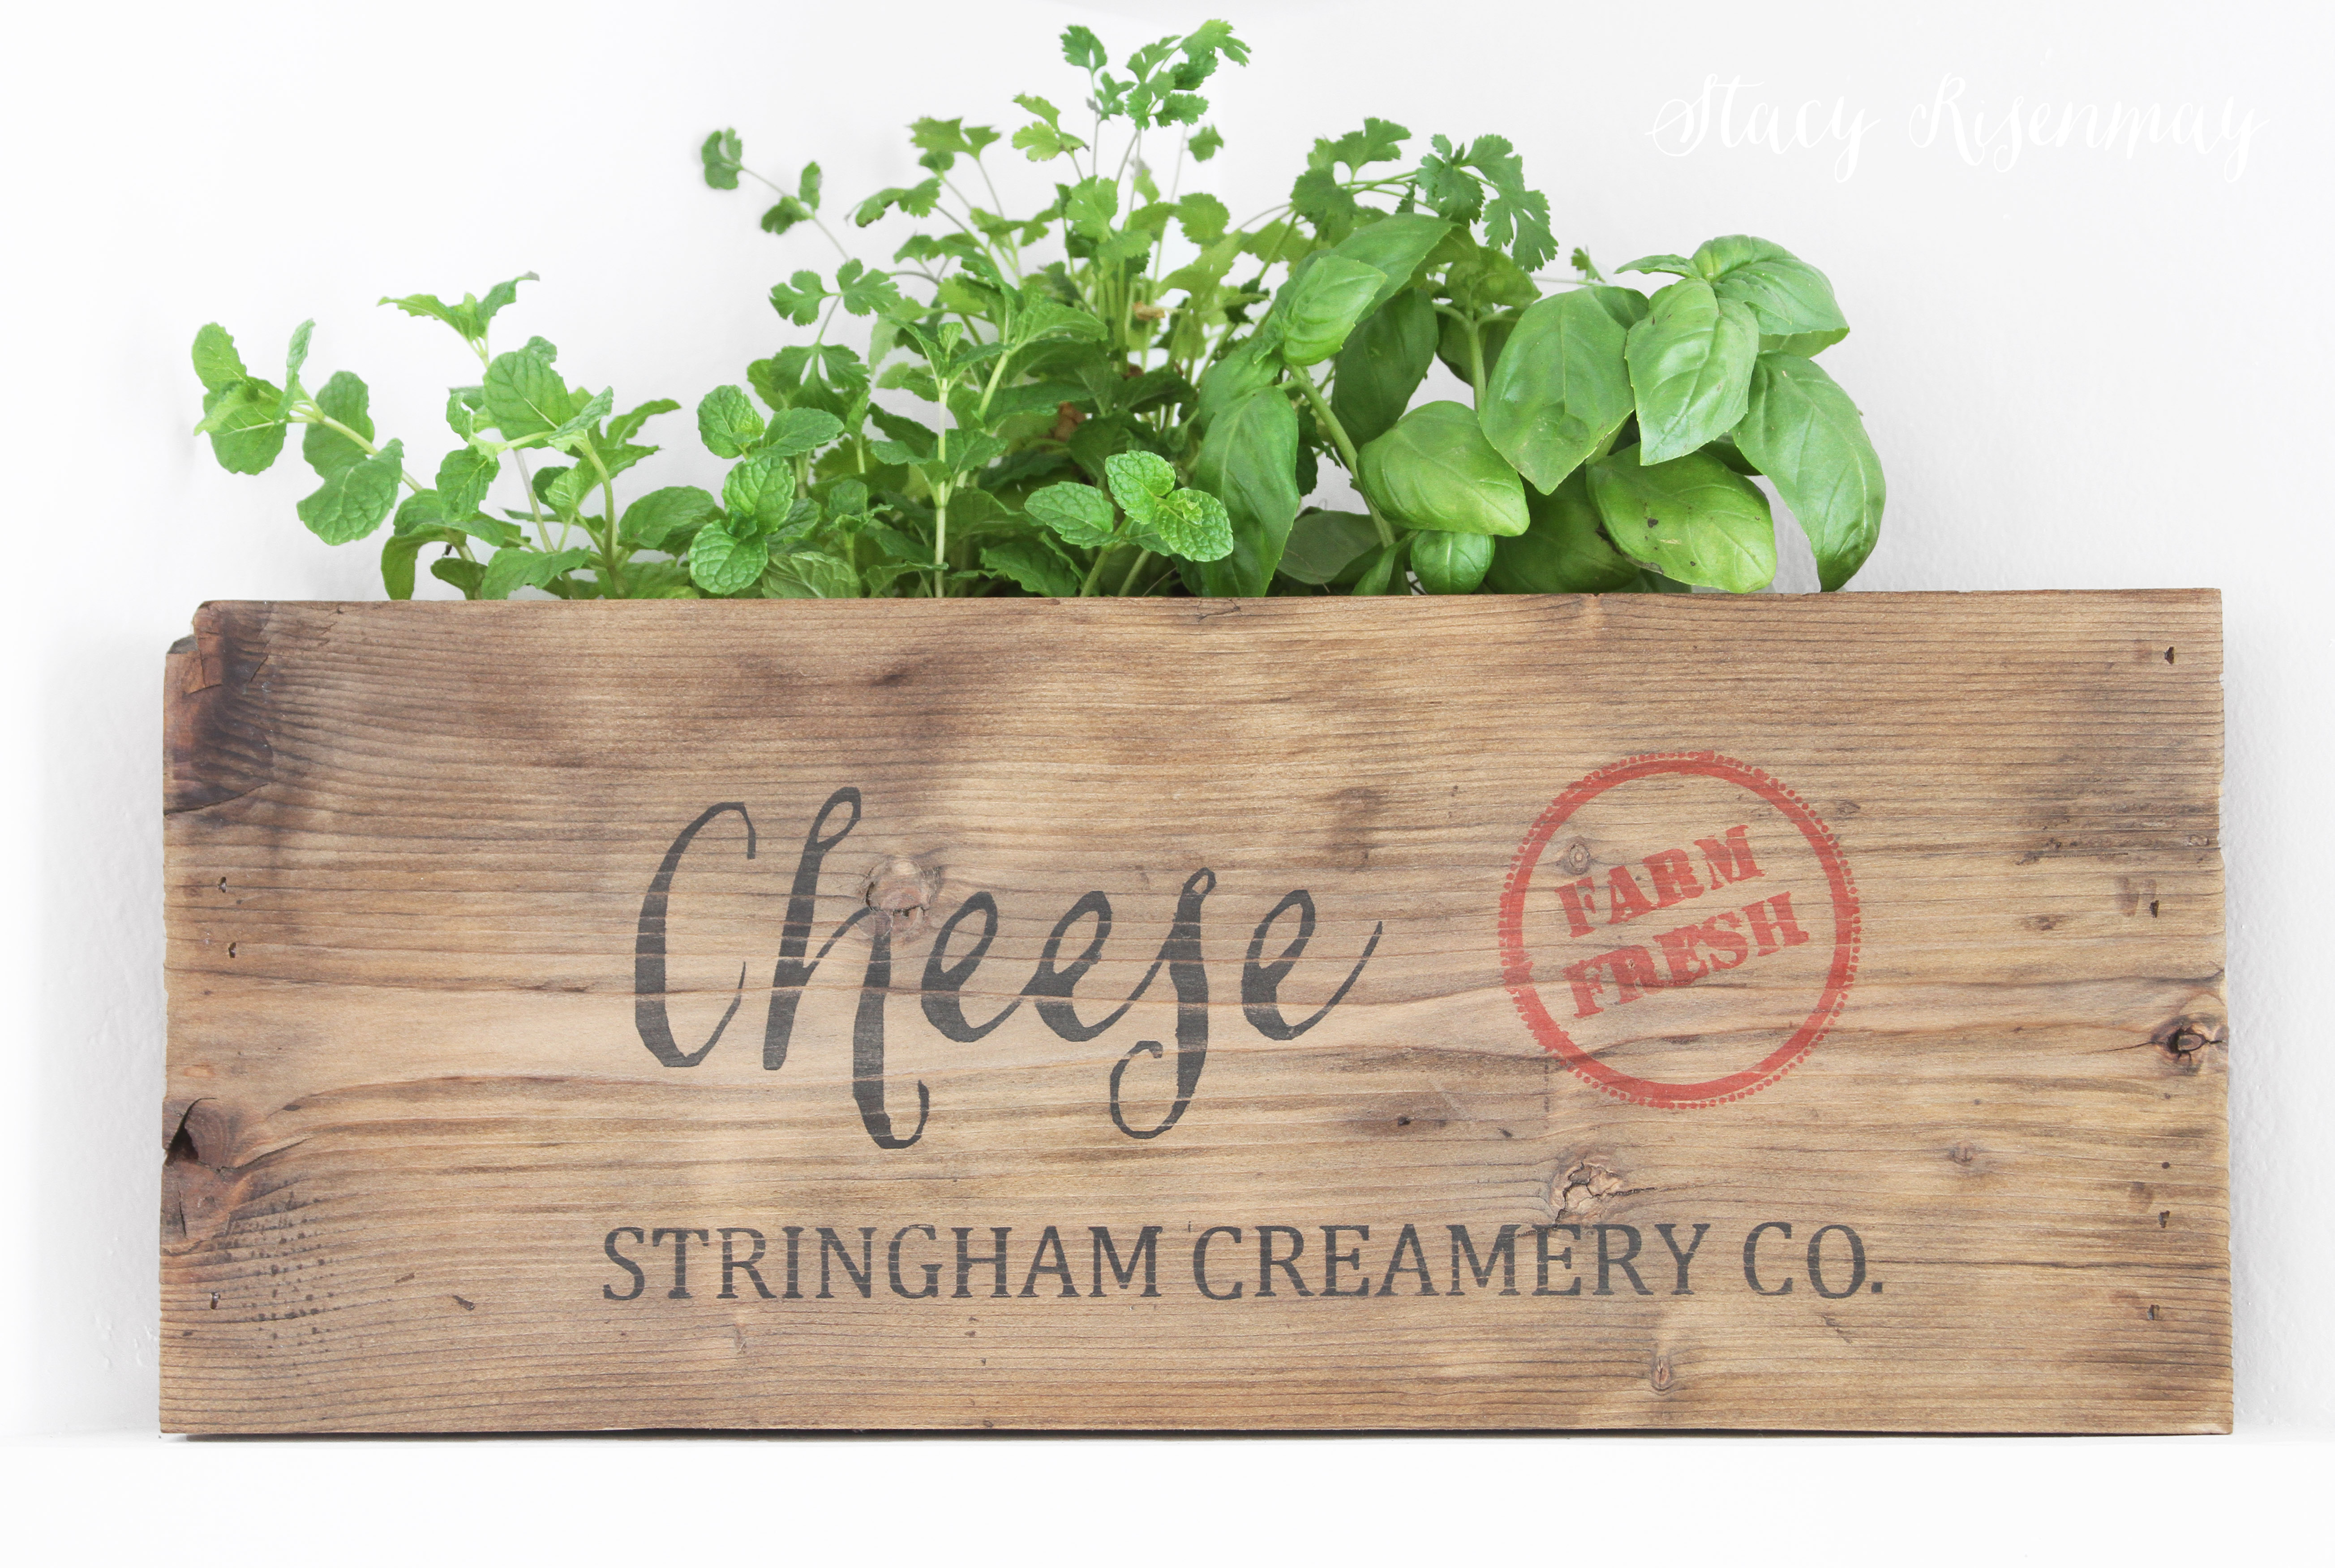
Once it dried I lightly sanded it with 220 grit sand paper to get that aged look. I like to set pots inside of the crate rather than plant them in the crate itself. That way I can easily take out one pot at a time to use the herbs or to water as needed.
I will be revealing my finished dining room later this week. I am thrilled with how it all came together!
Stacy Risenmay is a DIY enthusiast. In her blog, Not Just a Housewife, she shares her adventures of fixing up her 1938 cottage. She believes that whether it’s big or small, everyone should love their space. Learn more about Stacy and visit: http://www.notjustahousewife.net/about. You can also follow Stacy on Facebook, Twitter, and Instagram.