


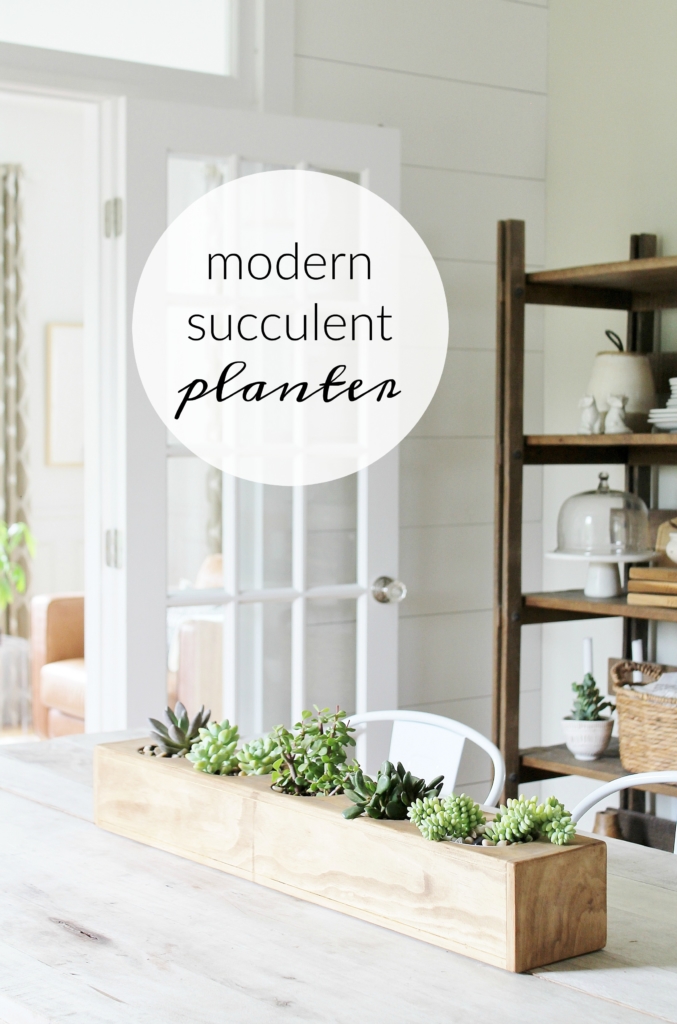
Guest Blogger Jen of City Farmhouse is back with a simple yet elegant DIY project to bring the beauty of nature into your home. Follow along as she walks us through the steps for creating this Modern Succulent Centerpiece Planter.
Hi, there friends! Over the last few years, I have become super fond of succulents, who hasn’t right?! I love the look, colors, sizes, shapes and the fact that they are low maintenance is a bonus for me. Plus you can find them just about anywhere lately, even the grocery store! I thought it would be fun to create an all season, modern succulent centerpiece planter for my kitchen table. I have teamed up with Minwax® for this project and to give my piece a rustic finish.
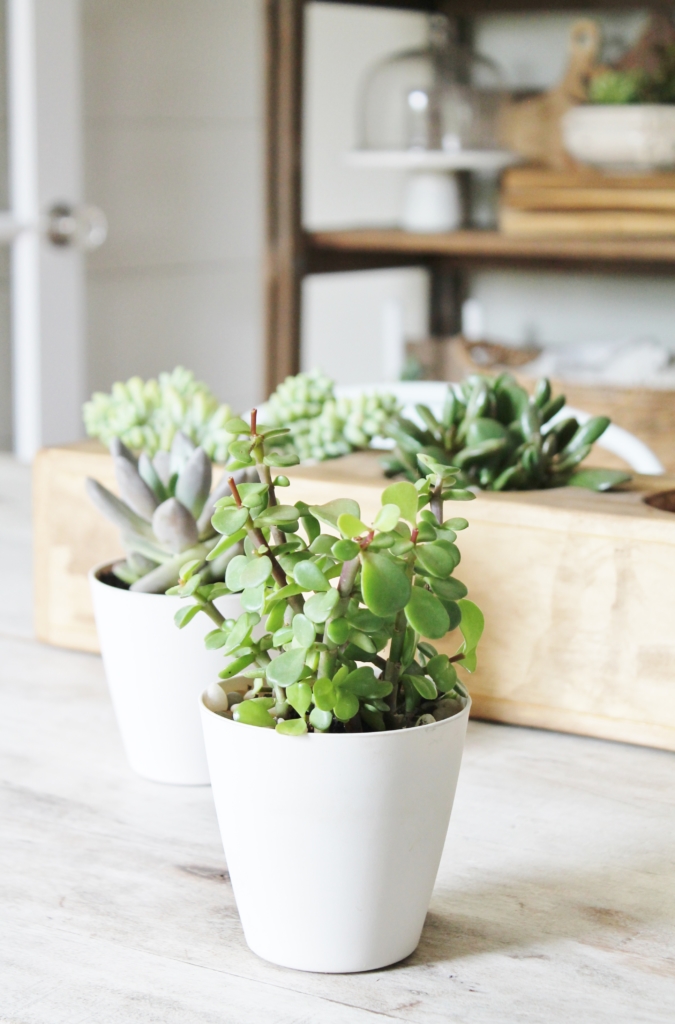
In planning this piece I knew I didn’t want the soil near the wood and that I wanted a modern vibe so I decided to use plastic planters I found at Target and set them inside the top. I actually created this piece based on the dimensions of these planters, so if you find other planters to use for this project, just alter your measurements accordingly. The great part about this is that I can also pop them in and out easily if I wanted to change the plants.
WHAT YOU WILL NEED:
- poplar craft board – Four 3ft lengths & One 2ft length (I bought mine at Lowe’s)
- wood glue
- finishing nails
- clamps
- jig saw or 4″ drill bit adapter
- sand paper
- 5 plastic pots from Target that are about 4″ x 4″
- 5 succulents
- potting soil
- pebbles

HOW THIS WAS MADE:
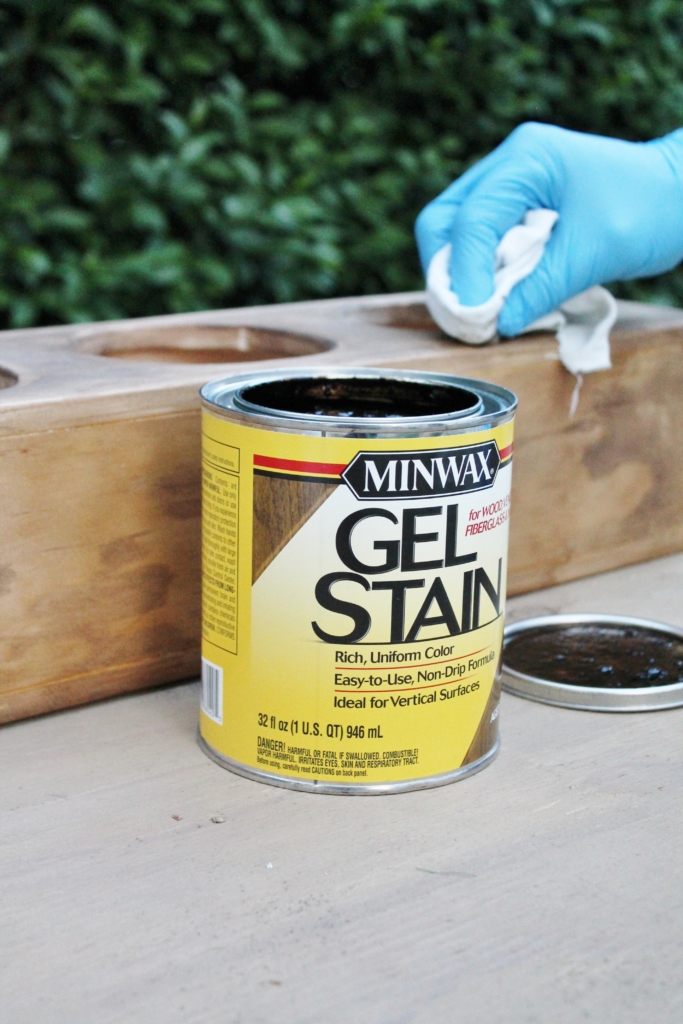
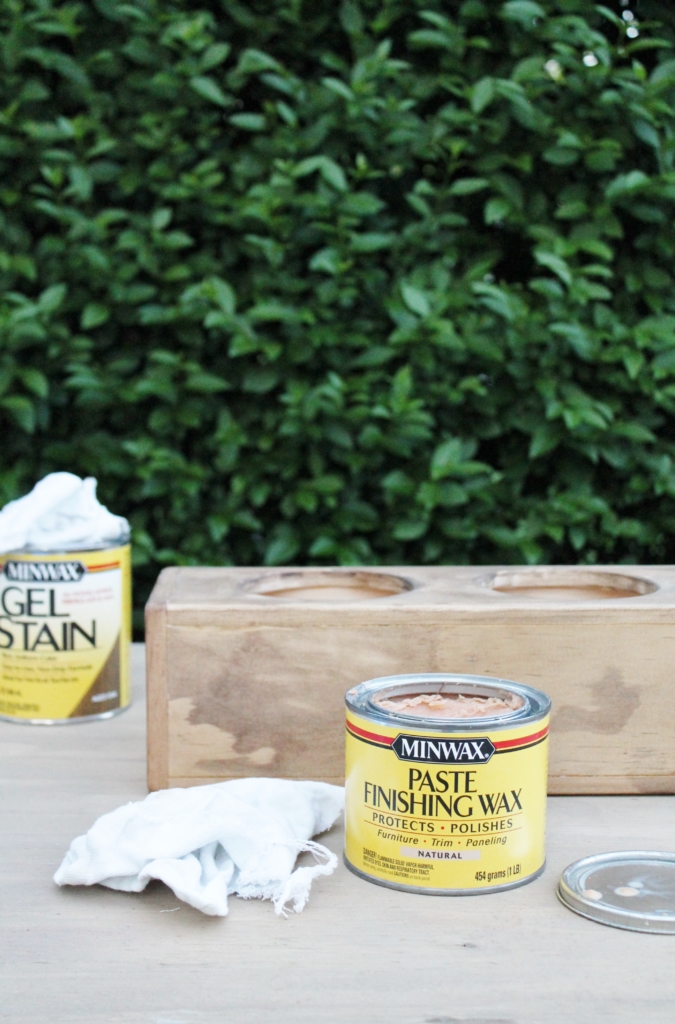
Cut your pieces from the above diagramMark off 5-4.25″ circles in the top length and cut them out using a jigsaw or 4″ drill bit adapterSand the openings to make them smooth.Take your bottom & 2 sides and glue & nail them, using clamps to hold in place.Once dry take your top with your circle cut outs and do the same, glue & nail.Then do the same for your ends, these will adhere to the outside of the box.After the piece is dry and secure, sand the edges smooth.Now it’s time to stain, I used Minwax® Gel Stain in “Aged Oak.” Be sure to have gloves on and use a cotton cloth to apply. The gel stain was SO easy!!!Next, I sealed it with Minwax® Paste Finishing Wax to give it a protective finish while maintaining a natural look.This Gel Stain is the best!!! It dries fast and no mess!!!
The finishing paste gives the same look on the wood but adds an extra layer of protection.

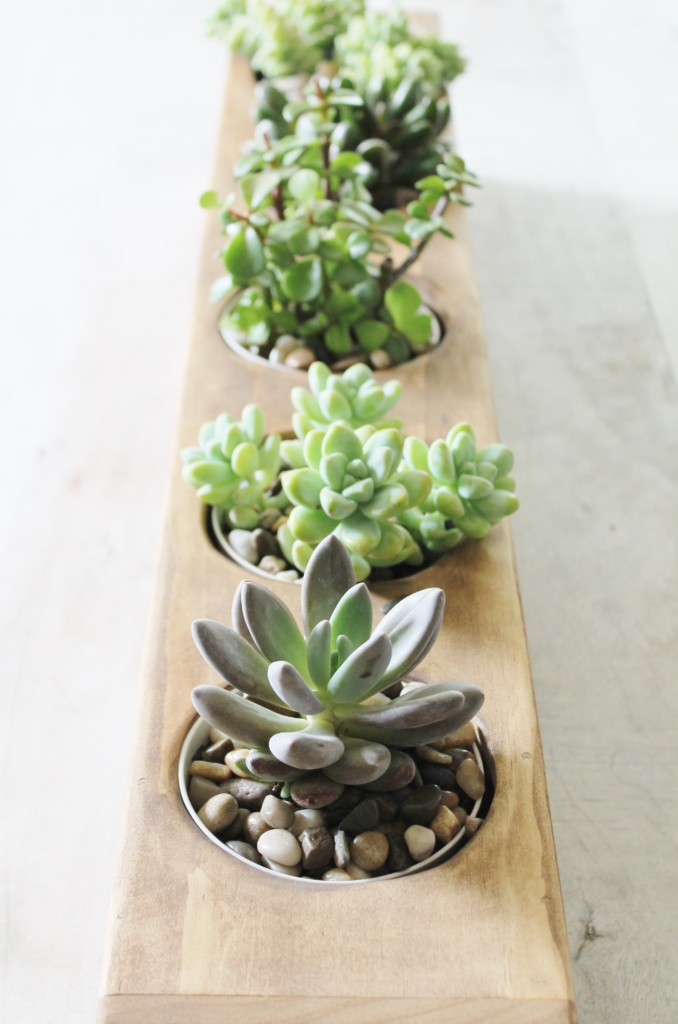
It’s time to add the planters! I selected 5 different succulents that I found at Lowe’s, all with varying hues, shapes and sizes.
Ta-da! Honestly, I wanted a no-fuss centerpiece that could stay through the seasons. I hit the nail on the head with this one, I absolutely love it!
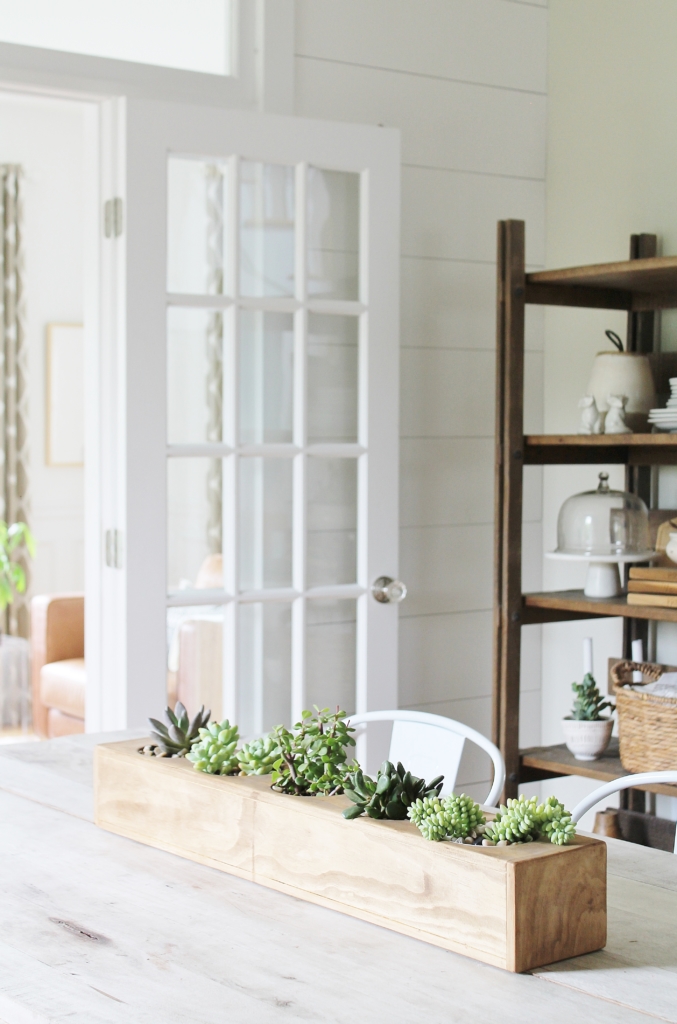
The stain is just the right shade to balance all the wood tones and brown hues.
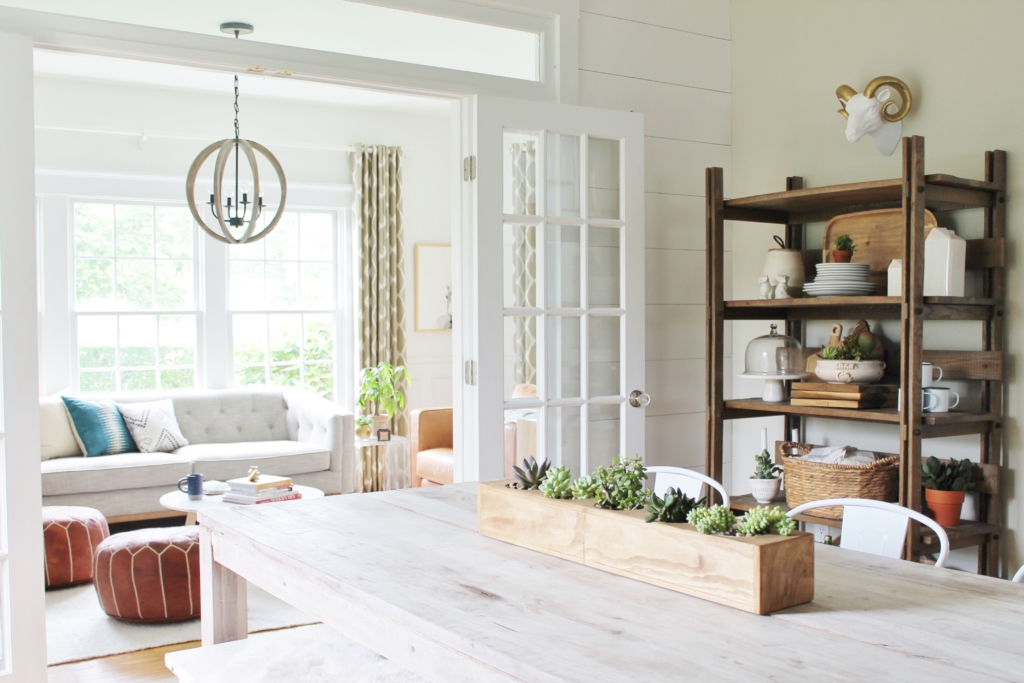
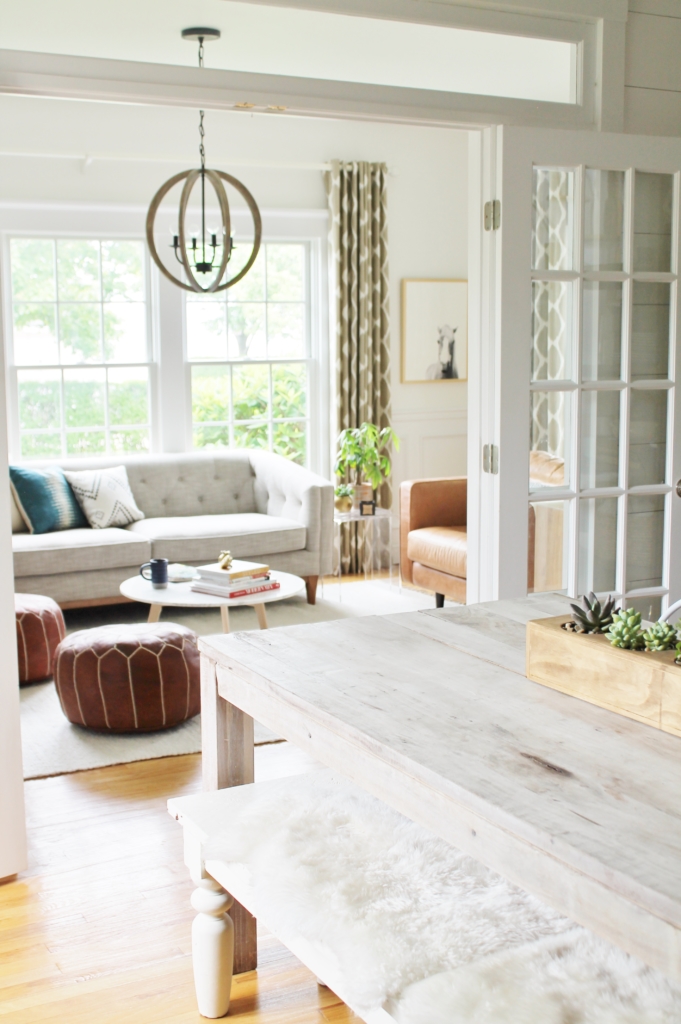
A little peek into my new den, aka old dining room.

My favorite part is the circle cut outs, it’s something different. I added pebbles to the planters to give it a finished look.
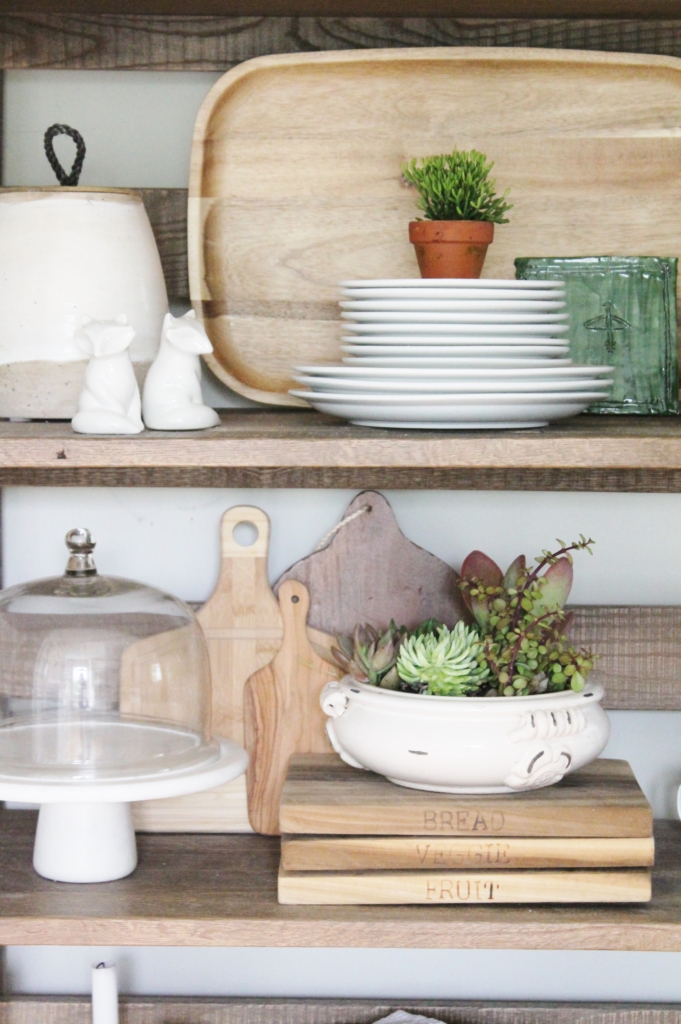
And more succulents in the open shelving:).
Be sure to check out Minwax’s new “Made With Love. Finished With Minwax.” campaign currently going on. The theme is ‘Find. Finish. Love.,’ celebrating the thrill of finding real wood pieces – sometimes in the least expected places – and the joy of making them into something we love.
Jen shares DIY projects and thrifty decorating solutions. Her design philosophy is that bringing style to your home doesn’t have to break the bank. Learn more about Jen and visit City Farmhouse. You Can also follow her on Facebook, Twitter, Instagram, and Pinterest.