Tools Needed:
- Minwax Clear Aerosol Lacquer
- Minwax Polyshades Aerosol
- Aerosol adhesive
- Birch plywood backing
- Pine molding
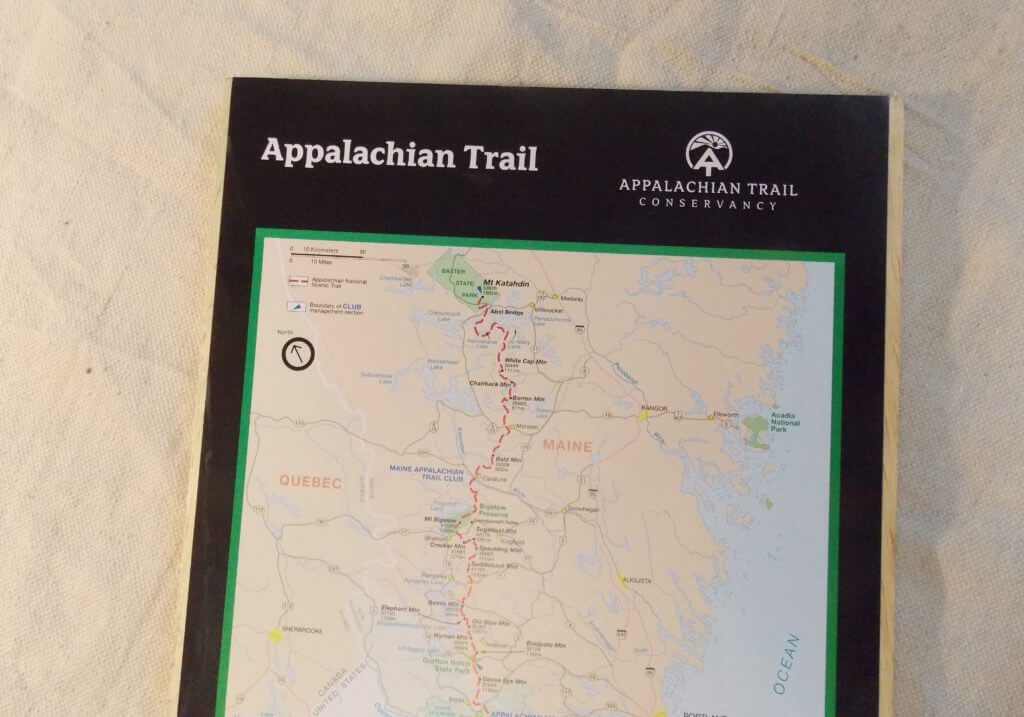
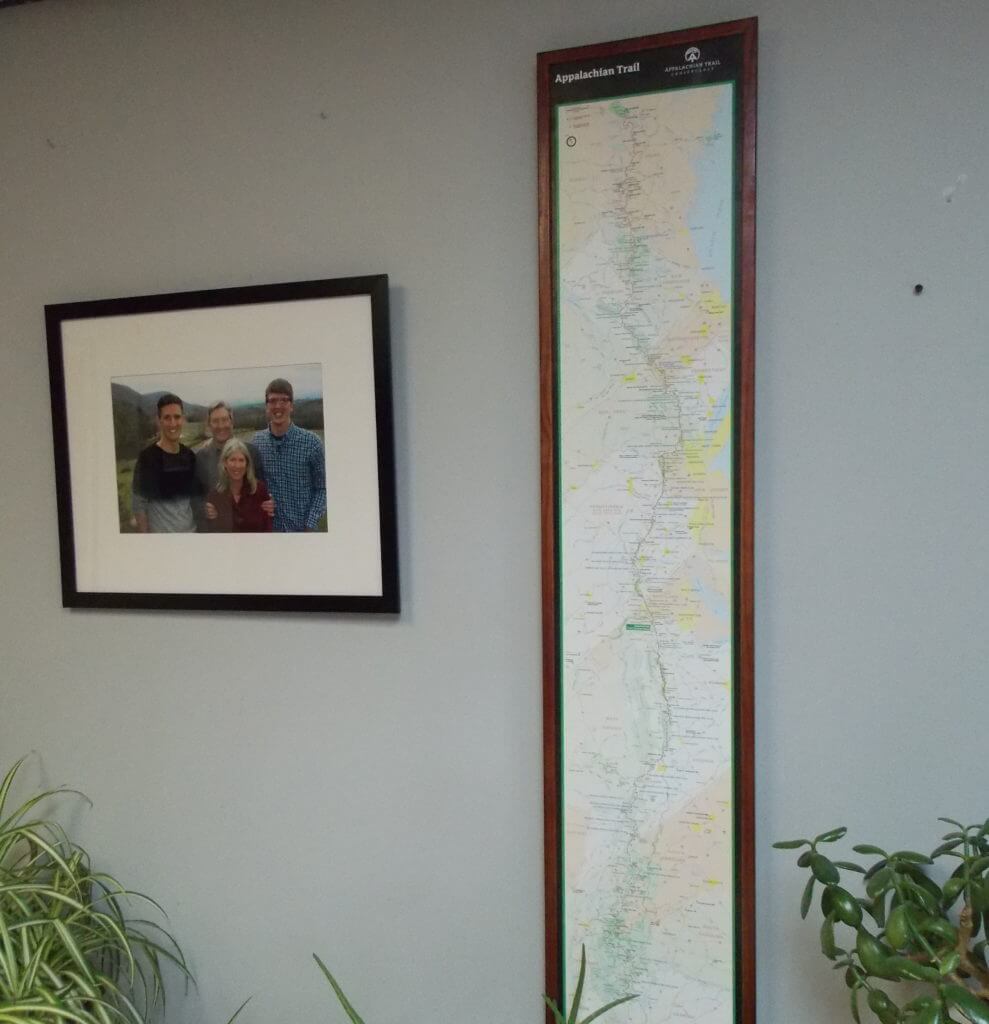
My son Eric likes to hike, so when I spotted this map of the Appalachian Trail, I knew he would love to have it hanging in his apartment.
1. Seal plywood with aerosol lacquer
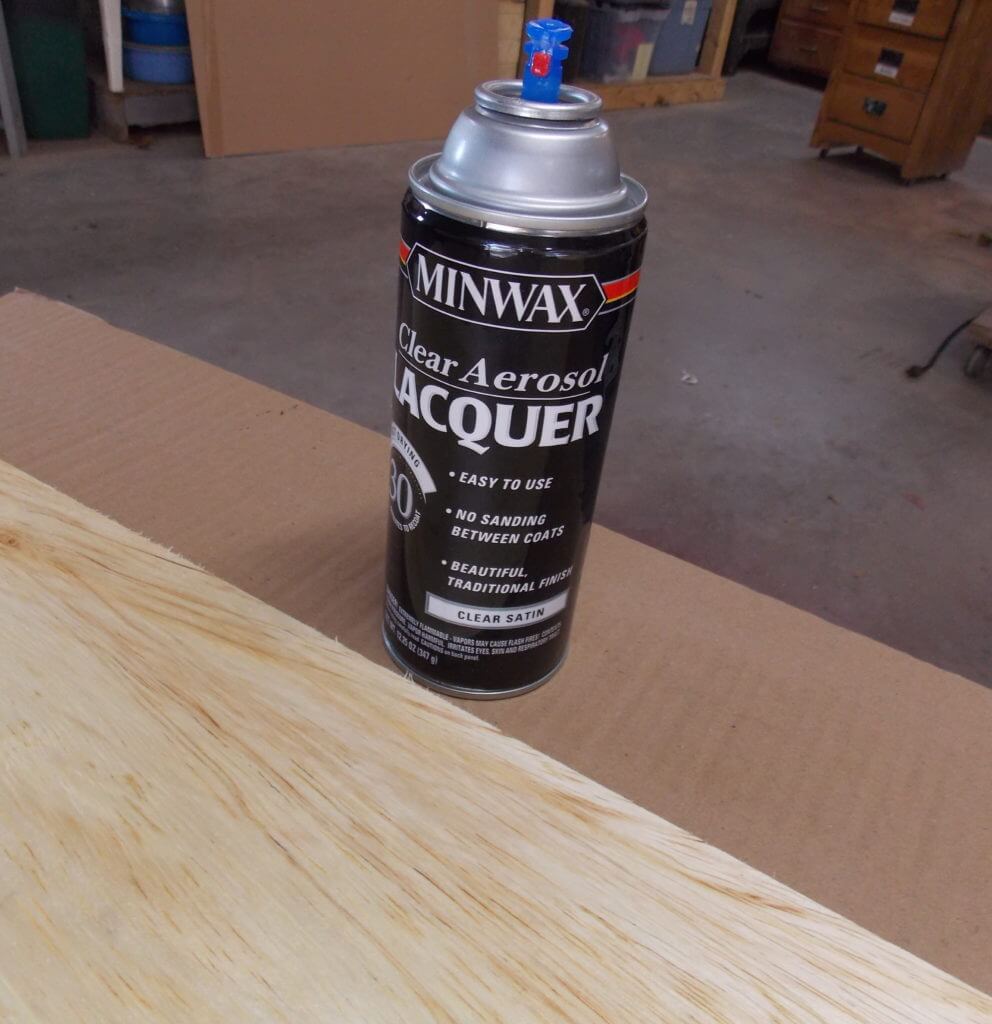
I started by cutting a piece of birch plywood the same size as the map, then sealing it with Minwax Clear Aerosol Lacquer.
2. Spray sealed wood with aerosol adhesive
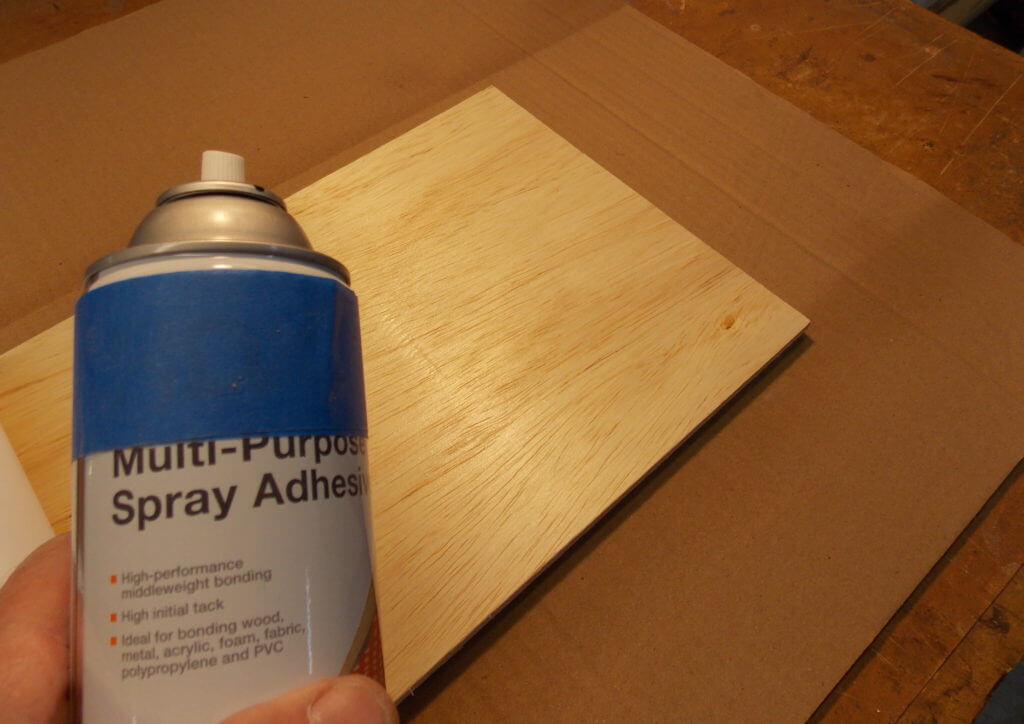
The lacquer dried quickly, after which I sprayed the sealed wood with a coat of aerosol adhesive, then pressed the map onto the wet glue.
3. Construct a frame and apply finish
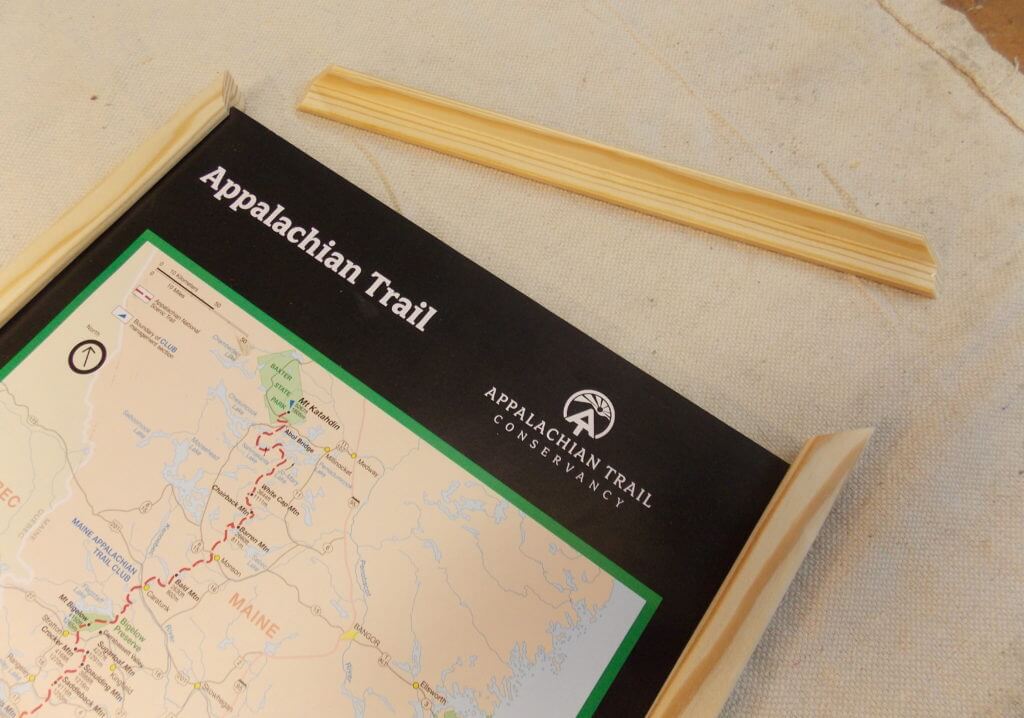
I then cut some pine molding to start making the frame….
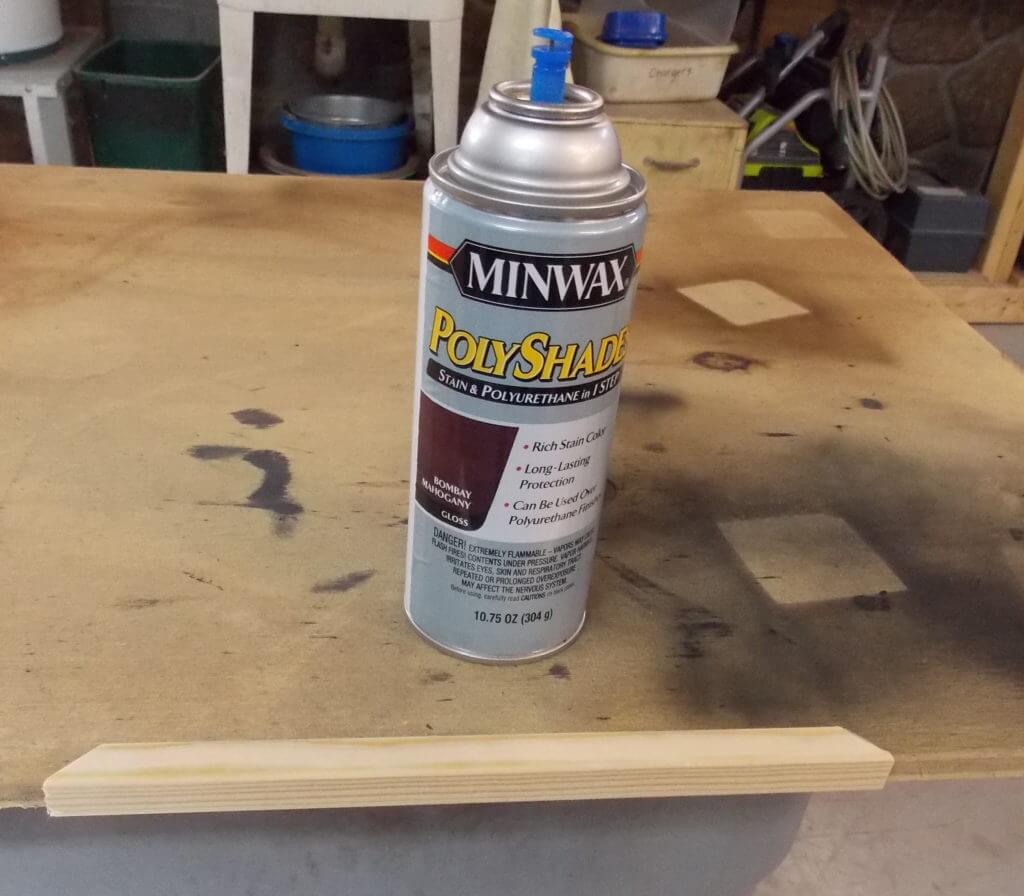 … and applied my stain and polyurethane finish quickly and easily in just one step with Minwax Polyshades.
4. Attach the frame to the backing
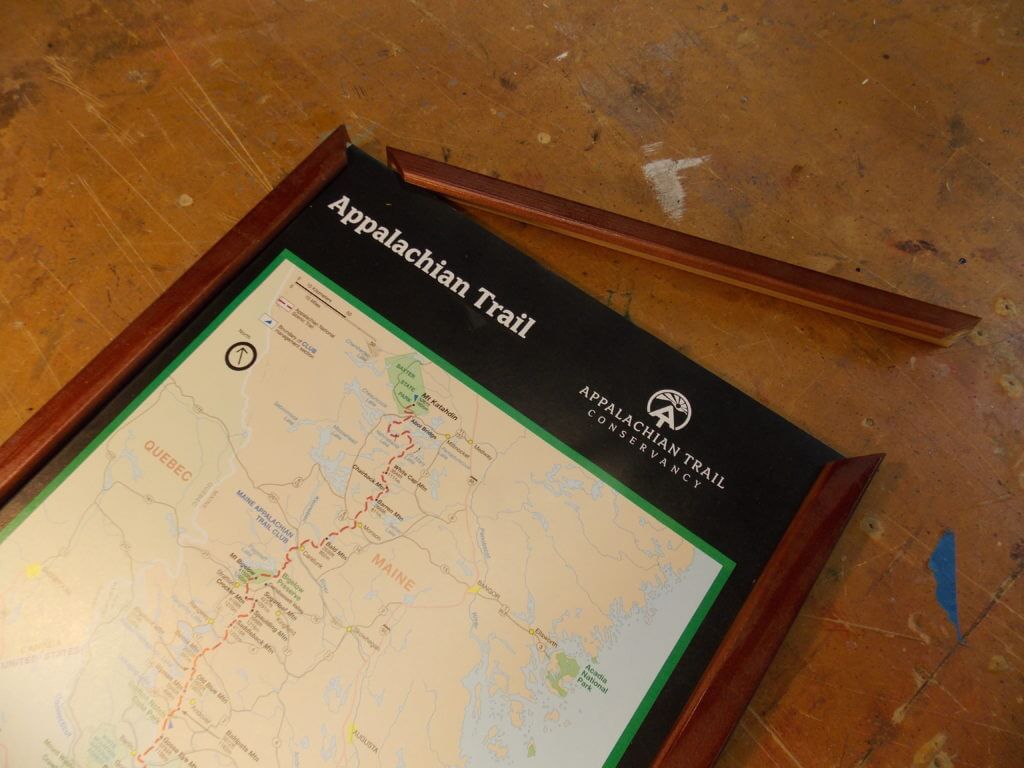 Once it dried, I tacked the frame pieces onto the plywood backing.
Which made this both an easy and inexpensive project for Eric, who is on the right in our family picture hanging in his apartment.
Until next time,
Thanks for stopping by!
Bruce


