Tools Needed:
- Minwax Water Based Wood Stain
- Minwax Water Based Polycrylic Aerosol
- Drill
- Drawer pulls
- Clean cloth (to wipe away excess stain)
1. Sand and stain short section of unfinished wood molding.
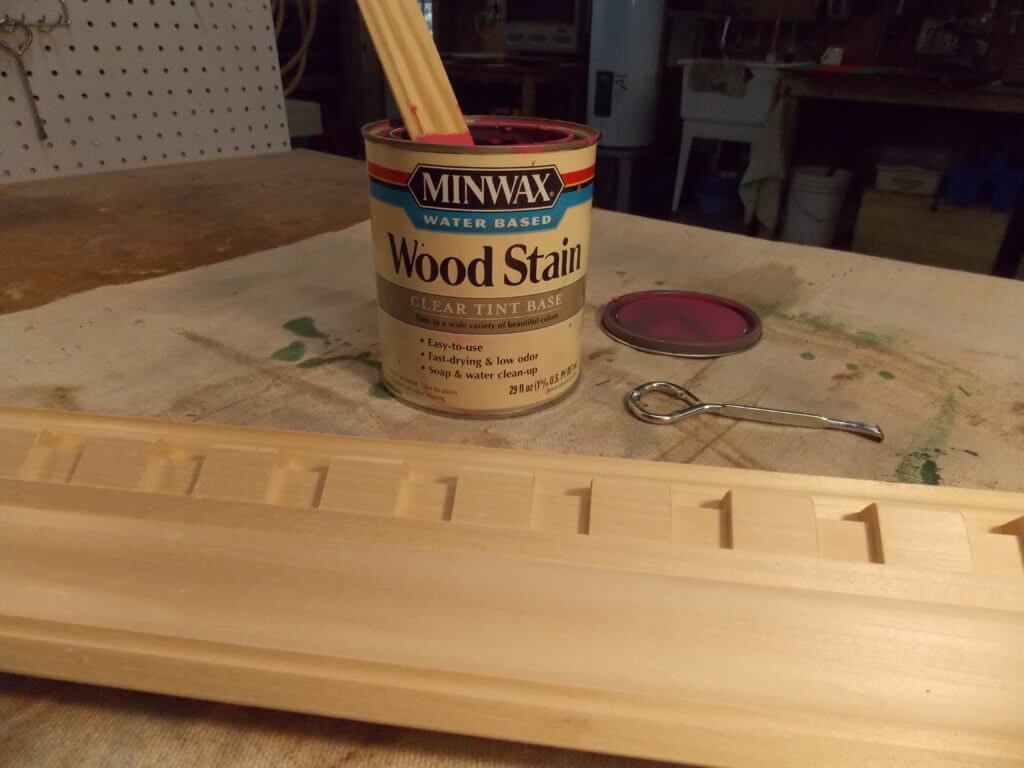
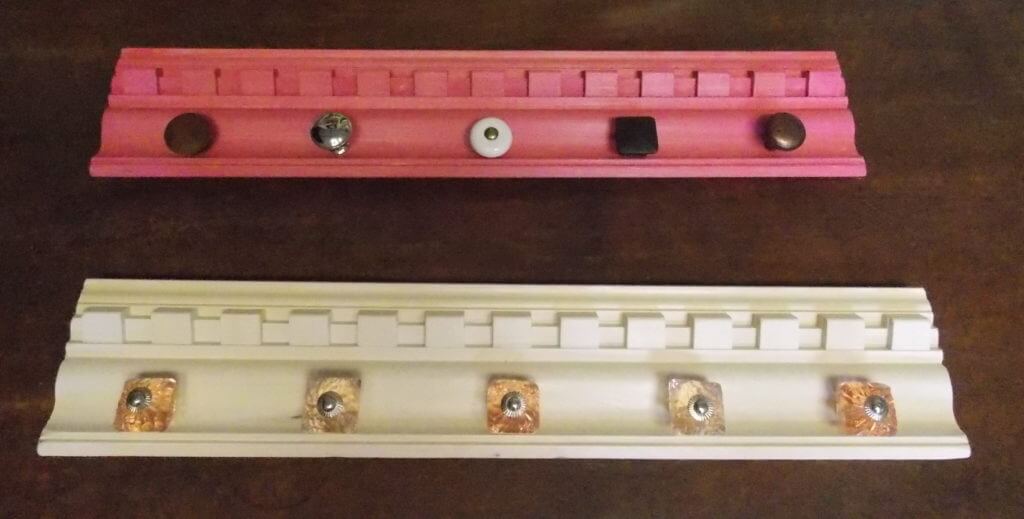
Home improvement stores have a large selection of unfinished wood molding, so I decided to use a short section to make a display for my niece’s jewelry. After a light sanding, I opened a can of Minwax Water Based Wood Stain, choosing Perfectly Pink for her.
2. Apply Minwax Water Based Wood Stain.
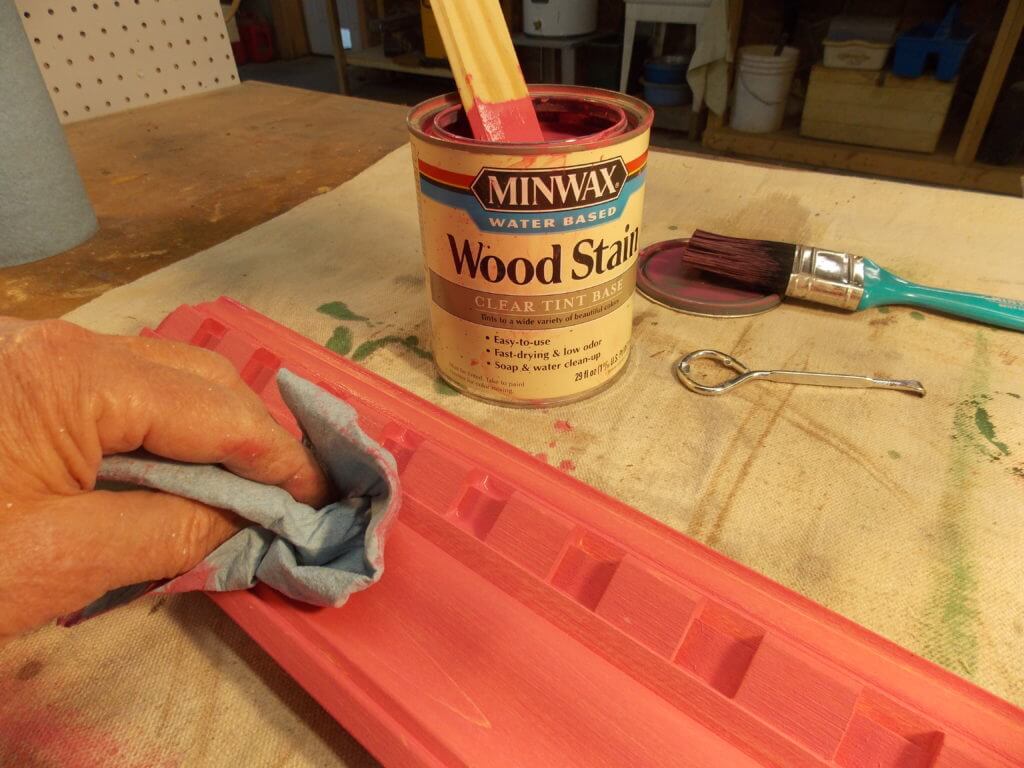
After brushing on my stain, I then wiped off any stain the wood did not absorb, so the wood grain could show.
3. Seal and finish with Minwax Water Based Polycrylic Protective Finish.
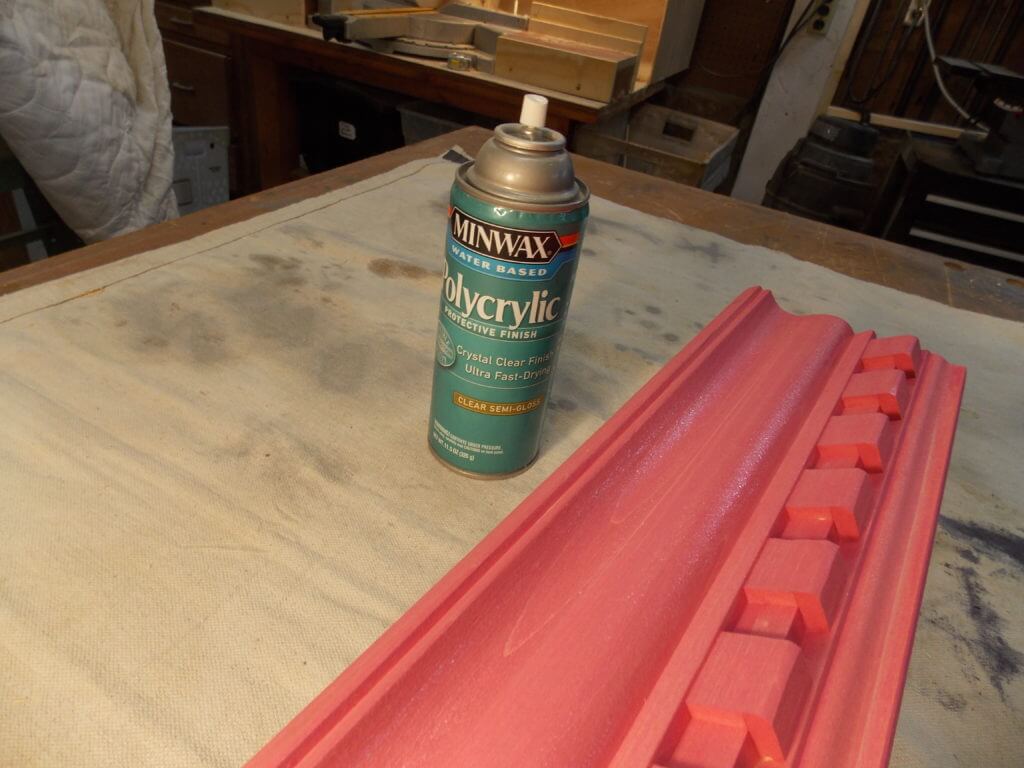
The Water Based Wood Stain dried quickly, so a little later I sealed the molding with a few coats of Minwax Water Based Polycrylic Protective Finish in a handy aerosol can.
4. Attach drawer pulls to use as jewelry-hanging hooks.
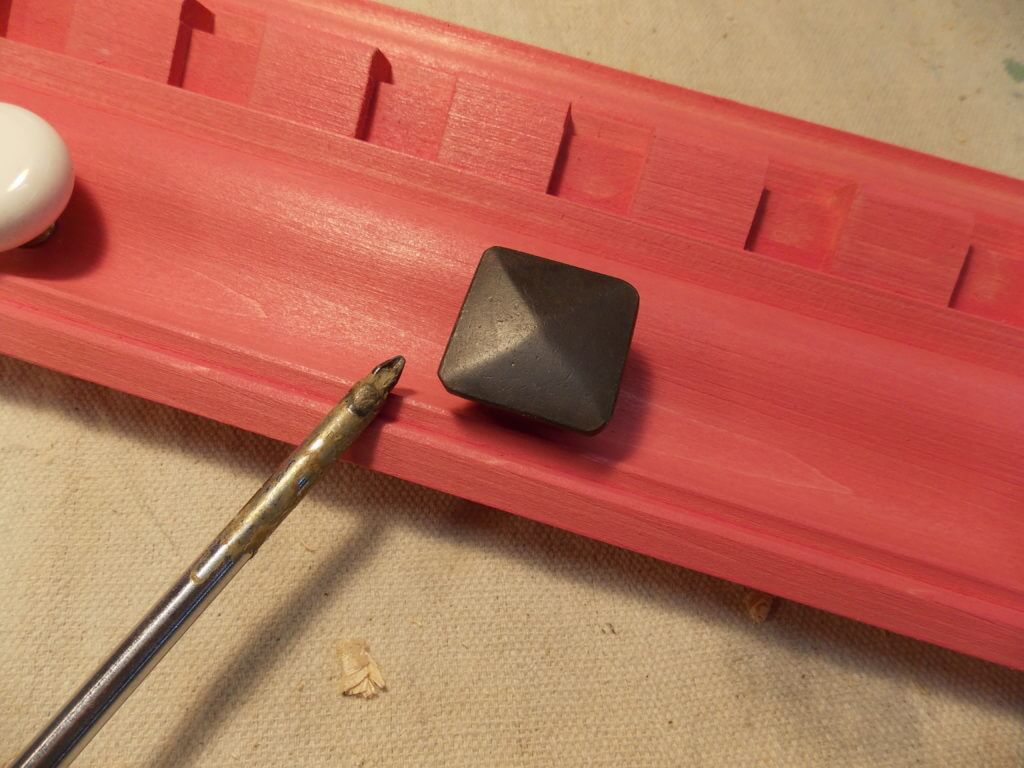
Then I measured and drilled holes for my hardware, which in this case was an assortment of drawer pulls I had on hand — or you can pick them up at your local hardware store.
5. That’s it. You’re done. Project Complete.
And while I was making a pink jewelry display for my niece, I also made one for my wife with clear, square drawer pulls. Both are now ready to hang on the wall, where they will be both decorative and practical.
Until next time,
Thanks for stopping by!
Bruce


