Tools Needed:
- Minwax Helmsman Teak Oil
- 5 Pressure-treated boards
- Drill
- Nails
- Glue
- Clamps
- Sandpaper
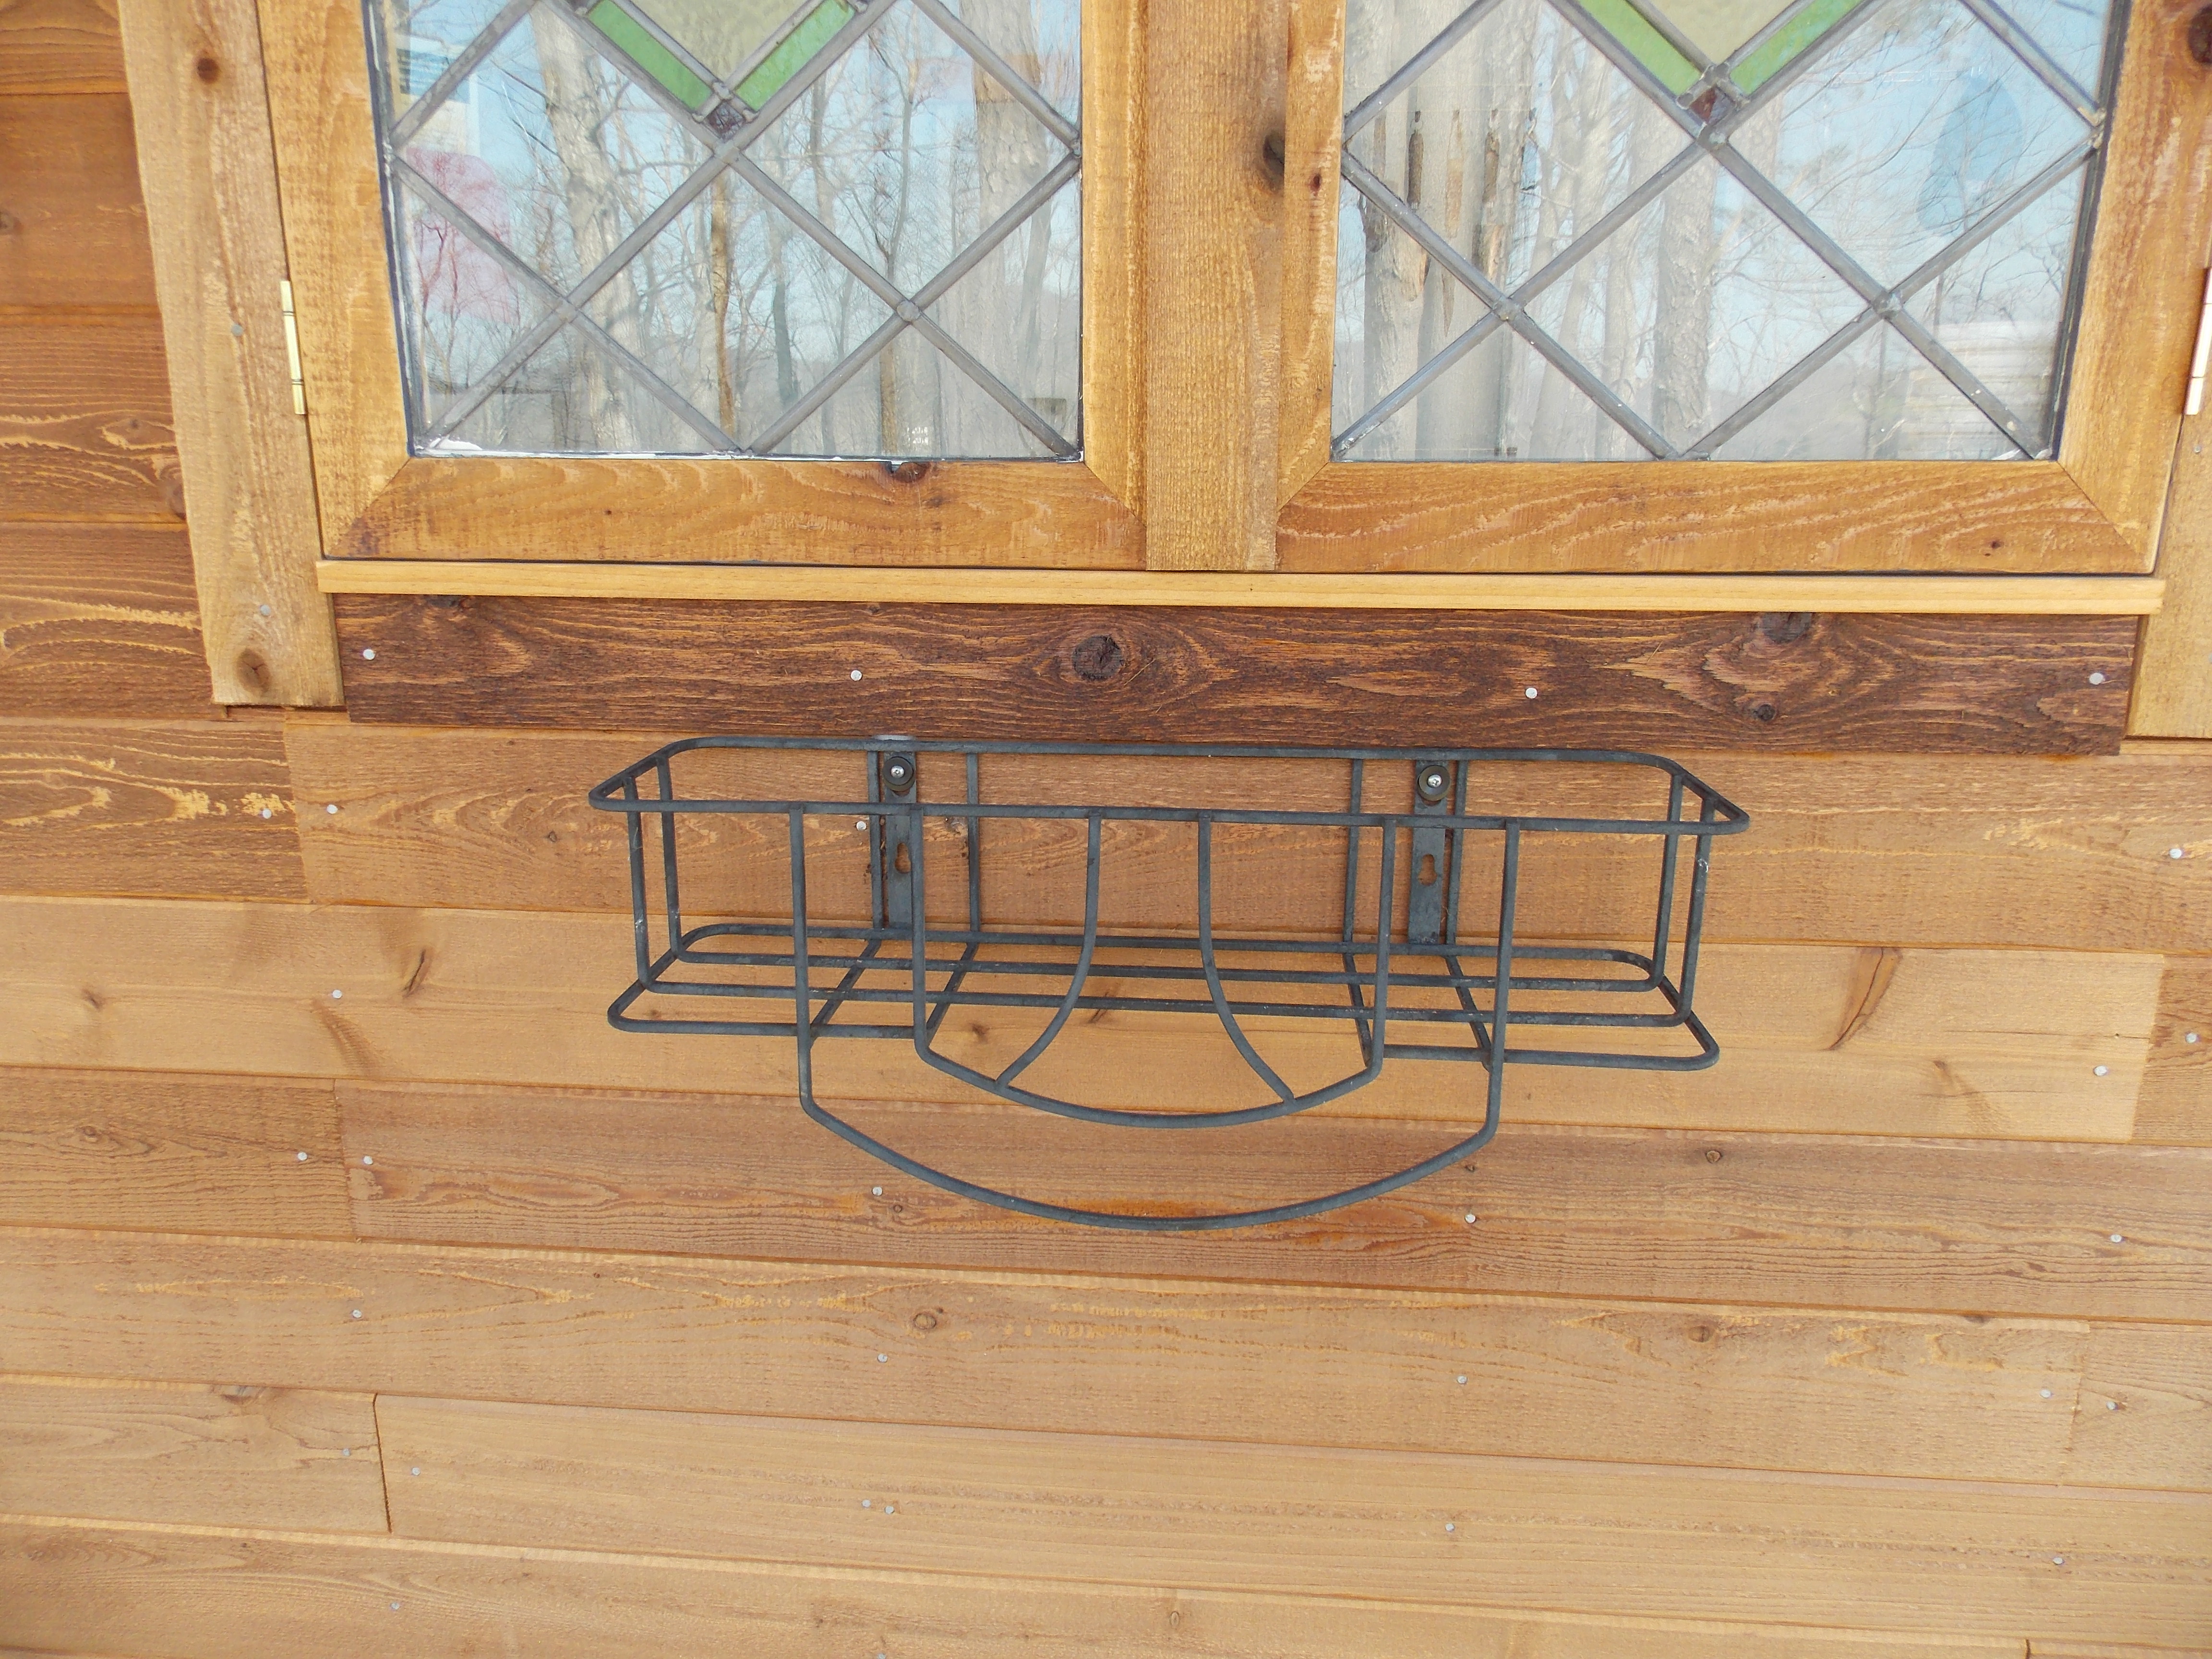
Last summer I built a garden shed behind our house for Leigh Ann. Scored me some major points, but also gave me more space in our garage for my woodworking workshop. Beneath these two stained glass windows that we had found in a salvage warehouse, she hung a wrought iron planter, and asked if I could build a wood liner for it.
1. Measure and cut pressure-treated board.
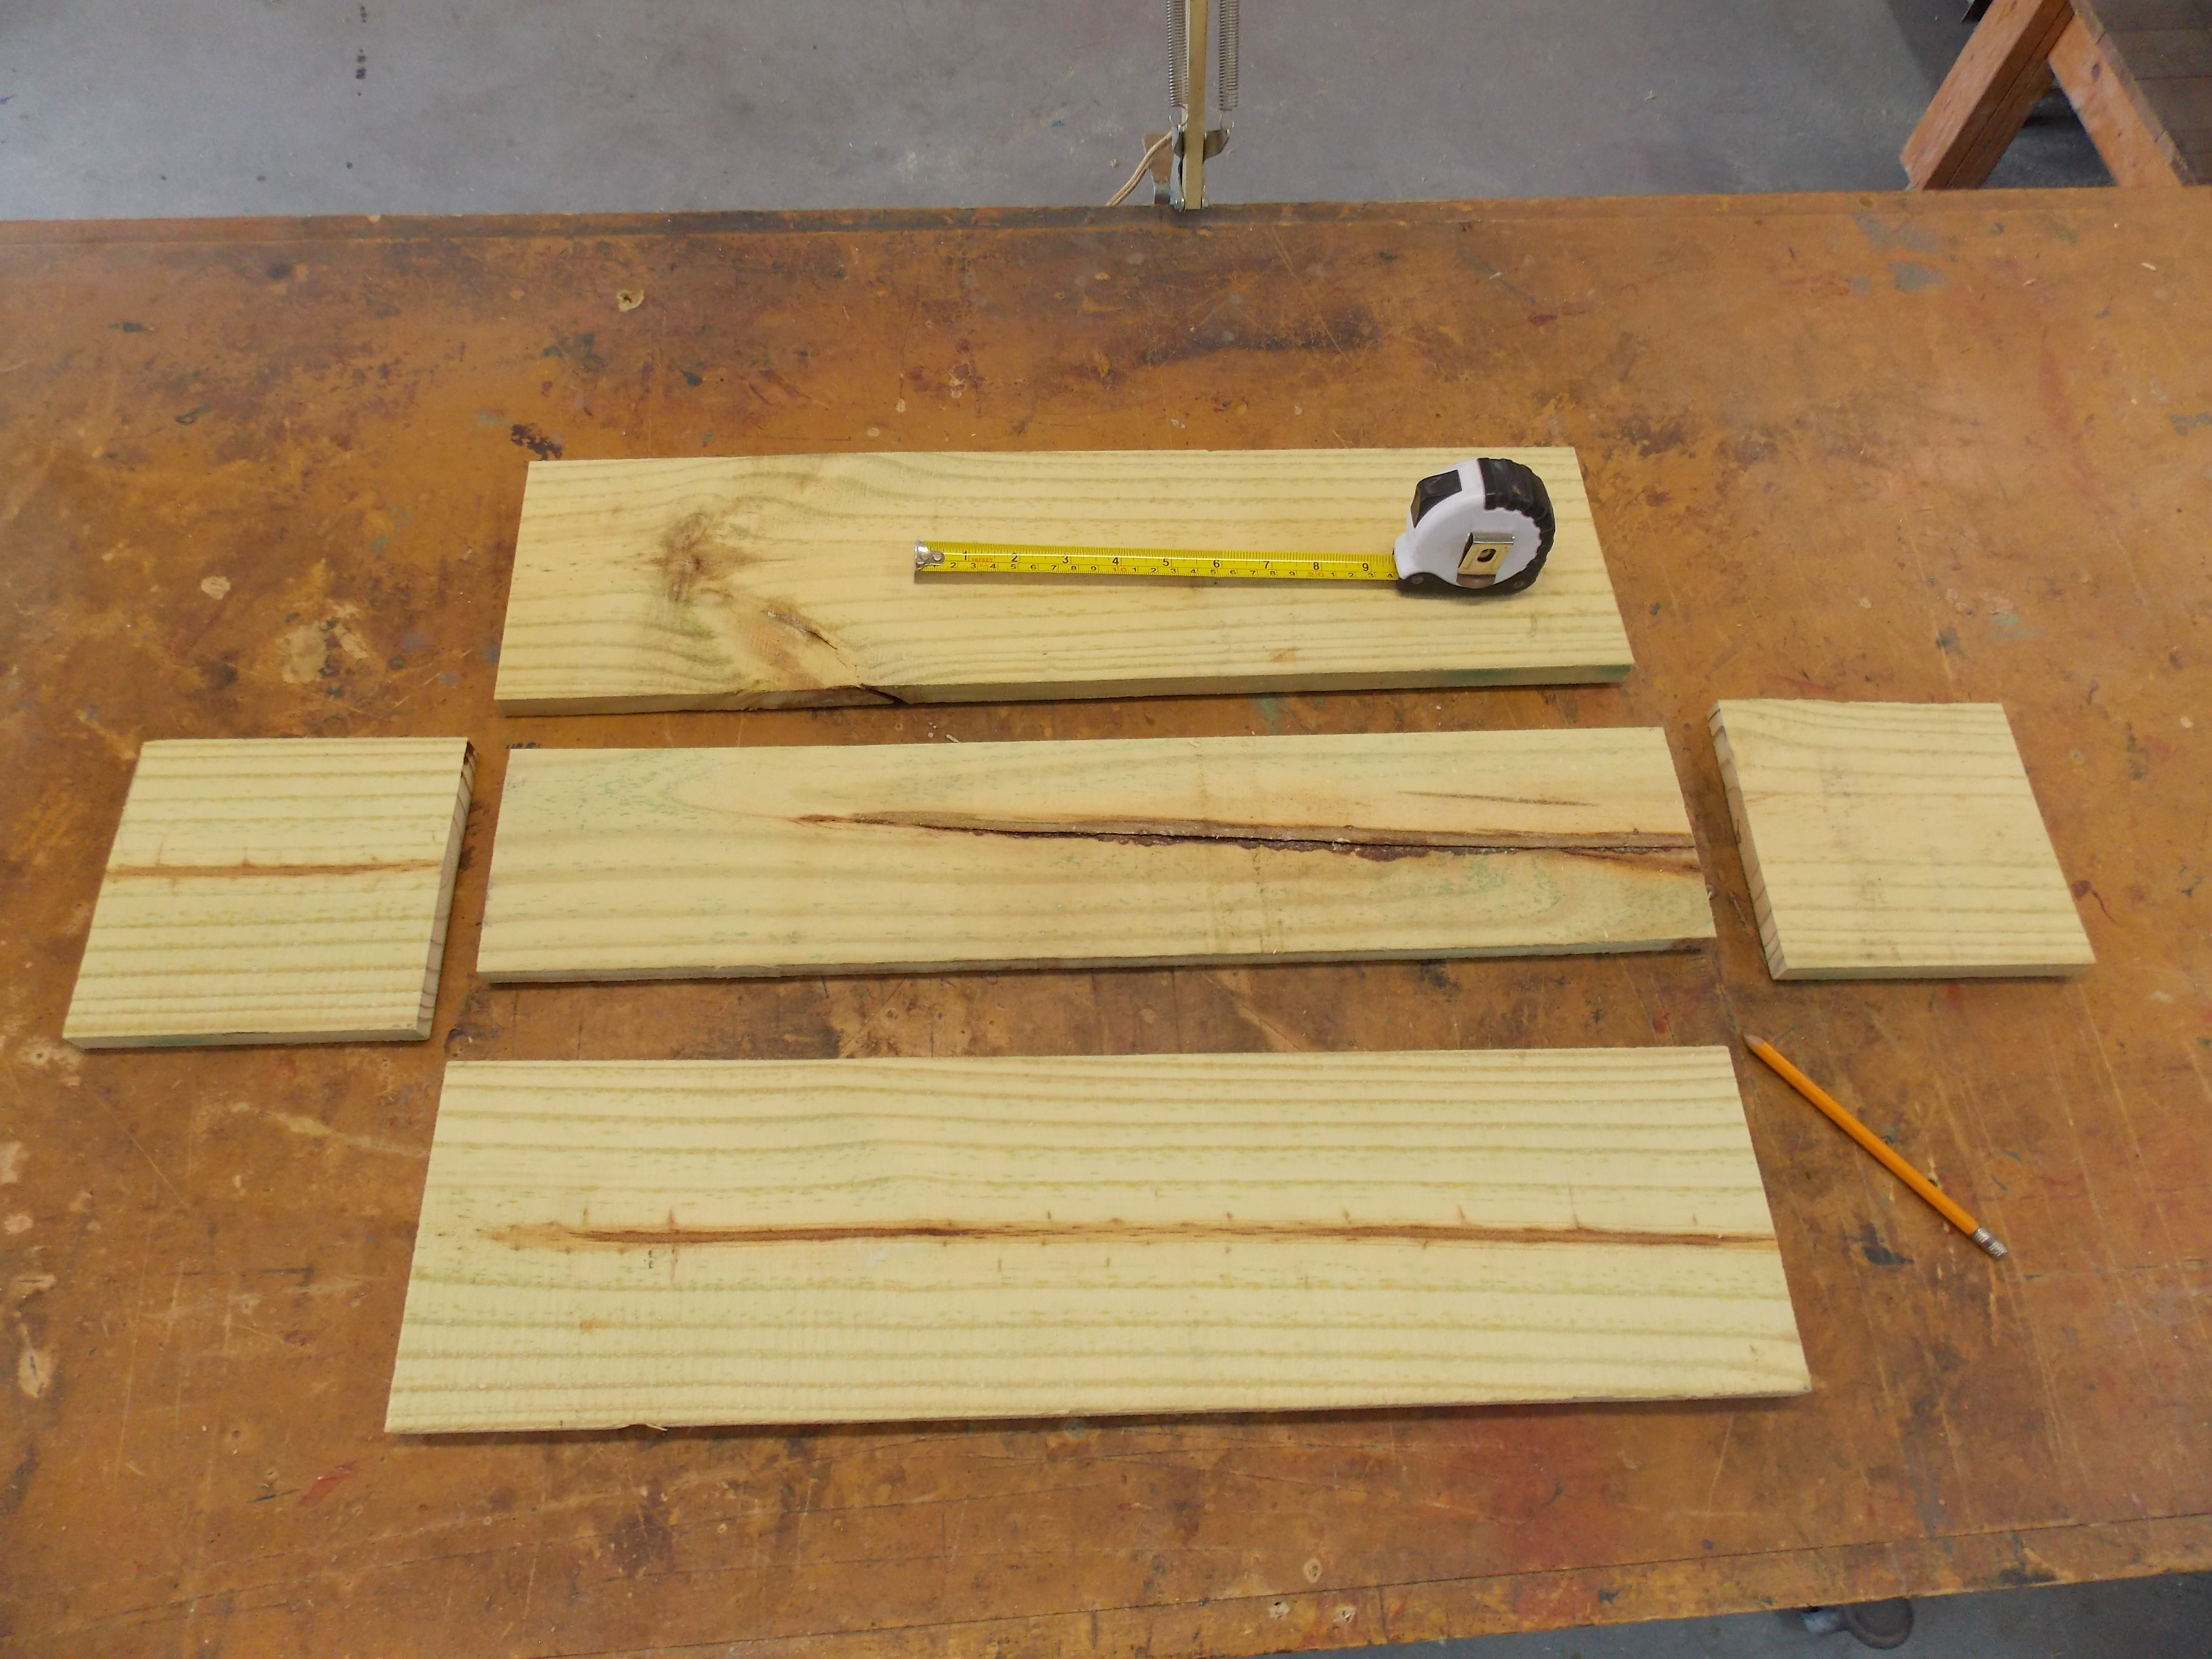
I picked up an inexpensive pressure-treated board, took my measurements from inside the planter, then cut and laid out my boards.
2. Nail, glue and clamp five boards together.
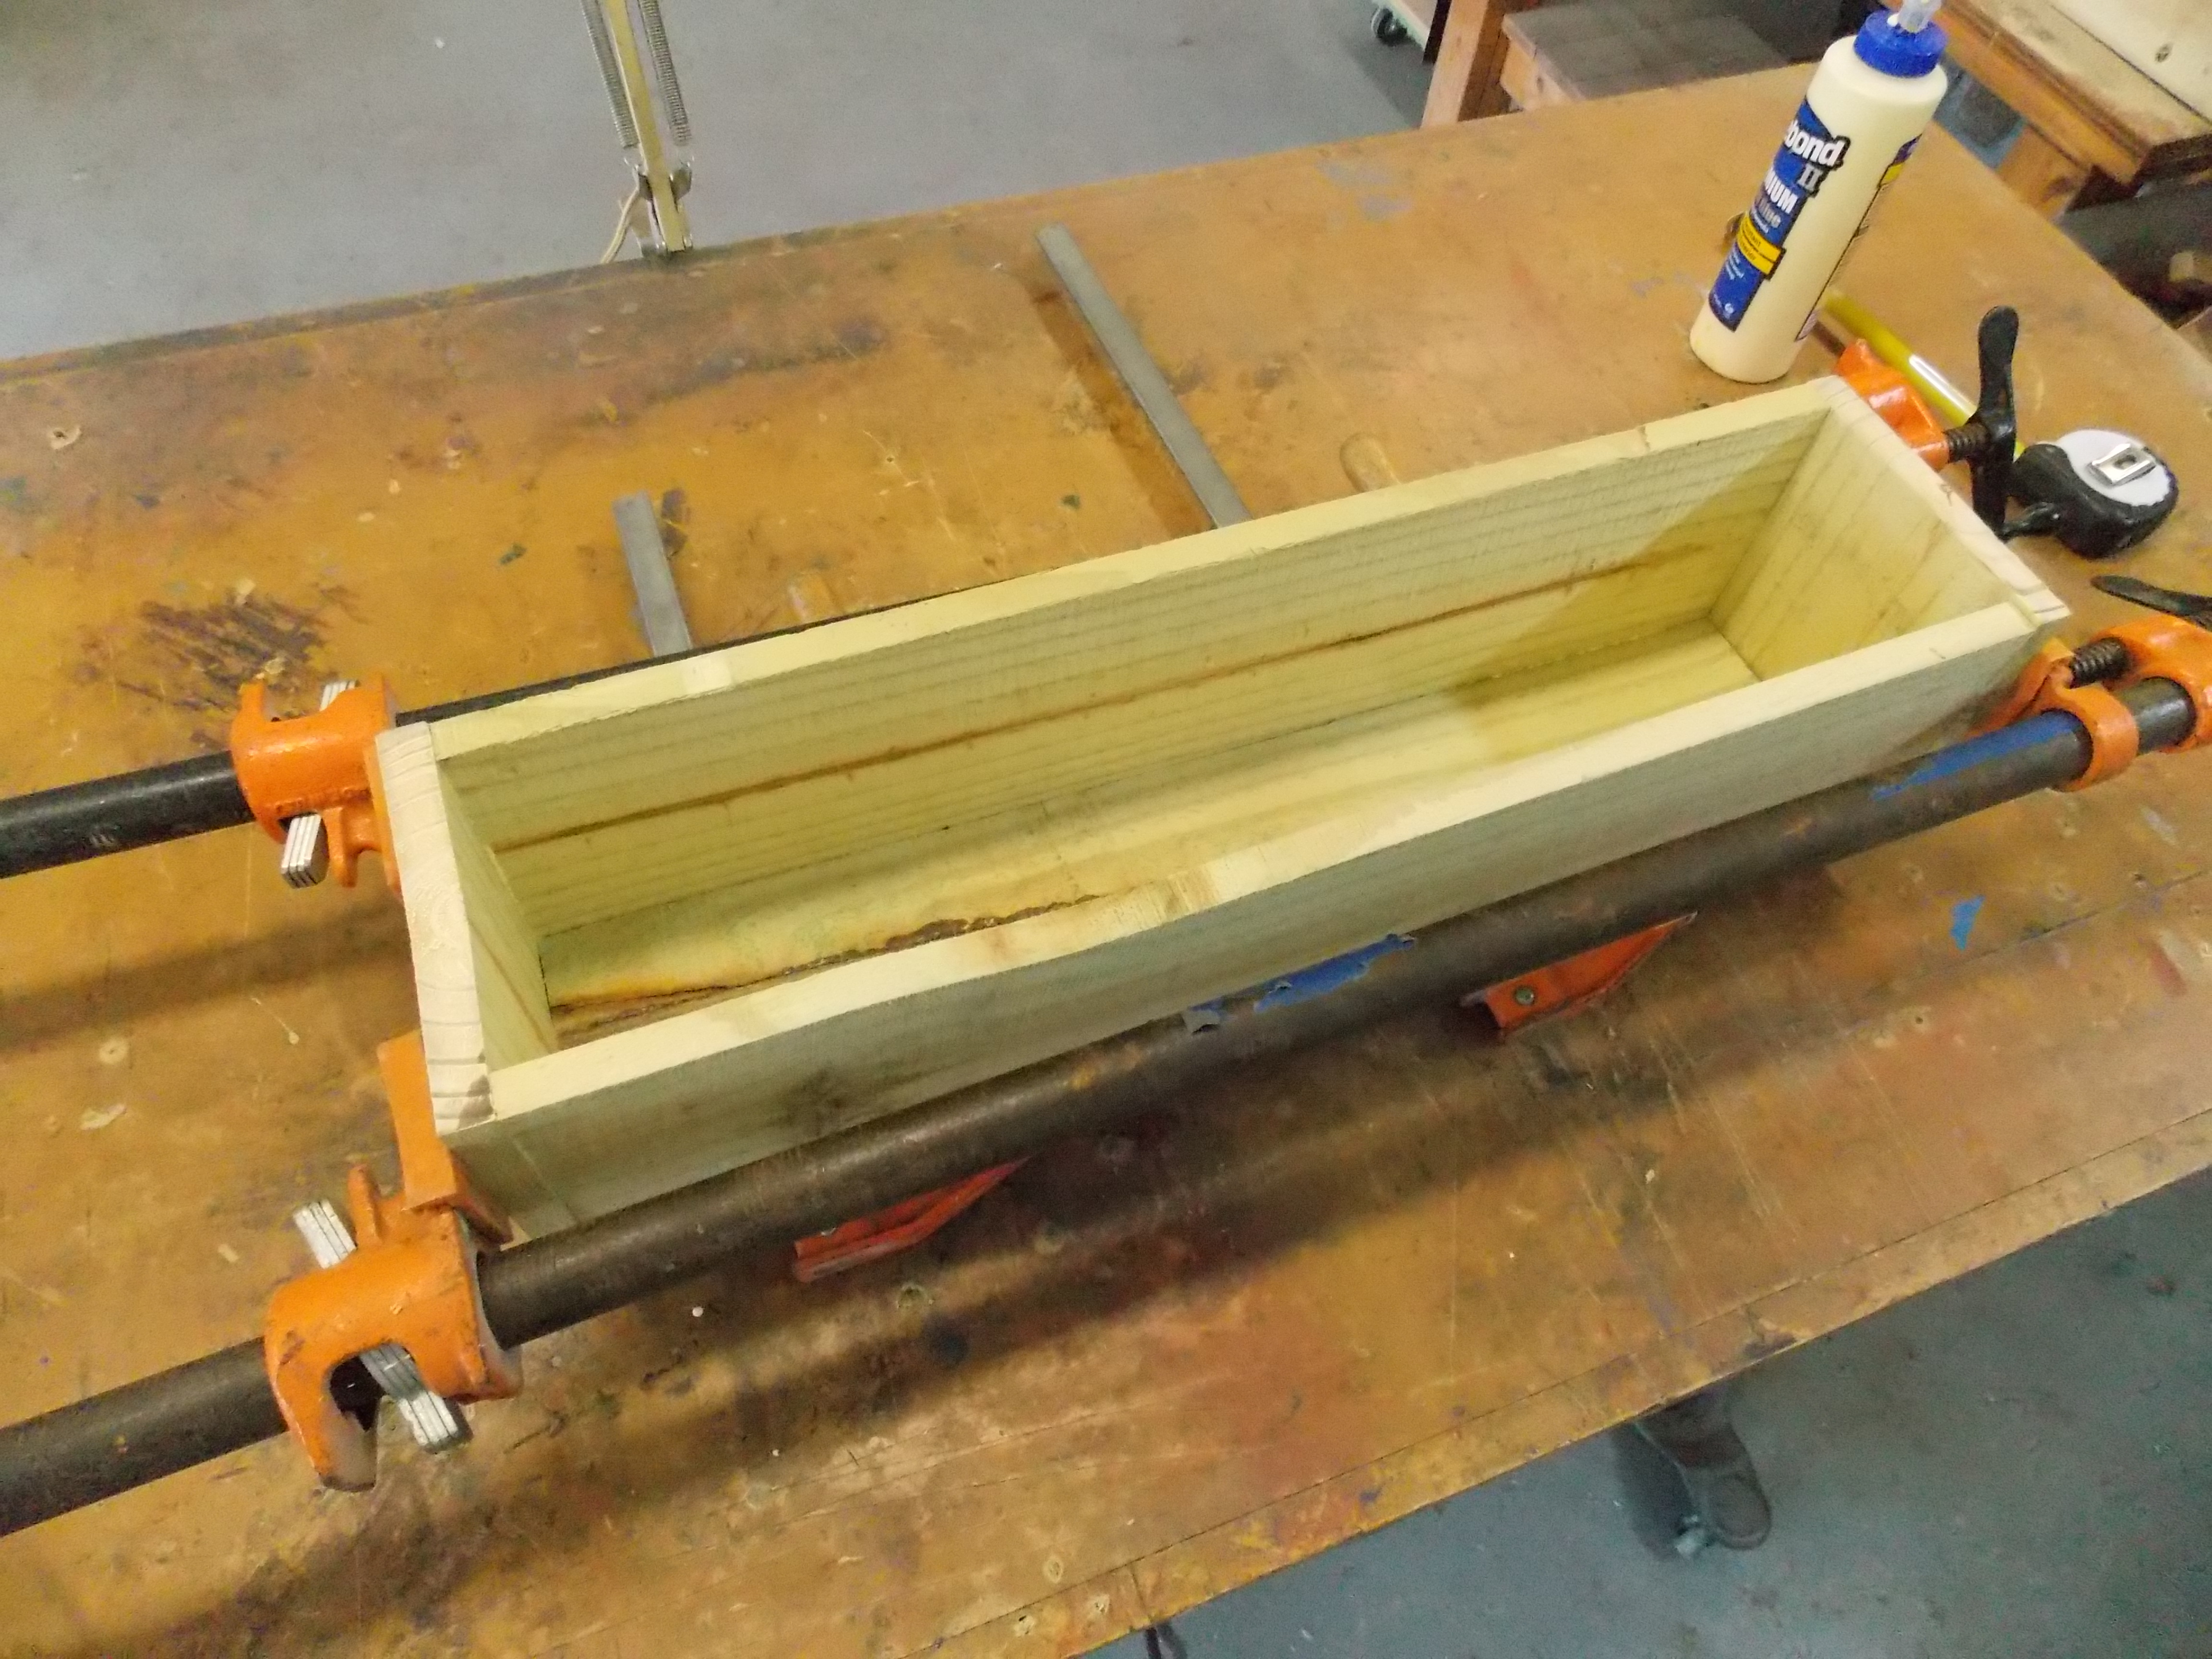
Knowing her window box planter will be subjected to both moisture and extreme temperature swings, I nailed, glued, and clamped the five boards together.
3. Drill drainage holes.
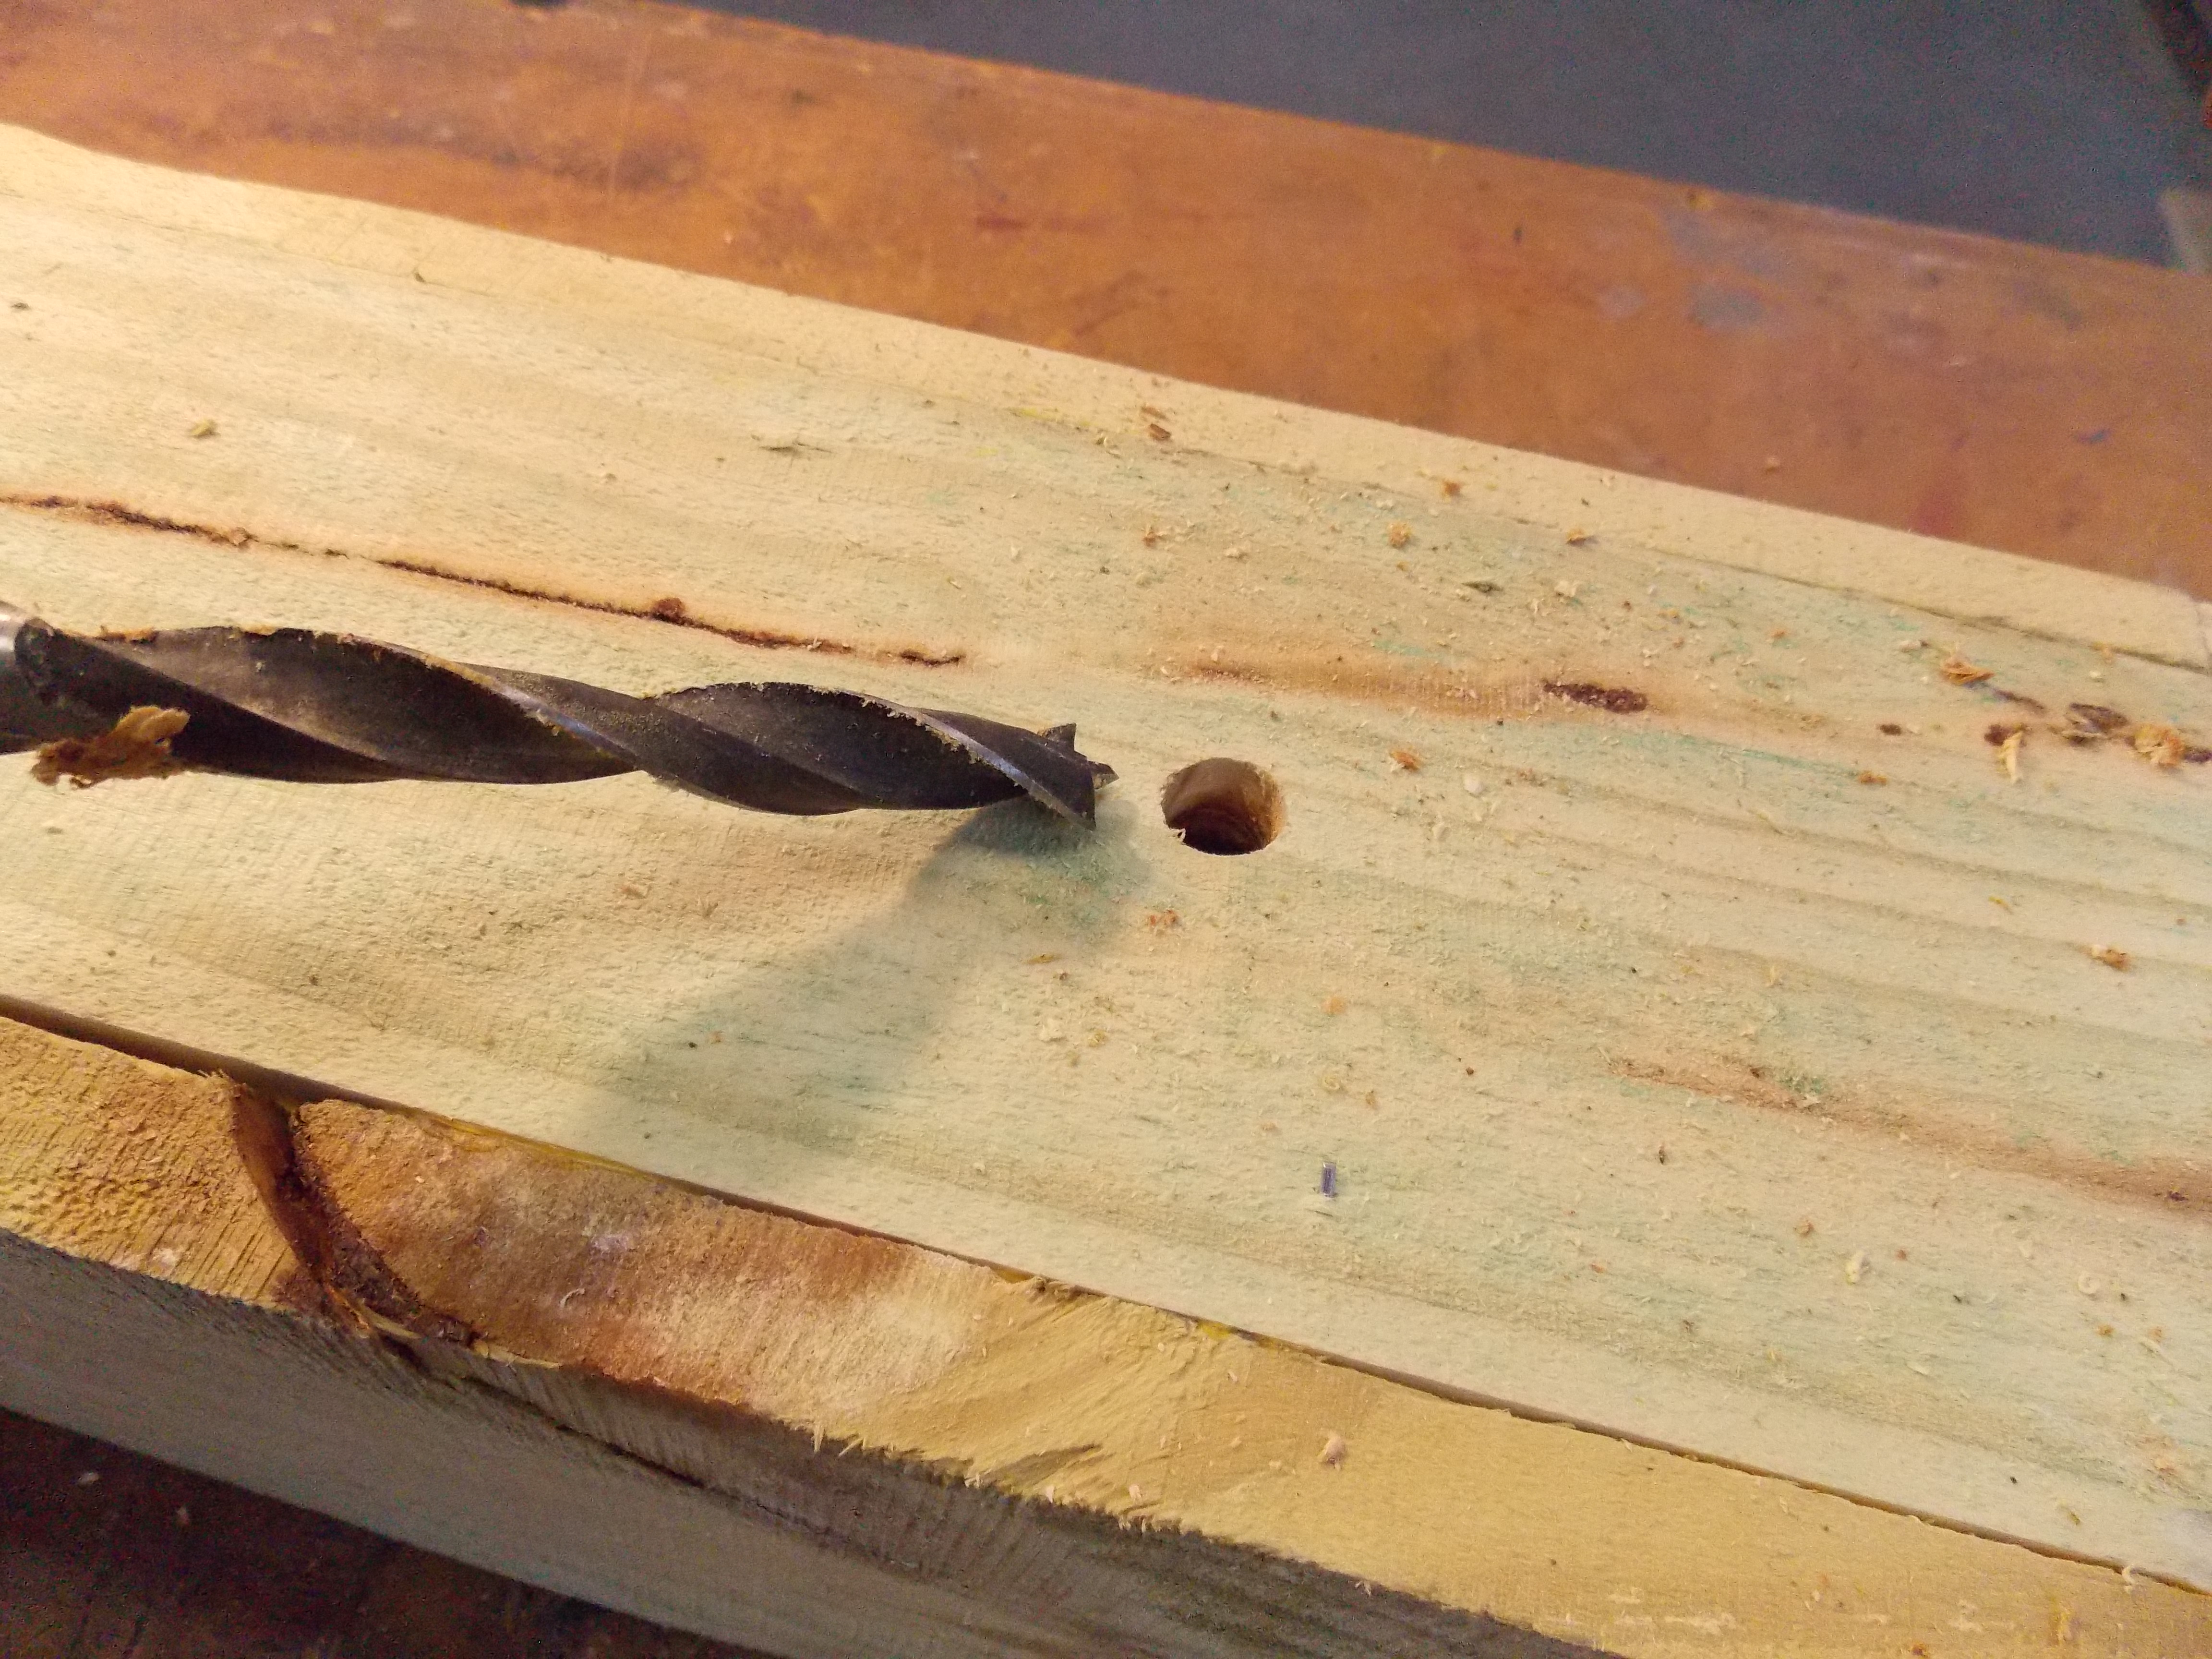
Naturally, the flower box needed drainage holes, so I drilled three half-inch holes in the bottom board.
4. Sand and apply two coats of Minwax Helmsman Teak Oil.
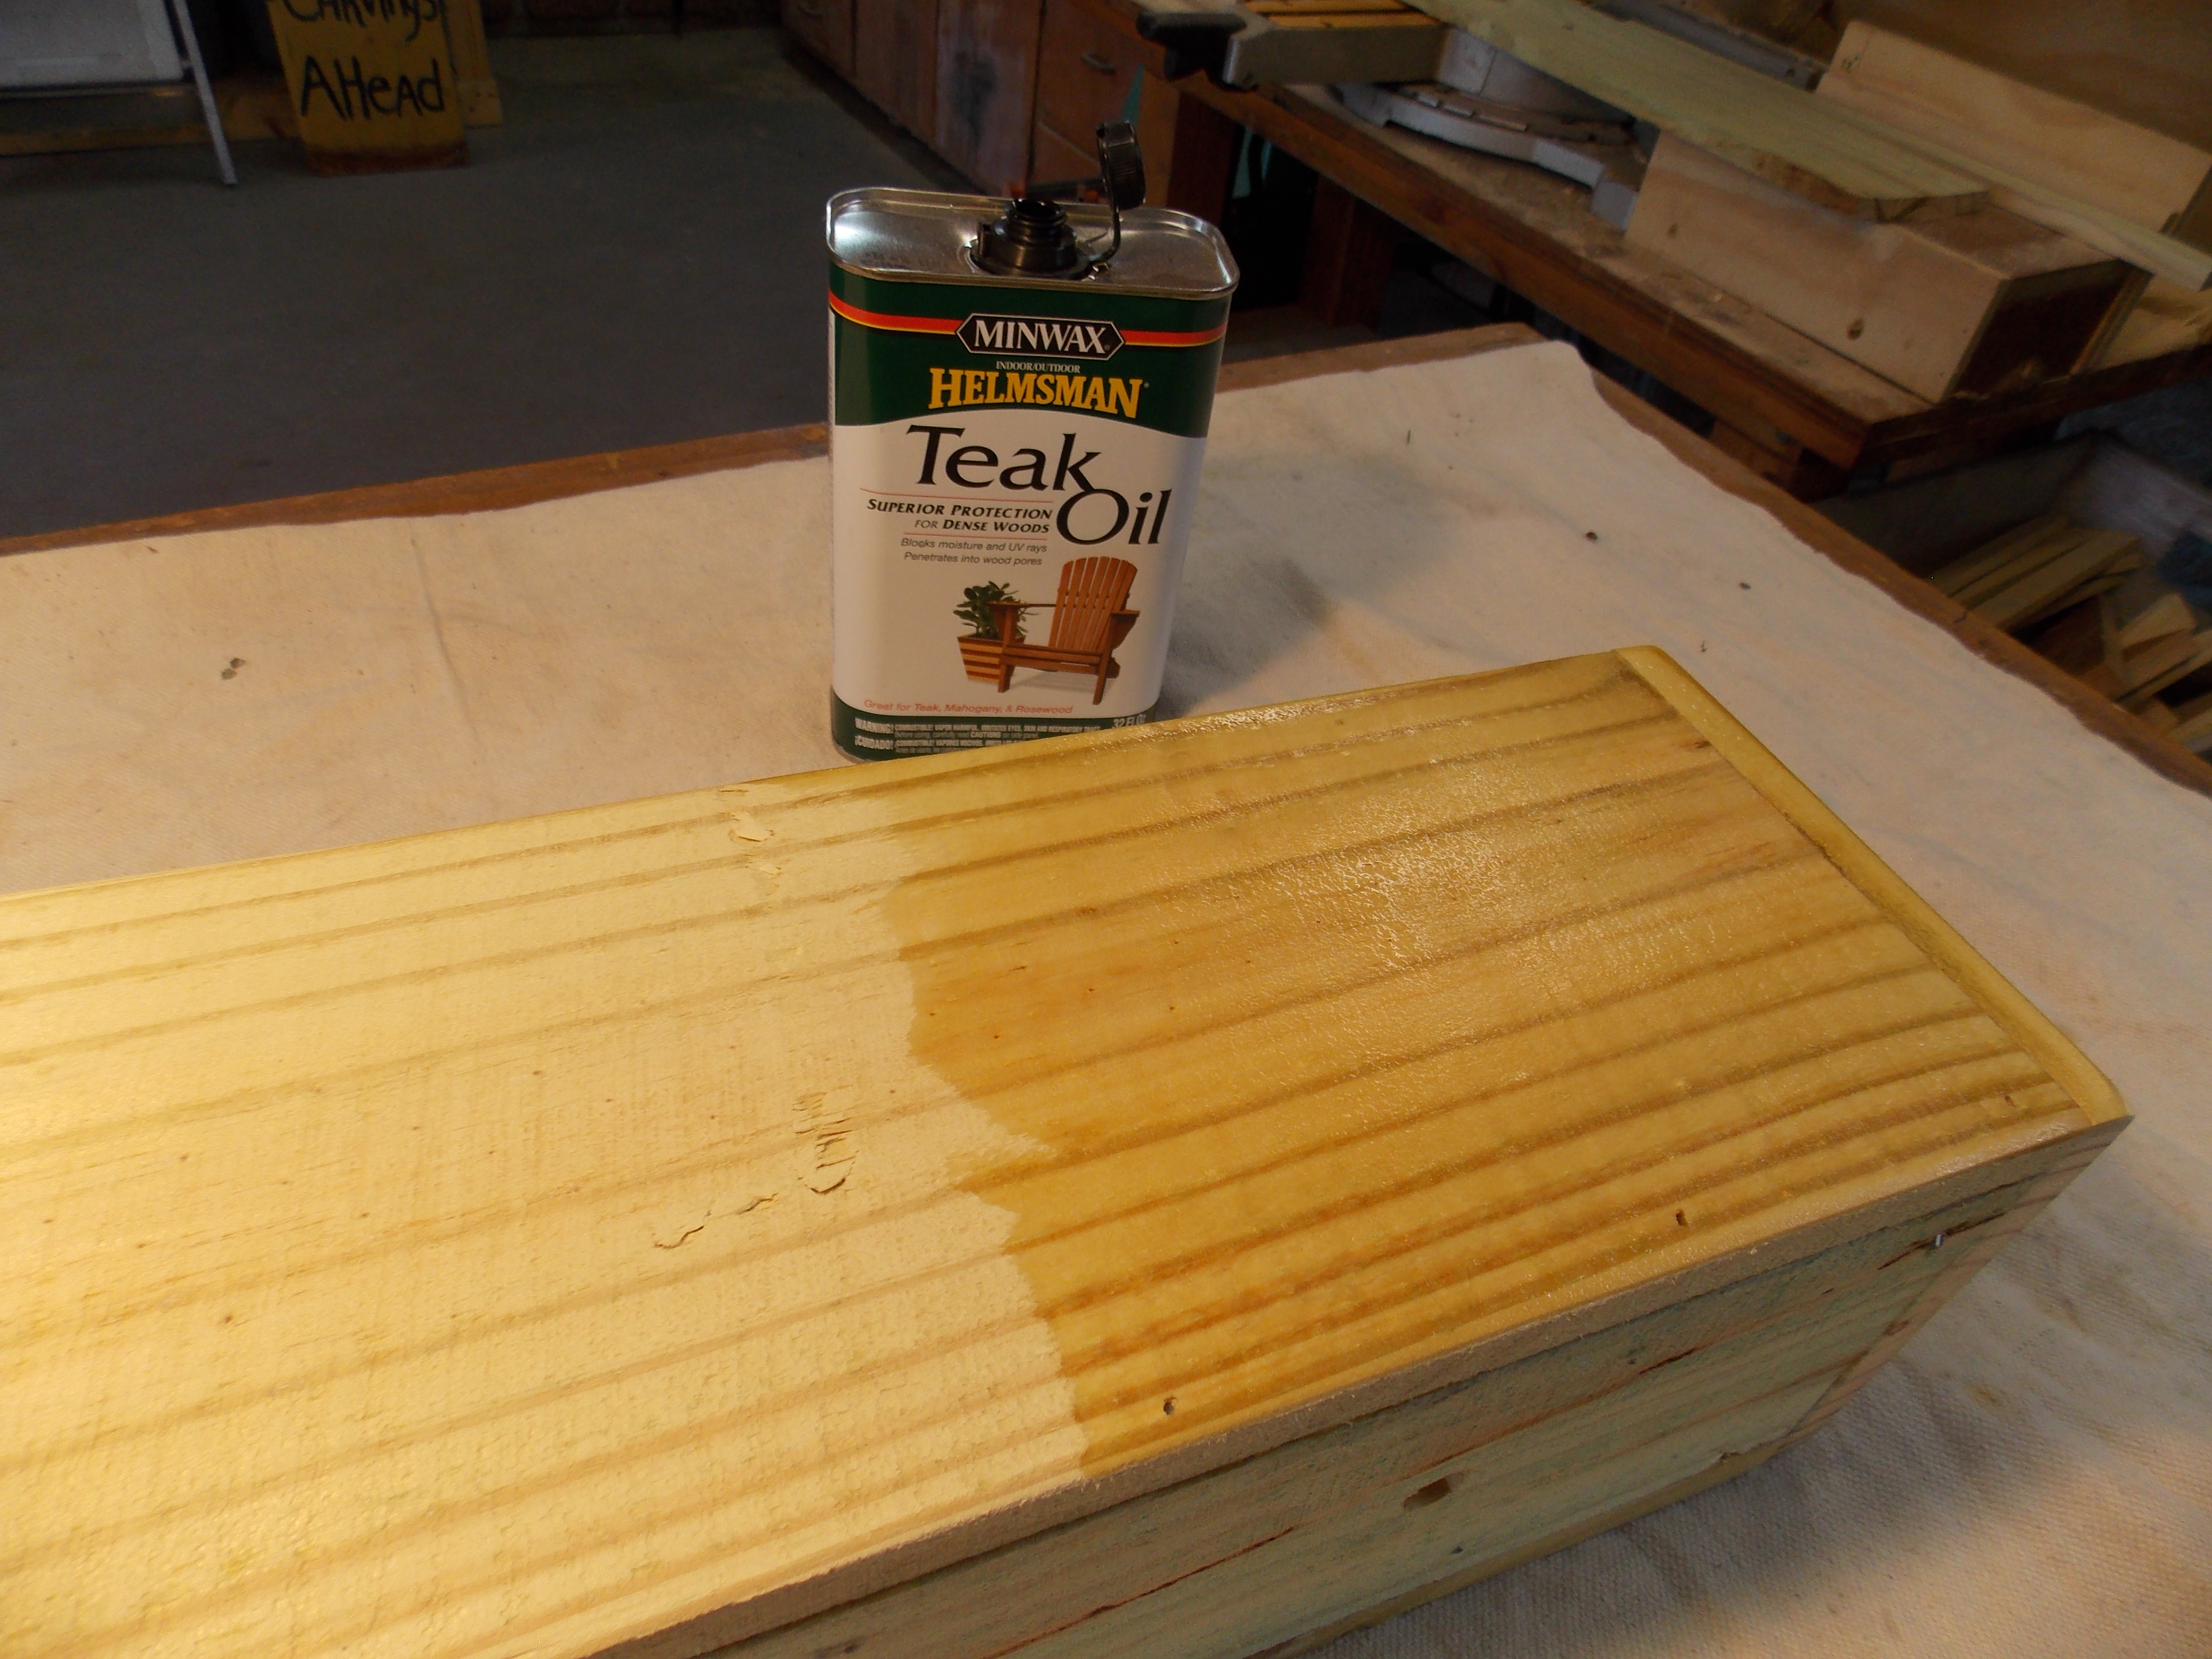
While the pressure-treated lumber does resist water, I wanted to make sure it had some additional protection. After a light sanding, I applied two coats of Minwax Helmsman Teak Oil, designed for exterior projects. As you can see, the Teak Oil also made the wood look more attractive.
5. Place the planter and add your plants.
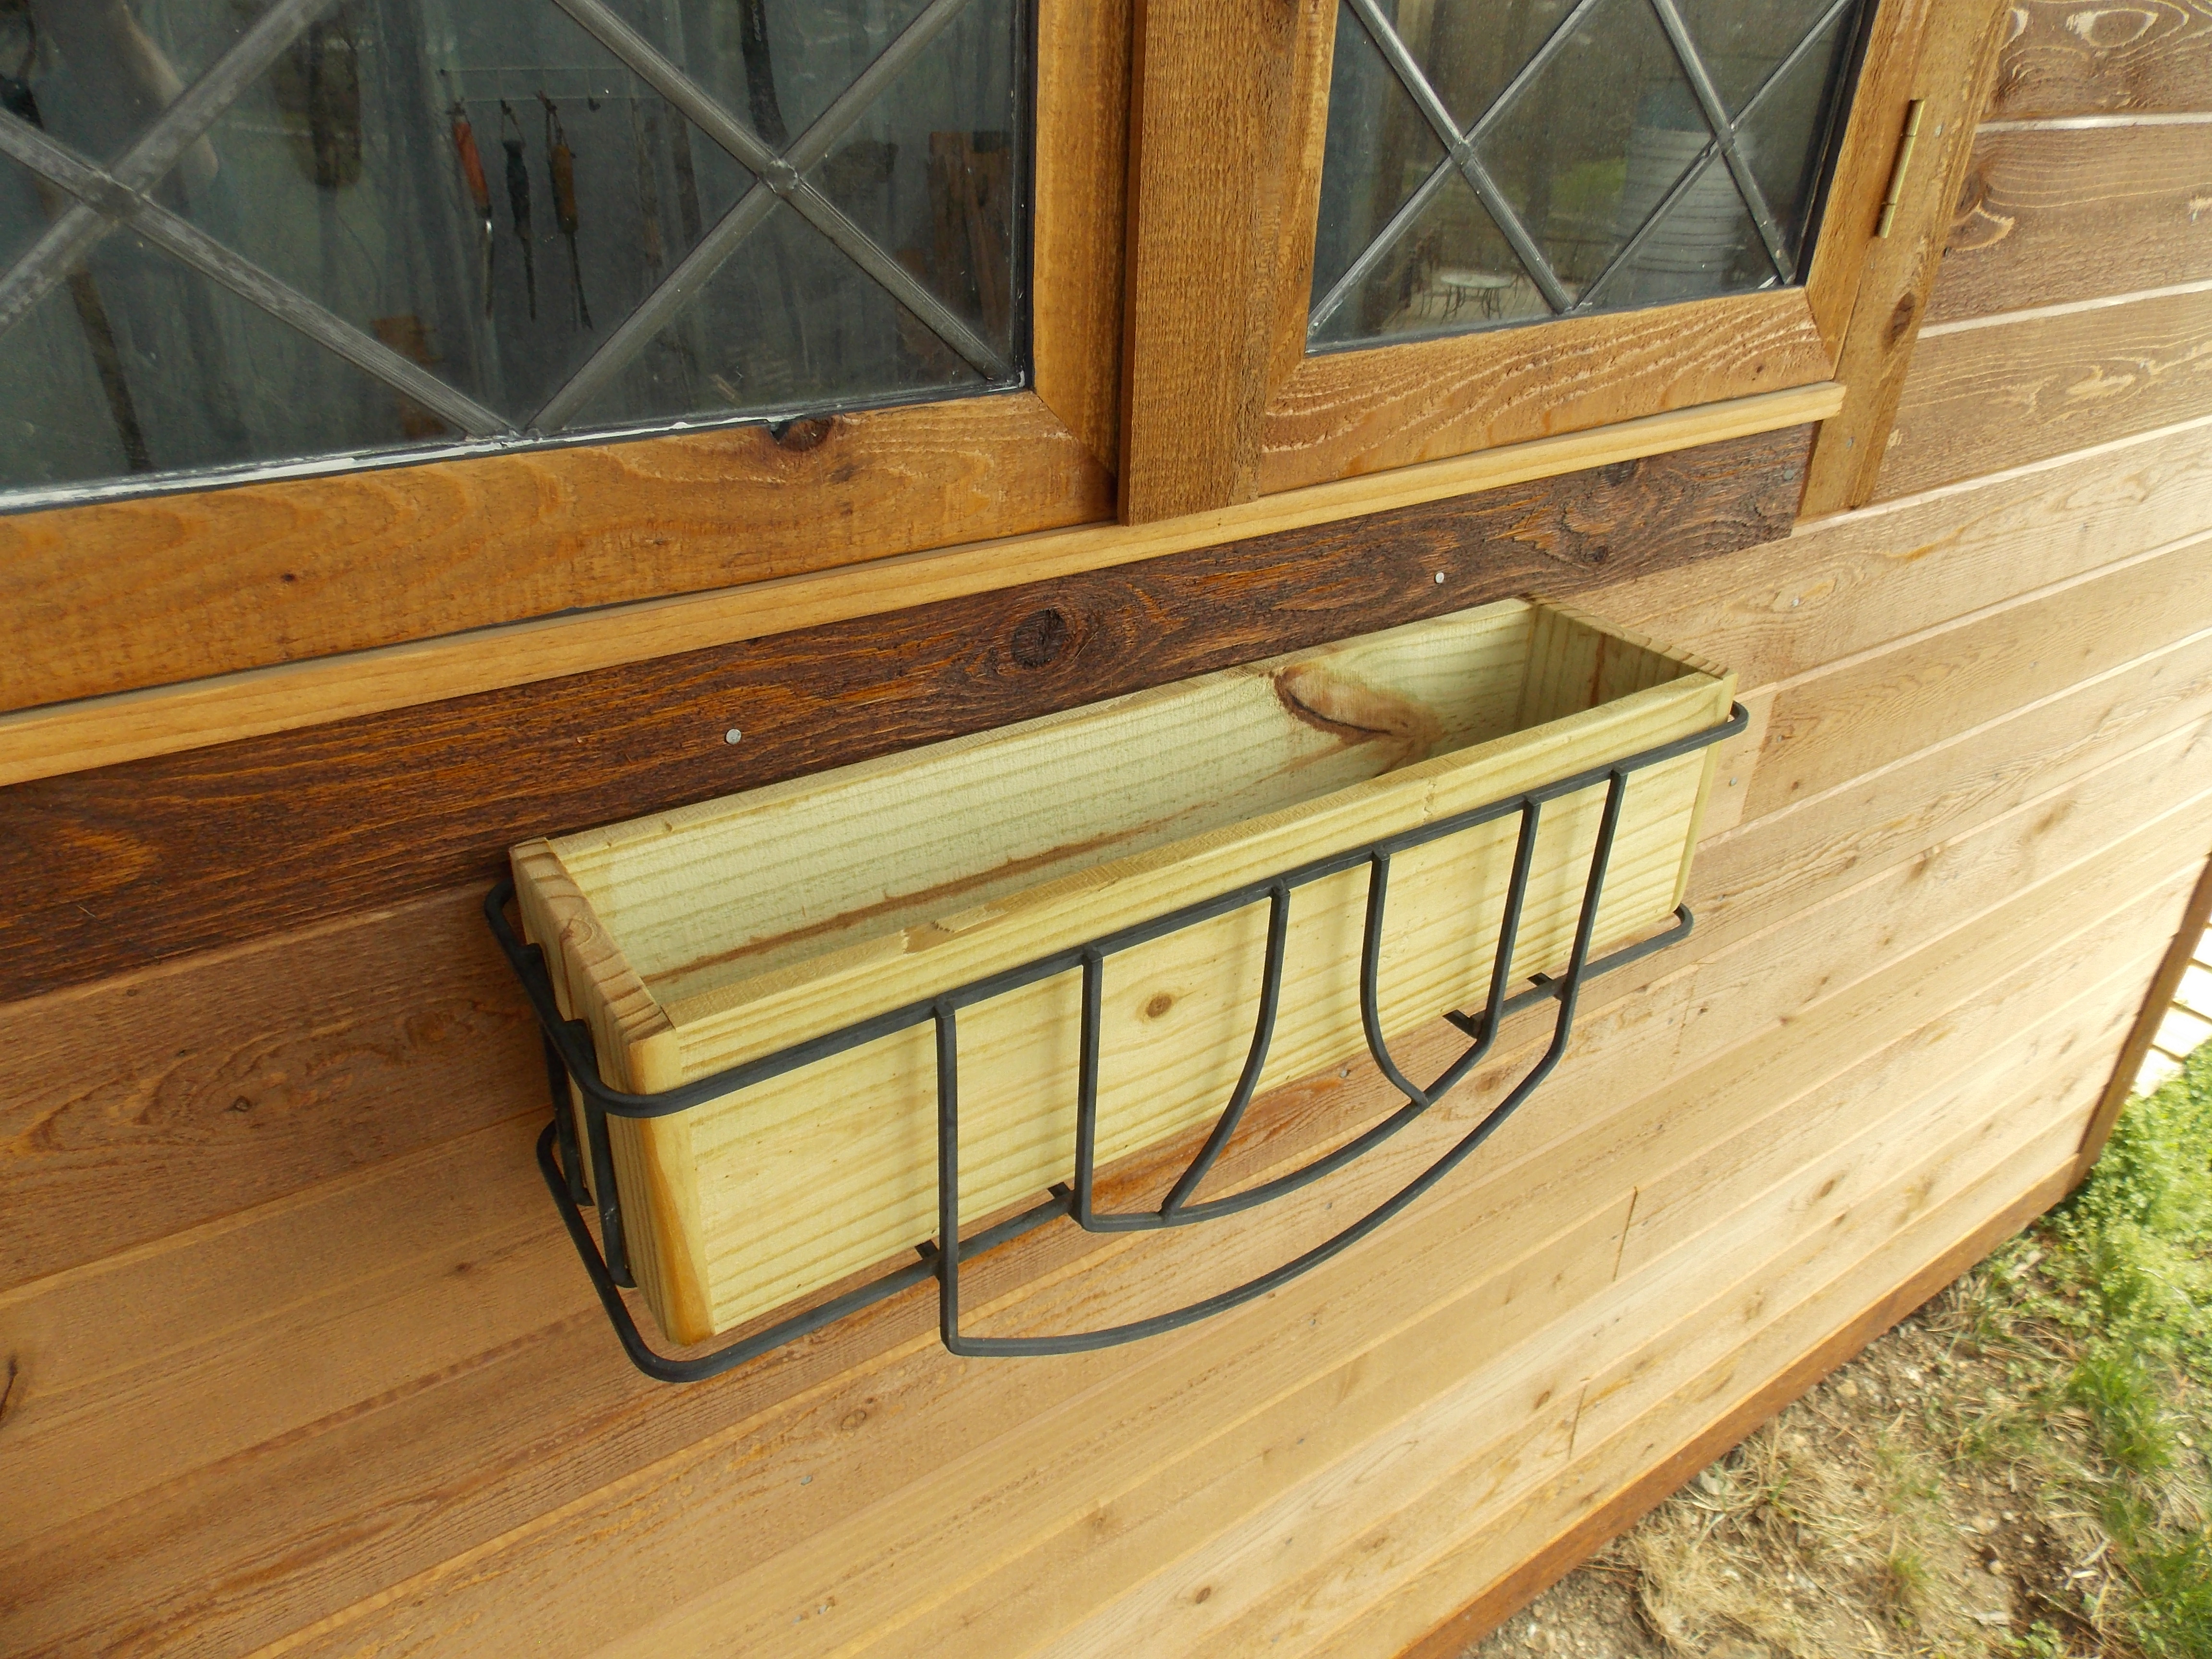
All that is left is for Leigh Ann is to add the plants, safe in knowing that the wood liner will hold moisture longer and better than moss — and without soon rotting or falling apart.
Until next time,
Thanks for stopping by!
Bruce


