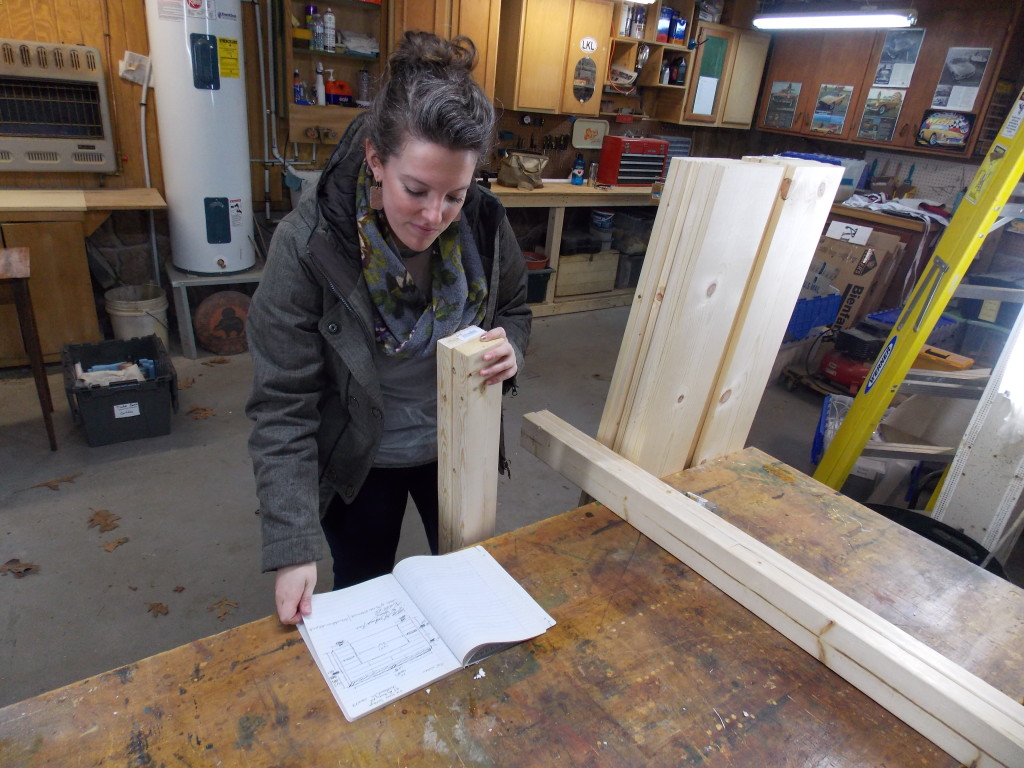
My office assistant Alex is proof that if you hang around a DIYer, you become a DIYer. After taking many of the photographs for my blog projects, she has begun swapping her camera for a brush and a can of stain. This past week she announced that she was going to build, stain, and finish a pine headboard for her house. And she came up with a new twist I hadn’t thought of…
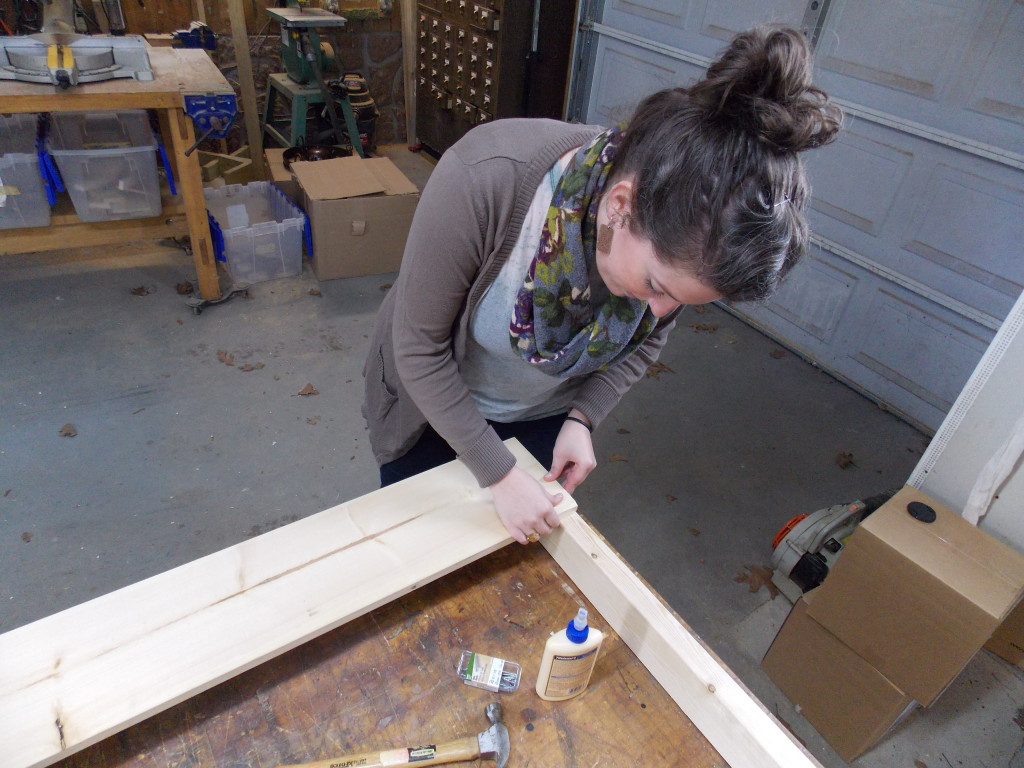
Alex arrived with a plan and her 1″x6″ horizontal slats and her 2″x4″ upright supports pre-cut according to her plan at the home improvement store, so she quickly cleared off the workbench and started her assembly.
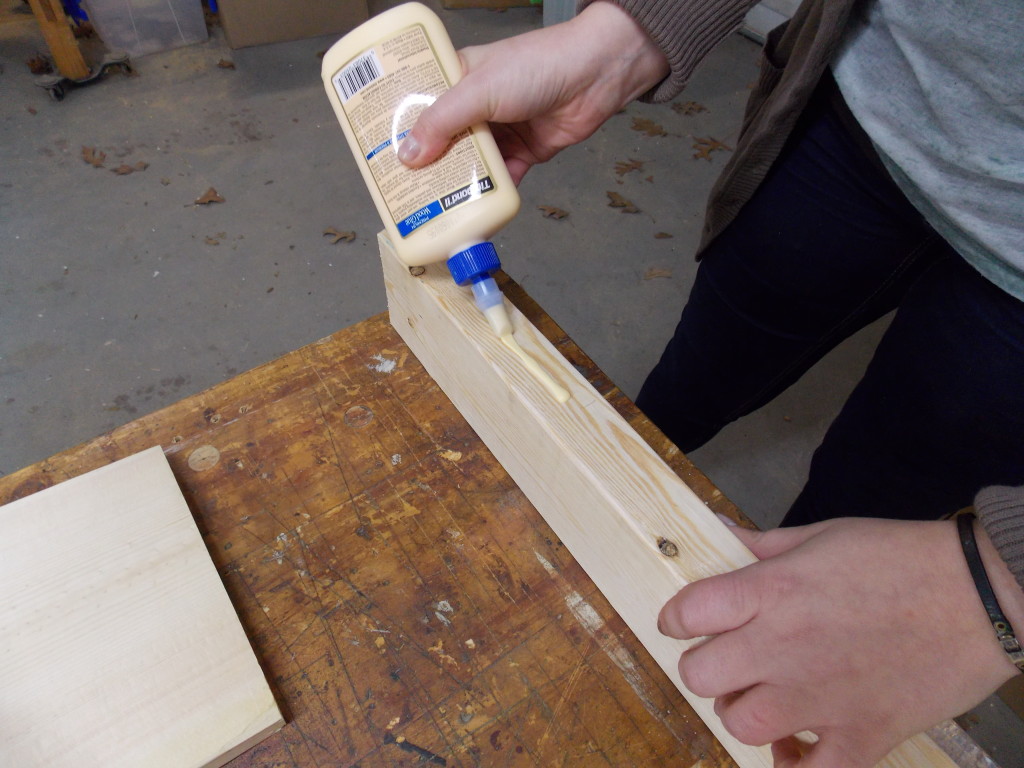
Remembering my mantra that glue is always stronger than nails, she squirted a bead of glue where the first slat would be attached to the first upright.
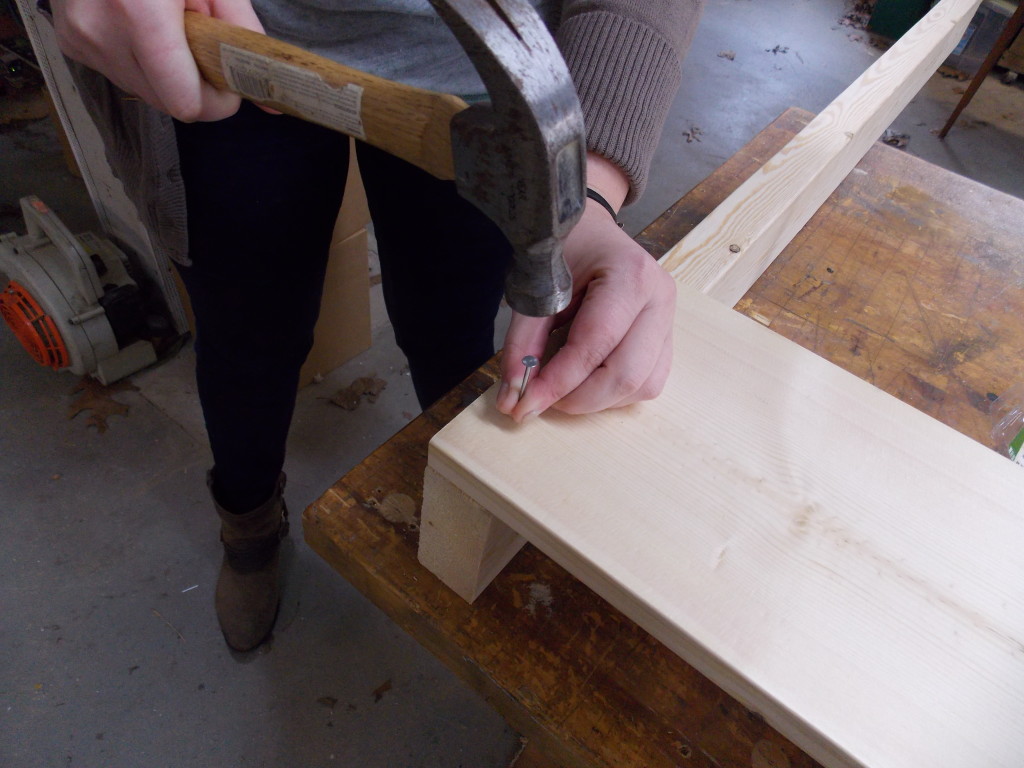 She then nailed the horizontal slat to the upright. Alex purposely picked nails with heads for the rustic look she wanted.
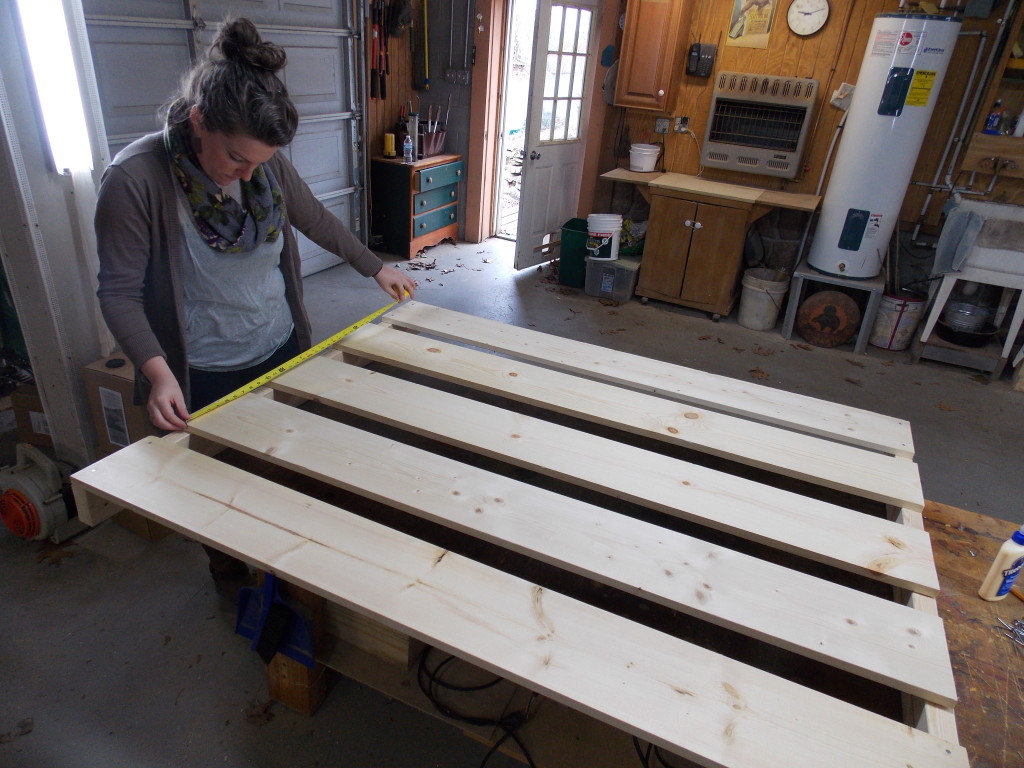
Within minutes she had each slat measured and marked for even spacing, then glued and nailed in place.
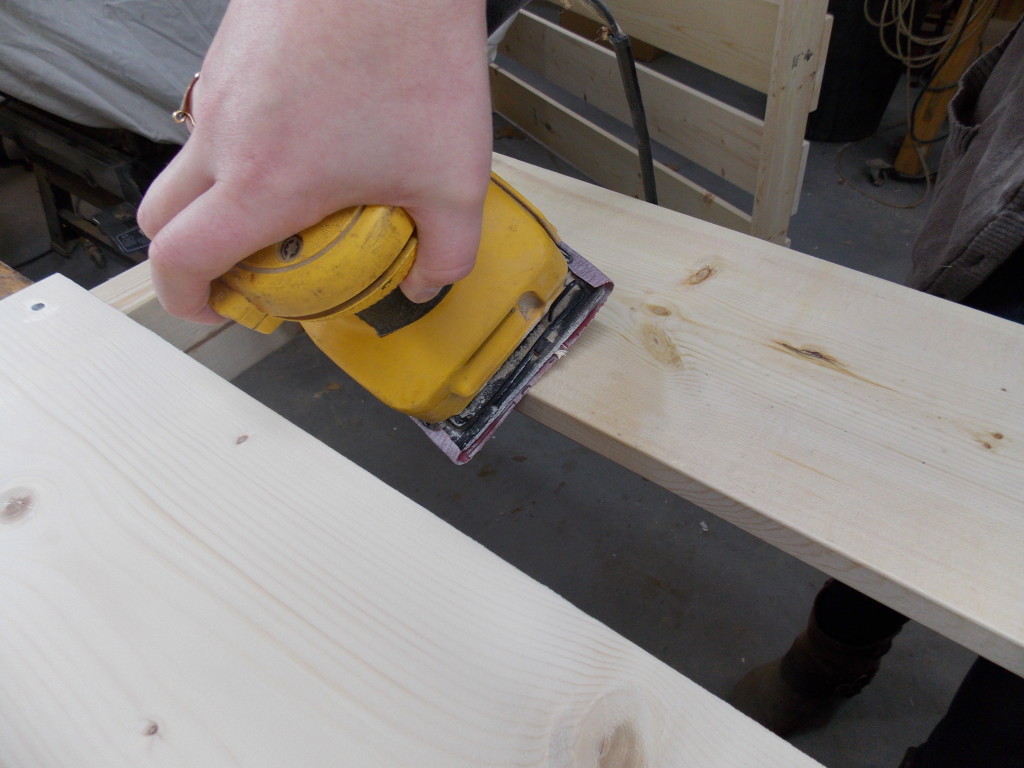
A quick sanding with #150-grit sandpaper rounded the edges and smoothed out the boards.
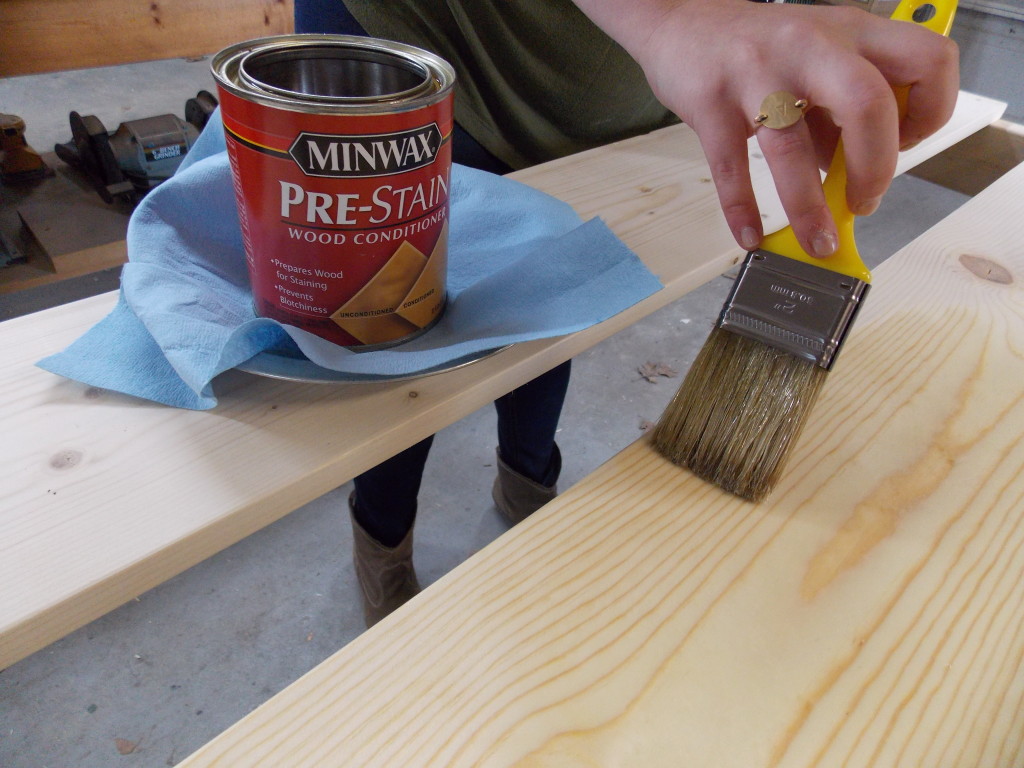
Alex then brushed on a liberal coat of Minwax® Pre-Stain Wood Conditioner to reduce the blotchiness that occurs when staining softwoods like pine.
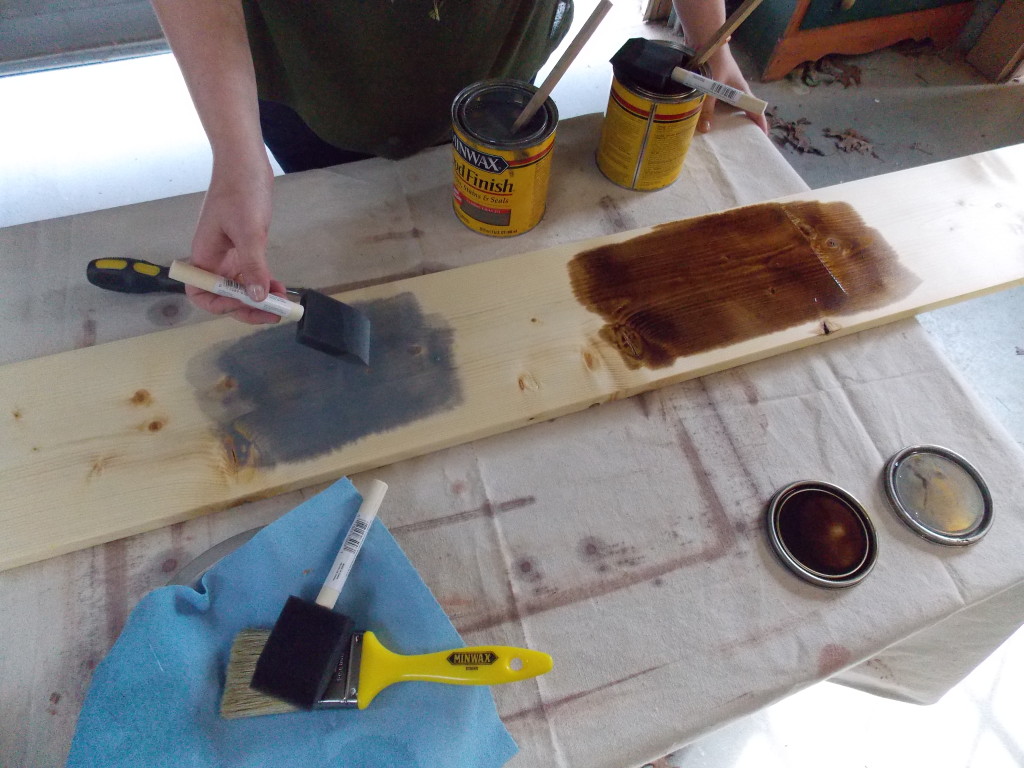 While the Wood Conditioner was drying, Alex explained that she wanted to use two different colors of Minwax® Wood Finish™ to get a weathered barn board effect: Provincial for the brown base coat, followed by Classic Gray for an aged look. Since this was a new combination for both of us, I suggested she use the back of one of her boards to experiment with the two stains.
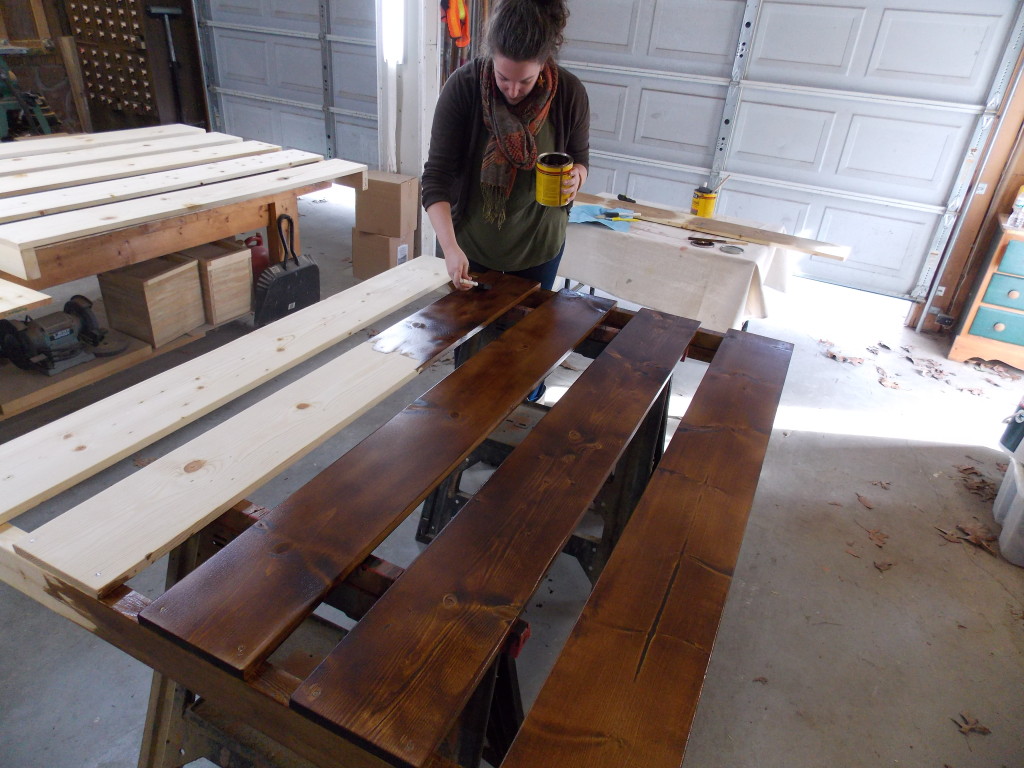
Once satisfied, Alex applied Provincial to the bare boards, let it soak in for about five minutes, then wiped off the excess stain.
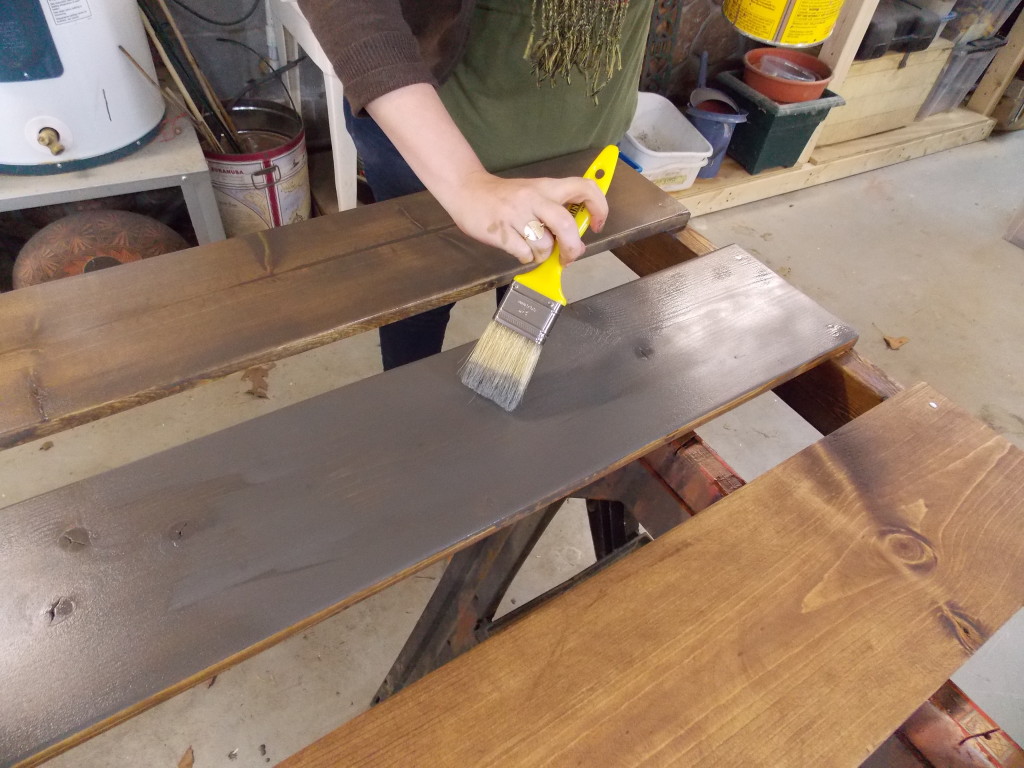
After letting the Provincial stain dry, she next brushed on a coat of Classic Gray, let it sit for about five minutes, then wiped off the excess. (The board at the top has had both layers of stain applied and the excess wiped off.)
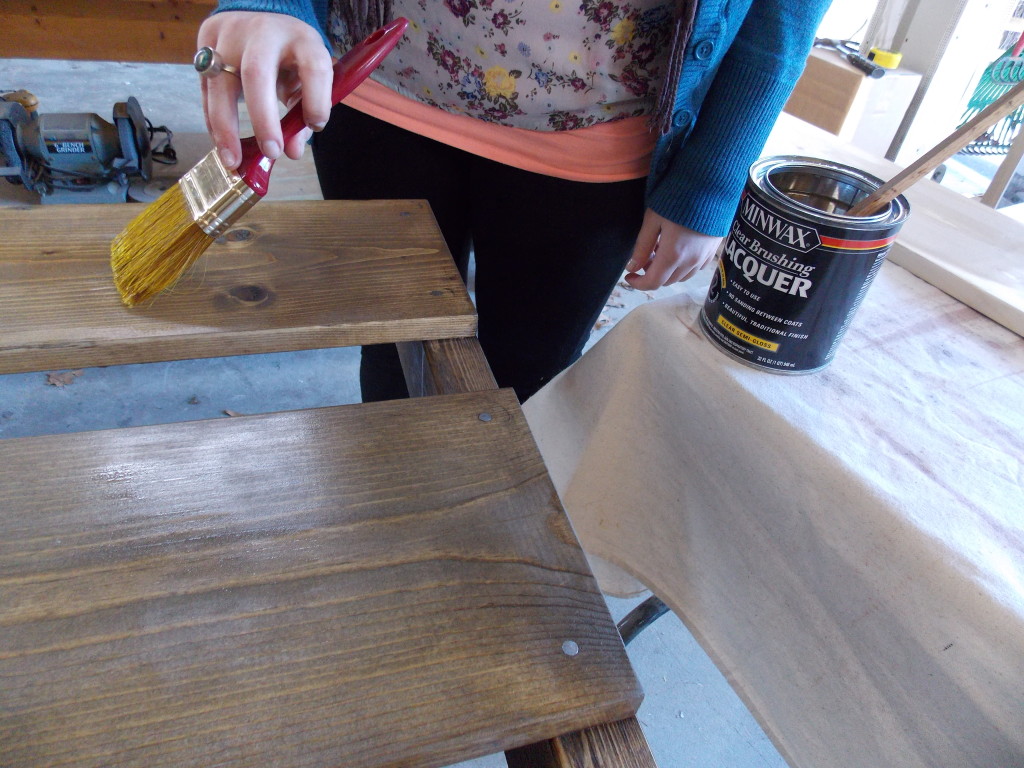
After the stain had dried, Alex finished her headboard with the first of two coats of Minwax® Clear Brushing Lacquer, a fast-drying protective finish.
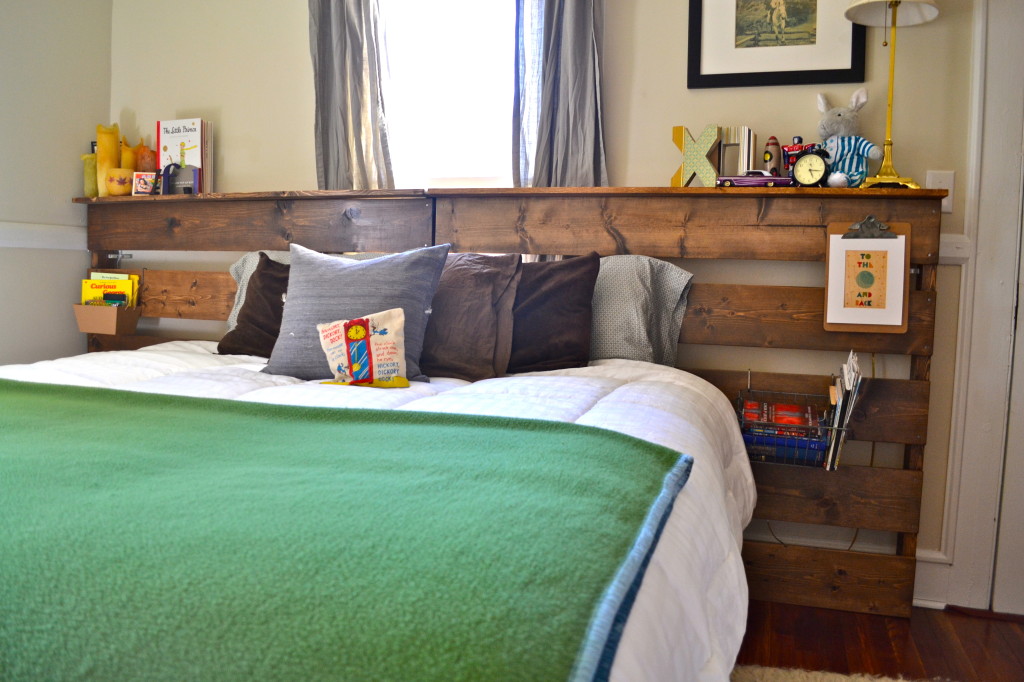
Once home, she attached the two sections to the wall with an L-bracket, and topped it with a shelf running the length of the headboard, getting both a headboard and a display space out of the same project! And making me very proud!
Until next time,
Thanks for stopping by!
Bruce


I love the stain combo that Alex used for this project – I’d like to use it for my floors. When staining floors, do you also wipe off excess stain after completing each coat? It will be my first time finishing hardwood floors.
Also my hardwood floors are oak so would this stain combination come out a little darker than it does on pine? Thank you.
Thanks for your comment, Lourdes, and the opportunity to pass on a couple of suggestions. First, oak is dramatically different than pine. I would begin by buying a couple of oak boards at your hardware store to experiment to see how the color combo is going to work. You don’t want to make a mistake in the middle of your floor. Second, always wipe off any stain the wood doesn’t adsorb. If you do not, it will turn into a sticky mess. Third, the final color will be determined by how long you leave each of the stains on the wood, so experiment and time your tests so that you can duplicate it on your floor. I can’t over emphasize how important practice and testing before starting on your floor is going to be. Good luck! -Bruce